

Page 1
Copyright 2010 Unitech Electronics Co., Ltd.
All rights reserved. Unitech is a registered trademark of Unitech Electronics Co., Ltd.
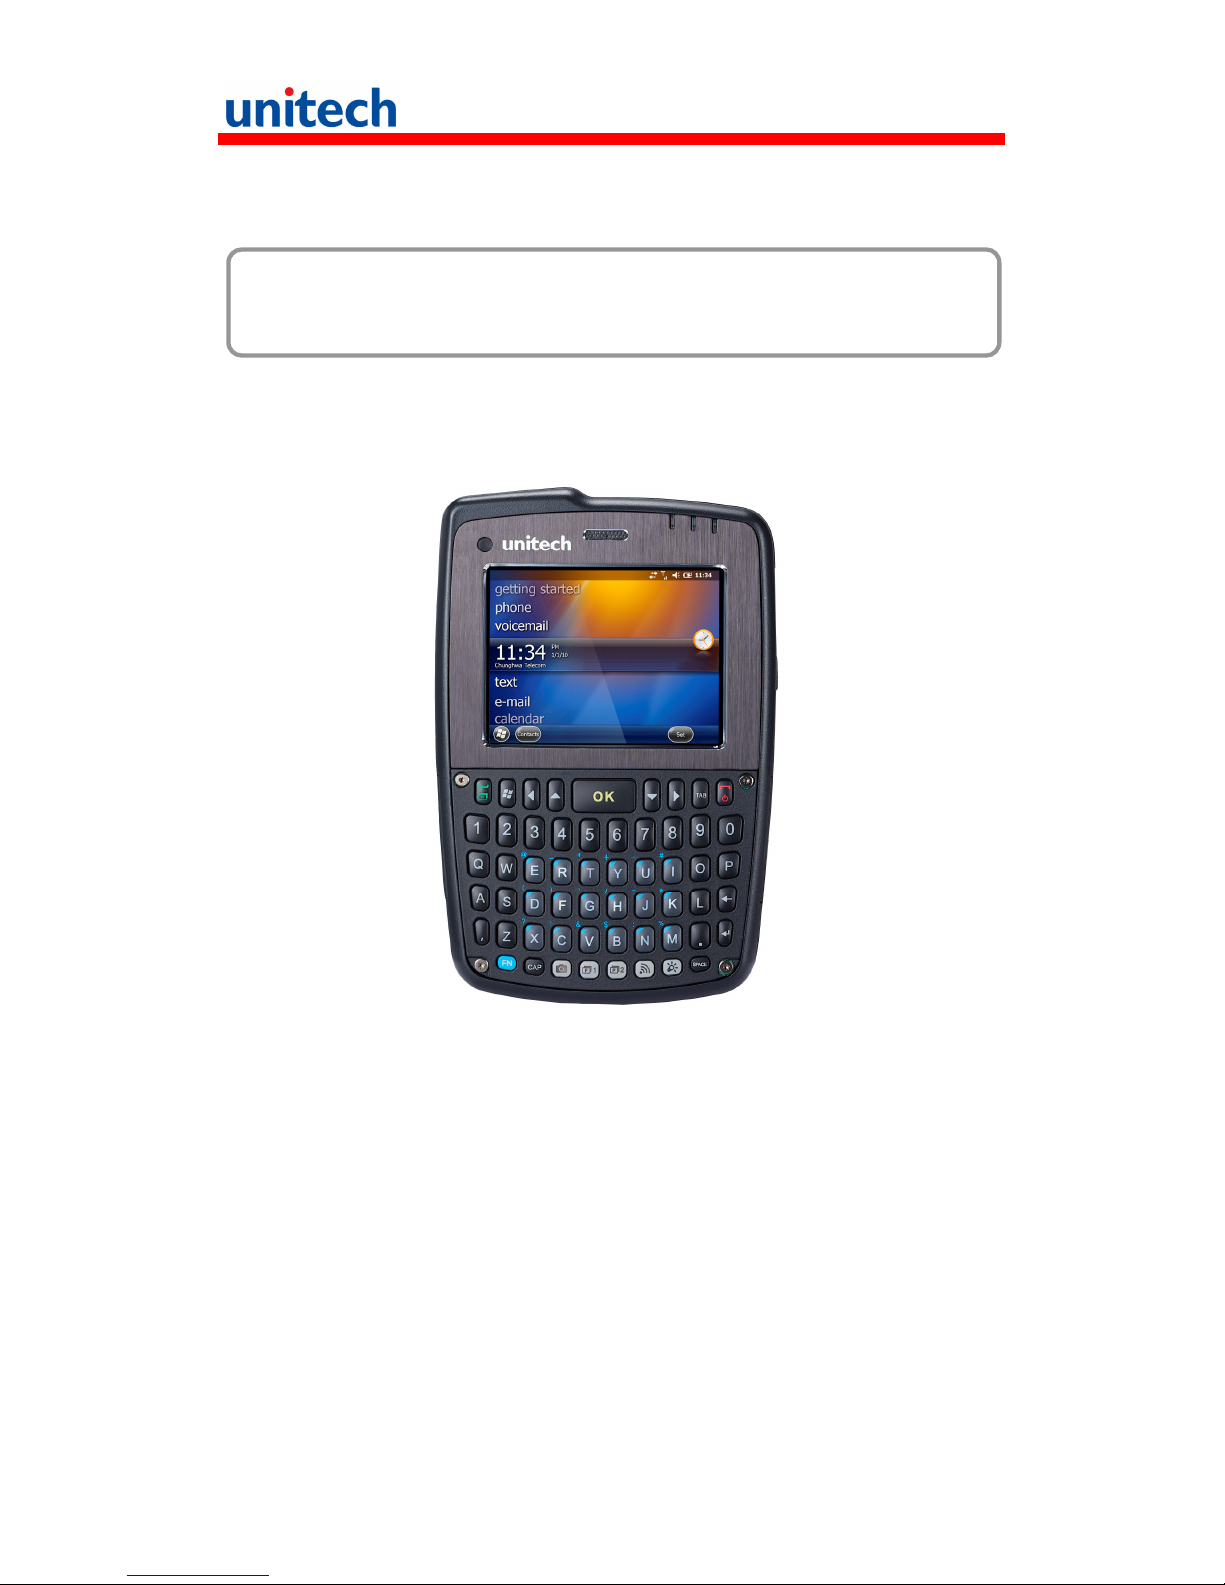
PA550 Rugged Mobile Computer
- PA550 -
Quick Reference Guide
400821G Version 1.0
PA550 Rugged Mobile Computer
Page 2

Copyright 2010 Unitech Electronics Co., Ltd.
All rights reserved. Unitech is a registered trademark of Unitech Electronics Co., Ltd.
Page 3

Copyright 2010 Unitech Electronics Co., Ltd.
All rights reserved. Unitech is a registered trademark of Unitech Electronics Co., Ltd.
English Deutsch Español Français
中文(简体)
中文(繁體)
日本語 영어
Package Contents
There must be following contents in the package box:
PA550 terminal x 1 Battery x 1
Stylus cord x 1 Stylus x 1
Hand strap x 1 USB Cable x 1
Adaptor x 1 User manual CD x 1
Front/Bottom/Top Views
No. Name Description
1 Status indicator Indicating the status of battery charging and barcode
scanning
Green: indicating that the battery is fully charged or
barcode scanning is successful
Red: indicating that the battery is being charged or a
barcode is being scanned.
The leftmost indicating lamp is for GSM transmission.
2 LCD Touch screen
Showing the data in the terminal and being controllable by a
finger or stylus
3 Power button Powering ON the terminal when being turned OFF. When
the terminal is working, press and hold the button for 3
seconds to power OFF the terminal.
4 Receiver
5 Keypad Alphanumeric and command input to the terminal
Page 4

Copyright 2010 Unitech Electronics Co., Ltd.
All rights reserved. Unitech is a registered trademark of Unitech Electronics Co., Ltd.
English Deutsch Español Français
中文(简体)
中文
(繁體)
日本語
영어
6 Microphone Audio input for recording
7 Universal connector A connector for a USB
cable of which one end is connected
to a USB port of a PC to transmit 5V power to the terminal
and simultaneously help battery charging and data
synchronization. The connector may be connected to an
external hardware device, such as a cradle, a USB/RS232
scanner, or a keyboard.
Rear View
No. Name Description
1 Stylus Tapping on the LCD for selection
2 Reset button Restarting the terminal
3 Speaker Audio output
4 Battery compartment Loading a rechargeable battery (7.4 V, 1850mah)
5 Digital camera Taking photographs
6 LED Flash light Serving for camera illuminance
7 SIM card slot Loading a SIM card
8 Memory card slot Loading a MicroSD card
9 Battery compartment tab Helping open the battery cover
Page 5

Copyright 2010 Unitech Electronics Co., Ltd.
All rights reserved. Unitech is a registered trademark of Unitech Electronics Co., Ltd.
English Deutsch Español Français
中文(简体)
中文(繁體)
日本語 영어
Right View
No. Name Description
1 Scan trigger button Barcode scanning control
2 Mute botton Disabling audio output
3 Earphone jack A jack for earphones available in a noisy condition
Left View
No. Name Description
1 Scan trigger button Barcode scanning control
2 Volume botton Adjusting the volume
3 Power jack Connecting an adaptor for PA550 battery charging
Page 6
Copyright 2010 Unitech Electronics Co., Ltd.
All rights reserved. Unitech is a registered trademark of Unitech Electronics Co., Ltd.
English Deutsch Español Français
中文(简体)
中文
(繁體)
日本語
영어
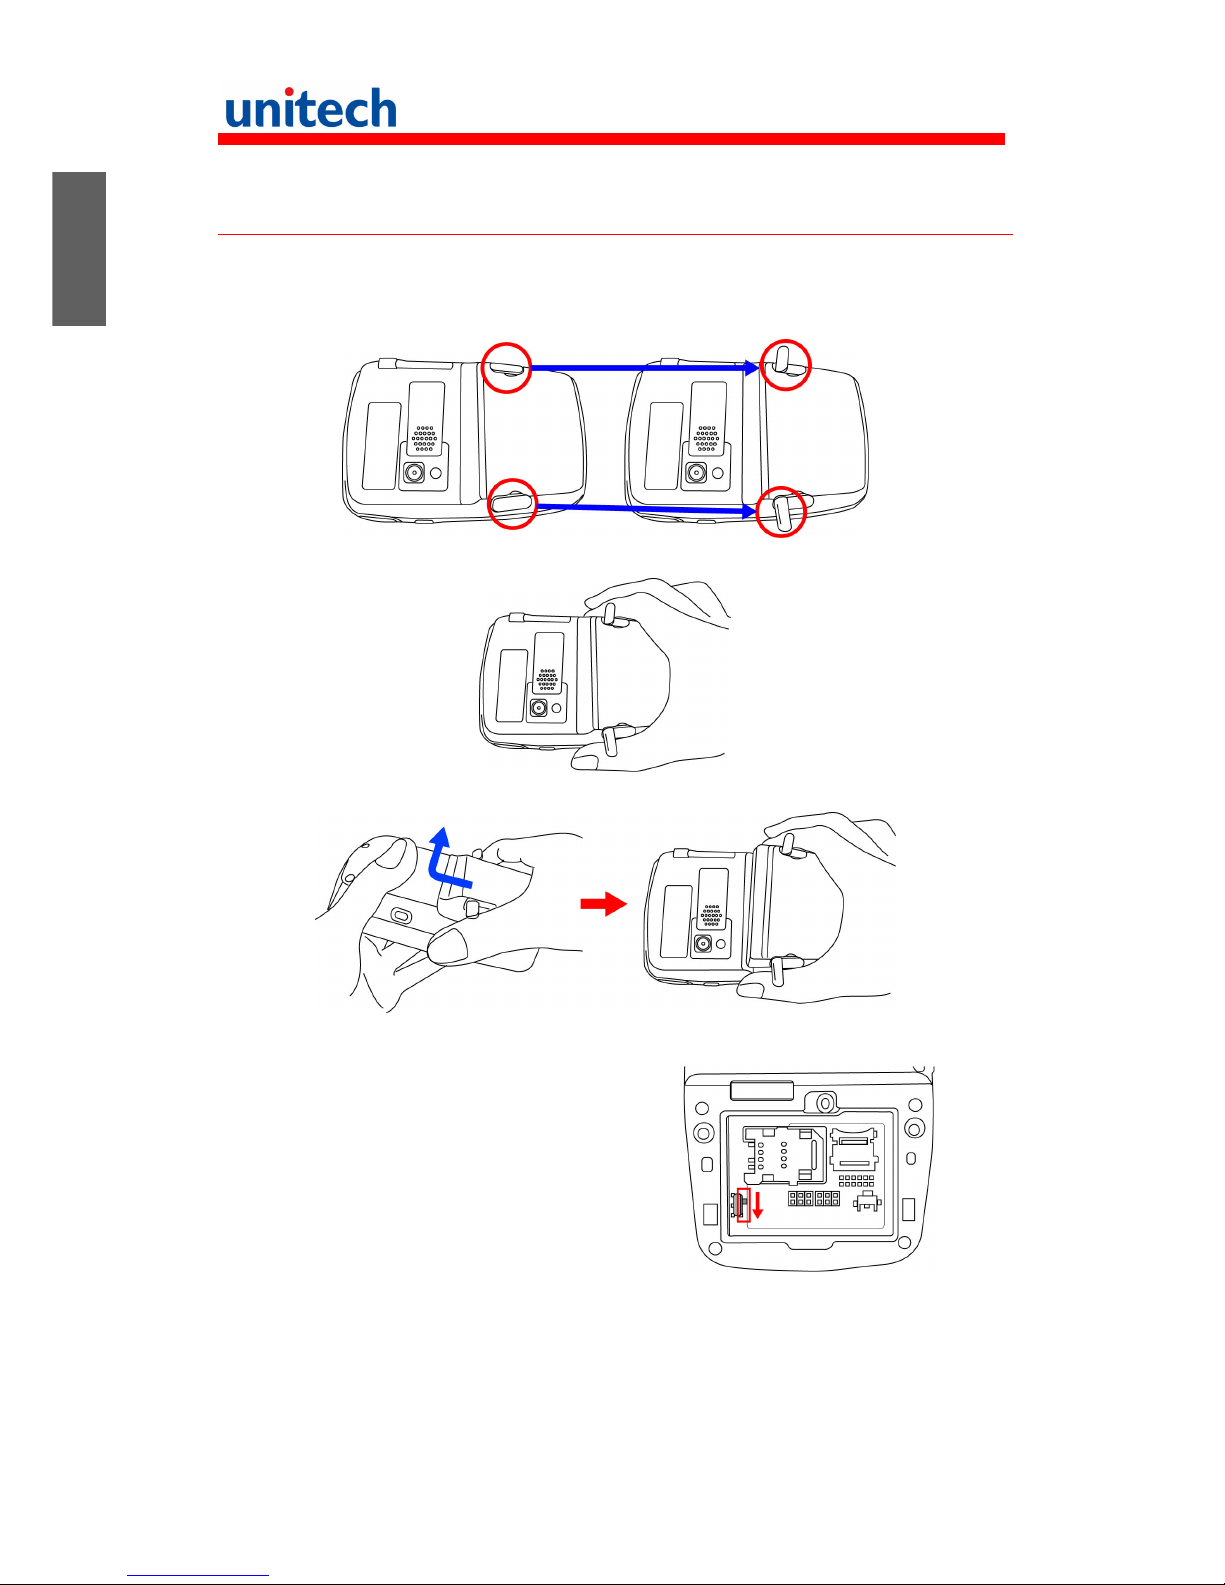
Installing the Battery
1. Open the battery compartment cover by sliding the tabs on both sides in
the direction of the arrows shown and lift the cover up.
2. Push downwards the backup
battery switch to enable the
backup battery.
Page 7

Copyright 2010 Unitech Electronics Co., Ltd.
All rights reserved. Unitech is a registered trademark of Unitech Electronics Co., Ltd.
English Deutsch Español Français
中文(简体)
中文(繁體)
日本語 영어
3. Position the battery pack, making sure the battery contacts are aligned
with the contacts in the compartment.
4. Align each tenon on the battery cover with each mortise on the bottom
case and wedge them into each other, as shown below.
5. Hold a portion where the tenons
are located with one hand, while
press a portion where a yellow
arrow points with the other hand.
Page 8

Copyright 2010 Unitech Electronics Co., Ltd.
All rights reserved. Unitech is a registered trademark of Unitech Electronics Co., Ltd.
English Deutsch Español Français
中文(简体)
中文
(繁體)
日本語
영어
6. Finally, push the tabs inwards to
fix the battery cover.
Turning ON the PA550 for the First Time
After you have initially charged your device for about 16 hours, the device is
ready to work. You can now start up your device, calibrate the display, learn
some basic stylus usage, and set up the system time zone, date and time.
Power ON Button
Turn on your device by pressing the power button on the front panel.
Charging the Battery
CAUTION! Turn ON the backup battery switch before charging the battery.
Data you entered may not be properly stored until the built-in
backup battery has been adequately charged.
1. Connect the USB charging cable to PA550 (1).
2. Plug the AC adapter cable into the power jack of the USB charging cable
(2).
3. Plug the AC adapter cord into an electrical outlet (3).
Page 9

Copyright 2010 Unitech Electronics Co., Ltd.
All rights reserved. Unitech is a registered trademark of Unitech Electronics Co., Ltd.
English Deutsch Español Français
中文(简体)
中文(繁體)
日本語 영어
Using the MicroSD memory card
1. Remove the battery cover and the battery.
2. Push down the cover of memory
card and then push the cover
toward you.
3. Load a MicroSD card in the slot
and face up the head of wider
area. Push in the card until the
card is fully wedged.
4. Push upwards the memory card
until the card is fully wedged and
secured.
5. Load a battery and get the battery cover on.
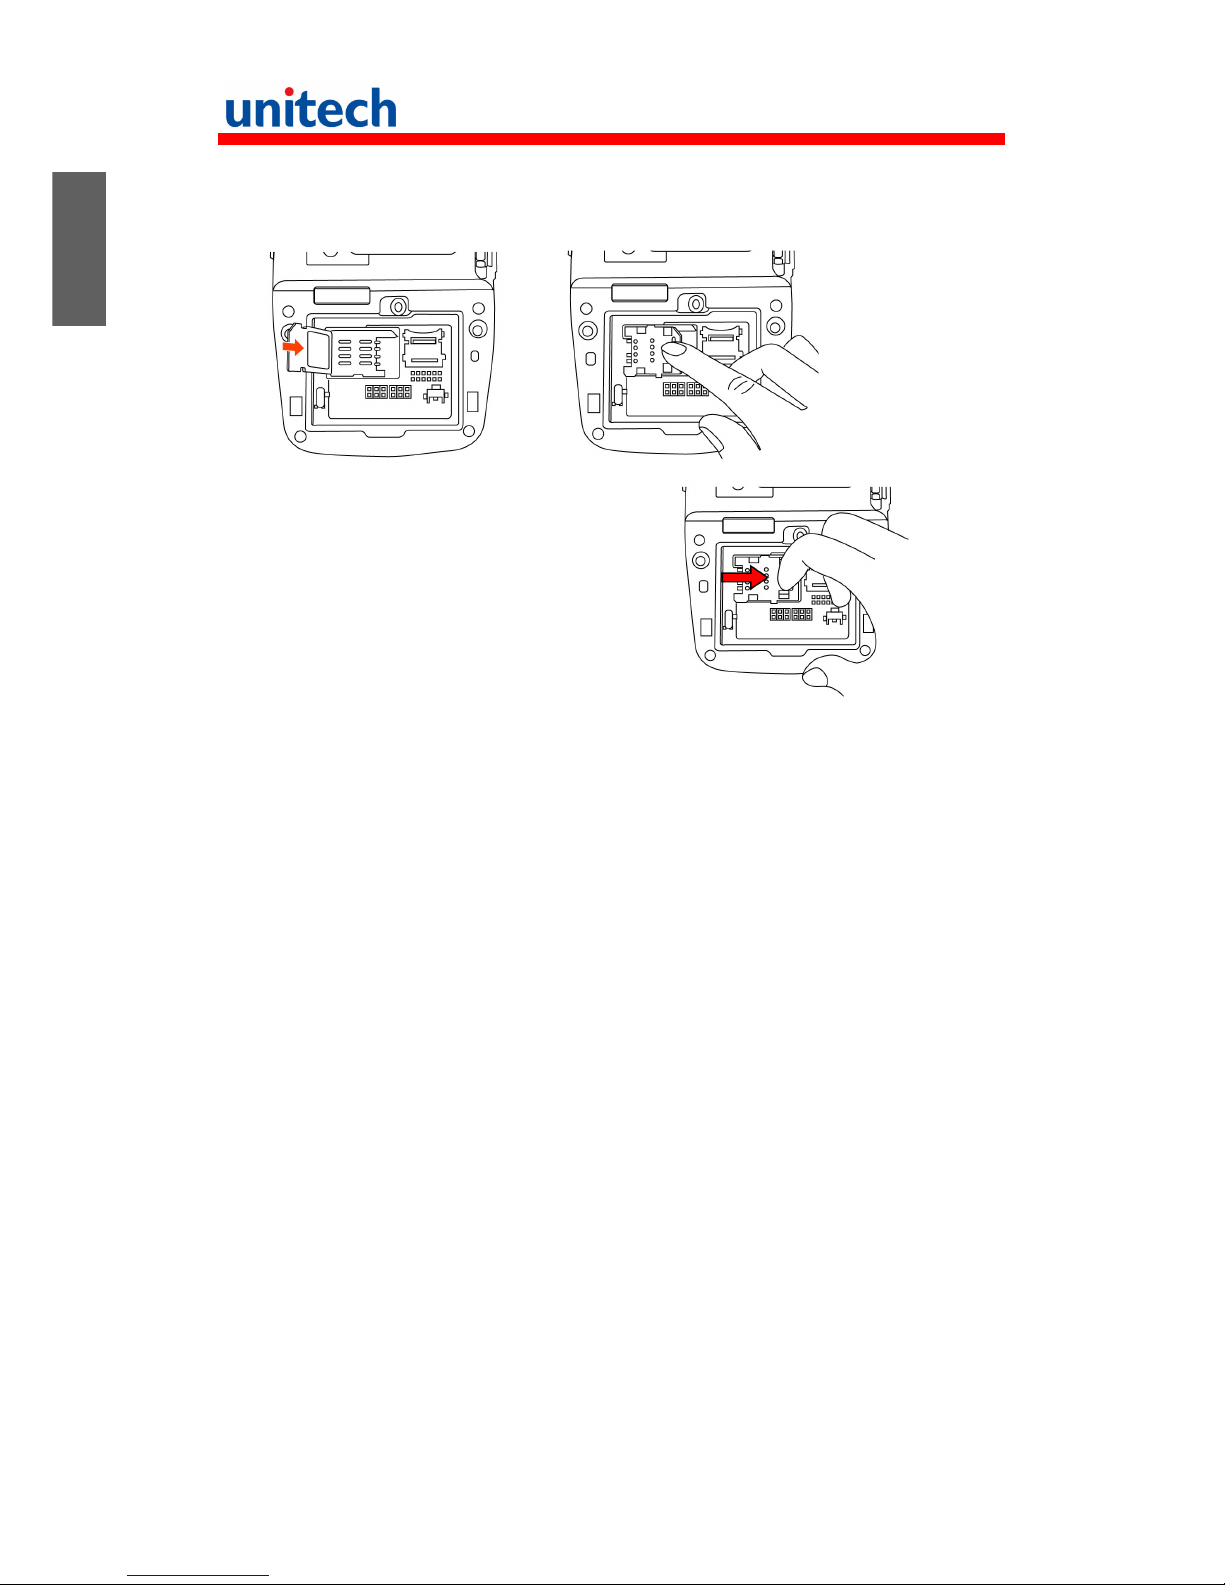
Using the SIM card
The PA550 has a slot for GPRS SIM card inside the battery compartment.
CAUTION! Before installing the SIM card, please back up your data to
prevent data loss because of a low backup battery.
1. Remove the battery compartment cover and the main battery.
2. Slide the cover of the SIM card
slot to the left to release the latch.
Page 10
Copyright 2010 Unitech Electronics Co., Ltd.
All rights reserved. Unitech is a registered trademark of Unitech Electronics Co., Ltd.
English Deutsch Español Français
中文(简体)
中文
(繁體)
日本語
영어
3. Lift the cover and insert the SIM card into the cover with notched corner
up, and the contact faces down as shown.
4. Push down the cover on the slot
and then slide the cover to the
right to lock the SIM card.
5. Put the battery back into the battery compartment and re-place the
battery compartment cover.
 Loading...