

Uniden TRU 448 Series, TRU 448-2 Series Owner's Manual


Contents
Editing or Erasing a Stored Name, Phone Number
Distinctive Ring, and Speed Dial 33
RocketDial (One Touch Dialing) 33
Chain Dialing 34
CALLER ID 35
Viewing the Caller ID List 36
Deleting Information from the Caller ID List 37
Using the Caller ID Message List 38
Call Waiting Deluxe Features 39
THE INTEGRATED ANSWERING DEVICE 40
Turning the Answering System On/Off 40
Setting up your Answering System 41
Using your Answering System 47
Remote Operation 50
EXPANDING YOUR PHONE 53
How to Distinguish the Original Handset
and the Second Handset 53
Registering the Second Handset 53
Call Transfer Feature 54
Second Handset Operation 55
ADDITIONAL INFORMATION 57
Changing the Digital Security Code 57
Installing the Beltclip 58
Headset Installation 58
Note on Power Sources 59
Maintenance 59
General Information 60
TROUBLESHOOTING 61
PRECAUTIONS & WARRANTY 63
I.C. NOTICE 65
INDEX 66
REMOTE OPERATION CARD 67

[ 3 ]INTRODUCTION/FEATURES
• Call Transfer
• 32 Digit Redial / 3 Last Number Redial Locations
• 10 Distinctive Ring Options
(6 ringers and 4 melodies)
• Flash and Pause
• Find Handset
• Hearing Aid Compatible
• Tone/Pulse Dialing
• Handset Earpiece and Ringer Volume Control
• Base Speaker Phone
• 3-way Conference Operation
• Handset Remote Operation

Q
UICK
R
EFERENCE
G
UIDE
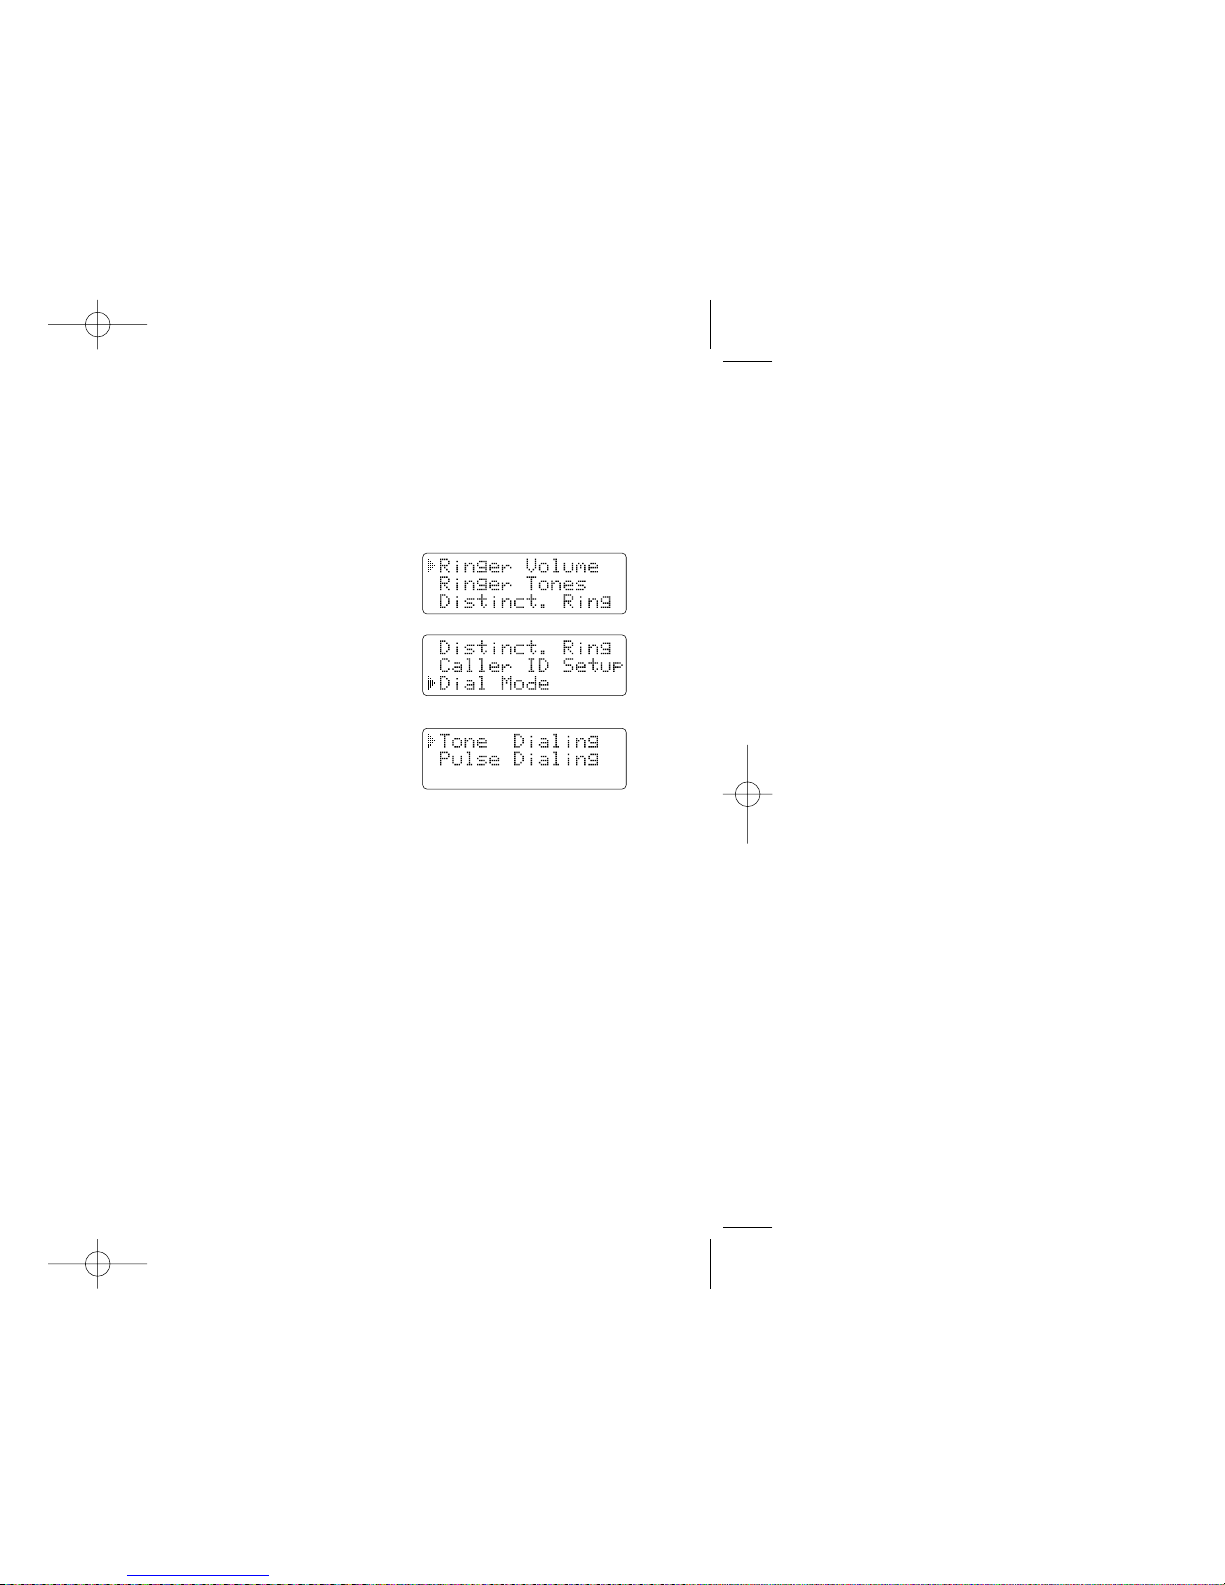
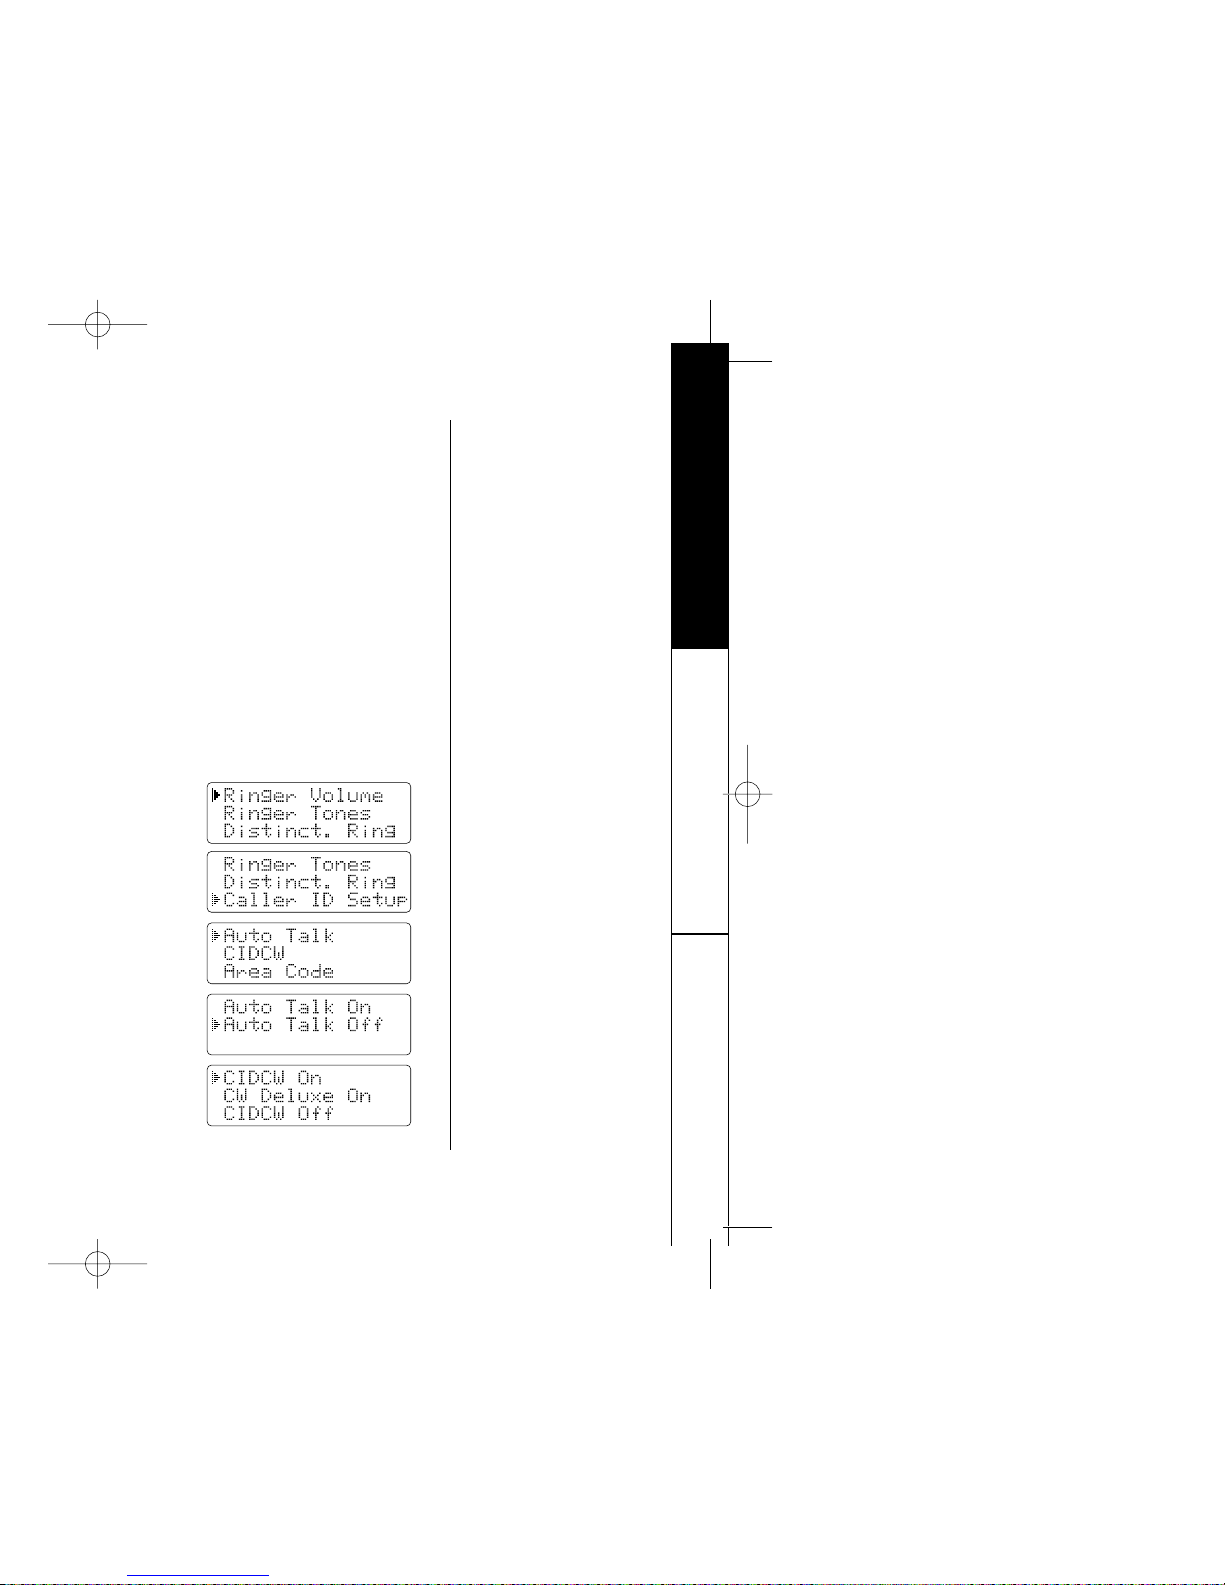
TO SELECT CALLER ID OPTIONS
Press
menu/mute
.
Press + or - to move the pointer to
“
Caller ID Setup”, then
press
select/ch.
Press
+
or -to move the pointer to an
option, then press
select/ch
.
Press
+
or -to change the
option setting.
Press select/ch and return the
handset to the base.
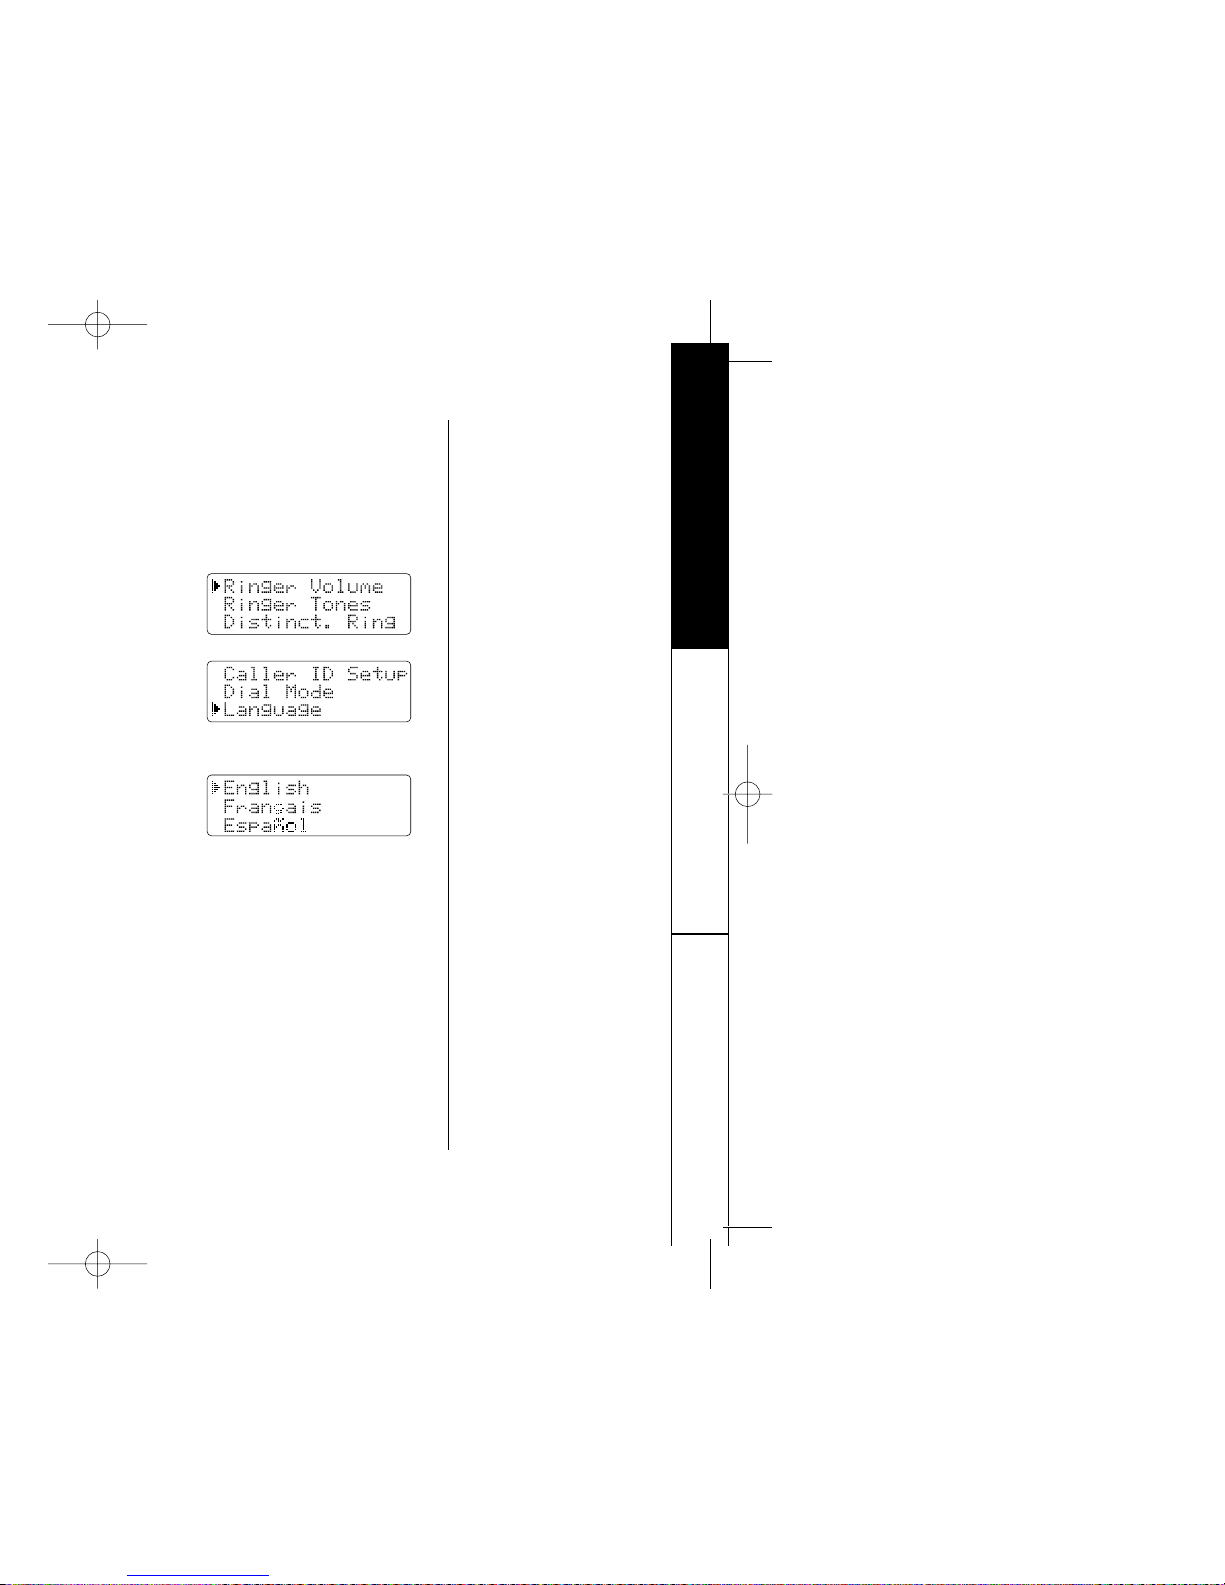
TO CHOOSE THE LANGUAGE
Press menu/mute.
Press
+ or - to move the pointer
to “
Language”, then
press
select/ch.
Press
+ or - to change the
option setting.
Press
select/ch and return the
handset to the base.
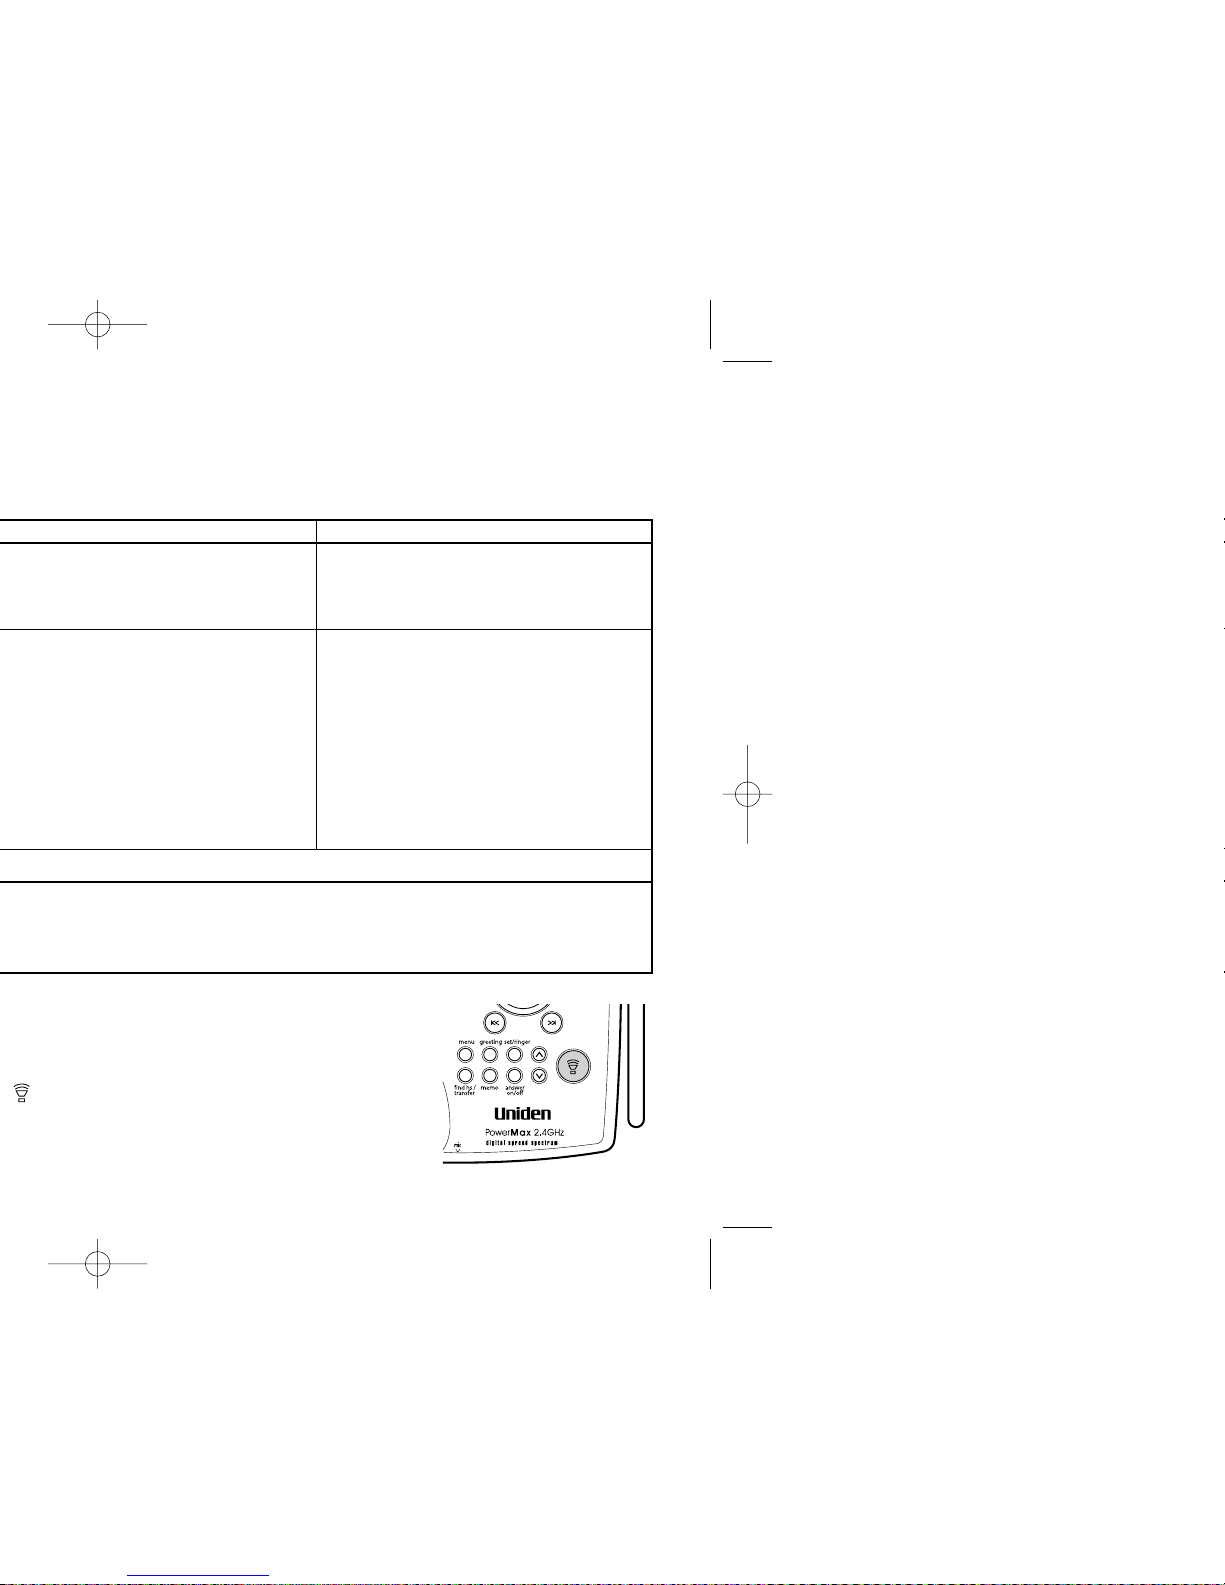
TO TURN THE ANSWERING
SYSTEM ON/OFF
Press answer on/off to turn On the system. To
turn Off the system, press
answer on/off again.
TO SET GREETING MESSAGE
Press and hold greeting.
Start recording your message. Position
yourself as near to the base as possible.
When finished, press
greeting
or .
Step 4 Setting Up
Answering System
QUICK REFERENCE GUIDE [ 5 ]

17
18
19
20
21
22
23
24
1. Handset Antenna
2. Headset Jack Cover
3. Beltclip Hole
4. Handset Battery Compartment
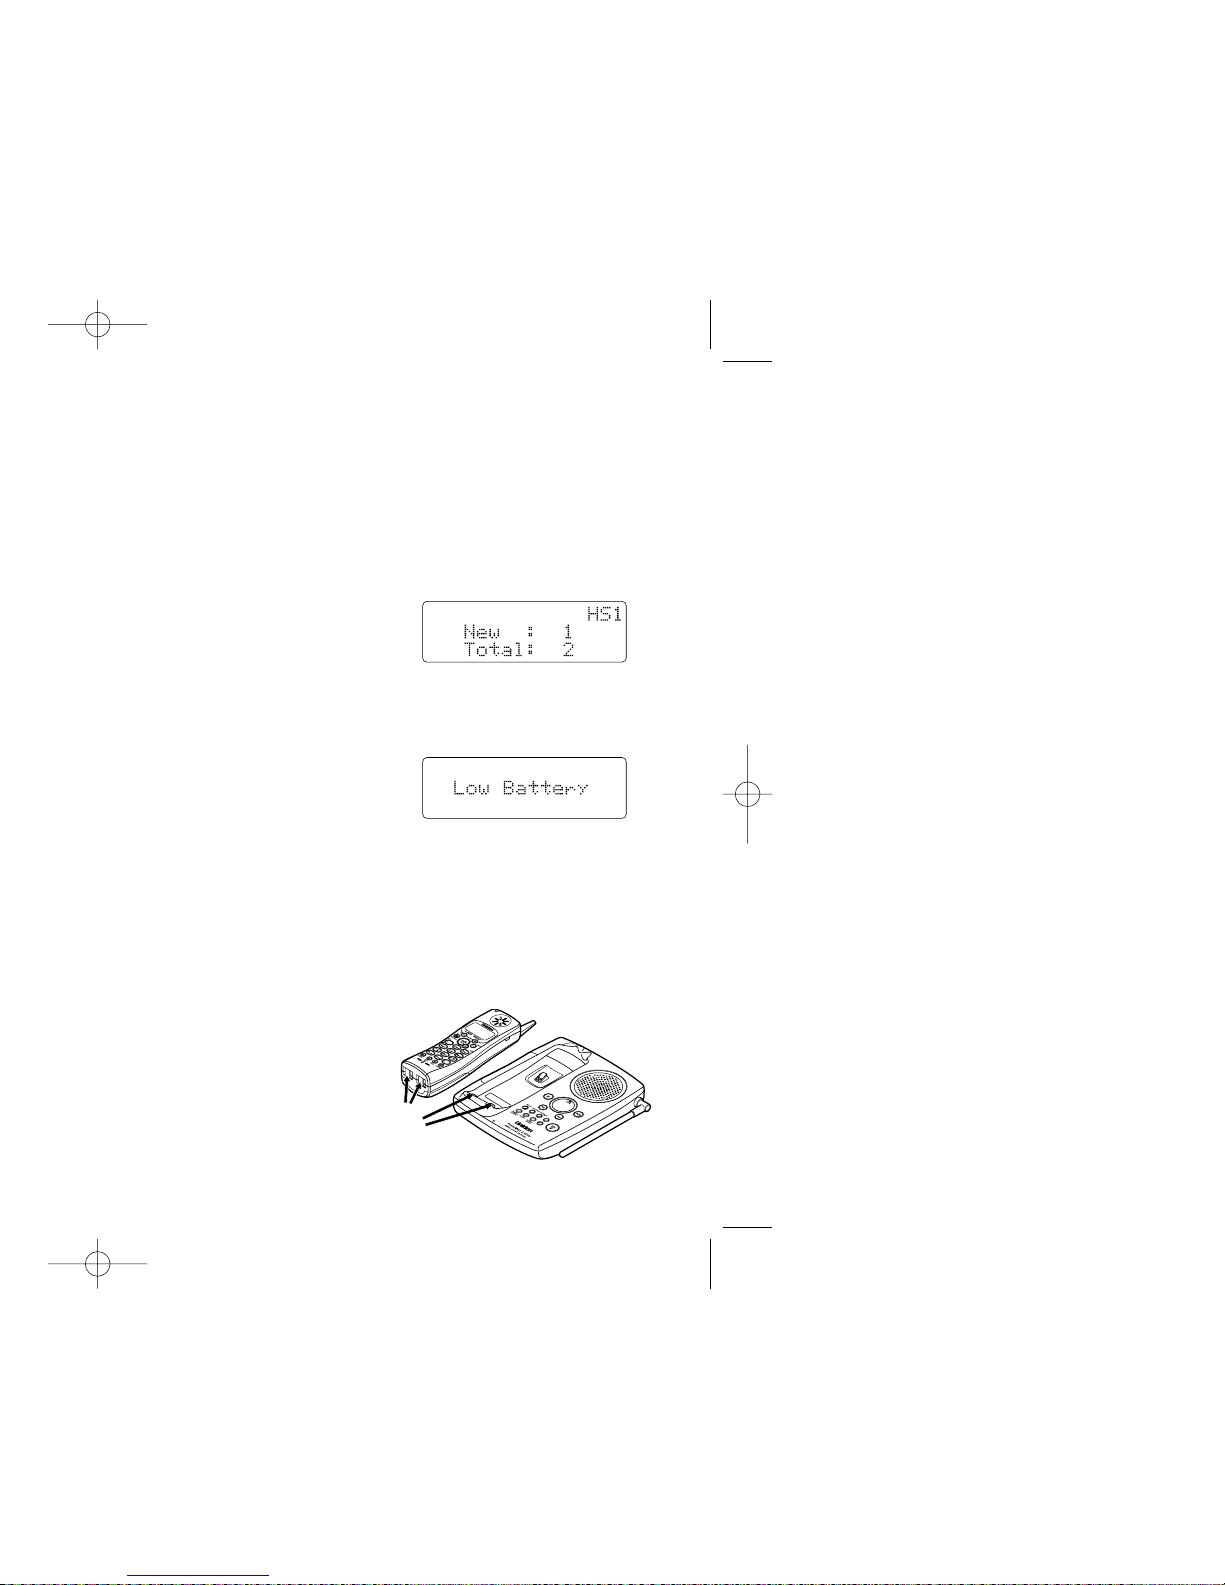
5. New Message LED
6. Handset Earpiece
7. LCD Display
8. CID (Caller ID)/> (right cursor) Key
9. (Phonebook)/RocketDial/< (left cursor) Key
10. Talk/flash Key
11. (repeat)/1 Key
12. (delete) (for remote operation)/4 Key
13.
*
/tone Key
14. (redial)/p (pause) Key
15. (mute)/menu Key
16. Handset Microphone
17.
+ (up) Key
18.
- (down)/remote Key
19. End Key
20. (skip)/3 Key
21.
# Key
22. Xfer (transfer)/ del (delete) Key
23. Ch (channel)/select Key
24. Handset Charging Contacts
44
CONTROLS AND FUNCTIONS [ 7]
48
47
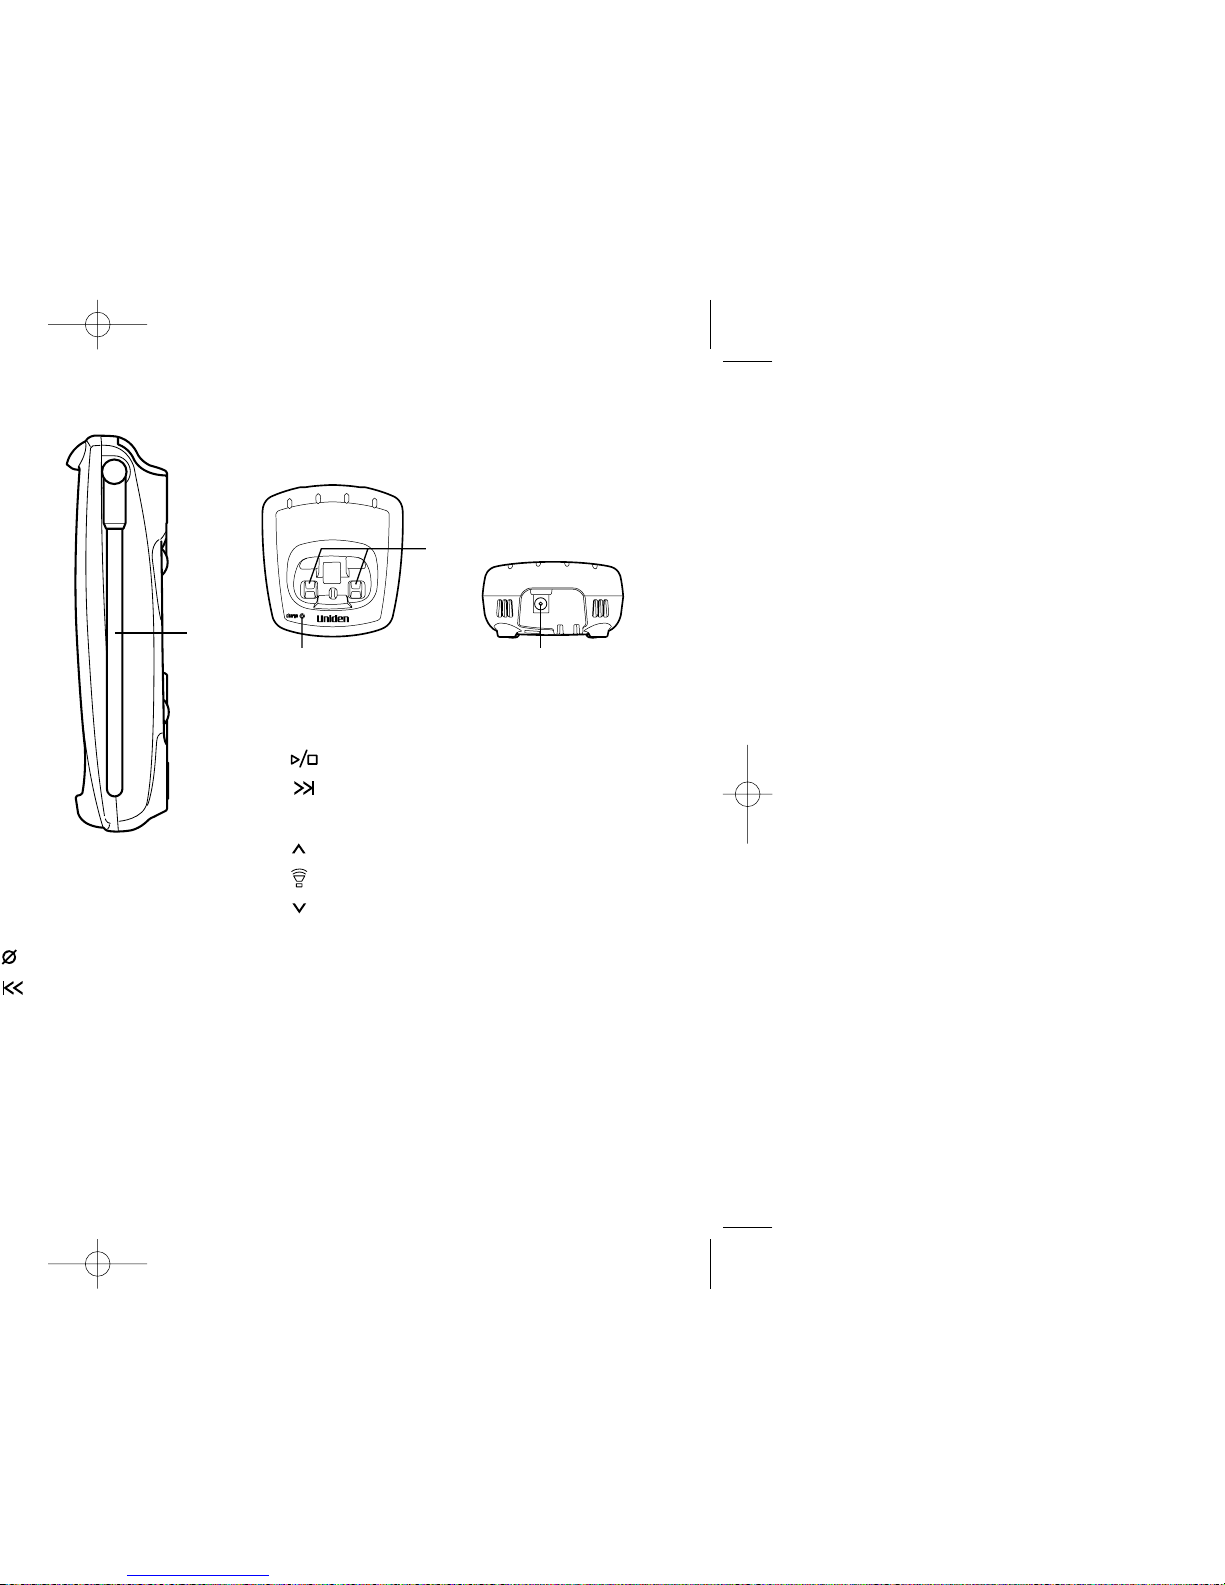
(TRU448-2 only)
49
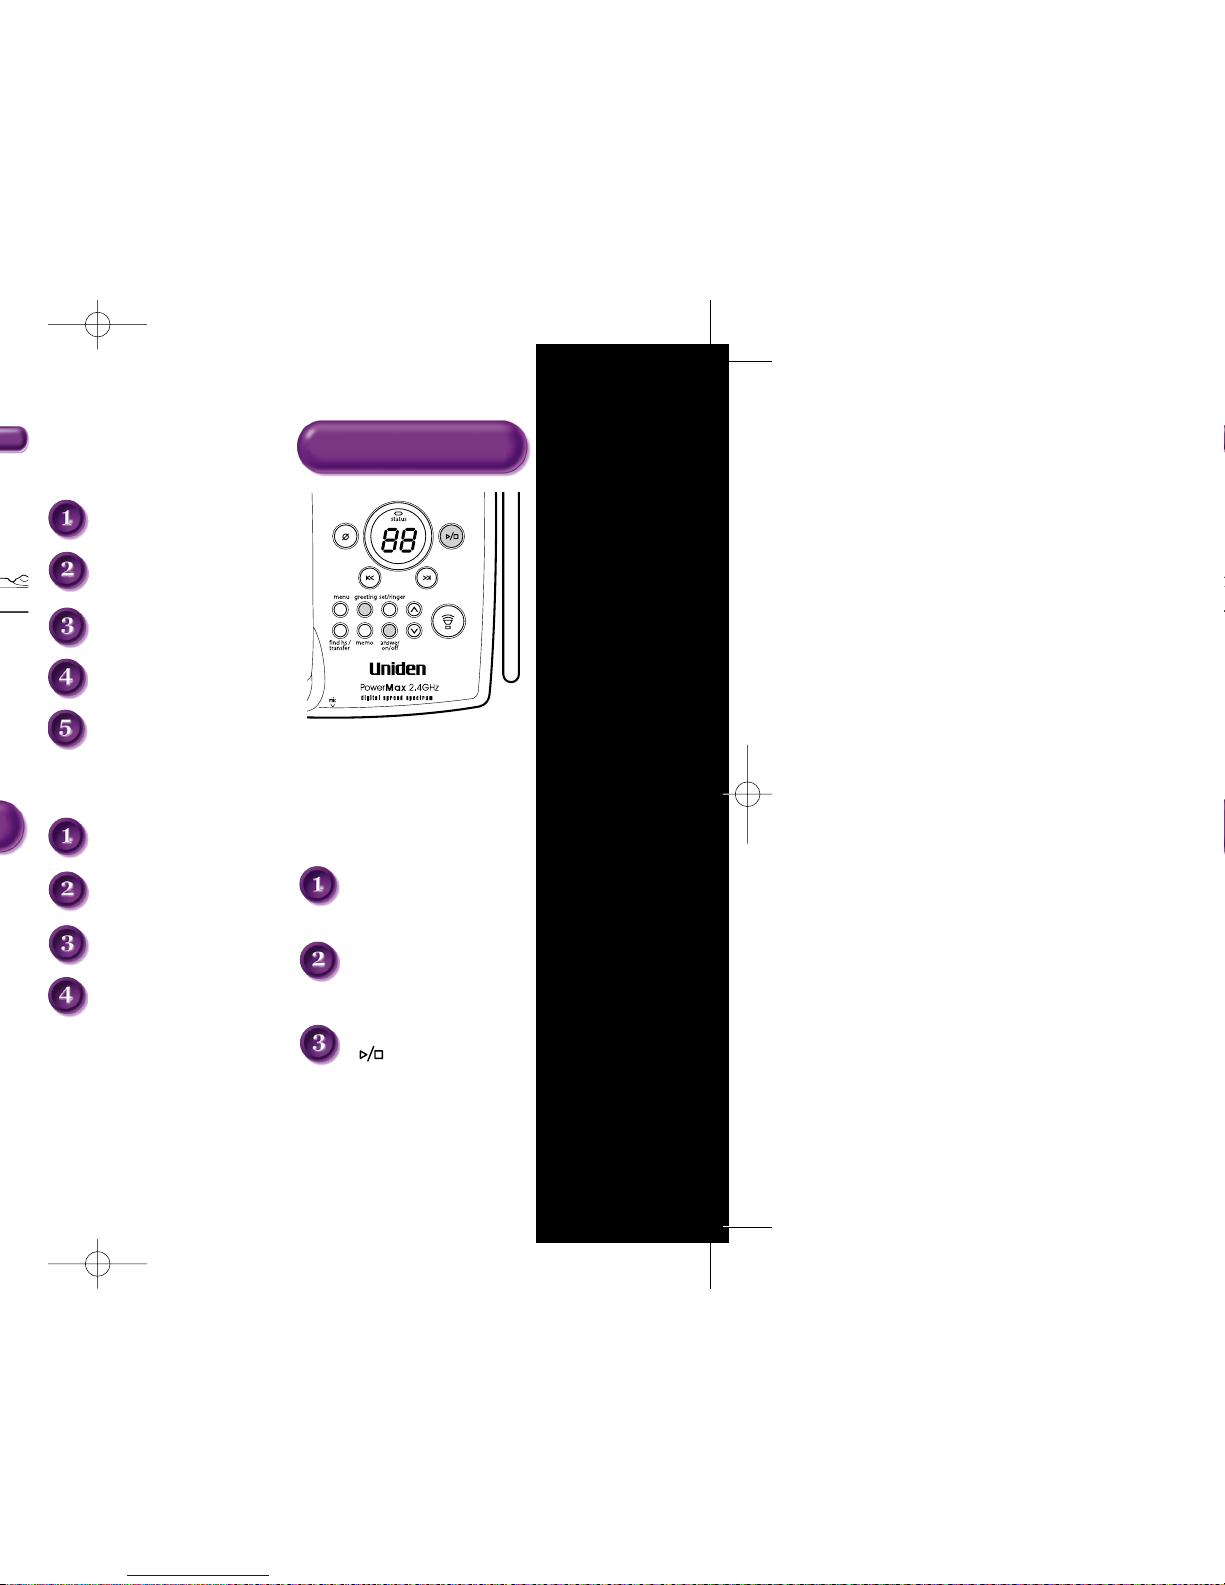
34. Base Speaker
35. Message Counter Display
36. (play/stop) Key
37. (skip) Key
38. Set/ringer Key
39. (up) Key
40. (talk) Key/speaker LED
41. (down) Key
42. Answer on/off Key
43. Microphone
44. Base Antenna
45. Telephone Line Jack
46. DC IN 9V Jack
47. Charging Contacts (TRU448-2 only)
48. Charge LED (TRU448-2 only)
49. DC Power Input (TRU448-2 only)

About the digital security code
This cordless telephone uses a digital
security code to prevent unauthorized
access to your base unit. This security
code prevents other cordless handsets
from making calls through your base
unit. If you want to reset the security
code, see page 57.

GETTING STARTED [ 9 ]
GETTING STARTED
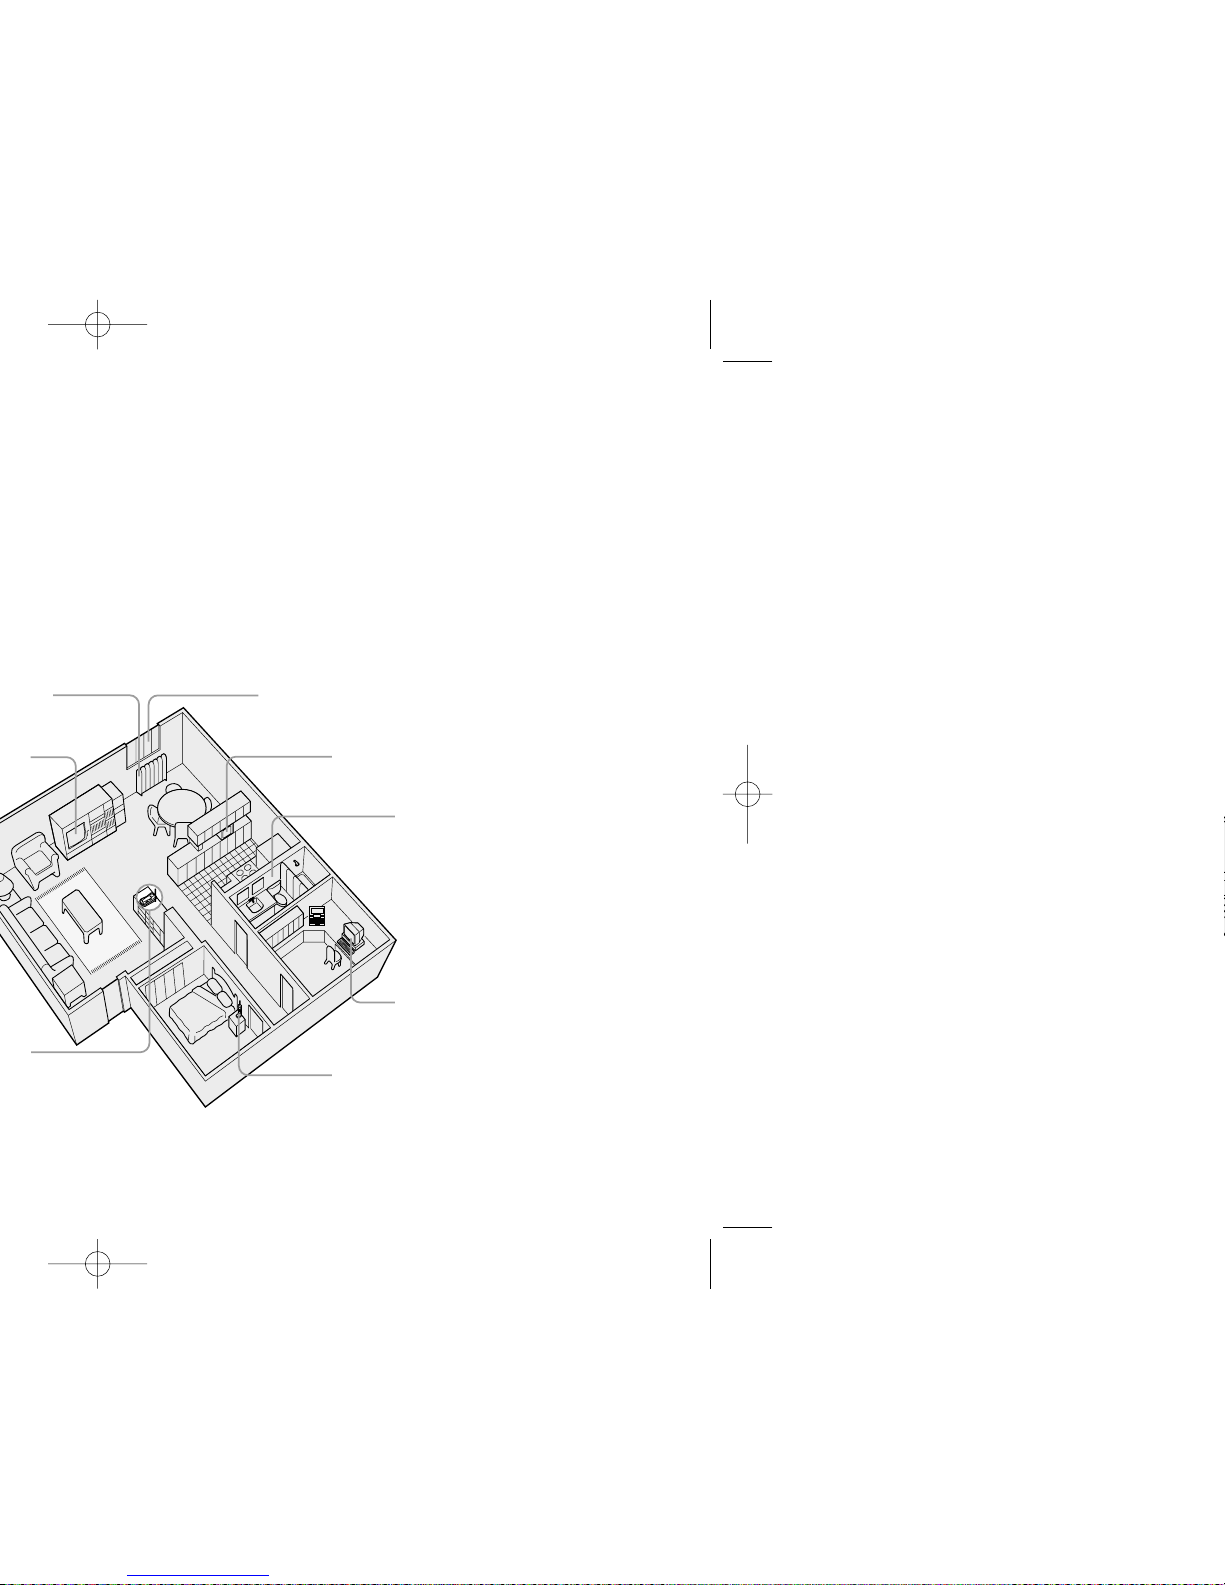
Avoid excessive moisture,
extremely low temperatures,
dust, mechanical vibration,
or shock
Avoid noise sources such as a window by a
street with heavy traffic
Avoid microwave ovens
Avoid personal computers
Avoid other cordless telephones
GETTING STARTED [ 11 ]
GETTING STARTED
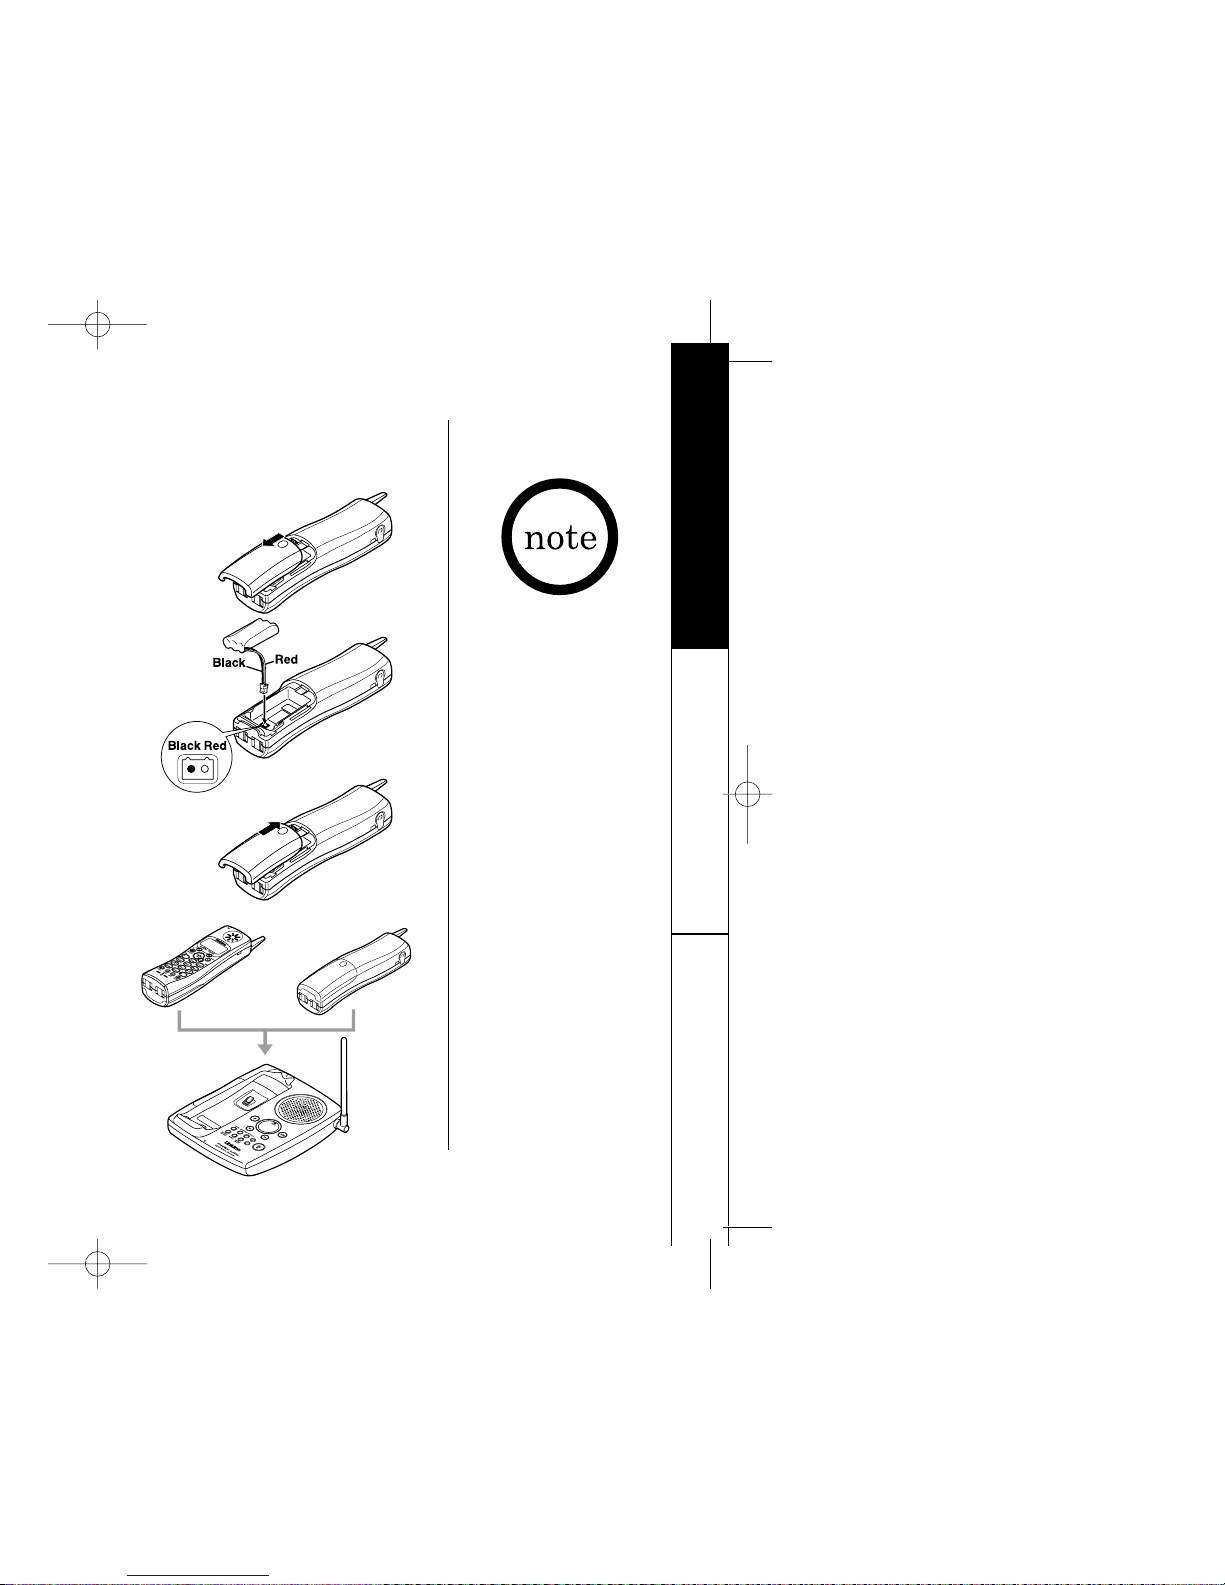
• Use only the Uniden
battery (BT-446)
supplied with your
phone.
Replacement
batteries are also
available through the
Uniden Parts
Department.
(See page 9.)
• Recharge your phone
on a regular basis by
returning the handset
to the base after each
phone call.
contacts
Low Battery” appears on

GETTING STARTED [ 13 ]
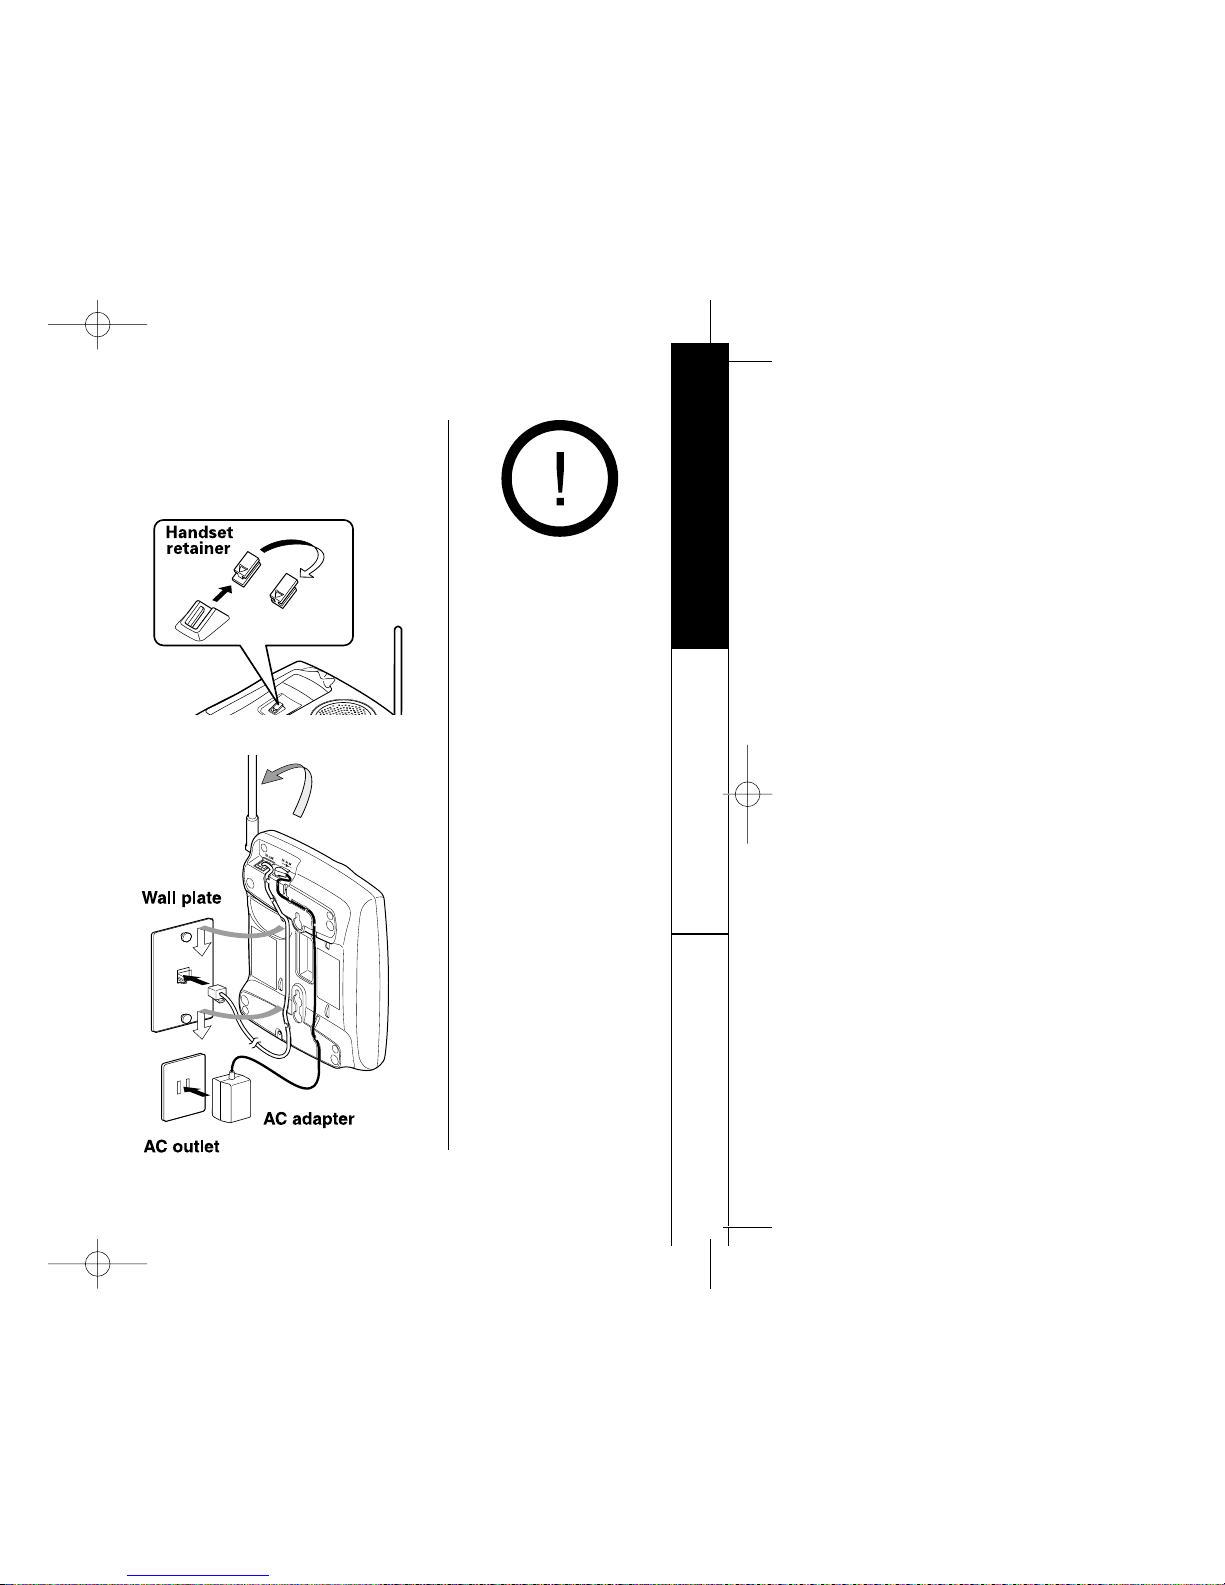
Place the power cord so
that it does not create
a trip hazard or where
it could become chafed
and create a fire or
electrical hazard.
GETTING STARTED
menu/mute.
GETTING STARTED [ 15 ]
GETTING STARTED
TEL LINE
Do not use an
outlet controlled
by a wall switch.
[ 17 ]GETTING STARTED
GETTING STARTED
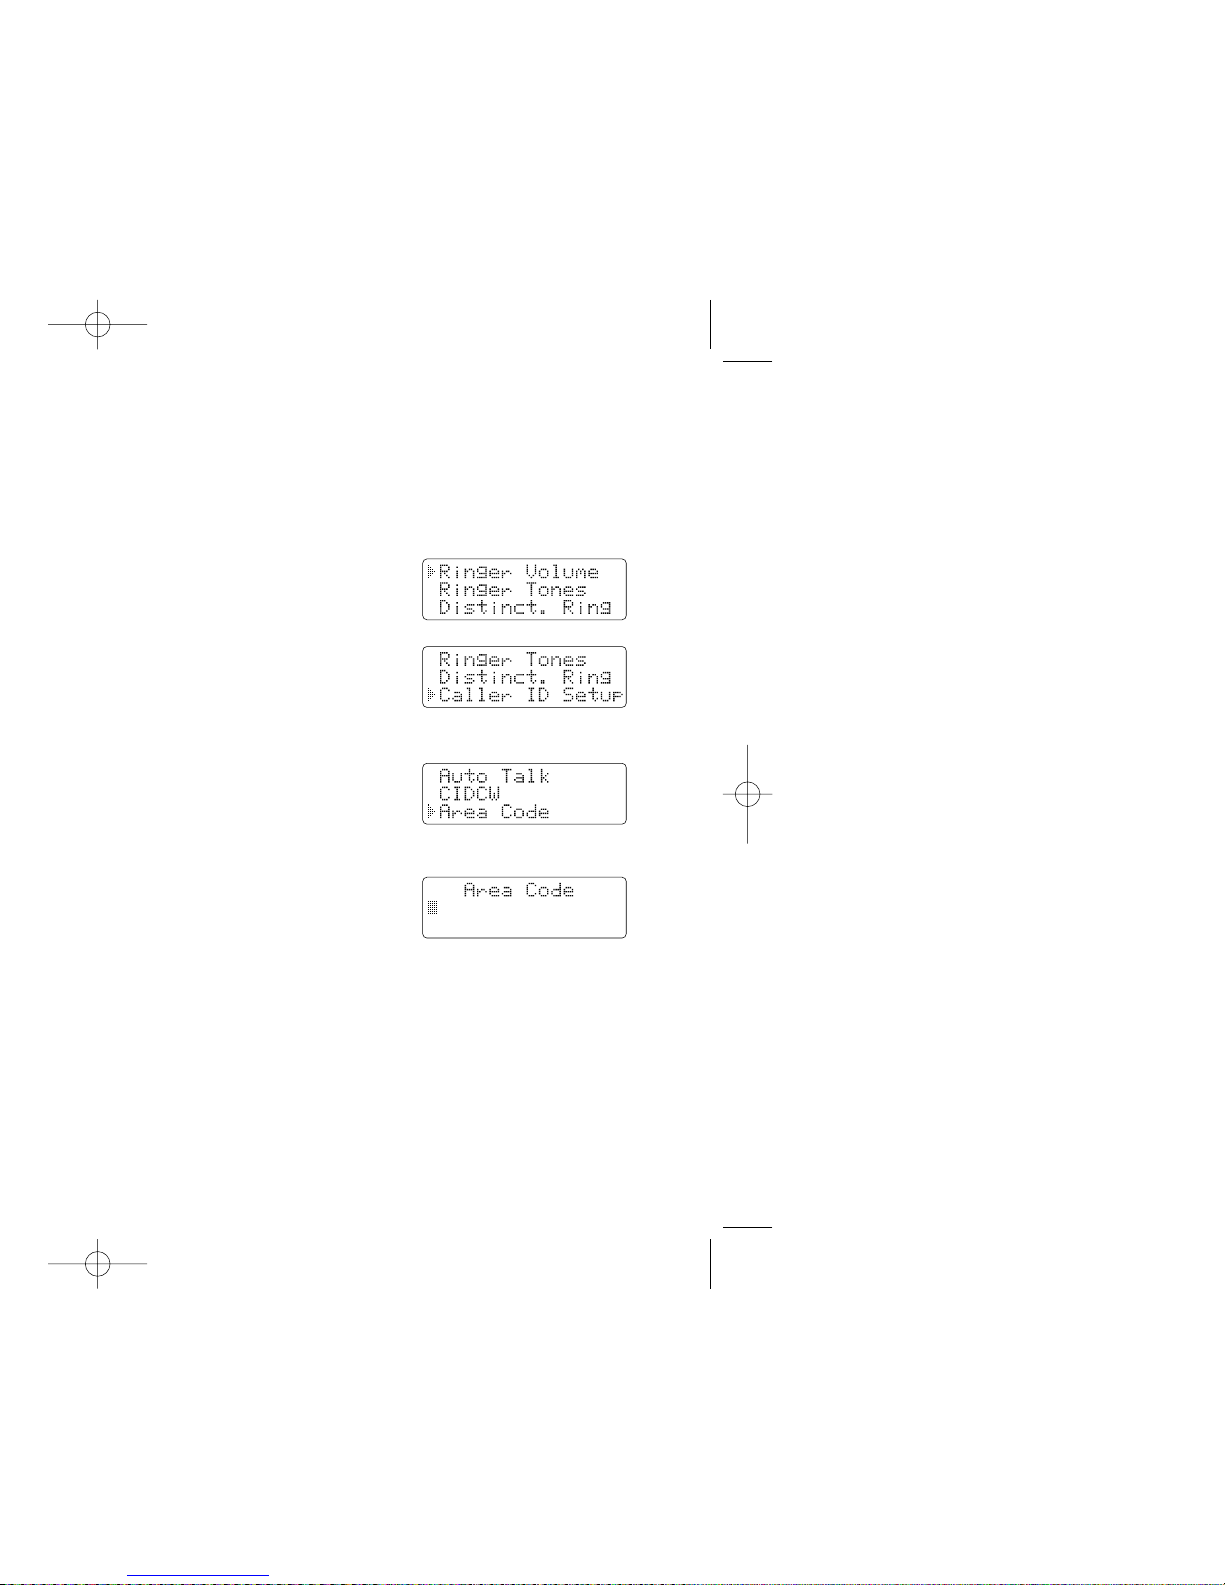
menu/mute.
0 to 9 ) to enter a 3-digit area code.
[ 19 ]
GETTING STARTED
GETTING STARTED
Handset On Base Handset Off Base
*
tone,
talk/flash.
OR OR
talk/flash.
redial/p before pressing
 Loading...