


EXP 4240/4241
Series
OWNER'S
MANUAL

Introduction
Uniden 2.4GHz cordless phones are designed and engineered to exacting standards for
reliability, long life, and outstanding performance.
Illustrations in this manual are used for explanation purposes. Some illustrations in this
NOTE:
manual may differ from the actual unit. The color of your cordless phone may vary.
▼ Features
• 2.4 GHz Extended
Range Technology
• AutoTalk
• Pulse/Tone Dialing
• 20 Channel Autoscan
The cordless phone features AutoTalk
answer a call by just removing the handset from the base so you don't have to waste time
pushing buttons. AutoStandby
base.
The UltraClear Plus
This innovative technology, together with 20 different channels, provides you with the best
possible reception during all your conversations.
To protect you against misbilled calls which might result from your phone being activated by
other equipment, the cordless phone has Random Code
selects one of approx. 262,000 digital security codes for the handset and base. Also, the
AutoSecure
If you have any trouble with your phone, call our Customer Hotline at 1- 800-297-1023, MonFri 7 am to 7 pm, Sat/Sun 9 am to 5 pm, CST. (Phone support is closed on holidays.)
For more information on Uniden products and accessories, be sure to visit our web site:
www.uniden.com
Uniden
AutoTalk, AutoStandby, UltraClear Plus, Random Code and AutoSecure are trademarks of
Uniden America Corporation.
TM
TM
true compander circuitry virtually eliminates background noise.
TM
feature electronically locks your phone when the handset is in the base.
®
is a registered trademark of Uniden America Corporation.
• Last Number Redial
• 10-Number Memory
Dialing
• AutoStandby
• Earpiece Volume Control
TM
allows you to hang up by simply returning the handset to the
TM
TM
and AutoStandbyTM. AutoTalkTM allows you to
• Hearing Aid Compatible
• Find Handset Locator
TM
digital security which automatically
Controls and Functions
1
2
3
9
13
1. Handset antenna
2. Handset earpiece
3. Talk/batt l ow LED - indicates when phone
4. Vol / - sets the ringer tone and
4
5
6
7
8
is in use or the battery is low
earpiece volume (p. 5)
10
11
12
15
14
16
5. Flash - accesses call waiting (if available)
(p. 5)
/tone - switches to tone dialing in pulse
6.
*
dial mode (p. 6)
7. Redial/p - redials the last number /
adds a timed pause in a memory
dialing sequence. (p. 5, 6)
8. Memory - enters or recalls numbers in
memory (p. 6, 7)
9. Handset Microphone
10. Talk - answers or places calls (p. 5)
11. End - hangs up a phone call / mutes
the ringing tone temporarily (p. 5)
12. Channel - selects another channel for
clearer reception (p. 5)
13. Handset charging contacts
14. Base charging contacts
15. Find hs - locates the handset (p. 6, 7)
16. Charge / in use LED
1
Included with Your Phone
• Base Unit • Handset • AC Adapter • Rechargeable Battery •Telephone Cord
• This owner’s manual
Replacement adapters, batteries and other parts may be purchased by calling the Customer
Hotline at 1-800-297-1023, Mon-Fri 7 am to 7 pm, Sat/Sun 9 am to 5 pm, CST. (Phone support
is closed on holidays.)
Terminology
Throughout this manual, terms such as Standby and Talk Mode are used. Below is the
terminology explanation.
• Talk Mode - The handset is off the base and the talk key has been pressed, enabling a dial
tone.
• Standby Mode - The handset may be sitting in or off the base, but is NOT in use. The talk
key has not been pressed and there is no dial tone.
Accessibility
Uniden provides a customer service hotline for accessibility questions. If you have a disability
and need customer service assistance or if you have any questions about how Uniden's
products accommodate persons with disabilities, please call the accessibility voice/TTY line:
1-800-874-9314
A representative is available to talk to you M-F, 8:00 am to 5:00 pm, CST. After hours, you can
leave a message, and we will call you back. Information is also available on our web site,
www.uniden.com, under the "Accessibility" link.
Installing the Phone
Do the following steps:
A. Choose the best location
B. Install the rechargeable battery pack into the handset
C. Connect the base unit and charge the handset
D. Mount the base unit on a wall
E. Choose the dialing mode
A. Choose the best location
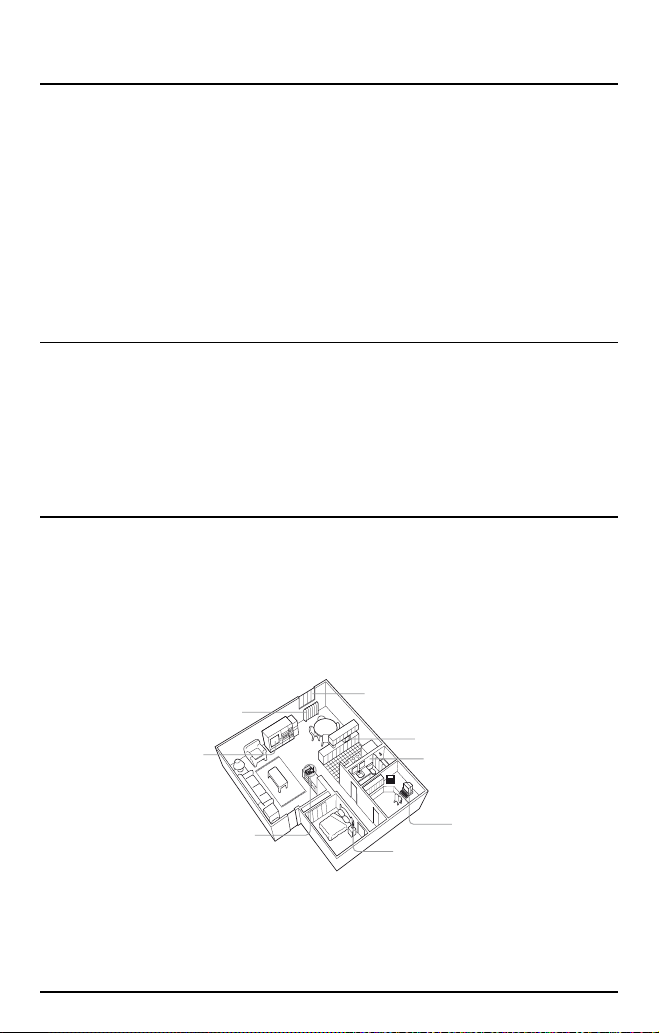
When choosing a location for your new phone, here are some important guidelines you should consider:
Avoid heat sources, such as
radiators, air ducts, and sunlight
Avoid television sets and
other electronic equipment
Choose a central location
• The location should be close to both a phone jack and a continuous power outlet (one
which is not connected to a switch).
• The base and handset should be kept away from sources of electrical noise such as
motors and fluorescent lighting.
• The base can be placed on a desk, tabletop, or mounted on a standard wall plate. For bet-
ter reception, place the base as high as possible.
• The base should be placed in an open area for optimum range and reception.
Avoid noise sources such as a window
by a street with heavy traffic
Avoid microwave ovens
Avoid excessive moisture,
extremely low temperatures,
dust, mechanical vibration,
or shock
Avoid personal computers
Avoid other cordless telephones
2

B. Install the rechargeable battery pack into the handset
Route the cord.
The handset is powered by a rechargeable battery pack. The battery recharges
automatically when the handset is placed in the base unit.
NOTE: If your home has specially wired alarm equipment
connected to the telephone line, be sure that
installing the system does not disable your alarm
equipment. If you have questions about what will
disable your alarm equipment, contact your
telephone company or a qualified installer.
1) Press down on the handset battery case cover (use the
finger indention for a better grip) and slide the cover
downward to remove.
2) Plug the battery pack connector (red & black wires) into
the jack inside the battery compartment (the connector
notches fit into the grooves of the jack only one way).
Match the wire colors to the polarity label in the battery
compartment, connect the battery and listen for a click to
insure connection.
3) Before replacing the battery cover, pull on the battery
wires slightly. If the connection is secure, the jack will
stay in place. Then place the battery case cover back on
the handset by sliding it upwards until it clicks into place.
NOTE: For optimum performance, use only the Uniden
Battery (BT-905 or BT-1006) supplied with your
phone.
Talk and Standby Times
With average use, your handset battery provides
approximately 6 hours of talk time and approximately 7 days
of standby time. When your handset is not being used and is
left off of the charging cradle, the battery will gradually
discharge. You can achieve optimum battery life and
performance by returning the handset to the charging cradle
after each use. If the handset is left off of the charging cradle, the actual talk time duration will
be reduced respective to the amount of time the handset is off of the charging cradle.
C. Connect the base unit and charge the handset
1) Connect the AC adapter to the DC IN 9V jack and a
standard 120V AC wall outlet.
2) Set the base unit on a desk or tabletop, and place
the handset in the base unit with the keypad facing
forward.
3) Make sure the charge/in use LED illuminates.
If the LED does not illuminate, check to see that the
AC adapter is plugged in and the handset makes
good contact with the base charging contacts.
NOTICE: Do not place the power cord where it creates
NOTE: • Use only the supplied AD-0001 AC
a trip hazard or where it could become
chafed and create a fire or electrical hazard.
adapter. Do not use any other AC adapter.
• Connect the AC adapter to a continuous
power supply.
• Place the base unit close to the AC outlet to
avoid long extension cords.
3
Route the cord.
Route the cord.
 Loading...