

Uniden DECT 1802, Dect 1806, Dect 1807 Quick Start Manual
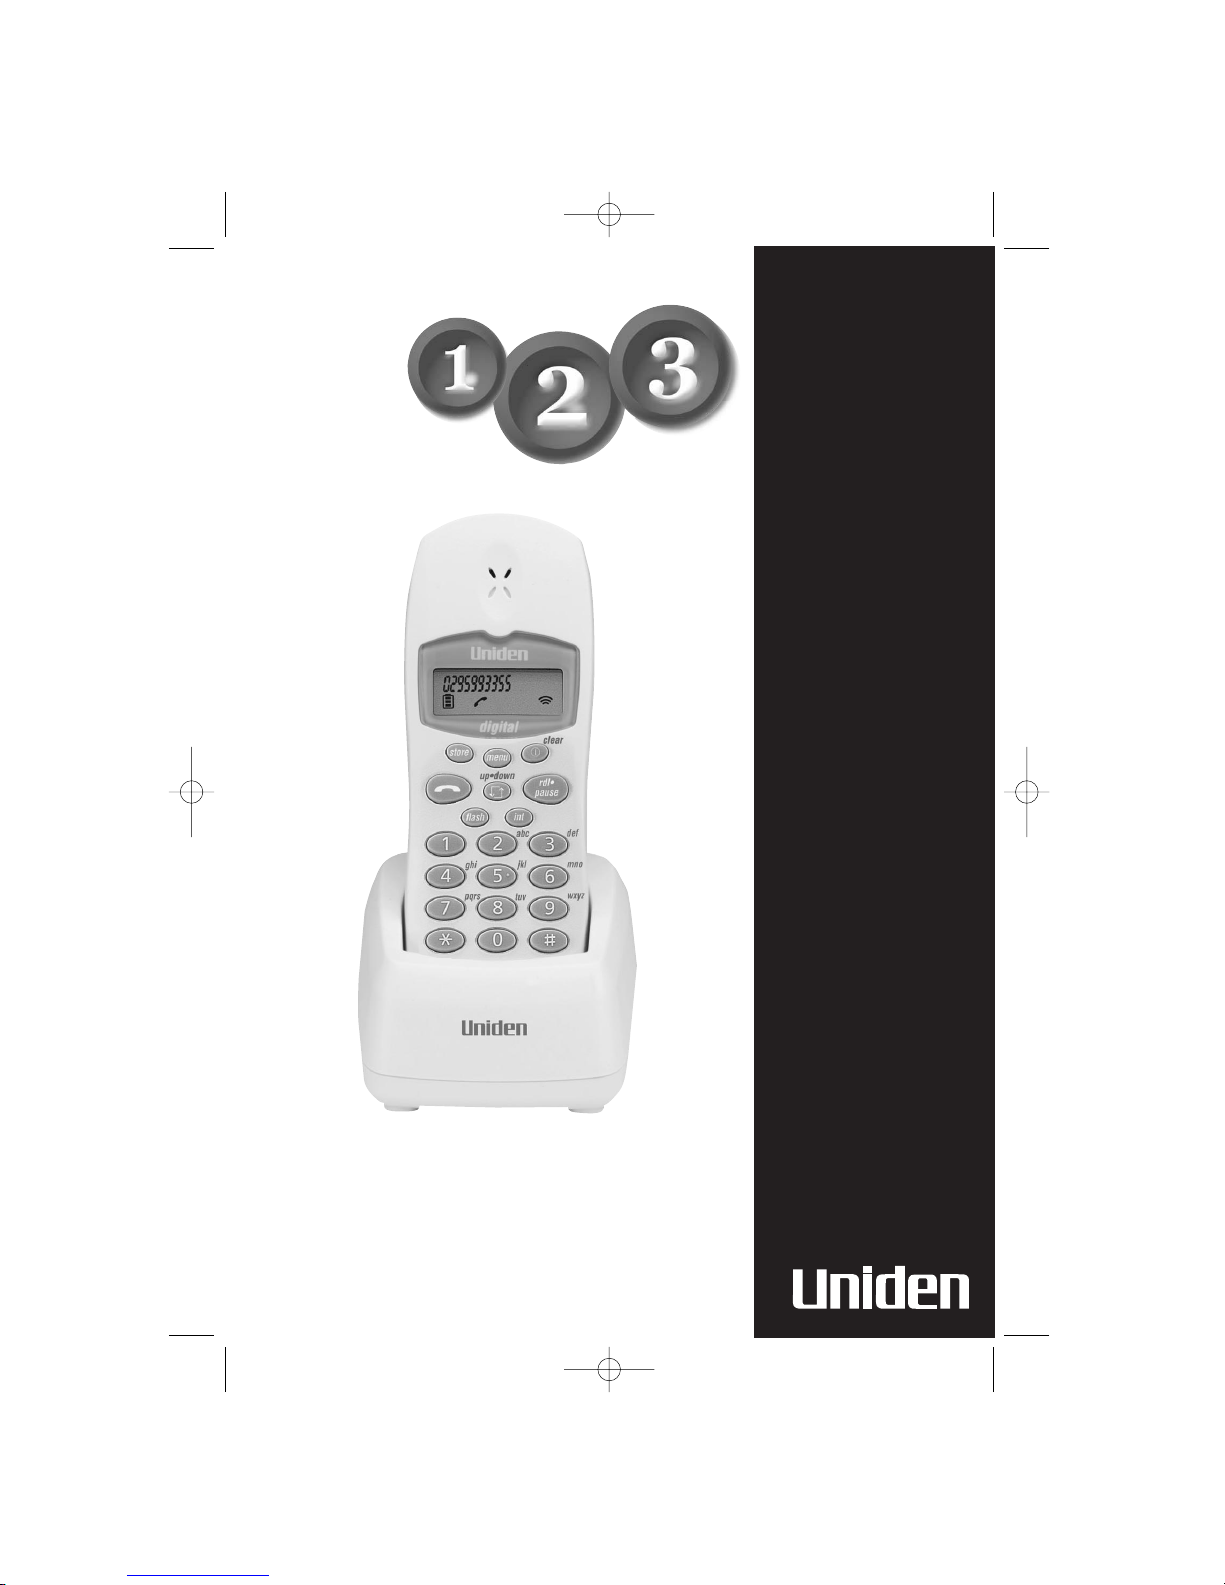
Quick Start Guide
DECT
1802
Quick Start Guide
Here!
Quick Reference Guide
Start
Start
Here!
Quick Start Guide - next page...
Optional
Handset and
Charge Base
Suits
ModelsDect 1805
Dect 1806
Dect 1807
Dect 1802 Qk 7/19/02 3:44 PM Page 1
i
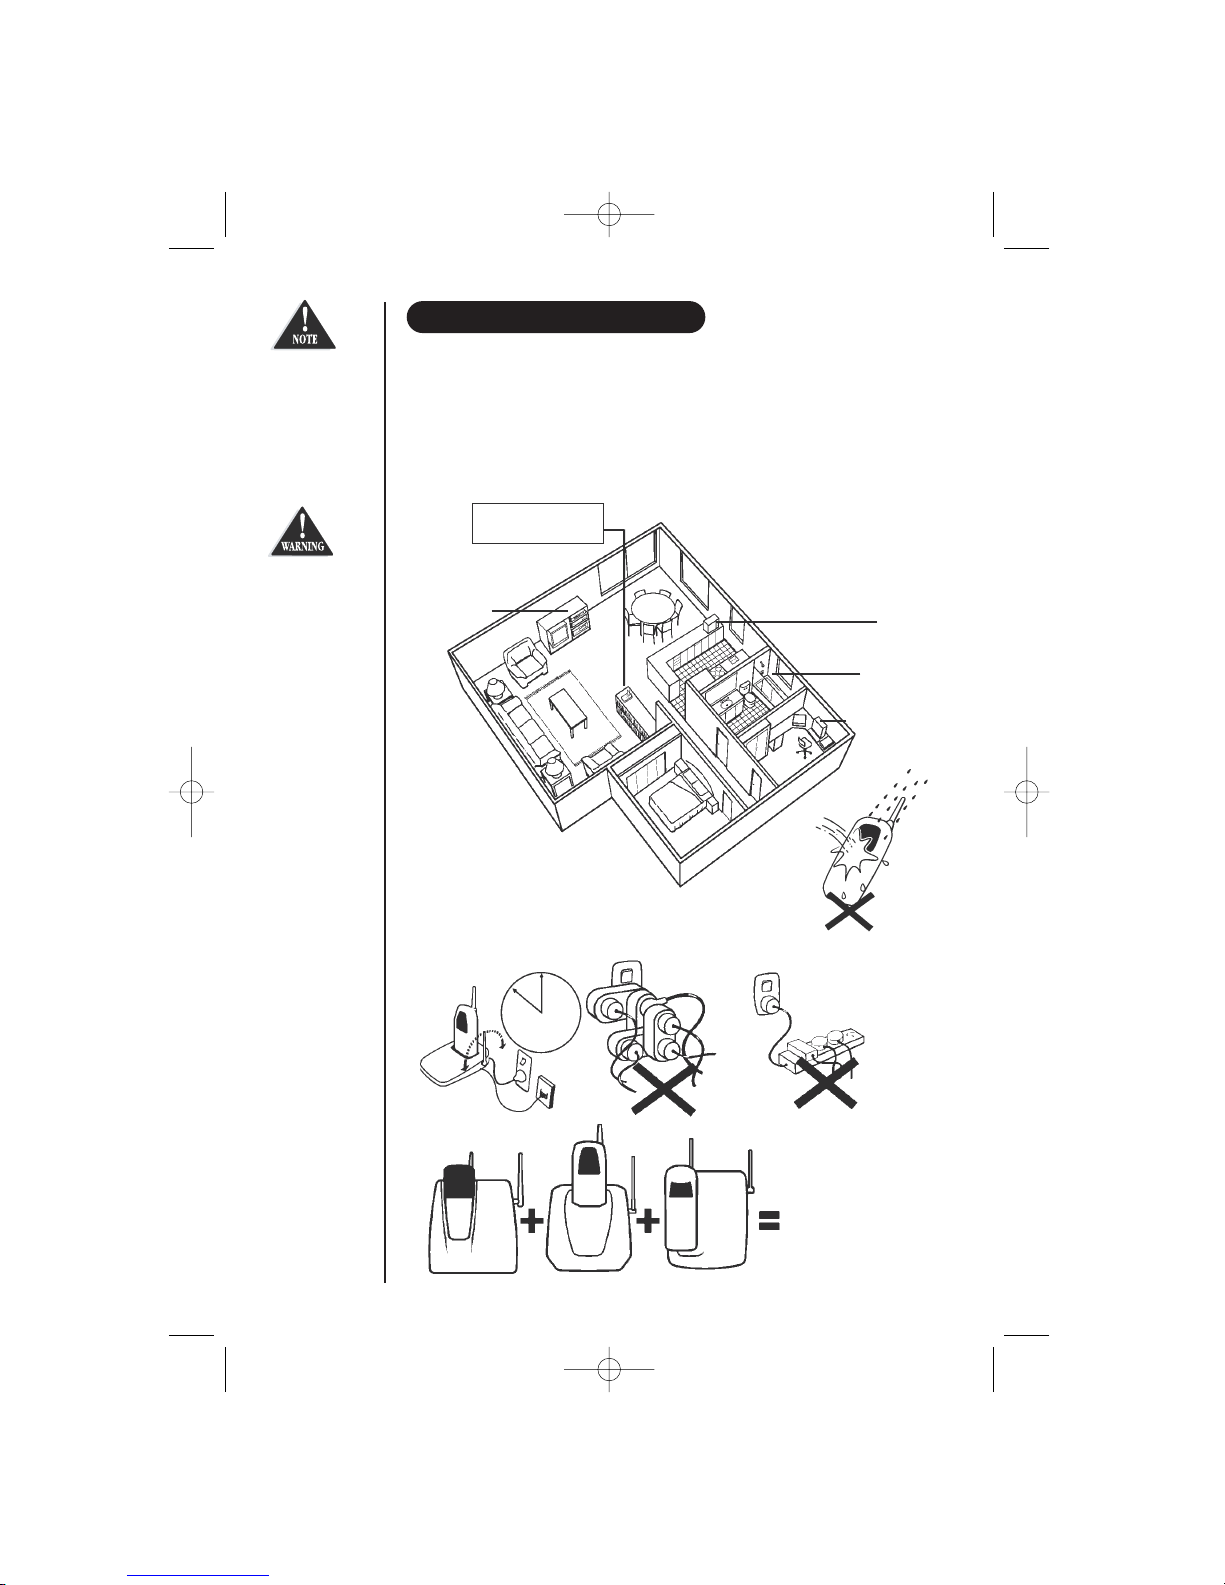
PRECAUTIONS
AVOID Television sets and
other electronic
appliances
CHARGE the new phone
for 15 - 20 hrs.
DON’T overload the
power outlet.
AVOID multi power
boards
AVOID -
connecting
more than
3
phones as ringing
may be impaired
AVOID -
Microwave
ovens
AVOID -
Moisture
AVOID -
Computers
CHOOSE a central location
AVOID Moisture
INSTALLATION & SAFETY
Choosing the best location for your phone
When choosing a location for your phone there are a number of appliances the phone
should not be near, and areas you should avoid.
This symbol
indicates
important
operating
and servicing
instructions.
NOTE: ringing will not be impaired by extra cordless handsets
The earcap of this
telephone may
attract and retain
small metallic
objects
Dect 1802 Qk 7/19/02 3:44 PM Page 2
ii
This page is a very condensed version of your owners manual. It is designed to allow you to get your
phone installed and operating as quickly as possible - however it does not attempt to explain any of the
advanced features of your phone.
Here!
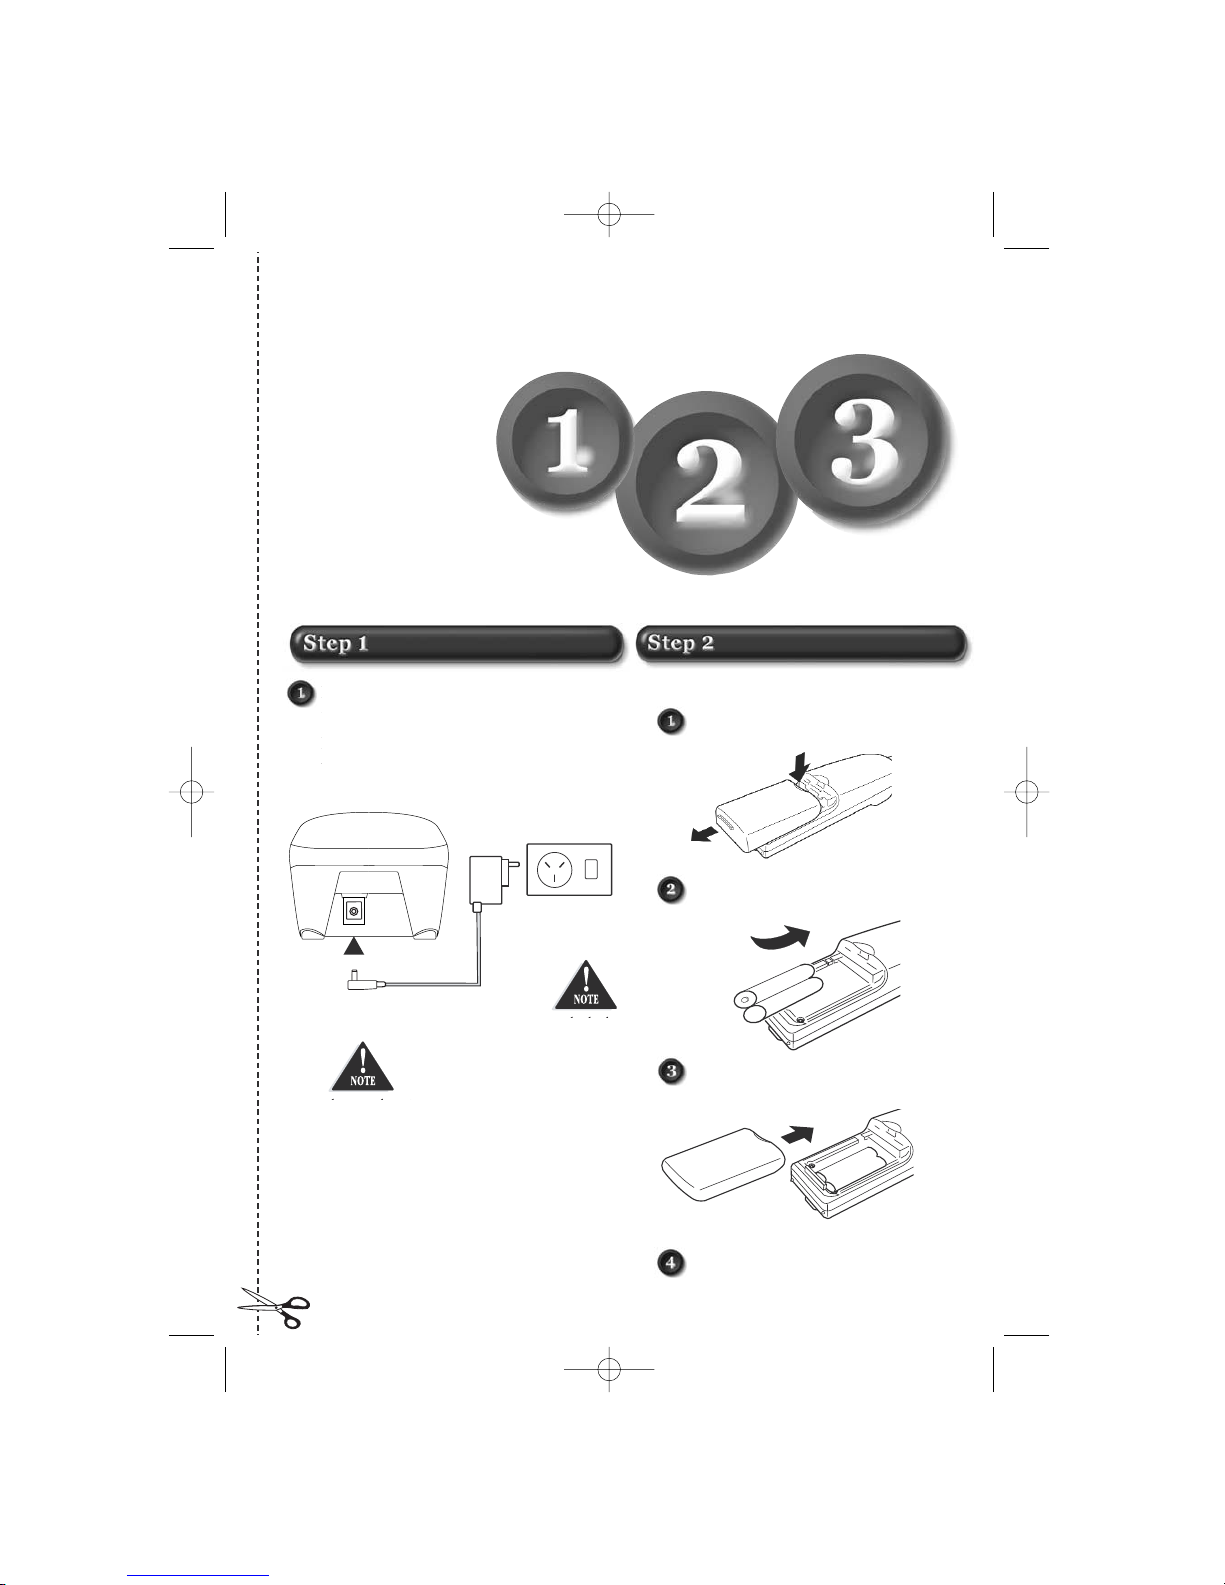
Installation
TEL PWR
Charge Base
AC Adaptor
Power point
Quick Reference Guide
Start
Start
Here!
Installing the Handset Batteries
Press battery cover to release.
Slide cover off.
Install the 2 rechargeable
batteries in each handset.
Slide the battery covers back
until they snap into place.
Place the handset on the charge base
and charge uninterrupted for 15 hours.
++
--
+
-
Plug the telephone cord into the main base unit,
then into the telephone socket on the wall.
Plug the AC Adaptor cord into the charge base unit,
then into the power point.
Make sure the AC
Adaptor remains
plugged in and
switched on at all
times. Use only
the Uniden AC
Adaptor supplied
with this unit.
Use only the battery
pack supplied or
rechargable AA
Ni-Cad Batterys.
DO NOT USE
STANDARD
BATTERYS
AC Adaptor
Additional Charger
PWR
Plug the AC Adaptor cord into the charge base unit,
then into the power point.
Use only the
Uniden AC
adaptors supplied
with this unit
Use only the battery
pack suppllied or
rechargable AA NiCad
Batteries.
DO NOT USE
STANDARD
BATTERIES
Dect 1802 Qk 7/19/02 3:44 PM Page 3
The Handset will display the Base Station RFPI. (The
RFPI is a unique 10 digit number to each Base Station
and serves to indicate that a Base Station has been
located.)
Press to accept the RFPI.
Finally a Handset number must be selected. Each Base
Station can support up to six Handsets. The available
Handset numbers are displayed:
Select the first available Handset number.
eg. Press .
Note: the display shows the Base Station (left) and
Handset (right) numbers:
To make a call
1. Press and listen for the dial tone.
2. Dial phone number.
OR
1. Dial phone number
2. Press .
To hang up
Press or place the handset back on the
base unit.
To answer a call
When handset is on the base unit: Remove handset
from the base and speak.
If handset is off the base unit: Pick up handset, press
and speak.
iii
Registering a handset to a base unit
Press and hold on the Main Base 5 seconds.
The Talk LED on the main Base will flash.
Press then on the handset.
The available main Base numbers (1 to 4) are displayed.
Select the first available Base Station number.
As confirmation, the user is prompted for the System PIN
number.
The default System PIN (the PIN that the unit
arrives with) is 1111 (see page 9) .
Press the 4 Digit Pin number
(default )
If this is entered correctly, the Handset will start to search
for the Base Station.
If the PIN is incorrect, a single low tone will be
heard and another opportunity to enter the PIN is
offered.
11 22 33 44
-- 11 -- 11
00 00 22 22 11 11 33 AA 99 88
22 33 44 55 66
Dect 1802 Qk 7/19/02 3:44 PM Page 4

1
CONTENTS
Installation & Safety ..............................................................................................................................................i
Quick Start Guide:
Step 1 - Installation .............................................................................................................................................ii
Step 2 - Installing the Handset Batteries ....................................................................................................ii
Step 3 - Registering a handset to a base unit ..........................................................................................iii
Contents ..................................................................................................................................................................1
Included in your Package ..................................................................................................................................2
Handset Display .....................................................................................................................................................2
Handset ..................................................................................................................................................................2
Charging the Handset Batteries .......................................................................................................................3
Description of Handset Keys ............................................................................................................................3
Description of Displayed Symbols ................................................................................................................4
Advanced Functions ..............................................................................................................................................5
Handset Registration .......................................................................................................................................5
GAP Registration .............................................................................................................................................5
Base Station Registration Key .........................................................................................................................6
Handset De-Registration .................................................................................................................................7
PIN Code Changes ..........................................................................................................................................8
Using Your phone
Switching the Handset on and off ..................................................................................................................9
Locking and Unlocking the Keypad ...............................................................................................................9
Call Timer.........................................................................................................................................................9
Making an External Call ..............................................................................................................................10
Caller ID .........................................................................................................................................................12
Making an Internal Call ...............................................................................................................................12
Receiving a Call ............................................................................................................................................13
Call Transfer ..................................................................................................................................................13
Call Transfer through a PABX .......................................................................................................................13
Call Waiting/Flash ........................................................................................................................................13
Page Handsets from the Main Base ..............................................................................................................13
Personalising Your Phone
Storing Dial Memories...................................................................................................................................14
Received Speech Volume................................................................................................................................15
Microphone Mute...........................................................................................................................................15
Handset Ring Volume ...................................................................................................................................16
Handset Ring Tone ........................................................................................................................................16
Trouble Shooting .................................................................................................................................................17
Warranty ...............................................................................................................................................................18
Dect 1802 Qk 7/19/02 3:44 PM Page 5

SETTING UP
2
digital
store
menu
clear
rdl•
pause
flash
ghi
pqrs
tuv
wxyz
jkl
mno
def
abc
up •down
int
HANDSET DISPLAY
- All icons displayed -
1) Battery icon 2) Menu icon
3) External Call icon 4) Internal Call icon
5) Microphone mute icon 6) Ringer Off icon
7) Range icon 8) Alphanumeric indicator
Handset
2 x Batteries
AC Adapter
Additional
Charger
If anything is
missing, please
contact your
dealer
immediately.
Quick Start Guide
DECT
1802
Quick Start Guide
Here!
Quick Reference Guide
Start
Start
Here!
Quick Start Guide - next page...
Optional
Handset and
Charge Base
Suits
ModelsDect 1805
Dect 1806
Dect 1807
Printed Materials
Use only 1.2 volt
Ni Cad
Rechargeable
Batteries
INCLUDED IN YOUR PACKAGE
Introduction
Please read this Guide before use and then save it in a convenient place
for future reference.
Whats in the Box?
Check these items have been included in the box.
HANDSET
1) Handset earpiece
2) LCD display
3) Store key
4) Talk key
5) Numeric keypad
6) key
7) Menu key
8) Power/Delete key
9) Up/Down key (Cycle)
10) Redial/Pause key
11) Flash key / Call Waiting
12) Internal Call key
13) # key
14) Handset microphone
15) Charging contacts
Dect 1802 Qk 7/19/02 3:45 PM Page 6
CHARGING THE HANDSET BATTERIES
Charging of the Handset batteries takes place automatically when the Handset is placed on
the Main Base or Additional Charger.
An LED on the side of the Base Station indicates that the Handset is charging.
When first setting up, the batteries should be charged uninterrupted for 15-20 hours; this
will ensure that they are fully charged.
In use, it is advisable to return the Handset to the Charge Base to be charged at regular
intervals. After fully charging the Handset during setting up, the Handset should never
require longer than about six hours to return to its fully charged condition, e.g. overnight.
When the battery is fully charged:
• 6 Hours talk time
• 120 Hours Standby time
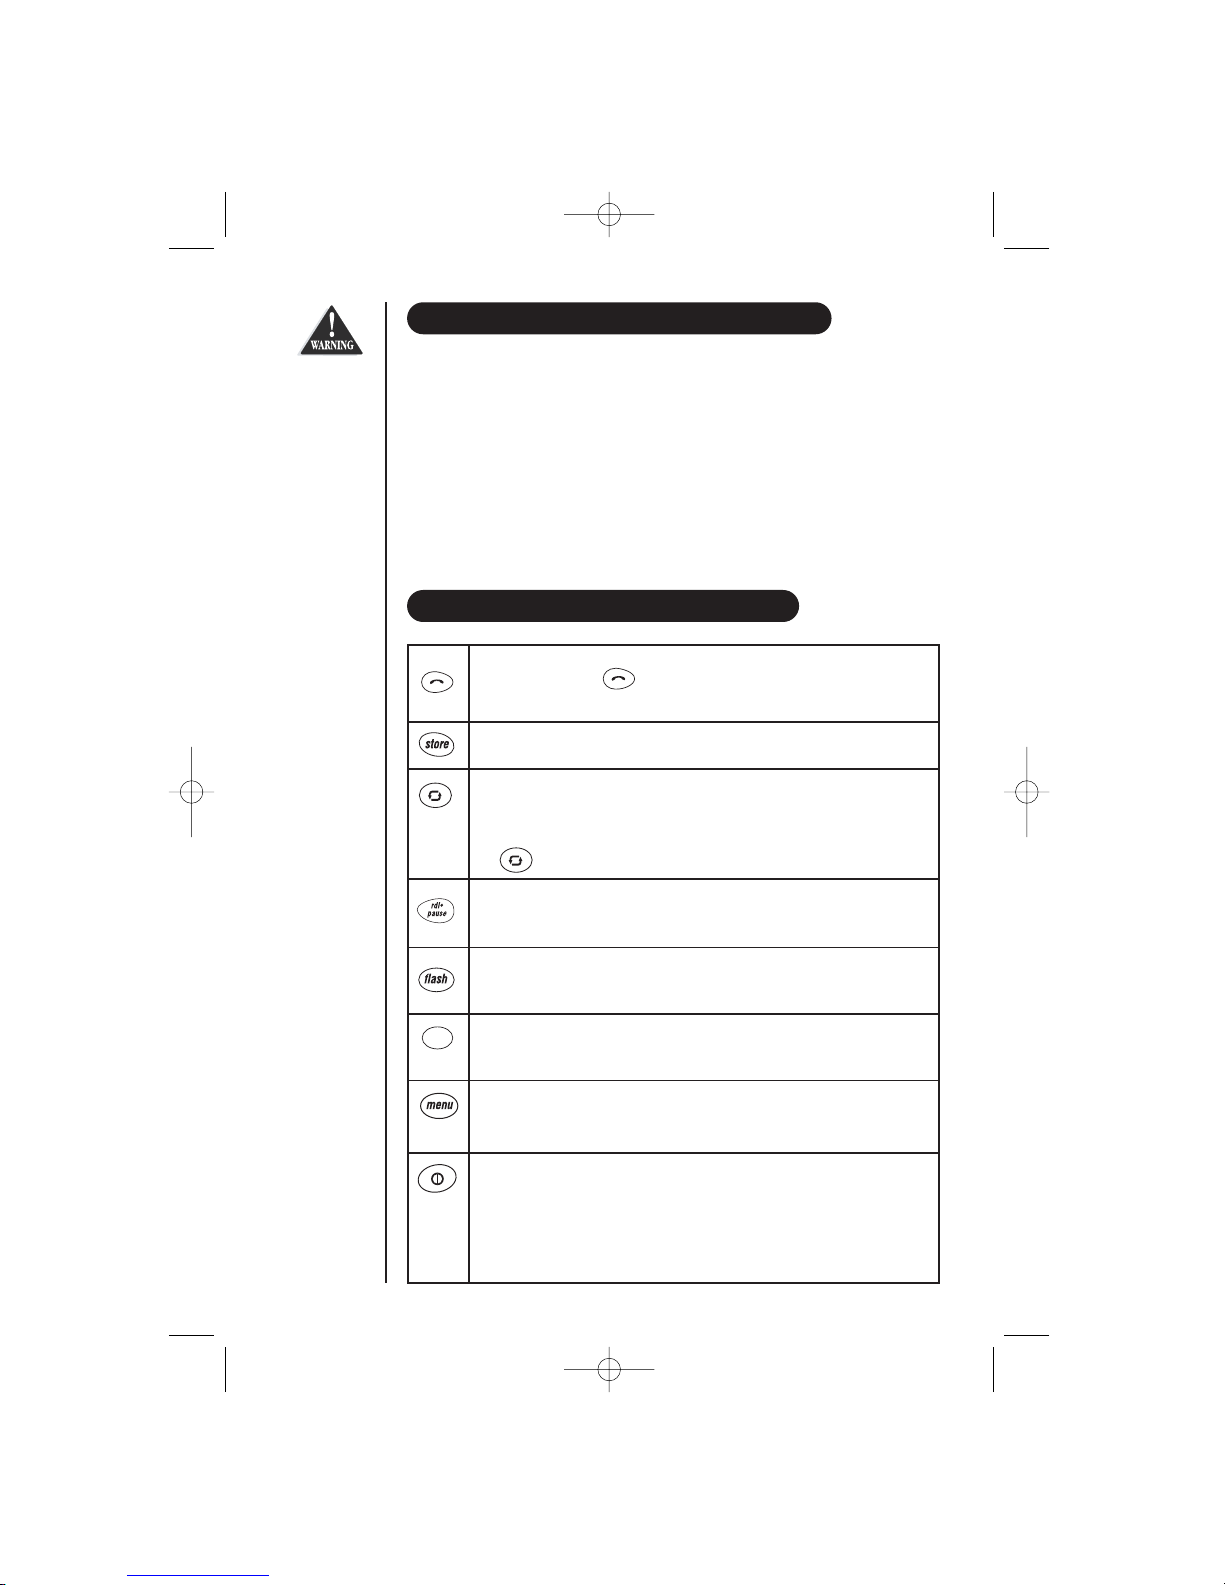
DESCRIPTION OF HANDSET KEYS
3
SETTING UP
Talk Key: Pressing is equivalent to picking up a conventional
telephone.
Memory Key: Used to access Dialling Memories.
Up/Down (Cycle) Key: Some settings offer a series of options,
e.g. Five ring styles are offered. These options can be selected either by
pressing the appropriate number key or by cycling through the options using
the key.
Redial / Pause Key: Recalls and displays the last four telephone numbers
called.
Flash / Call Waiting: Used to access call waiting or to access some features
of a business PABX
Internal Call Key: If you have more than one handset registered on the
Main Base, then internal calls may be made between these handsets.
Program Mode: Used to programme speed dial numbers and
telephone settings.
Power / Delete Key: The Power / Delete Key serves three functions on
the Handset:
Power On/Off
Last Digit Delete
Program Abort
int
Only use the
batteries supplied or
rechargable AA Ni
Cad batteries. DO
NOT USE
STANDARD
BATTERIES.
Dect 1802 Qk 7/19/02 3:45 PM Page 7
 Loading...