

Page 1
SP3990
Floating 900MHz Wireless Speaker System
User’s Manual
Please read before using the equipment
Page 2

INTRODUCTION
This 900MHz stereo wireless speaker system uses latest wireless technology that
enables you to enjoy music outdoors in your swimming pool. You can simply
connect the portable transmitter to any audio source such as i-Pod, i-Phone,
CD/MPS player, Hi-Fi or other audio sources.
FEATURES
1. Automatic Phase Lock Loop (PLL) scanning system on speaker receivers.
2. Phase Lock Loop (PLL) transmission system on transmitter.
3. 900MHz RF technology speaker system.
4. RF technology lets you roam freely throughout your house.
5. Operating distance up to 150 feet in open area.
6. No line of sight limitation.
7. Virtually interference free stereo quality.
8. Auto ON/OFF control.
9. Auto tuning function.
10. Blue LED moon light effect.
11. Battery operation for full portability for the transmitter and speaker.
Page 3

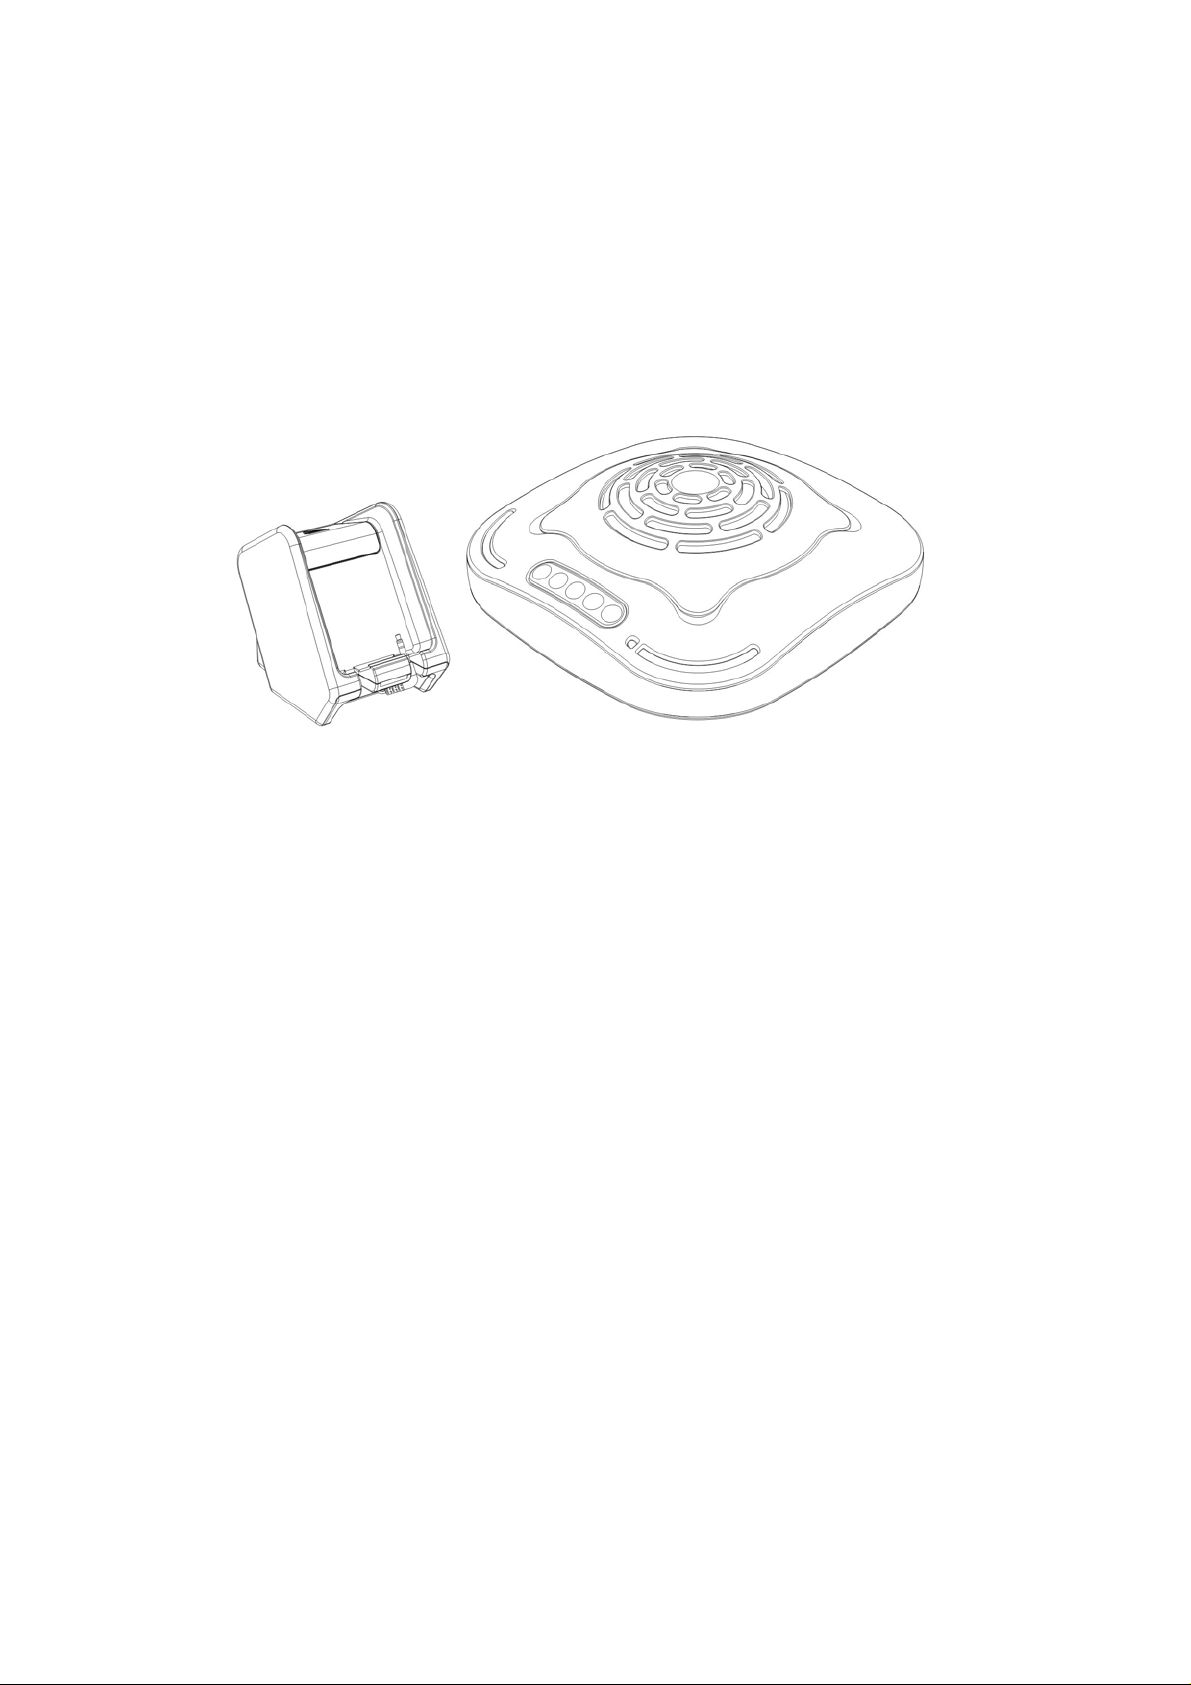
COMPONENT IDENTIFICATION
TRANSMITTER
SPEAKER RECEIVERS
Page 4
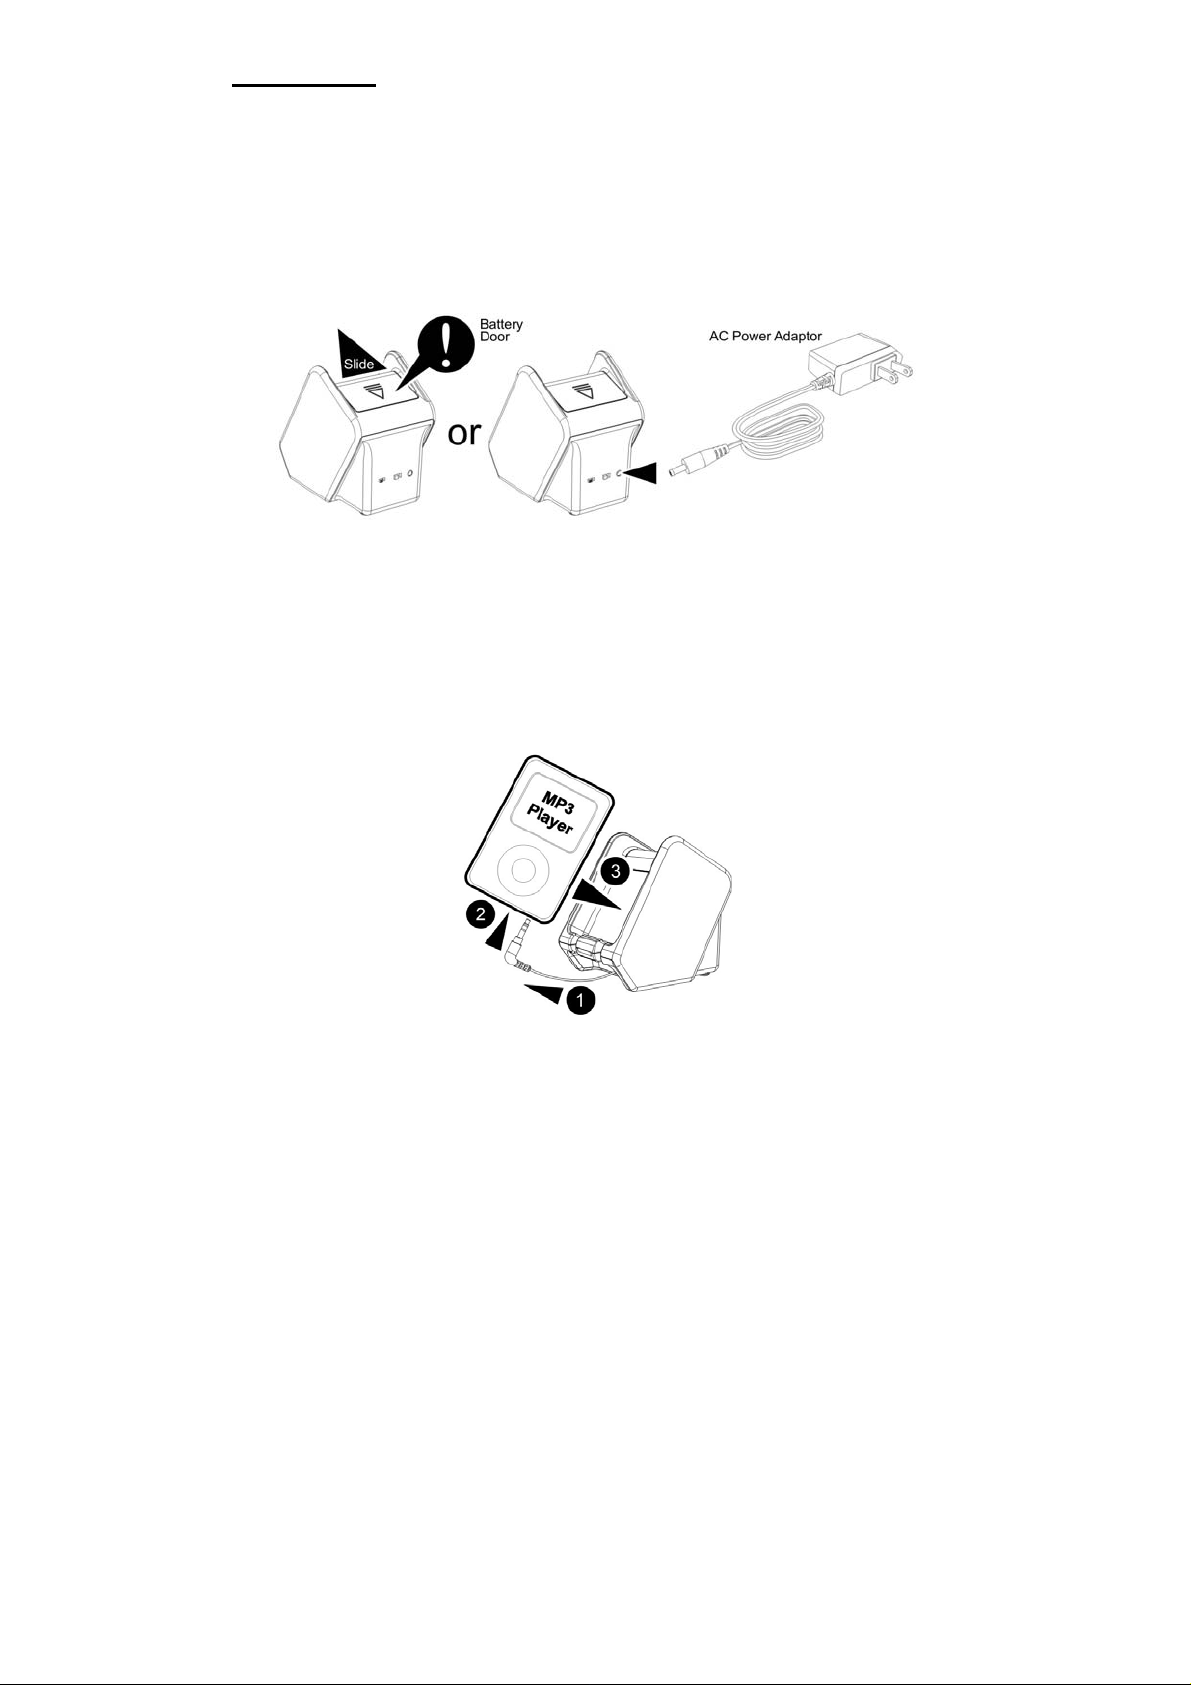
INSTALLATION
TRANSMITTER
1. Connect the supplied AC power adaptor to an electrical wall outlet.
2. Plug the AC power adaptor (12V/200mA) in the DC jack located on the rear of
the transmitter, or you can insert 4 X “AA” size ALKALINE batteries into the
battery compartment of the transmitter with correct polarity.
3. Turn on the transmitter by set the POWER switch to ON position, and the
POWER LED (blue) on transmitter will start flashing.
4. The retractable audio cord that located at the front of transmitter can be
connected to audio output jack of any audio source such as i-Pod, i-Phone,
MP3 handphone, Hi-Fi, MP3/CD/VCD/DVD players and etc.
5. As soon as the transmitter is receiving the audio signal, the POWER LED
(blue) will illuminate steadily.
Page 5

SPEAKER RECEIVERS
1. Insert 6 pieces of ‘AA’ size ALKALINE battery into the battery compartment
with correct polarity at the bottom of the speaker, or you connect an AC power
adaptor (9V/1.2A) to the DC input jack on the rear of each speaker, then plug it
to the wall AC outlet.
2. Tighten the battery door clockwise and ensure the battery door is close d firmly
without any gap.
Page 6

3. Switch on the speakers by press the POWER button. The Mood Light (blue)
will illuminate steadily, and the POWER LED (blue) will start flashing. As
soon as the connection between the transmitter and speakers are
accomplished, the POWER LED (blue) will illuminate steadily. Switch off the
speakers by press the POWER button again.
OPERATION
1. Turn on the audio source to which the transmitter is connected with.
2. Turn on the transmitter by set the POWER switch to ON position, and the
POWER LED on transmitter will light up.
3. Select the channel 1 or 2 of the transmitter for best performance in your
location.
4. Turn on the speaker and adjust the volume to the desired listening level.
Page 7

5. Press the “SCAN” auto-tuning button to get the best tuning reception in the
speakers. When the button is pressed, frequency tuning starts automatically
and it stops when a signal is detected. The POWER LED will illuminate
steadily.
A). Keep a distance of the speaker up to 7 meters apart from transmitter, and
then press “SCAN” auto-tuning button for best tuning reception.
B) Whenever you find frequency jam, move your channel switch from one
channel to the other channel on the transmitter , and then press the “SCAN”
auto-tuning button on the speaker again.
Caution: Tighten the battery door clockwise and ensure the battery door is closed
firmly without any gap before placing the speaker into the water.
6. You can now place the floating speaker in the pool, bathtub, hot tub etc.
CAUTION: Speaker will performance best without water resting on top of the
speaker. Periodically draining water from the speaker by inverting it
helps to achieve better performance. Clean the speaker and housing
thoroughly, and keep it dry between uses.
Page 8

NOTE :
If disruption should occur (signal breaks up), press the “SCAN” auto-tuning button
on the speaker to maximize best reception.
If you hear interference from other components, change the channel of transmitt er,
and then pressing the “SCAN” auto-tuning button on speaker for best reception.
When transmitting / receiving over long distances, the signal from the system will
become weaker.
SWITCHNG OFF
1. Press the POWER button to turn off the speaker and the POWER LED goes
off.
2. For protection of the transmitter and power saving, the transmitter will cut off
automatically if there is no/weak operation input signal from audio source for
4 minutes. In other words, if the signal comes back, the transmitter will
resume working automatically.
Page 9

TROUBLE SHOOTING
NO SOUND
- Too much water retention inside the speaker grill. Turn over the speaker
and let the water drain out from the speaker grill.
- Battery capacity of Speaker and/or Transmitter is too low, replace with
new batteries.
- If AC power source were used, ensure the AC adaptor is fully inserted
into the AC outlet, and the power connection input on the transmitter is
properly connected.
- Ensure the speaker is switch ON.
- Ensure the audio source is ON and working well, and its volume level is
set to at least 50%.
- The volume of speaker is too low, adjust the volume to an appropriate
level.
DISTORTED
- Press the “SCAN” button on the speaker until it matches the frequency
with the transmitter.
- Switch to a different channel on the transmitter. Then press the SCAN
button on the speakers again.
- Battery capacity is too low. Replace with new batteries.
- Ensure the volume level of speakers is adjusted properly .
- The speaker is too far away from transmitter, move them closer.
- The input level of the audio signal is too low. Turn up the volume of the
audio source equipment.
Page 10

TECHNICAL SPECIFICATIONS
Transmission Mode : UHF stereo
Carrier Frequency : 900 MHz
Operation Voltage : Transmitter, 4 X ‘AA’size Alkaline batteries (not included)
or DC 12V 200mA
Speaker, 6 X ‘AA’ size Alkaline batteries (not included)
or DC 9V 1.2A adaptor
Frequency Response : 40Hz – 12KHz
Distortion : 1.5%
S/N Ratio : 65dB (typical)
Channel Separation : 35dB (Typical)
Operation Distance : Up to 150 feet
Output Power : 2 x 3W (RMS)
Working Temperature :
WARNING :
-10℃ ~ +55 ℃
FCC Caution: Any changes or modifications not expressly approved by the
party responsible for compliance could void the user's authority to operate this
equipment.
This device complies with Part 15 of the FCC Rules. Operation is subject to
the following two conditions: (1) This device may not cause harmful
interference, and (2) this device must accept any interference received,
including interference that may cause undesired operation.
This equipment has been tested and found to comply with the limits for a Class
B digital device, pursuant to Part 15 of the FCC Rules. These limits are
designed to provide reasonable protection against harmful interference in a
residential installation. This equipment generates, uses and can radiate radio
frequency energy and, if not installed and used in accordance with the
Page 11

instructions, may cause harmful interference to radio communications.
However, there is no guarantee that interference will not occur in a particular
installation. If this equipment does cause harmful interference to radio or
television reception, which can be determined by turning the equipment off and
on, the user is encouraged to try to correct the interference by one of the
following measures:
Reorient or relocate the receiving antenna.
Increase the separation between the equipment and receiver.
Connect the equipment into an outlet on a circuit different from that to
which the receiver is connected.
Consult the dealer or an experienced radio/TV technician for help.
This device complies with RSS 210 of Industry Canada.
"Operation is subject to the following two conditions: (1) this device may not
cause interference, and (2) this device must accept any interference, including
interference that may cause undesired operation of the device."
"This Class B digital apparatus complies with Canadian ICES-003."
Cet appareil numérique de la classe B est conforme à la norme NMB-003 du
Canada.
 Loading...