

Page 1
DHP980
2.4GHz Digital Headphone
User Manual
Please read before using this headphone.
Page 2

INTRODUCTION
This 2.4GHz Digital Wireless Headphone uses latest digital wireless technology that enables you to
enjoy crystal sound stereo music and TV sound anywhere inside your home. Simply connect the
transmitter to a desired audio source: DVD player, CD player, TV set, VCR , Hi-Fi system, or iPod.
Without complicated wiring and installation, the system enables you to enjoy thrilling, lifelike sound in
minutes.
FEATURES
1. 2.4GHz Digital UHF Technology
2. 31-Channel Frequency Hopping System
3. Smart Volume Memory preset
4. Electronic Volume Control
5. Low Power Indicator Alert
6. Top Charge Mechanism
7. Auto On/Off (when without signal)
8. Muting
9. Speed charging mechanism
10. Direct Audio Line In
Page 3

COMPONENT PART LIST
Transmitter
1. Power/Signal/Charge LED indicator
2. Charging pins
3. Attenuation select switch
4. RCA Audio In socket
5. Power on/off switch
6. DC IN socket
Page 4

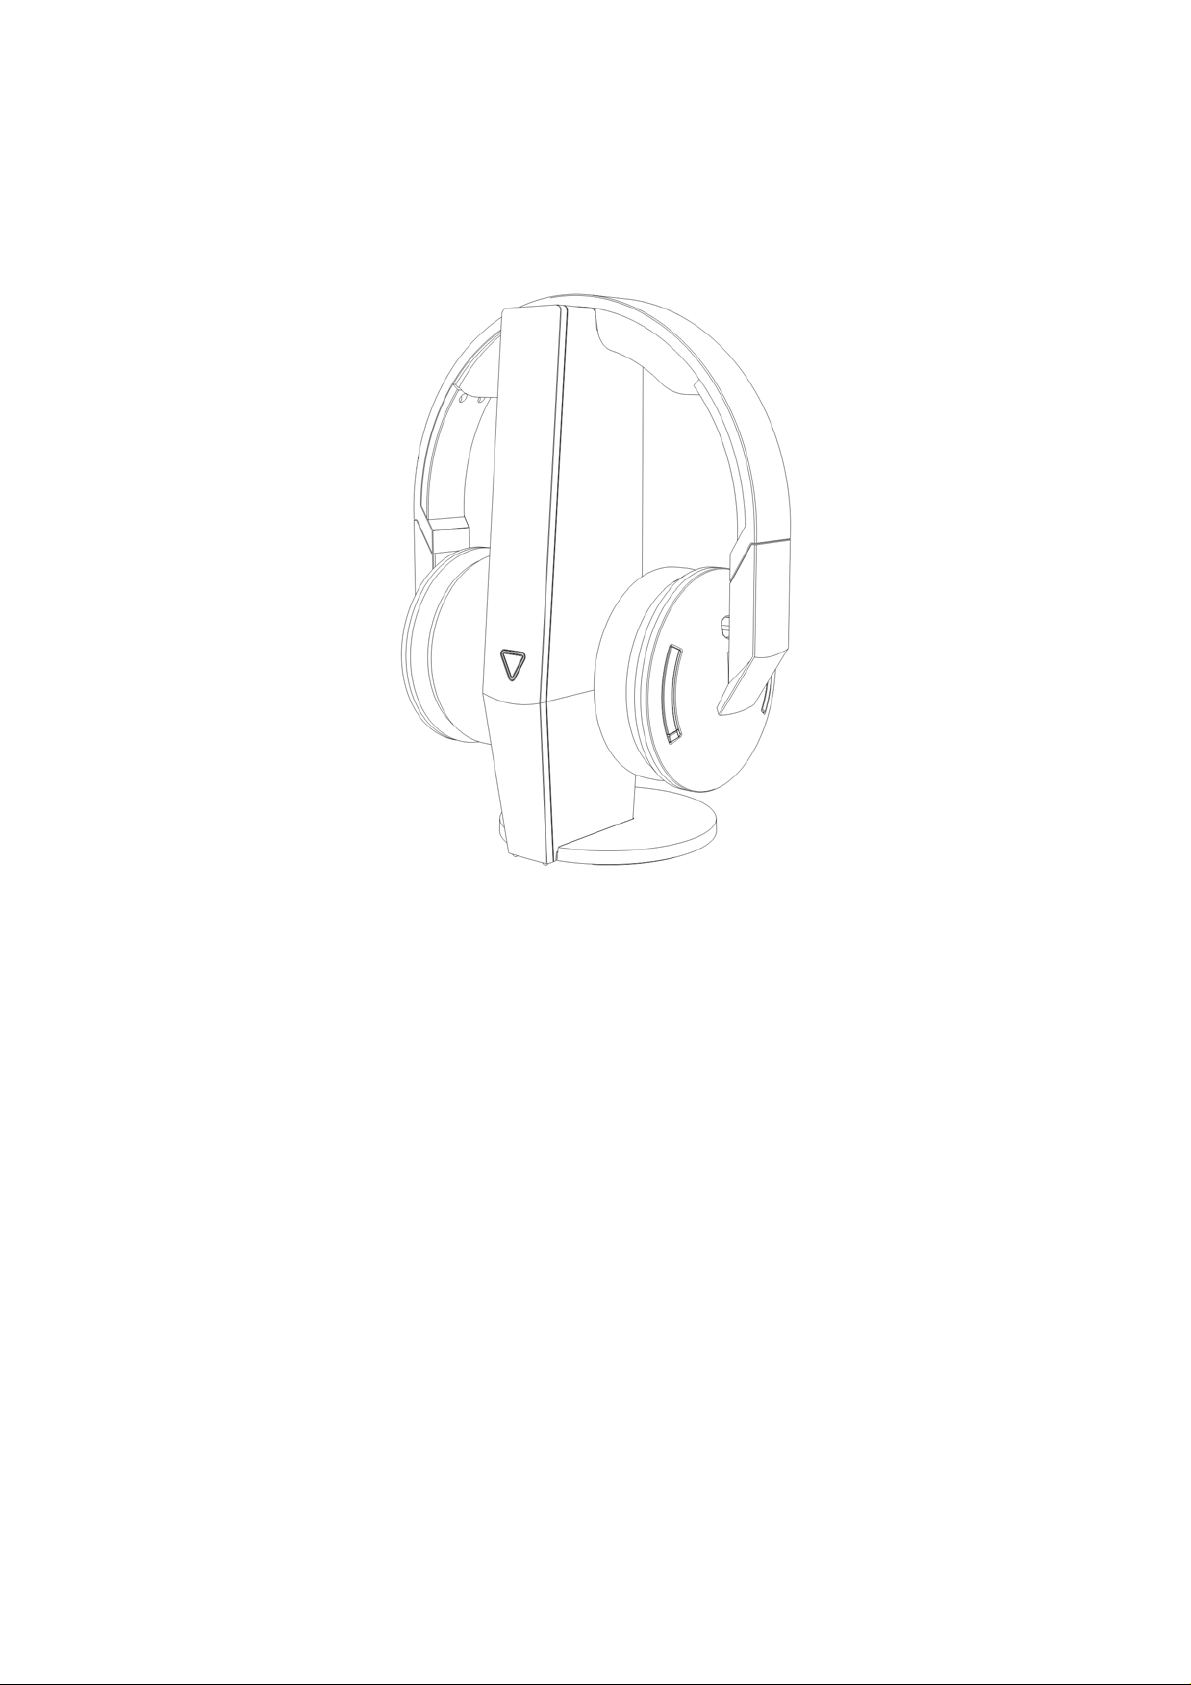
Headphone Receiver
7. Charging contacts
8. Volume Up(+)
9. Volume Down(-)
10. Direct Line In
11. Power/Signal link LED indicator
12. ON/OFF Control
Accessories
13. RCA cable
14. 3.5mm ~ 3.5mm Direct Line-In Cable
15. AC/DC adaptor
16. NiMH AAA size batteries for Headphone (2 pieces)
17. 3.5mm ~ 6.3mm
stereo plug
INSTALLATION
TRANSMITTER
1. Connect the supplied AC/DC power adaptor to an electrical wall outlet.
2. Plug the AC/DC power adaptor in the DC jack located on the rear of the transmitter. Slide the
power switch located on the rear of the transmitter to “ON”. The triangle shape LED starts to flash
in AMBER for around 15 seconds and then light up steadily. The rear of the transmitter has audio
sockets with Left and Right for connecting the Audio Cable to the audio output jack of TV, DVD,
VCD, VCR, Hi-Fi, iPod or MP3.
3. For TV/DVD/VCD/VCR/Hi-Fi, switch to “-8dB”. For portable devices, like CD/MP3 and IPod,
switch to “0dB”.
4. Turn on audio source, then the LED will light up in AMBER steadily when it receives an audio
signal. The LED change to BLUE in about 5 minutes if the transmitter does not connect and
receive any audio signal from the audio source.
Page 5

HEADPHONE RECEIVER
1. To install or replace the rechargeable batteries, carefully pull out the ear pad (Left-Hand Side)
and take it out.
2. Insert 2 pieces of AAA size rechargeable batteries (supplied in the package) into the battery
compartment of headphone cabinet (Left-Hand Side). Make sure the batteries are placed at the
right polarity.
3. Restore ear pad to the earphone cabinet after the batteries are inserted.
OPERA TION
TRANSMITTER
Turn on the audio source (TV or audio component) to which the transmitter is connected with. The
Power / Signal LED on the transmitter will light in AMBER when it receives the audio signal.
Page 6

HEADPHONE RECEIVER
1. Turn on the headphone by pressing the Power button for about 1 second. The LED will light up
in RED. The RED LED
will be change to GREEN until audio signal link between transmitter and
receiver is established.
2. Place the headp hone on your head. To obtain the desired sound level, adjust the volume control
on the headphone
.
3. If interference or poor signal reception occurs, the headphone will be muted and the LED will
change to RED, searching for another channel will be run automatically.
4. When the batteries of headphone are at low level, the LED
will blinks in RED. There will be
beeping sound from the headphone in every minute to indicate the last 5 minutes of working,. A
beep sound in each of the first 4 minutes, and 2 beep sound in the last minutes and then it will
automatically switch off.
5. To charge the batteries in the headphone, turn OFF the headphone by pressing the Power button.
Place the headphone on the top of transmitter. The charging process begins automatically, and
the LED on the transmitter will light in PURPLE when the charging contacts of transmitter and
headphone are matched successfully. When the charging process is completed, the LED will be
change to BLUE
Note : For the initial use, please charge the batteries for 7 hours. If t he headphone is not
in use, please place it back on the transmitter.
Page 7

6. This headphone can be used as a regular wired headphone by connecting your Audio source to
the headphone jack shown below.
IMPORTANT
1. Switching Off
a) For protection of the transmitter and power saving, the transmitter will be switched to
standby (LED will change to BLUE) automatically if there is no audio source signal for
approximately 5 minutes. If the audio source signal returns, the transmitter will be
automatically switched on (LED will change to AMBER). Then, power on the headphone
again to listen the music.
b) The headphone will be switched off automatically if there is no signal from the transmitter
for 5 minutes.
2. Make sure the headphone is turned off when charging is in process.
3. Use only the included rechargeable AAA batteries . When the headphone is not in use, turn the
headphone OFF.
4. To ensure a long service life, fully charge the batteries before using the headphone for the first
time. According to the capacity of the rechargeable battery included, the battery charging
process will take approximately 5 hours.
Page 8

FCC NOTICE
5. This equipment has been tested and found to comply with the limits for a Class B Digital Device,
pursuant to Part 15 of the FCC Rules. These limits are designed to this equipment generates,
uses, and can radiate radio frequency energy and, if not installed and used in accordance with
the instructions, may cause harmful interference to radio communications. However, there is no
guarantee that interference will not occur in a particular installation. If this equipment does cause
harmful interference to radio or television reception, which can be determined by turning the
radio or television off and on, the user is encouraged to try to correct interference by one or more
of the following measures:
‐ Reorient or relocate the receiving antenna.
‐ Increase the separation between the equipment and receiver.
‐ Connect the equipment into an outlet on another circuit.
‐ Consult the dealer or an experienced radio/TV technician for help.
Caution: Any changes or modifications not expressly approved by the party responsible for
compliance could void the user's authority to operate this equipment.
RF Exposure: A distance of 20 cm shall be maintained between the antenna and users, and the
transmitter may not be co-located with any other transmitter or antenna.
This device must be used with the AC/DC adaptor supplied in the package.
WARNING
• Never attempt to recharge conventional dry cells.
• Batteries (battery pack or batteries installed) shall not be exposed to excessive heat such as
sunshine, fire or the like.
• Never use another type of battery or non-rechargeable batteries to replace the rechargeable
(LR03/AAA) batteries supplied. When the headphones are not in use, switch it OFF to avoid
damaging the batteries.
• Excessive sound pressure from earphones and headphones can cause hearing loss.
TROUBLE SHOOTING
No Sound
- Ensure the AC/DC adaptor is fully inserted into the AC outlet and the power connection input on
the transmitter.
- Ensure the headphone is switched ON.
- Headphone battery charge level may be too low, recharge the batteries fully.
 Loading...