

Page 1

BH200
Bluetooth® Class II V2.0 Plug-n-Play Dual Mode
Dongle and Headphone
User’s Manual
Please read before using the equipment
1
Page 2

Instruction
Designed for an active lifestyle, the BH200 Bluetooth® Stereo Headphone combines the
stylish design and reliable technology in the ideal mini size units. This exclusive 2-in-1 (3.5AV
Mode/USB Mode) feature enables BH200 Bluetooth® Dongle to make connection to any
music player such as a CD player, MP3 player and handheld game condole through 3.5mm
stereo plug for stereo streaming or USB connection to computer for stereo streaming/VoIP/HCI
applications. With support for the latest audio Bluetooth® profiles, the BT200 lets you manage
both your calls and music completely wire-free.
Features
z Enjoy the streaming stereo music transmitted from the Bluetooth® A2DP*1 Source
devices
z Remote control on headphone for Bluetooth® device if it supports Bluetooth® AVRCP
*2
in addition
z Enjoy mobile hands-free for all major brand of Bluetooth® enabled mobile phone
*3
z Easy to Start, Pair, Operate, with any Bluetooth® enabled devices
z Plug-n-Play Dual Mode Stereo Dongle (3.5AV Mode / USB Mode)
z 3.5mm audio plugs directly into most 3.5 mm audio devices, such as iPods, to enjoy
wireless stereo listening
z USB audio connector enhance your PC/Laptop to a Bluetooth® enabled performance,
and allows you to utilize the Internet messenger (Skype™, MSN® Messenger or
Yahoo!® Messenger) and HCI mode (data transfer)
*1
The playback or its plug-in Bluetooth® adapter/transmitter needs to support Bluetooth®
A2DP (Advanced Audio Distribution Profile)
*2 The playback or its plug-in Bluetooth® adapter/transmitter needs to support Bluetooth®
AVRCP (Audio Video Remote Control Profile)
*3 The mobile phone needs to support Bluetooth® HSP (Headset Profile) or HFP
(Hands-free Profile)
2
Page 3
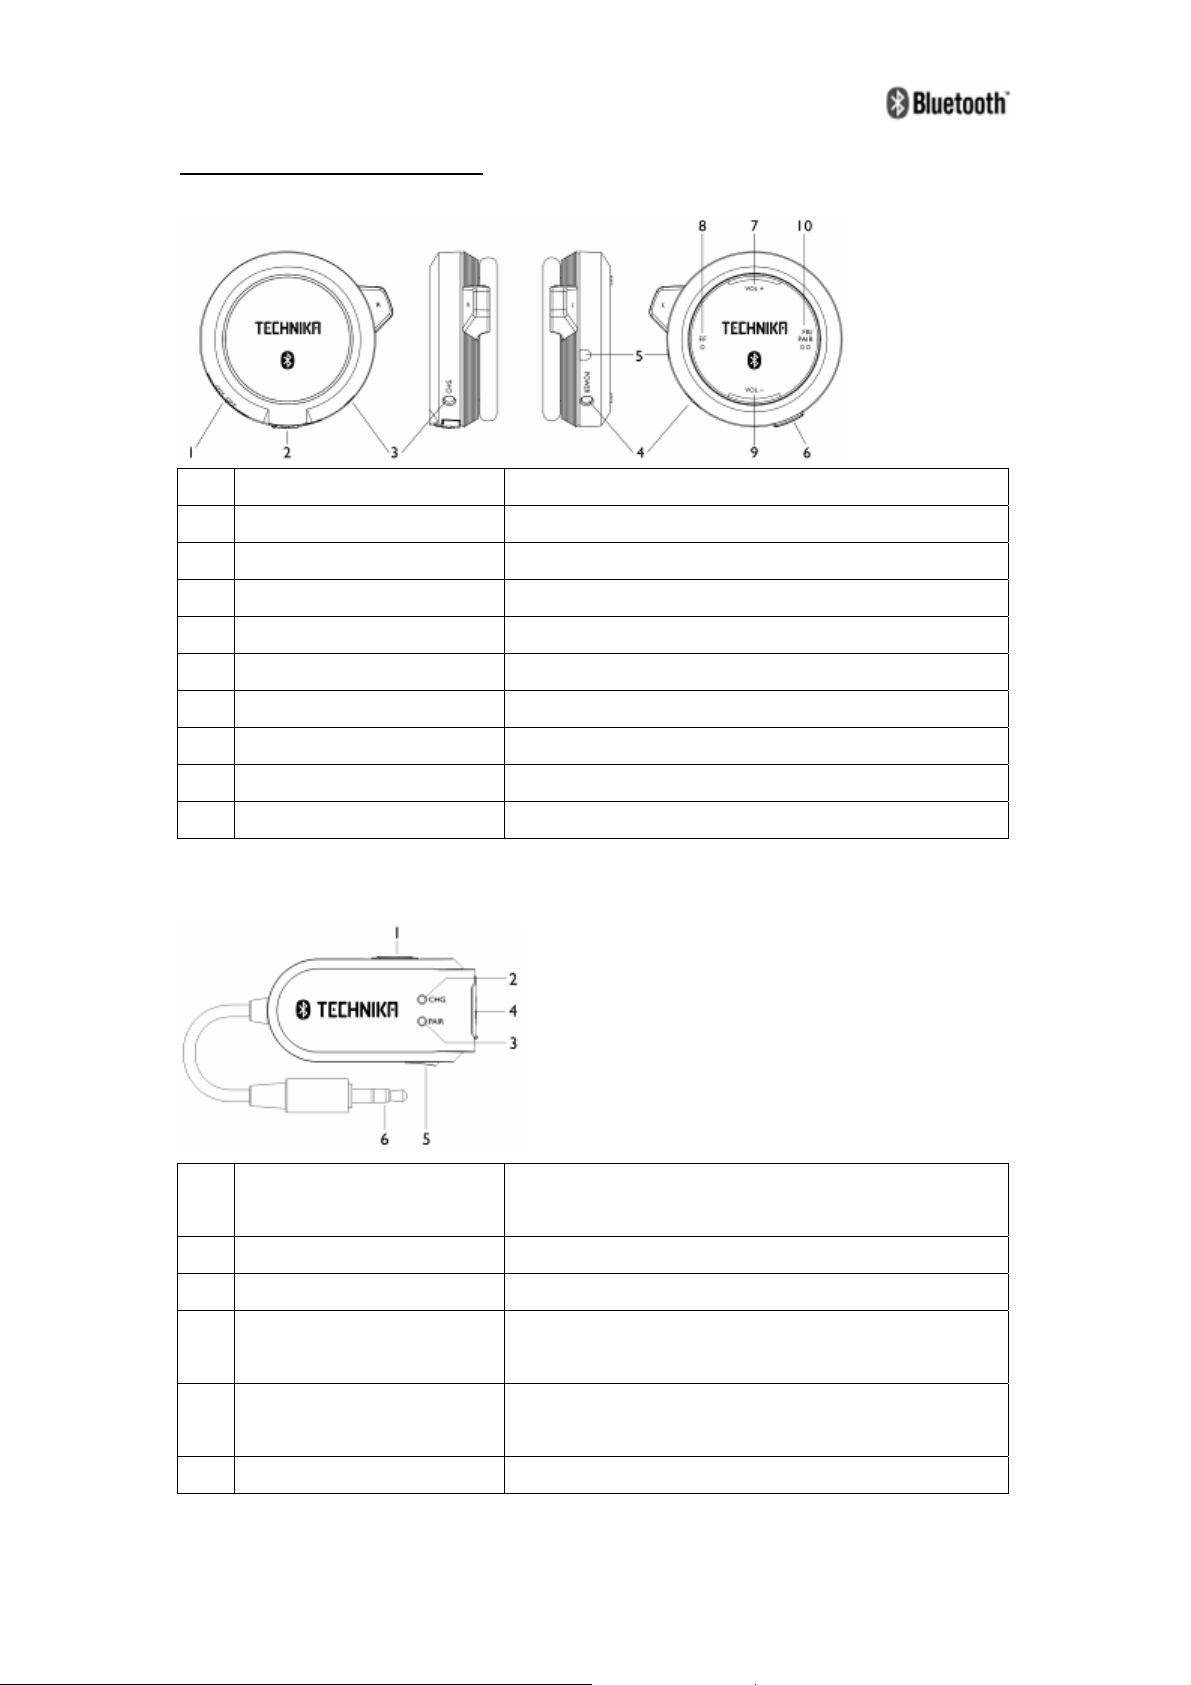
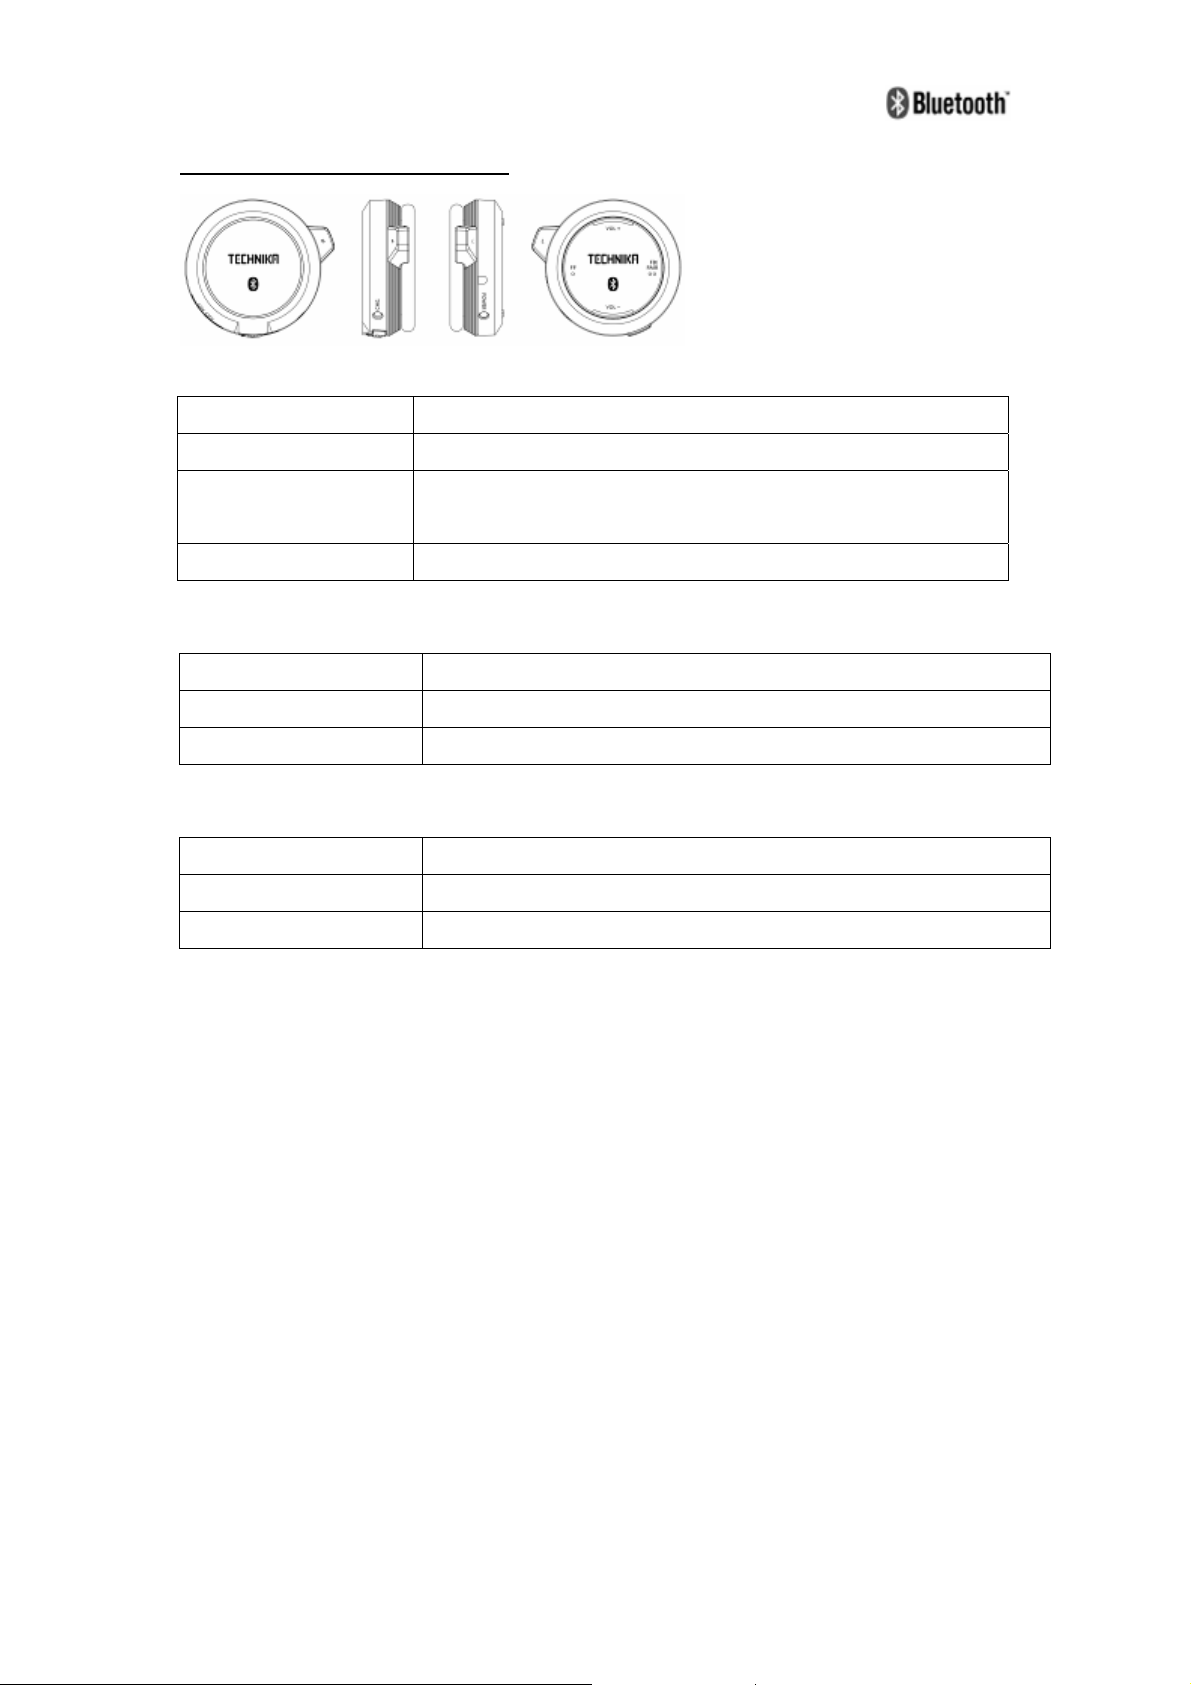
IDENTIFYING COMPONENTS
Headset
1 ON/OFF slide switch Power ON/OFF
2 USB jack To charge the headset with USB AC/DC power adaptor
3 Charging LED (red) Charging process indicator
4 Pairing LED (blue) Pairing process indicator
5 Microphone
6 Call button To answering/disconnecting call or pause the music
7 Volume up Adjusting volume
8 Fast Forward Go to the next track
9 Volume down Adjusting volume
10 Fast Backward / Pairing Go to the previous track / Activate the searching mode
Dual Mode (LINE-IN AV / USB AV) Dongle
1 Mode Selector switch USB-In AV source or Line-In AV source selection.(Refer
to Mode Selector Switch Configuration)
2 Charging LED (red) Charging process indicator.
3 Pairing LED (blue) Pairing process indicator.
4 USB Jack Connect to computer for Bluetooth®enabled
performance and charging progress.
5 SET button VoIP Mode or HCI Mode selection. (Refer to SET Button
Configuration)
6 Audio plug Connect to audio devices as Line-In
3
Page 4
HEADSET STATUS INDICATION
SEARCHING/LINK INDICATION
Mode LED Status
Power ON / Searching Pairing LED (blue) will flash quickly
Pairing Both Pairing LED (blue) and Charging LED (red) will flash quickly
and simultaneously
Linked Pairing LED (blue) will flash slowly
LOW POWER INDICATION
Power Status LED Status
Low Power Beeping sound occur
Low Low Power Headphone will turn off
CHARGING INDICATION
Charging Status LED Status
Charging Charging LED (red) will light up steadily
Charging complete Charging LED (red) will turn off
4
Page 5

DONGLE STATUS INDICATION
SEARCHING/LINK INDICATION
Function LED Status
Power ON / Searching Pairing LED (blue) will flash quickly
Pairing Both Pairing LED (blue) and Charging LED (red) will flash quickly
and simultaneously
Linked Pairing LED (blue) flash slowly.
VoIP/HCI INDICATION
Mode LED Status
VoIP Charging LED (red) will light up steadily
HCI Charging LED (red) will flash slowly
LOW POWER INDICATION (3.5AV Mode)
Power Status LED Status
Low Power Charging LED (red) will flash slowly
Low Low Power Dongle will turn off
CHARGING INDICATION
Charging Status LED Status
Charging Charging LED (red) will light up steadily
Charging complete Charging LED (red) will turn off
5
Page 6

DONGLE OPERATION KEY
MODE SELECTOR SWITCH CONFIGURATION
Mode Selection Switch on the Dongle has three positions as described below.
Position Function
Set to AV Mode when connect to the audio source via 3.5mm stereo
cable for audio streaming.
Set to POWER Mode when connect to computer or USB power
adaptor for charging progress.
Set to USB Mode when connect to computer for stereo, VoIP, or HCI.
SET BUTTON CONFIGURATION
Pressing Method Function
Press one time Set to VoIP selection in order to activate the VoIP Mode
Press three time Set to HCI selection in order to activate the HCI Mode
6
Page 7

OPERATING GUIDE
This section elaborates how to pair up the Dongle and headset for use with audio devices,
pairing the headset with your computer for audio streaming/VoIP/HCI, and pairing the headset
with your Cellphone for audio streaming/handfree.
A. Connecting The Dongle to Audio Device via 3.5mm Audio Plug
1. Set the Power switch on the headset to ON to turn on the headset. The Charging LED
(red) will flash slowly.
2. Set the Mode Selection switch on the Dongle to AUDIO
(blue) will flash slowly.
3. Press the “SET” button on the Dongle and “PAIR” button on the headset for 5 seconds
until the Pairing LED (blue) on both devices start flash alternative and quickly.
4. Once both devices were linked, the Pairing LED (blue) on both devices will start to flash
slowly.
5. Connect the Dongle to your audio device with 3.5mm audio plug, and start enjoys the
music.
Note: Initial Pairing is needed to pair up both Bluetooth® headset and Dongle for the first time.
There is no need to pair a previously paired system again, as they will pair up automatically for
future use.
, and the Pairing LED
B. Connecting the Dongle to Computer via USB Connector
(a) Audio Streaming:
1. Set the Power switch on the headset to ON to turn on the headset. The Charging LED
(red) will flash slowly.
2. Set the Mode Selection switch on the Dongle to USB
Dongle to your computer USB port via the USB connector. The Pairing LED (blue) will
flash slowly.
3. Press the “SET” button on the Dongle and “PAIR” button on the headset for 5 seconds
until the Pairing LED (blue) on both devices start to flash quickly.
4. Once both devices were linked, the Pairing LED (red) will starts to flash slowly.
5. Plays the music with your computer and you can start enjoy the music with the headset.
(b) VoIP Mode for Internet Telephony:
1. If you want to pick up an Internet call (such as Skype, YM, and etc), press the “SET”
button on the Dongle (Refer to SET Button Configuration) to switch to VoIP mode.
2. Press the Call button on the headset to pick up the incoming call, and the music will
7
, and then connect the
Page 8

pause.
3. Press the Call button once again to end up the call, and resume the music playback.
(c) HCI (Host Control Interface) Mode for Data Transferring/Receiving:
1. If you want to transfer/receive files from your computer to any Bluetooth® enable devices,
press the “SET” button on the Dongle (Refer to SET Button Configuration) to switch to
HCI mode.
2. The Windows will show a prompt “Find new hardware – USB Device” in the system tray
bar. The Bluetooth® Icon will become blue, indicating the Dongle has been installed and
ready to use.
3. Click the Bluetooth® Icon, select the Open Bluetooth® Settings tab, and then make sure
both Turn discovery on and Allow Bluetooth® devices to connect to this computer
check boxes are selected.
4. Right click the Bluetooth® Icon, then select Adding a Bluetooth® Device to search for
any Bluetooth® enable devices. In the Add Bluetooth® Device Wizard, click to select the
My device is set up and ready to be found check box, and then click Next.
5. Choose the selected device and create a passkey as an ID. The selected device will then
request to enter the same passkey in order to have both devices to be paired up.
8
Page 9

6. Once both devices were paired, your can sending file or receiving file between both
paired devices.
Example I: Sending File to a Bluetooth® Enable Cellphone
i. Right click the Bluetooth® Icon, then select Send a file. Click Browse and
select the Bluetooth® enable Cellphone, and then click Next
ii. On the Select the file you want to send page, click Browse, and select the
file that you want to send. Click Next to send the selected file.
iii. When the selected cellphone is ready to receive the file, click Next. An
indication bar will appear and indicate the status for the transfer progress.
Example II: Receiving File from a Bluetooth® Enable Cellphone
i. Right click the Bluetooth® Icon, then select Receive a file.
9
Page 10

ii. Send the selected file in your cellphone to the computer via Bluetooth®
connectivity.
iii. While receiving the file, a status bar will appears indicating the whole
receiving progress.
iv. On the Save the received file page, type the name of the file in the File
name box, click Browse to select the location where you want to save the file,
and then click Next.
C. Pairing the BH200 headphone with Bluetooth® Enable Cellphone
(a) Audio Streaming:
1. Set the Power switch on the headset to ON to turn on the headset. The Charging LED
(red) will flash slowly.
2. Press the Pair button on the headset for 5 seconds until the Pairing LED (blue) starts to
flash quickly.
3. User your phone menu to search for Bluetooth® devices, and select “BH-200”
4. When prompted for passkey, enter 0000.
5. The Pairing LED (blue) on the headset will start flash slowly when both devices were
paired successfully.
6. Plays the music with your cellphone and you can start enjoy the music with the headset.
10
Page 11

(b) Handfree:
1. Once your cellphone was paired to the headset, you can pick up an incoming call with the
headset while listening to a music.
2. If there is an incoming call, you will hear a ring tone from the headset.
3. Press the Call button to pick up the call, and the music will pause simultaneously.
4. Press the Call button again to end up the call, and resume the music playback.
Charging Method
(a) Dongle:
1. Set the Mode Selection switch on the Dongle to Power Mode
2. Connect the Dongle to computer via USB connector or USB power adaptor for charging
process.
Note: Refer to Charging Indication for the LED status
(b) Headset:
1. Set the Power switch on the headset to OFF to turn off the headset.
2. Connect the Dongle to computer via USB connector or USB power adaptor for charging
process.
Note: Refer to Charging Indication for the LED status
.
Specification
z Bluetooth® V2.0 (complaint with V1.1 & V1.2) Class II
z Carries Frequency: 2.402~2.480GHz
z Data Rate: 1 Mbps
z Rechargeable 280mAh Li-Ion battery (Headset) and 300mAh Li-Polymer battery
(Dongle)
z Up to 10 meters operating distance
z Up to 7 hours talk time and audio listening time
11
Page 12

Warning
This device complies with Part 15 of the FCC Rules. Operation is subject to the following two
conditions: (1) this device may not cause harmful interference, and (2) this device must accept
any interference received, including interference that may cause undesired operation.
Changes or modifications not expressly approved by the party responsible for compliance
could void the user's authority to operate the equipment.
This equipment has been tested and found to comply with the limits for a Class B digital device,
pursuant to Part 15 of the FCC Rules. These limits are designed to provide reasonable
protection against harmful interference in a residential installation. This equipment generates
uses and can radiate radio frequency energy and, if not Installed and used in accordance with
the instructions, may cause harmful interference to radio communications. However, there is
no guarantee that interference will not occur in a particular installation. If this equipment does
cause harmful interference to radio or television reception, which can be determined by turning
the equipment off and on, the user is encouraged to try to correct the interference by one of the
following measures:
- Reorient or relocate the receiving antenna.
- Increase the separation between the equipment and receiver.
- Connect the equipment into an outlet on a circuit different from that to which the receiver is
connected.
- Consult the dealer or an experienced radio/TV technician for help.
12
 Loading...