


Ultracraft AC-30 Owners manual
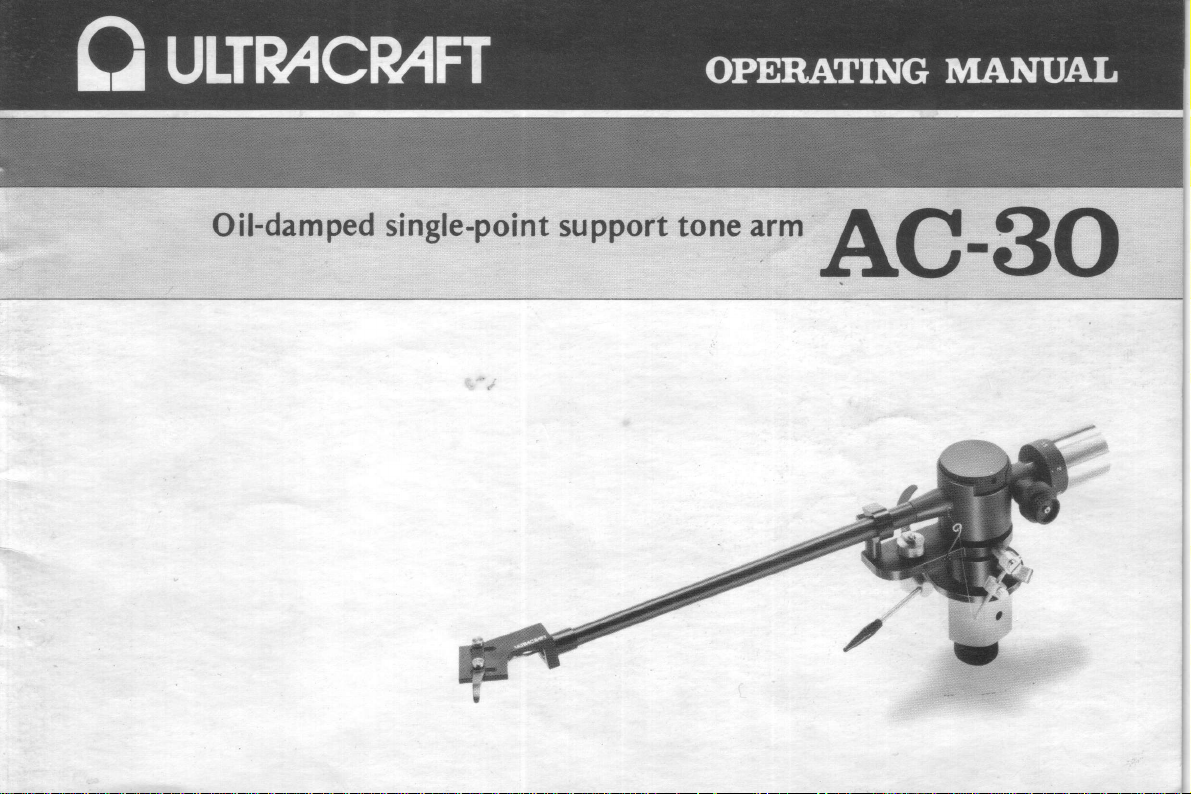
oi|-dampedsing|e-pointsupporttonearrnAc-8o
.:

Congratulations on
your purchase
AUDIOCRAFT Tone Arm.
have
We
point
support tone arms ever
company
ence
and study
new series
making
been
was established.
have
of
tone arms. Please
oil-damped,
Our
now
brought
read this operating manual
you
that
will
formance
be able to
out
of the tone
get
purchased.
of the
single-
since our
long experi-
forth
be sure to
before use
the
best
arm
Vou
a
so
per-
have
Partsnames
1.
2. Mountingonturntablebase
Injectionofdampingoil
3.
Mountingcartridgeinheadshell
4.
Adjustment
5.
styl us force
Adjustment of
6.
Adiustment
t.
Anti-skating
8.
Replacement of damping oil
9.
Specifications . .
10.
'il.
Standard
horizontal
of
damping
lateral
of
adjustment cancel
parts/
Optional
.
...
balance and
balance
. . .
parts
ler
........1
.........
....3
........
Page
2
4
5
6
6
l
8
9
o

Headshell
@
Metal cartridge fittings and Finger
@
Arr tt.t
@
Arm rest
i4_)
q! Center block
Damping-adiustment
@)
Lateral adjustment
ff
:-
8 Tracking
g
ttt
uin
(0, Arm
(
Lifter
1'
Anti-skating compensation
l2
Arm
I3
nrm center
0+l
nrr
[S-,.
(non-detachable)
knob
force ad
counterweight
lifter
lever
base
base
justment
shaft locking knob
lock-nut
knob
ring
t@
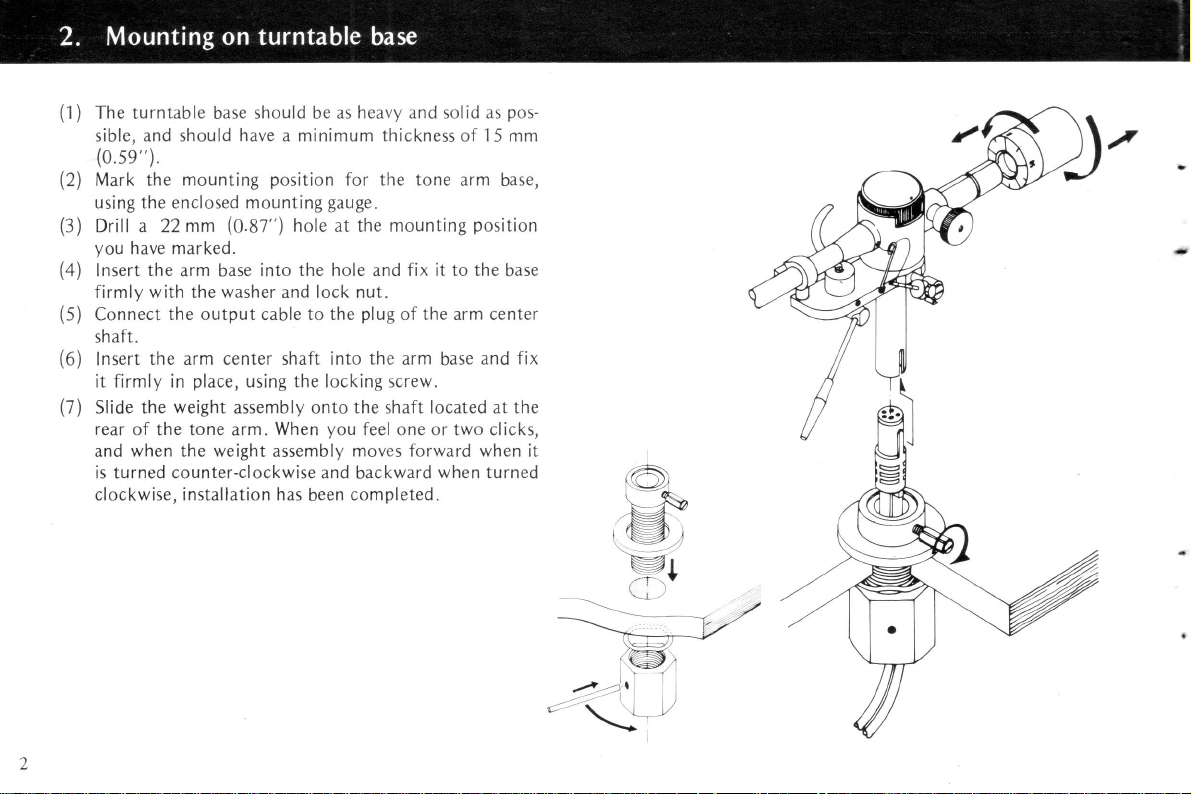
(1)
The turntable base should be as
sible, and should have a minimum thickness of
heavy and solid as
(0.se").
(2)
Mark the
using the enclosed mounting
(3)
Drill a 22
vou
(4)
lnsert the arm base
firmlv with the washer and lock nut.
(s)
Connect
sh aft.
(6)
lnsert
firmly in
it
I1\
Slide the weight
rear
and when the weight assembly
is turned counter-clockwise and
clockwise, installation
mounting
mm
have marked.
the output cable to the
the arm center shaft into the arm
place,
of the tone arm.
position
(O.Sz")
hole at the mounting
into the hole
using the locking screw.
assembly
onto the shaft located at the
When
has
been
the tone
for
gauge.
and
plug
you
feel one or two clicks,
moves
backward
completed.
pos-
.l
mm
5
arm base,
position
fix it to the
of the arm center
base
forward when it
when
base
fix
and
turned
,'A\
>='4.
\--^v
rM;
Vr
(l