

Page 1
warranty information
Ultimate Support Systems offers a Limited Lifetime Warranty on GS-1000 (#16538)
and GS-100 (#13710). For Full Details, Exclusions and Limitations as well as information
on Obtaining Warranty Service, please see full warranty details available online at
www.ultimatesupport.com.
To purchase the Ultimate Protection Plus Premium Service and Support Plan,
please visit www.ultimatesupport.com or call customer support at 800 - 525 -5 6 28
for more information.
Product Manual
for Ult imate Support
warranty registration
Visit www.ultimatesupport.com for a quick and convenient process for registering your
new Ultimate Support product. Warranty Registration and Proof of Purchase are required for
warranty fulfilment. Full Limited Lifetime Warranty and Ultimate Protection Plus Premium
Service and Support Plan details are available online under Music Gear & Instrument
Stands / Customer Support.
please note
Vintage instruments and instruments with a nitrocellulose lacquer finish require special
care. Sweat, heat, sunlight, environmental pollutants, nitrocellulose and age can create
chemical reactions that can not be tested or predicted. At Ultimate Support we care about
your instrument and strongly caution against any guitar stand being used for long-term
instrument storage.
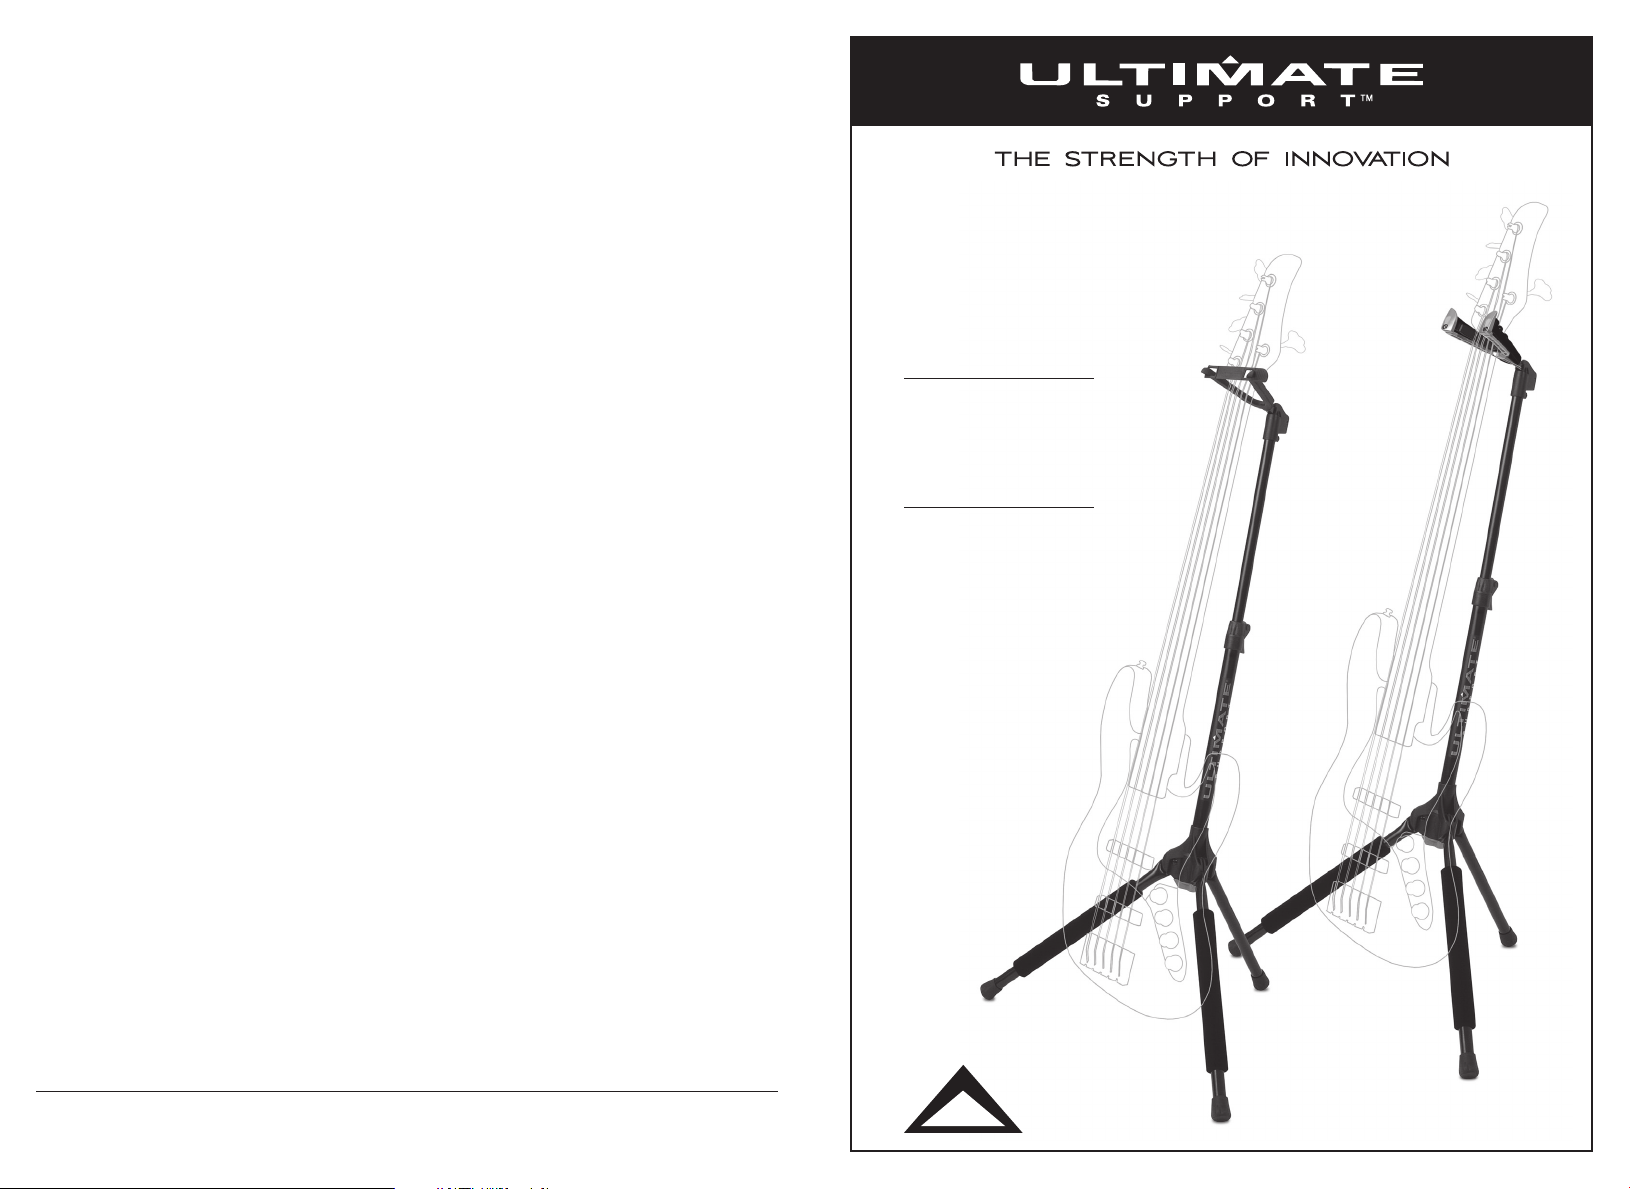
GENESIS
SERIES
GS-1000
ITEM #16538
GS-100
ITEM #13710
970.776.1920 . www.ultimatesupport.com . Copyright 2009, Ultimate Support Systems . All Rights Reserved
4
Revision 5, 03.04.09 . Product Manual Item #13815
Page 2
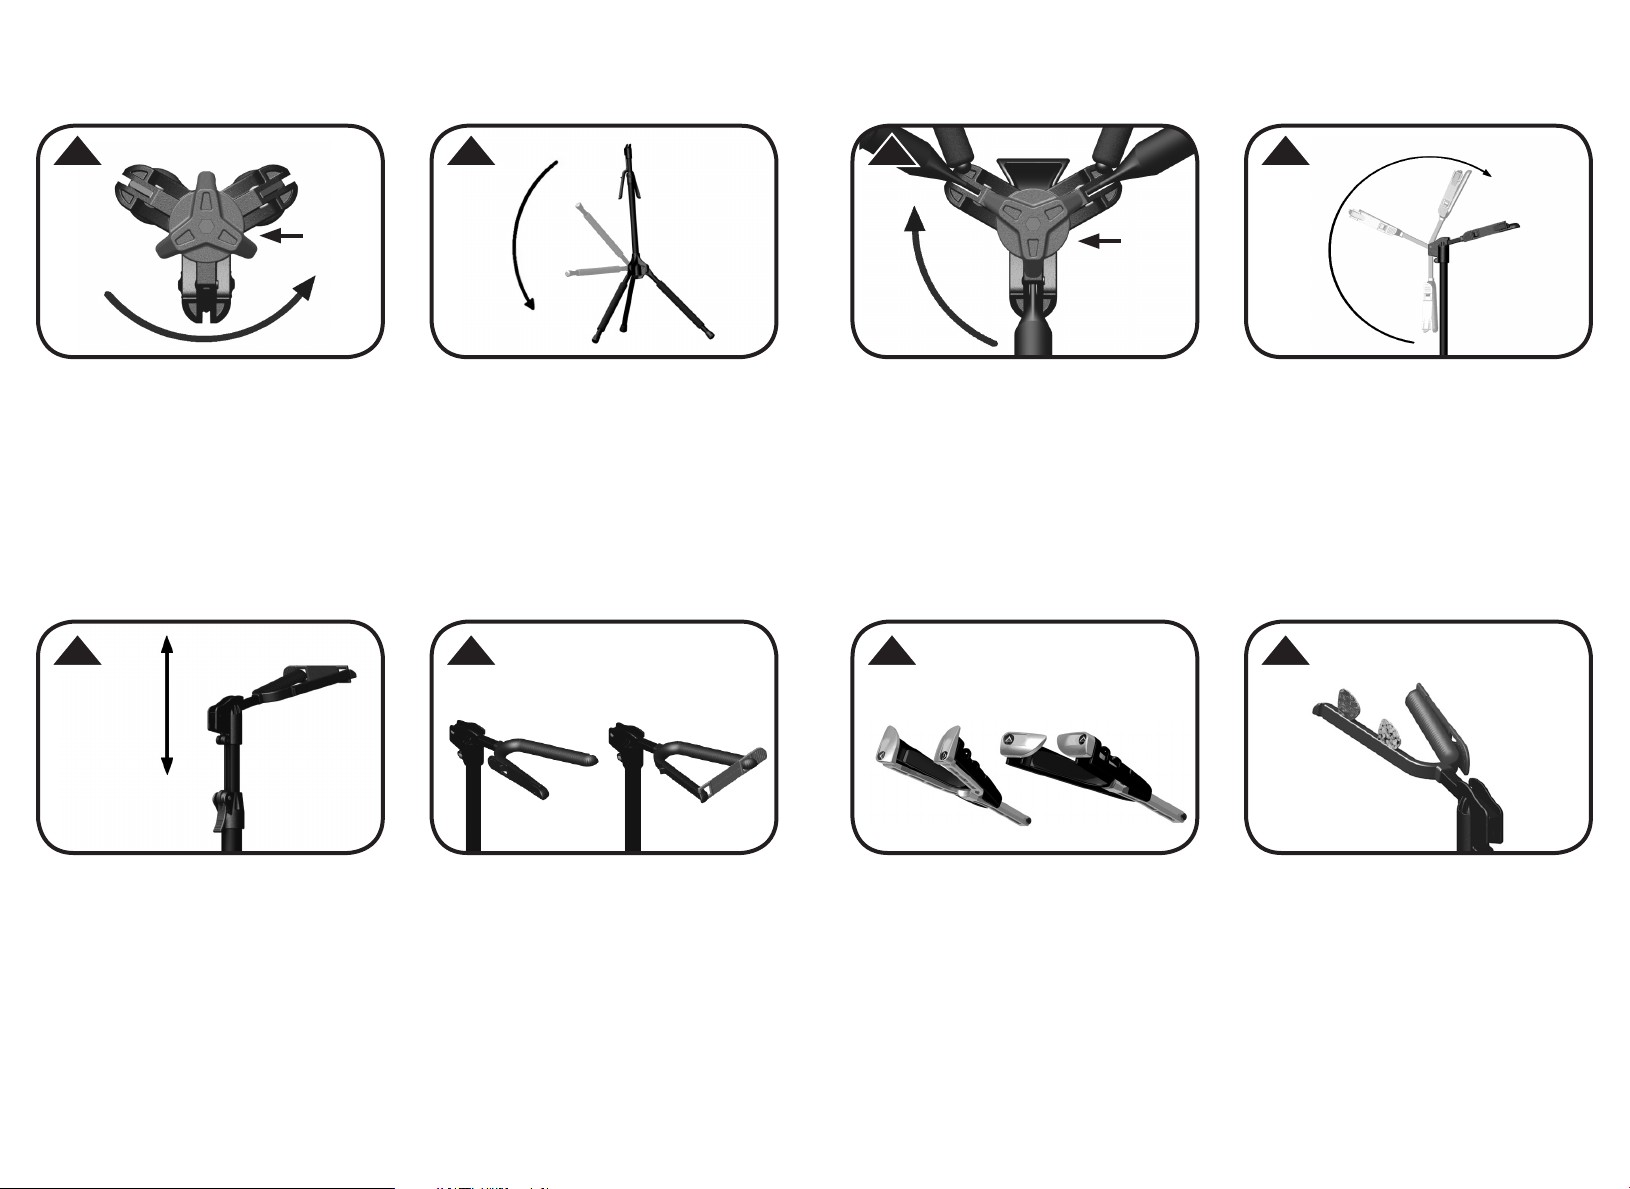
set-up
1
LOCKING
KNOB
STEP 1
Turn stand upside-down and locate the
RED / GRAY Locking Knob. Turn the Locking
Knob ¼ turn counterclockwise to the open
position shown above.
5
2
STEP 2
Turn the stand back to the upright position
and fold all three legs down until they
stop in the open position. (The legs should
move freely to the open position, if they do
3
STEP 3
After all three legs are in the open position
turn the RED / GRAY Locking Knob ¼ turn
clockwise to the closed position
shown above.
not, make sure the Locking Knob is in the
open position.)
6
OPEN OPENCLOSED CLOSED
6
4
LOCKING
KNOB
STEP 4
Rotate the Neck Yoke to the open position
shown above. The yoke should firmly snap
into position.
7
STEP 5
Flip open the RED / GRAY telescoping Lock
Lever at the back of the stand. Adjust
the height of the stand until your guitar’s
bottom edge or instrument cable is about
2 inches from the floor. Flip down the Lock
STEP 6 for GS-100 (#13710)
Unhook the Retention Strap from the open
position and pull strap around to the front
of the yoke. Stretch the strap over the
other end of the yoke to secure guitar.
STEP 6 for GS-1000 (#16538)
Place guitar or bass into the stand and
the instrument’s weight pulls the yoke
closed around the headstock. To remove
the instrument, simply lift up to release the
security gate.
STEP 7 OPTIONAL: On GS-100
Convenient guitar pick storage slots are
located along the top of the yoke.
Lever to set the height.
2 3
 Loading...