

Page 1
warranty registration
Visit www.ultimatesupport.com for a quick and convenient process for registering your new
Ultimate Support product. Warranty Registration and Proof of Purchase are required for warranty
fulfilment. Full Limited Lifetime Warranty and Ultimate Protection Plus Premium Service and
Support Plan details are available online under Music Gear & Instrument Stands / Customer Support.
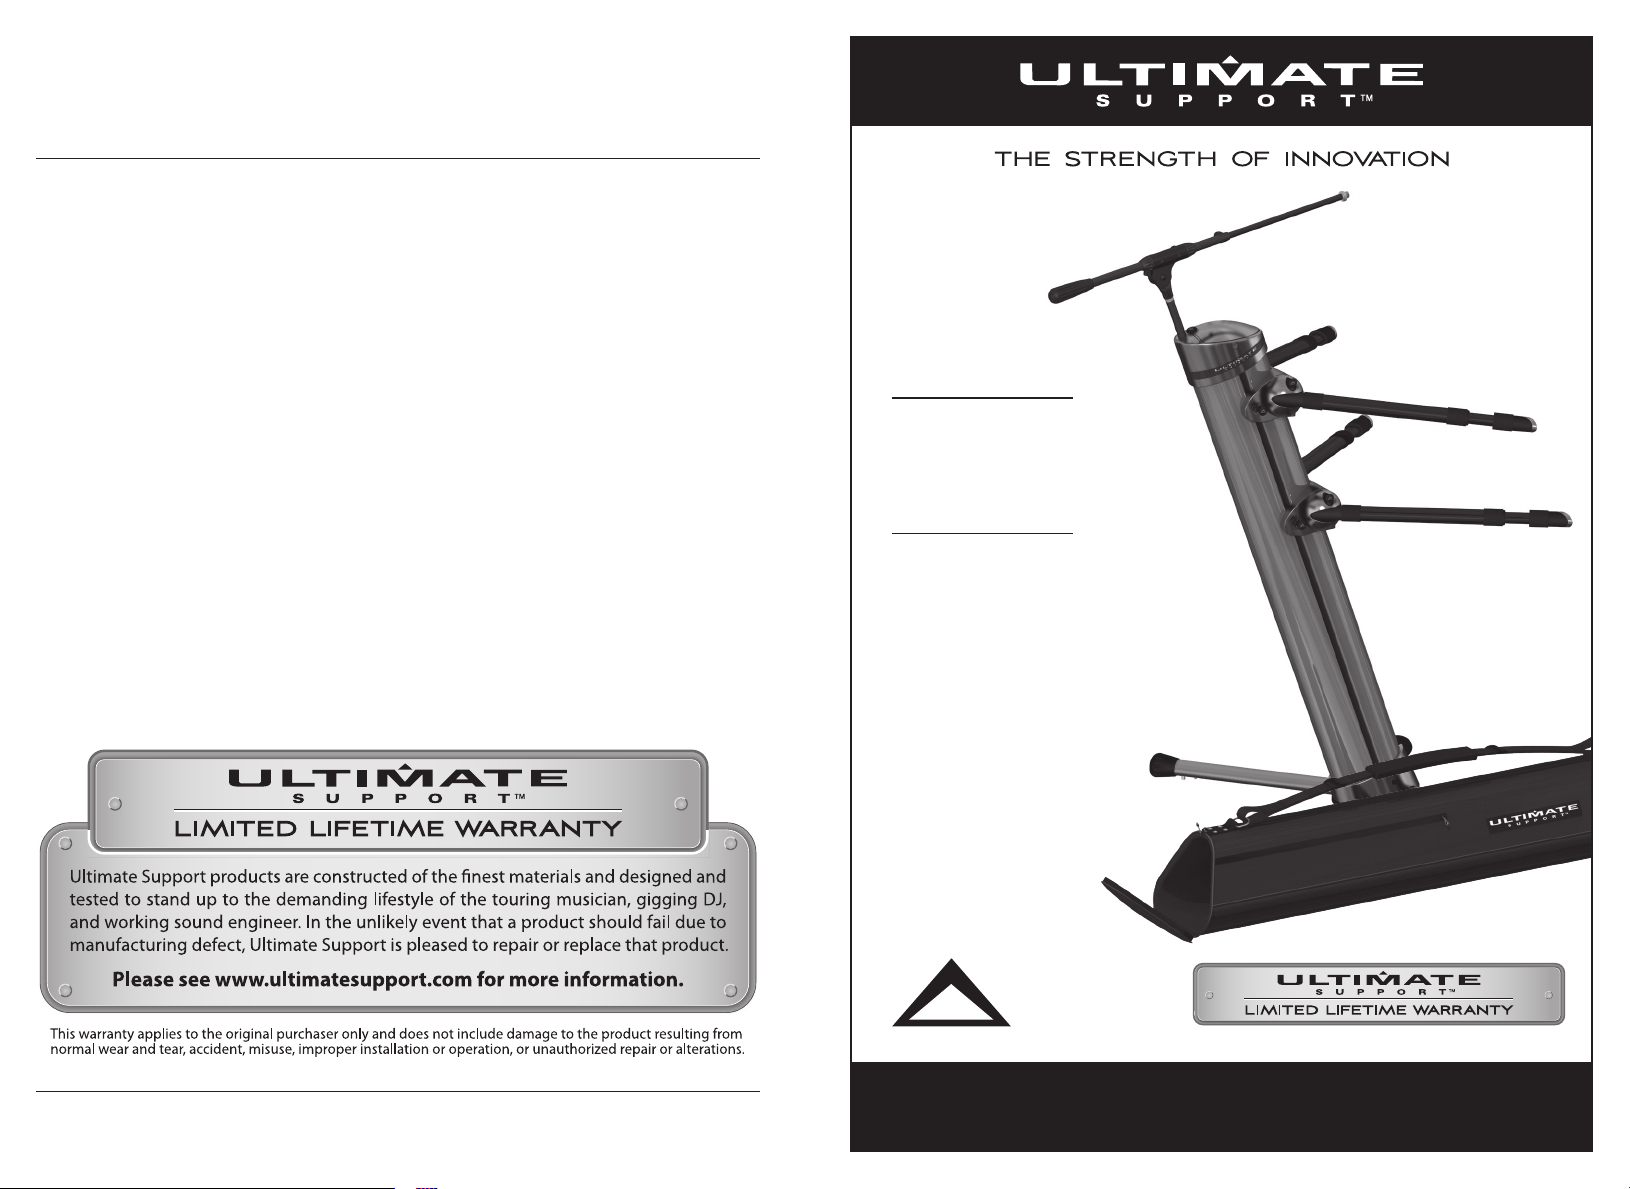
Product Manual
for Ultimate Suppor t
APEX®
KEYBOARD
STAND SERIES
AX-90B
IT EM #16761
bl ack pea rl
AX-90OR
IT EM #16763
or ang e
AX-90P
IT EM #16765
pew ter
AX-90W
IT EM #16766
whi te pear l
AX-90BL
IT EM #16768
blu e
AX-90R
IT EM #16769
red
BOOM NOT
IN C LU DE D
800.525.5628 . www.ultimatesupport.com . Copyright 2010, Ultimate Support Systems . All Rights Reserved
8
Revision 1, 9.01.10 . Product Manual Item #APEX-M
CAUTION
:
To preserve color finish on stand use tote bag and
instruction provided for setup and TIER down in manual.
Page 2
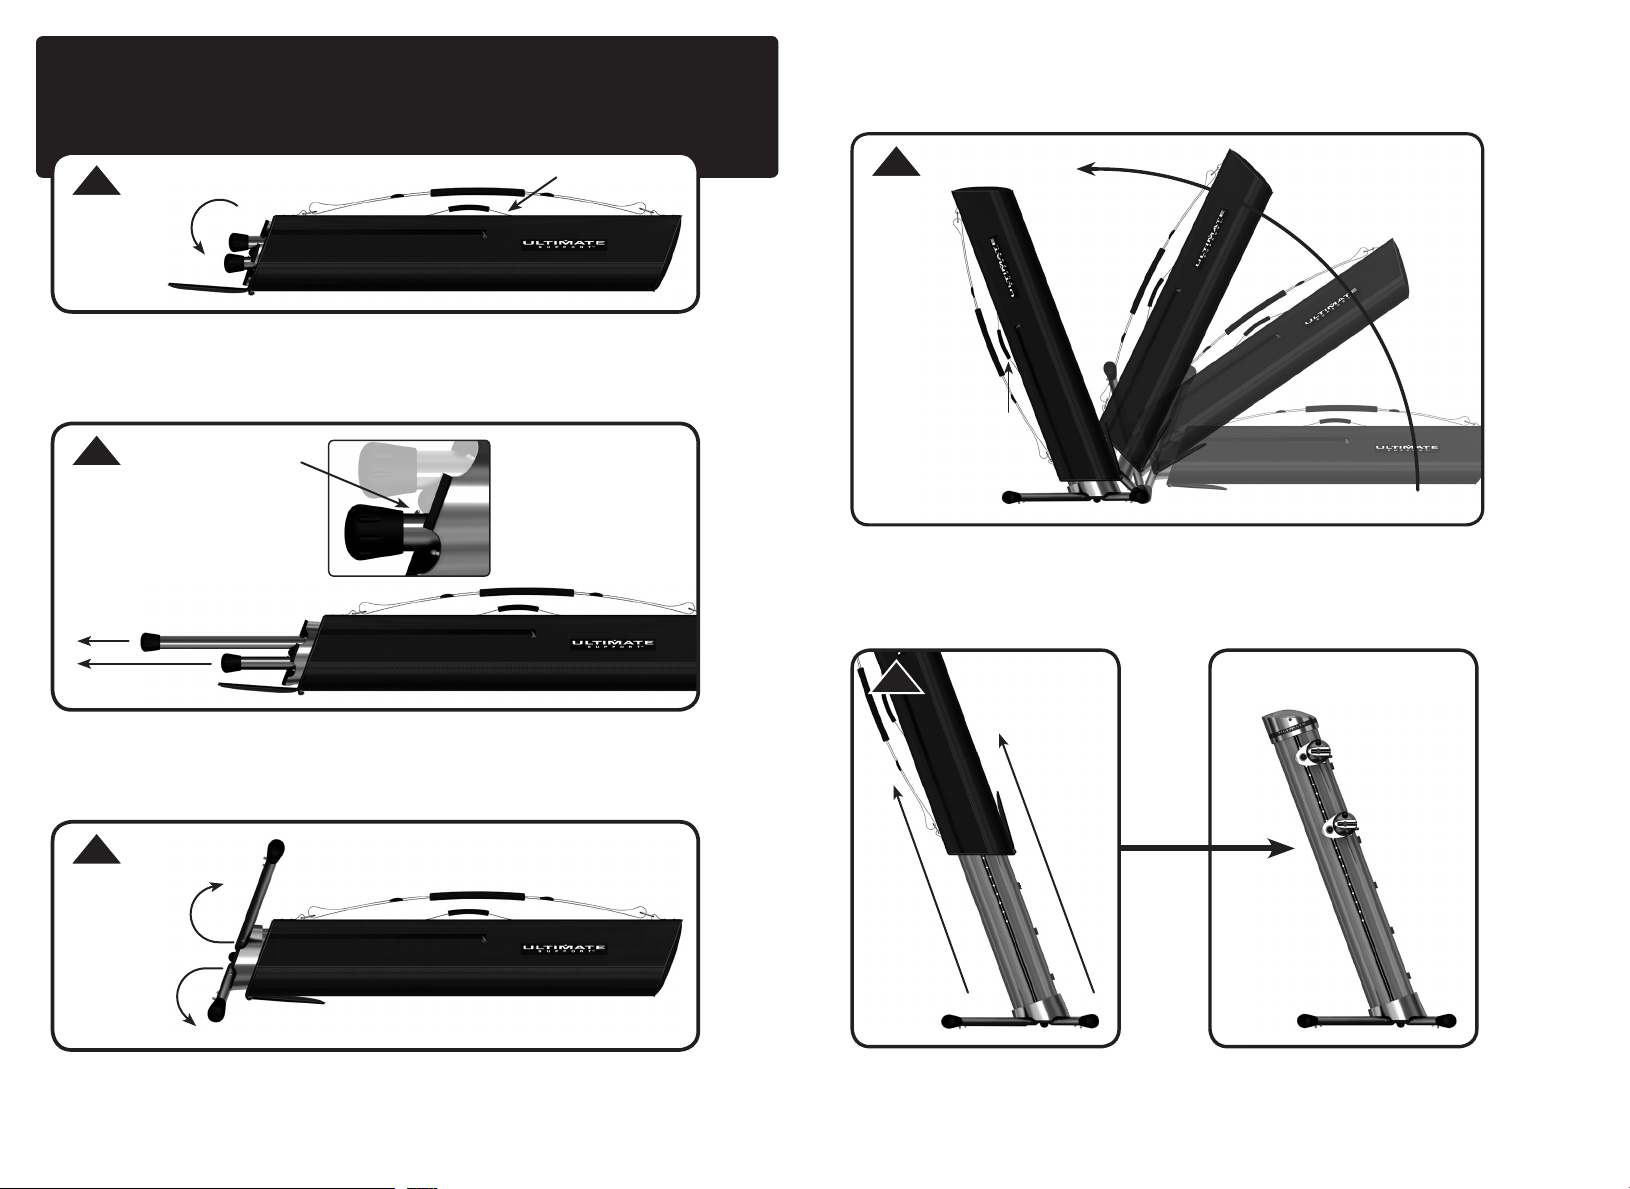
APEX® STAND & TOTE BAG
APEX S TA N D STORES I N T OT E B AG F O R PROTECTION
1
Front Zipper
STEP 1
Lay your Apex Tote Bag on the ground with handle facing up. Unzip end of bag
exposing all four legs. DO NOT REMOVE TOTE BAG YET!
2
Legs Fully Extended
Leg Extension Button
Handle Facing Up!
4
Apex in Standing Position
Small Handle
STEP 4
Pull Apex Stand up onto it’s legs using the small handle on tote bag. Do not remove
the bag until the stand is in an upright position.
STEP 2
Locate Leg Extension Buttons on inside of Apex legs. Push Button in and extend
legs. Make sure legs are fully extended. DO NOT REMOVE TOTE BAG YET!
3
STEP 3
Legs In Locked Position
Fold legs out until they lock in position. DO NOT REMOVE TOTE BAG YET!
5
STEP 5
Pull tote bag off stand.
32
Page 3

APEX® ARMS & ADJUSTMENTS
ADJ UST HEI GHT, LE NGTH, AND ANGL E
Release
6 9
Button
Arms
Adjustment Button
Angle Nob
Angle Nob
Adjustment Button
STEP 6
Press red release button to pop cap and pull out arms. Snap arms into place,
adjustment buttons face down, and logos on arms read right side up. Make sure
arms are locked into position by pulling back on arms.
7
STEP 7
Keyboard End
Stopper
Keyboard End
Stopper Locked
Twist Keyboard End Stops to hold keyboard in place. Keyboard End Stops must be
folded back for storage.
8
Up & Down
Nob
STEP 8
Front View
Up & Down
Nob
Up & Down
Nob
Side View
To adjust the tier height pull on both nobs on front side of tiers at the same time.
Adjust up or down to desire height. At desired height release nobs and press down
to ensure locked position.
Back View
Side View
STEP 9
To adjust arm angle pull the nob on the desired side. Snap arm into place aligning
red lines. Repeat for remaining arms.
10
4 Locking Positions
STEP 10
To adjust arm length push in buttons on bottom of arms and adjust out or in.
Keyboard cord
11
LOC KED
Keyboard cord
STEP 11
Place cord to
keyboard down
center of stand
and turn clips to
lock in place.
Cord clip
UNL OCK ED
Cord clip
54
Page 4

APEX® TEAR DOWN APEX® ACCESSORIES
FOL DS U P F OR C ONV ENI ENT STO RAG E TOTE BAG & T ELE SCOP ING BO OM
Logo on arm
STEP 1
Twist Keyboard End Stops to closed position. Keyboard End Stops must
be folded back for storage.
STEP 2
Press red button below arm and pull to detach arm. Press red top
button to pop cap and place arms inside. Arm end with logo goes in
first. Arms should fit easily in holes. If top does not close check arms
to make sure they are properly put into holes.
-Included with all Apex Stands
Top view of leg
storage
ARMS NEED TO BE IN THE PROPER ORIENTATION.
STEP 3
Slide bag over stand. Handle should be facing front and on same
side as longer legs.
STEP 4
Standing behind of stand pull tote bag towards you while walking
backward and lay tote bag on ground. Handle should be on top.
STEP 5
Release legs so that they are ready to be pushed in.
STEP 6
Push legs in until they snap inside stand. Zip up bag for next use.
Do not slam legs into stand – this can cause the locking tabs to drop into
the leg itself. If this occurs, please contact Customer Support for assistance.
AX-90BAG TOTE BAG
Bag designed to aid in set-up and TIER-down, protecting the stand’s finish. Simply
store the tiers inside the top of the stand and slip the bag over the top. Laying the
bag down with the stand inside, store the legs in the bottom and zip up the bag end.
Bag has top end handle and carrying strap.
• AX-90BAG #17263
• Heavy-duty, padded and zippered Tote Bag. Holds one AX-90
Series Column Keyboard Stand, plus one AX-90MIC boom.
-Not included
-Available Separate
AX-90MIC BOOM
Telescoping “Ulti-boom” utilizes height adjustment channel inside of the New Apex
body. Super clean looks combined with perfect functionality. Quickly detaches and
stores in protective Apex Bag pocket.
• AX-90MIC #17222
• Telescoping boom length 18.9” - 33.9”
(480 mm - 860 mm)
76
 Loading...