

Page 1
warranty registration
Visit www.ultimatesupport.com for a quick and convenient process for registering your new Ultimate Support product. Warranty
Registration and Proof of Purchase are required for warranty fulfilment. Full Limited Lifetime Warranty and Ultimate Protection
Plus Premium Service and Support Plan details are available online under Music Gear & Instrument Stands / Customer Support.
Product Manual
for Ultimate Support
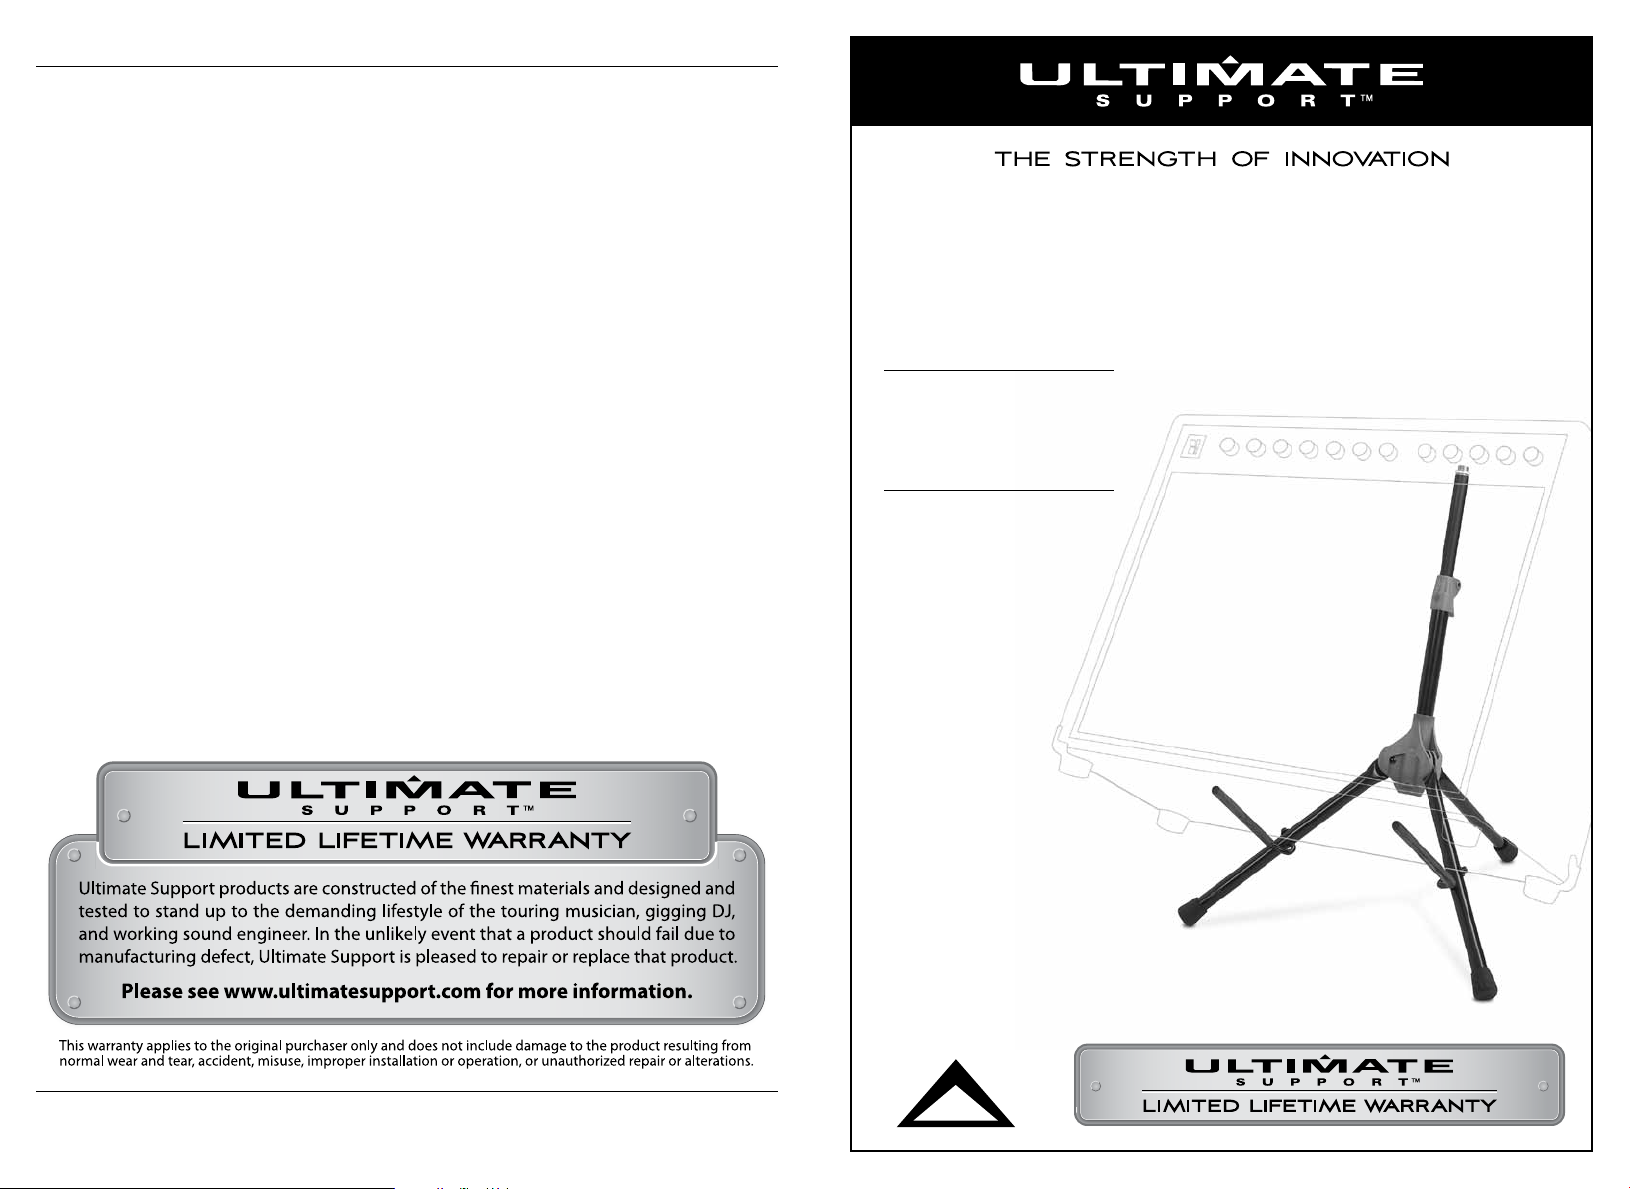
GENESIS
SERIES
amp-150
ITEM #13464
800.525.5628 . www.ultimatesupport.com . Copyright 2009, Ultimate Support Systems . All Rights Reserved
4
Revision 2, 03.21.09 . Product Manual Item #13464M
Page 2
COMPACT, PORTABLE
AMP STAND
set-up
Optimal Volume
Three tilt positions direct the amp’s
sound up to your ears.
Leg Lock
Legs lock open for worry-free stability of
up to 75 lbs. Legs fold and lock, creating
a one-piece, portable unit.
Mic Boom Attachment
Threaded top tube for mic boom
attachment; no need to carry an
extra mic stand.
Bult-in Inovation
Are you experiencing hearing loss or
do your band members complain about
your volume? Well, your recent purchase
will help! With the AMP-150’s three tilt
positions you can tip your amp back
and face it toward you, allowing you to
hear the high frequencies at much lower
volume levels. In addition, your sound
guy will have less vocal mic bleed and
better control of the FOH. End result:
your band will stop threatening to
unplug you!
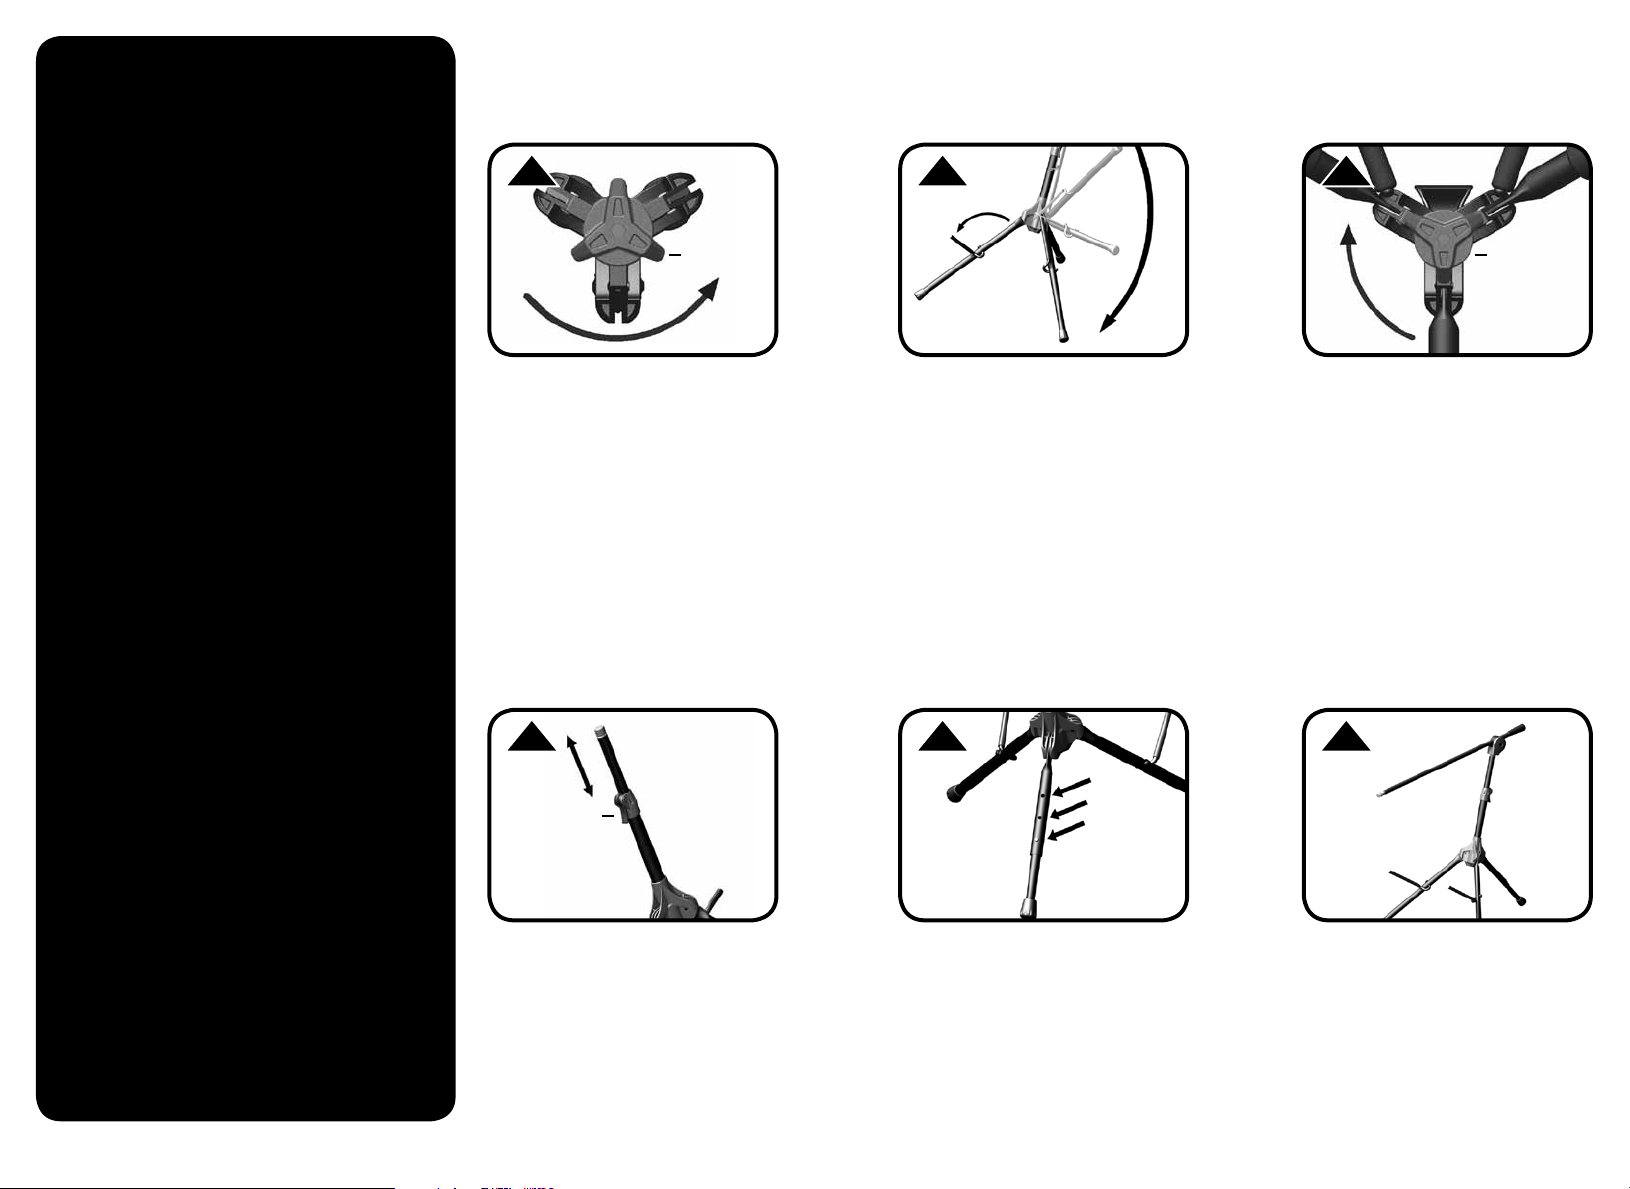
1
LOCKING
KNOB
STEP 1
Turn stand upside-down and
locate the RED Locking Knob.
Turn the Locking Knob ¼ turn
counter clockwise to the open
position shown above.
4
LOCKING
LEVER
STEP 4
To adjust the height of the upright tube,
pull up/open the locking lever, slide out
the top tube to desired height and
return the locking lever to the down/
closed position.
2
STEP 2
Turn the stand back to the upright
position and fold all three legs down
until they stop in the open position.
(The legs should move freely to the
open position, if they do not, make
sure the Locking Knob is in the open
position.) Unfold the cradle arms to
the down position.
5
SNAP
BUTTONS
STEP 5
The angle of the stand can be adjusted
by selecting one of three positions.
Push in the snap button and slide the
leg out. The snap button must lock into
the selected hole.
3
LOCKING
KNOB
STEP 3
After all three legs are in the open
position turn the RED Locking Knob
¼ turn clockwise to the closed
position shown above.
6
STEP 6
OPTIONAL: Attach a boom to the
universal threads at the top of the
stand’s upright tube. Adjust the boom
angle for miking your amp.
32
 Loading...