

Ugoos MINIBOX User Manual
和天创科技 http://www.hotack.cn
·
Instructions for use
Main menu
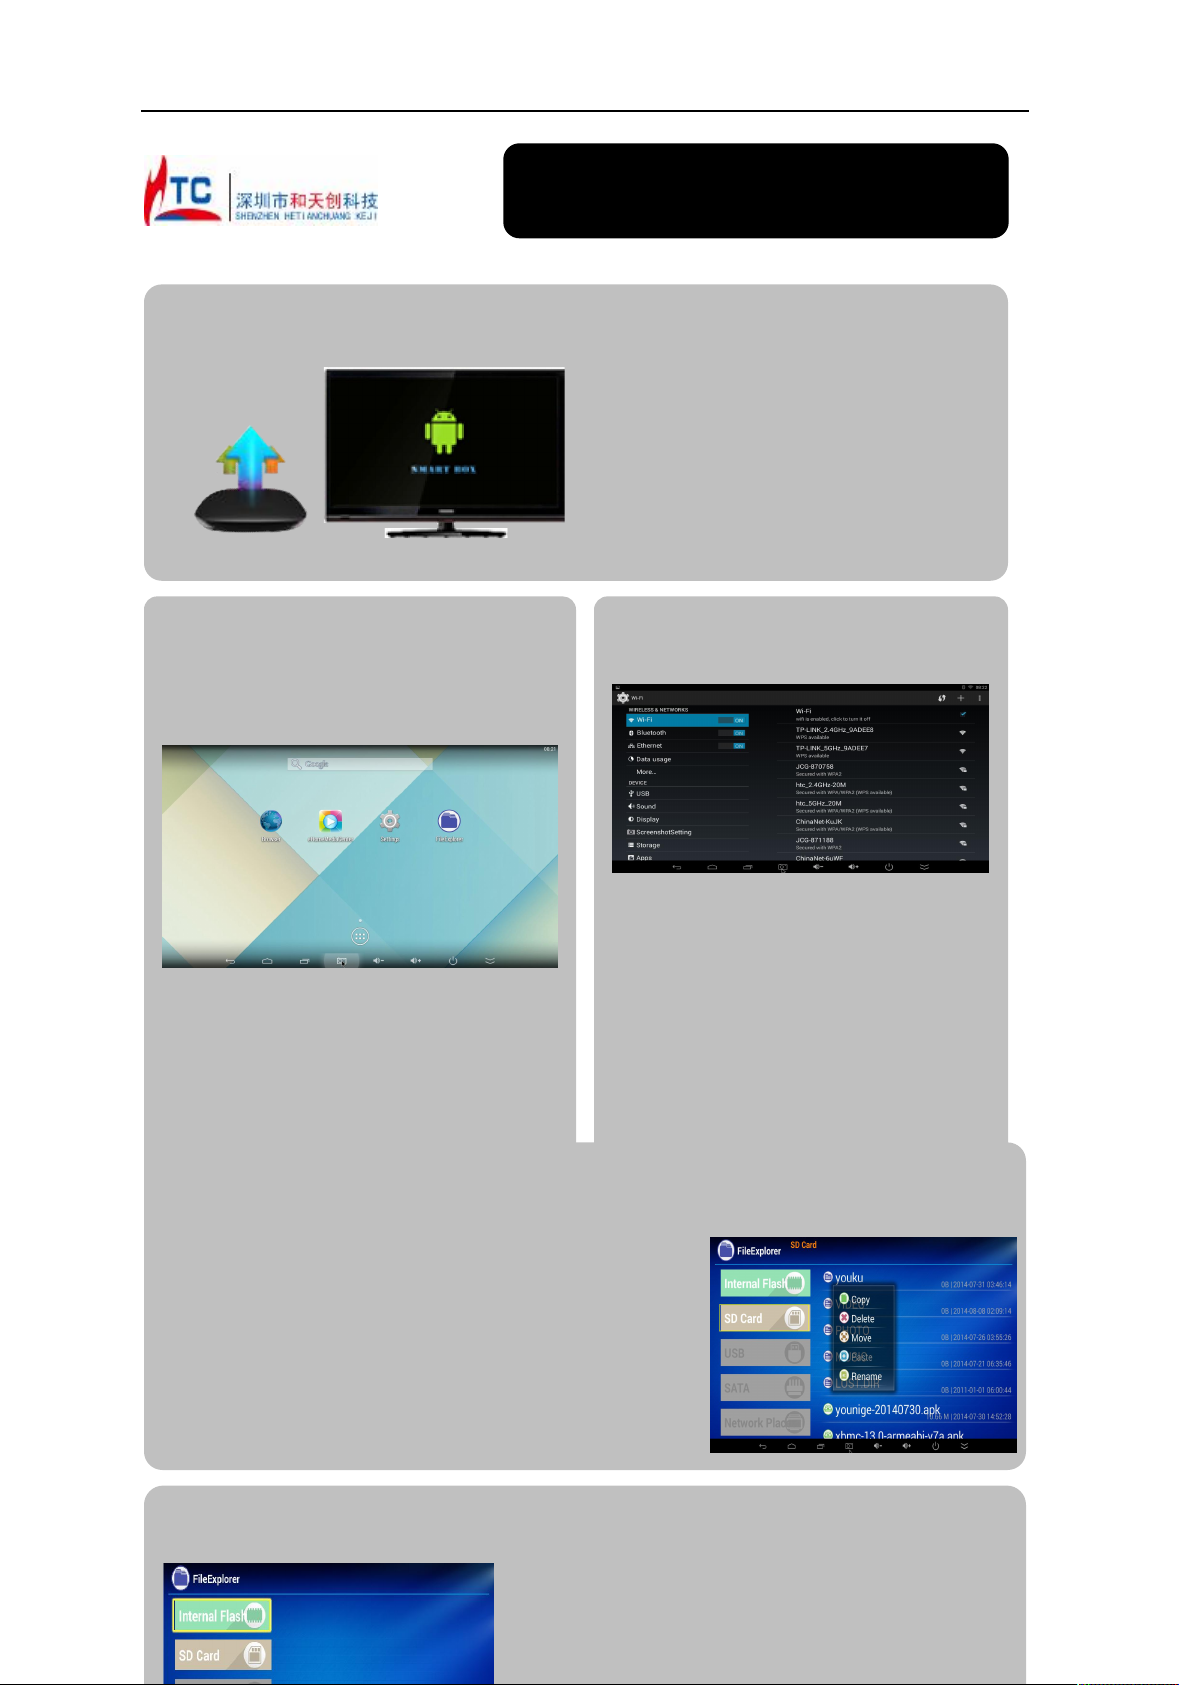
After booting into the main system interface, as
shown below:
· Through the remote control or move the mouse
cursor, press the remote control to confirm key or
click left mouse button, open the program.
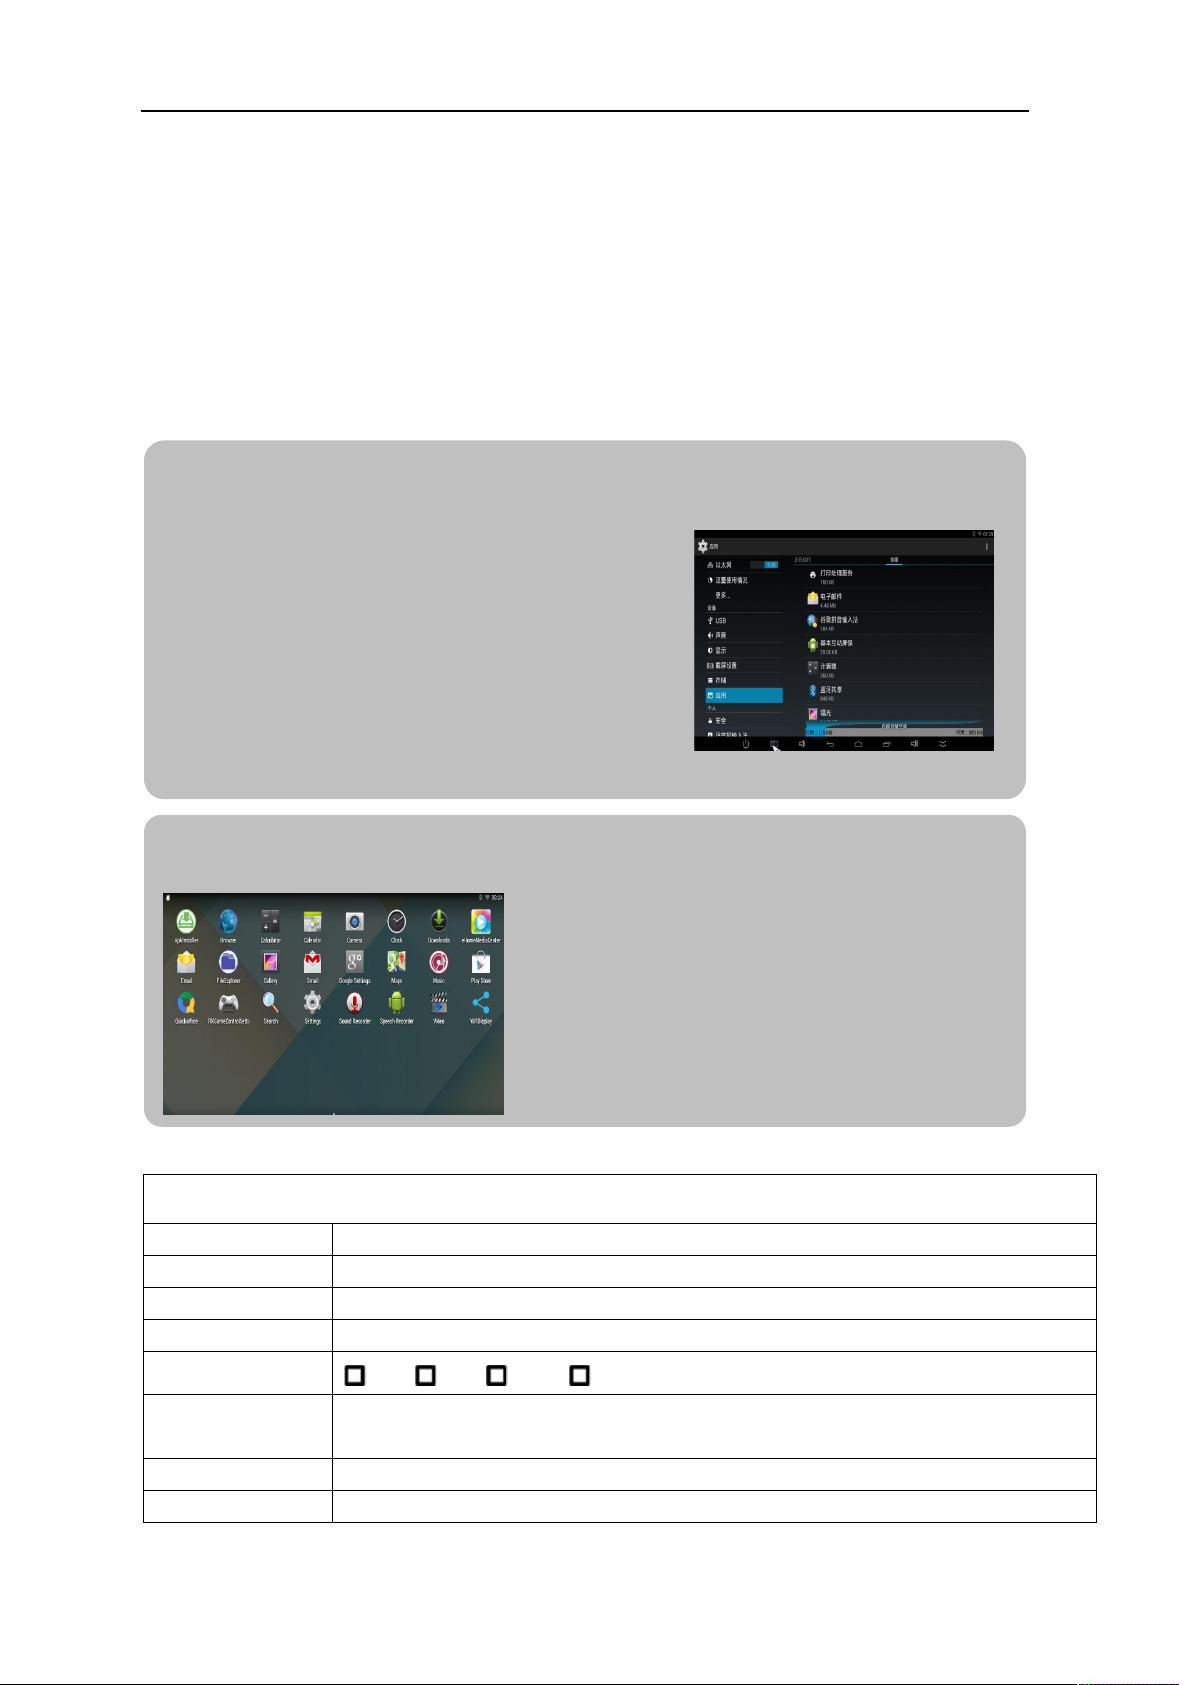
· In the main interface, click on the button, enter
all application interface.
operating guide
If you need to u nderstand the d etails,Please visit our web site:www.ho tah.cn
O r stored in the reference on electronic ins tructions
Power up the device: Connected to the external
power supply,Hold down the right power
button of the device, which is located at the
lower right corner.
Turn on the TV, use the TV remote control or
mouse, operating TV menu, select the source
to the HDMI. (For details, see the TV manual)
Wi-Fi settings
· Open the Applications tab In the main
interface, then click "Settings"
· After Choose: "Wireless network" click
"Wi-Fi", click on "Wi-Fi settings".
·Click connect to network, that will be can
connected, if the network requires a
password, enter the correct password in the
password bar, WALN shows "Connected."
·Network settings after completion, return to
the main interface, then, you can use the
network, and can be in the browser's address
bar, enter the desired website address.
·Open the webpage, click or sliding webpage,
click the link to open the linked page.
Browse the file or folder
In Desktop state, click the application bar icon, enter into the
application field, click into the" resource manager."
In the file list can be clickable sliding, rolling.
·
·
Click on the required file or folder, can open the file or folder.
·
Click the status bar of the back button to return to the level folder.
·
Click the Home button on the status bar, you can return to the
home page.
Long press a file or folder, can popup a menu, for example:
·
"Copy, delete, move, paste, rename" and other additional options.
If you do not execute the operation, click on the Cancel button.
directly
USB connection
和天创科技 http://www.hotack.cn
·Connect USB line interface, plug in the machine of right
side USB interface, the other point is inserted in the
computer USB interface connection, drag down the status
bar, and then show USB connection status, that will be
appear ”USB connection”, prompting USB connection.
· If successful, your computer will be appear a new
removable disk.
· On the computer desktop to open "My Computer",
double-click the new removable disk, where the data can be
copied, deleted by machine
Disconnect: Click the bottom left of the screen arrow to the
removable disk icon, pop up a small window safe deletion
mobile disk.
Install / uninstall software
·MINIBOX operating system default for Android 4.4.2 version,
install the software required to process the format is*. Apk
format.
· MINIBOX supports many popular third-party application
software formats
·MINIBOX can be installed or uninstalled you need software.
·To install an application, the need to*. Apk format copied to
your MINIBOX, then open” resource manager",click to install*.
Apk file.
·Installed application, will appear in the application bar.
·
To uninstall the software, click "Settings" to enter the setup
menu, click into the "Applications" tab, then click: "Manage
Applications", click on the software you want to uninstall, and
Other application
Multimedia
·MINIBOX can support photograph and taking pictures.
· MINIBOX can support HD video playback, photo
viewing, and music.
· Firstly. need to play music, video, photos copy to the
mini SD card or storage in mobile hard disk.
·Click the application icon, after enter, click on the
corresponding icon, such as "video" "picture" "music" into
the corresponding interface.
·Click the file of play, it can be play. file.
Specifications of appendix
Specifications of appendix:
Model# Android Smart BOX
CPU RK3288
Main Frequency
Inner memory 2G DDR3
Memory 4G 8G 16G 32G
Operating
system Android 4.4
User interface Android system lnterface style
Video 4K H.264/H.265 decoder, 1080P multi-video decoders
Quad-core ARM Cortex-A17 CPU with up to 1.8GHz and GPU is Mali-T764
 Loading...