

Page 1

CLM100
INSTRUCTION MANUAL
99 Washington Street
Melrose, MA 02176
Phone 781-665-1400
Toll Free 1-800-517-8431
Visit us at www.TestEquipmentDepot.com
Page 2

Introduction
The CLM100 Cable Length Meter is ideal for measuring cable length on
the spool or in existing conduits. Includes test leads, copper calibration
bar, an abrasive pad for removing oxidation and carrying case.
Features include
• 3 digit display with enunciators
•
Measures in FEET (ft) or METERS (m)
• Measures COPPER (CU) or ALUMINUM (AL) wire
• Resistance range for milliohm measurements
• Automatic temperature compensation
• User calibration mode. Calibration standard included
• Auto power off
WARNING!
Make sure wire under test is not energized. Never apply voltage
to inputs.
NOTE: Temperature affects accuracy of readings. Please see accuracy
specifications. For best results, allow the CLM100 to attain the same
ambient temperature as the wire under test. The length of time this will
take depends on the ambient temperature. Typically it will take 10 to 15
minutes for the CLM100 to attain equal ambient temperature.
Safety Tips
Before using this meter, read all safety information carefully. In
this manual the word "WARNING" is used to indicate conditions
or actions that may pose physical hazards to the user. The word
"CAUTION" is used to indicate conditions or actions that may
damage this instrument.
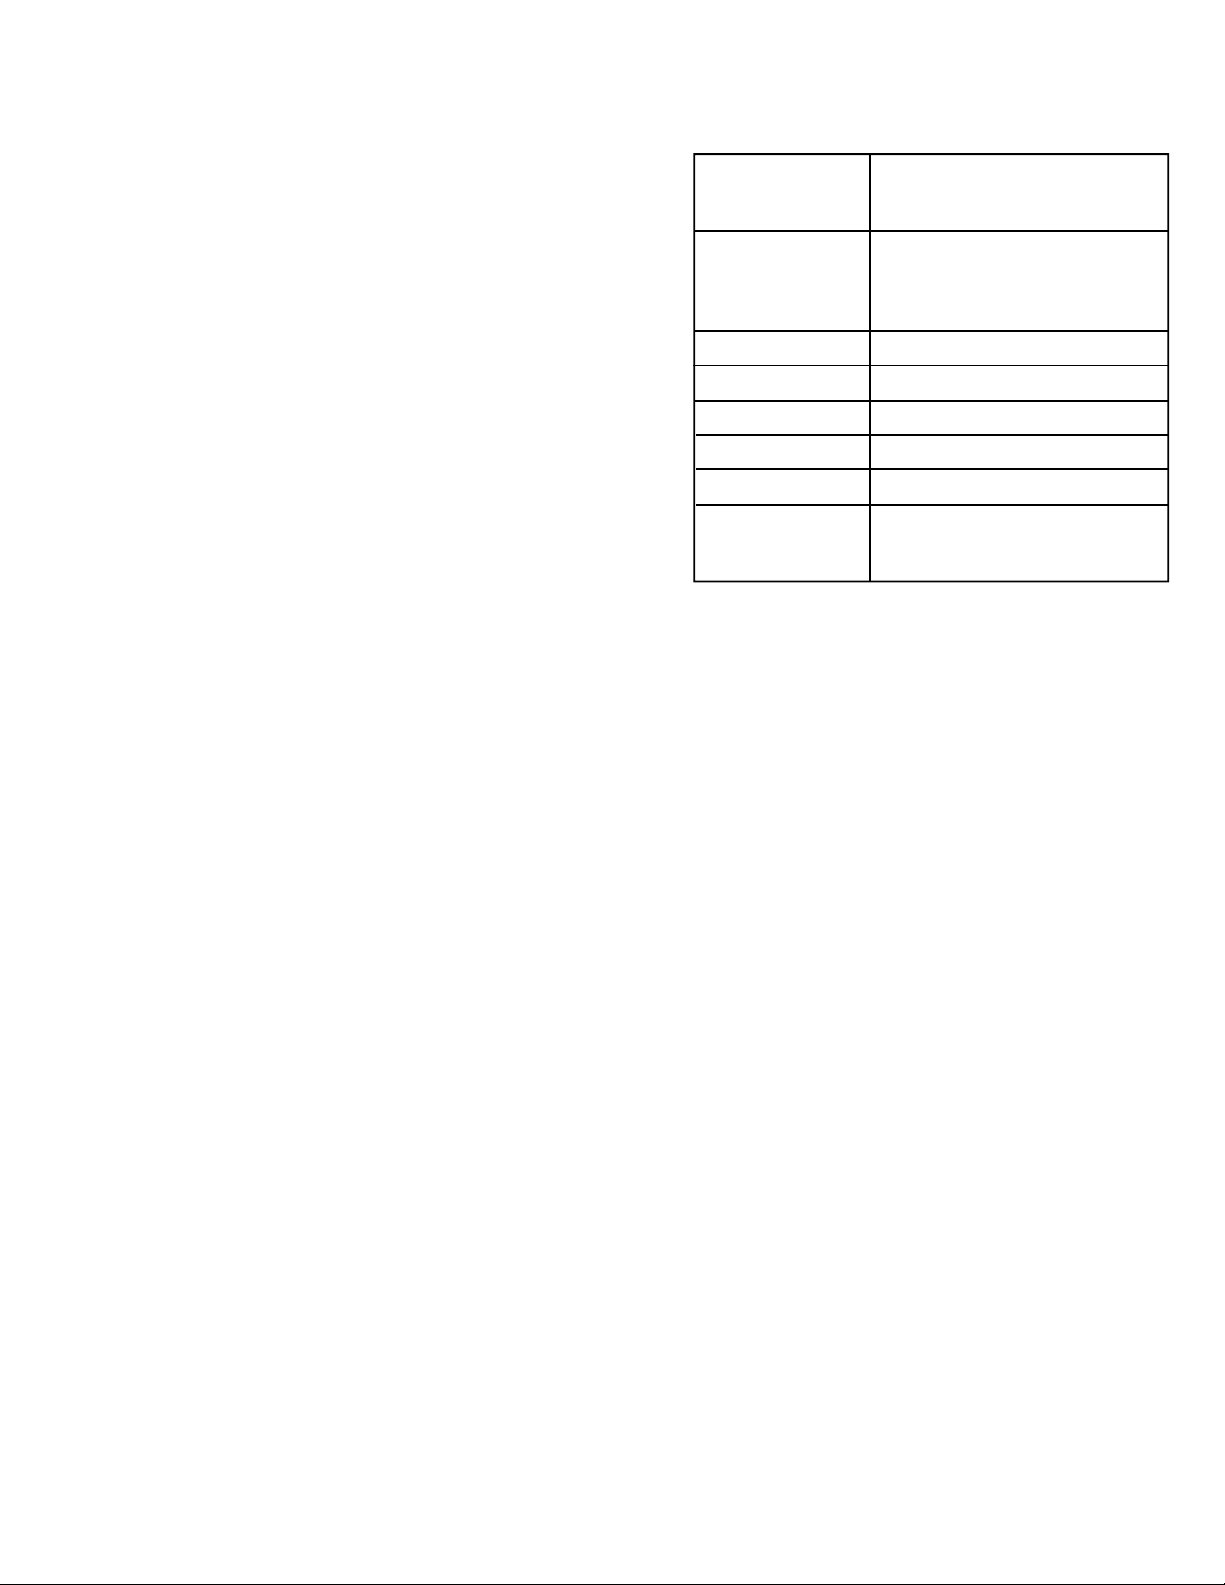
International Symbols
Operating Instructions
Calibration Procedures
1. Turn the CLM100 on by depressing the green on/off button
2. Insert the black test leads into one pair of input jacks and the
red test leads into the other pair of input jacks. (Ignore the gray
marking on the banana plug.) This is very important to ensure
that the meter works correctly. If black and red test leads are
mixed the unit will give a false reading. (Fig 1)
3. Connect the Kelvin clips to the calibration standard. Make sure
the clips are as close together as possible. (Fig 2)
NOTE: Make sure the calibration standard is clean. The Kelvin
clips must be connected across the diameter of the
standard.
Use the abrasive pad to clean the calibration standard.
NOTE: Make sure clips are as close together as possible. Use the
tips of the Kelvin clips when performing measurements on small
diameter wire.
4.
Press and hold the “CAL” button until all segments in the
display
illuminate. This completes the calibration procedure and will
ensure all measurements are as accurate as possible.
5.
Disconnect the leads from the standard.
Measuring Length of Wire
1. Turn the CLM100 on and perform the calibration procedure.
2. Allow the CLM100 to attain the same temperature as the
wire under test.
NOTE: Temperature affects accuracy of readings. Please
see
accuracy specifications. For best results, allow the CLM100 to
attain the same ambient temperature as the wire under test.
WARNING!
Make sure wire under test is not energized. Never apply voltage
to inputs.
CLM100-MAN P. 1
Page 3
3. Strip the insulation back on each en d of the wire being tested.
NOTE: Make sure both ends of the wire under test are clean and
the conductor is fully exposed. The insulation must be stripped
away so the Kelvin clips can be connected across the diameter of
the wire. Use the abrasive pad to clean the wire ends.
4. Using the selector on the CLM100, turn to the size of wire
under test.
5. Press the “COPPER” button if copper wire i s being tested.
The “CU” enu n c i a t o r will illuminate in the top left corner of
the display.
6. Press the “ALUM” button if aluminum wire is being tested.
The “AL” enunciator will illuminate in the top left corner of
the display.
7. Press the “FT” button if you require readings to be in feet.
The “ft” enunciator will illuminate in the display.
8. Press the “M” button if you r e q u i r e readings to be in meters.
The “m” enunciator will illuminate in the display.
9. Connect a Kelvin clip to one end of the wire and the other
Kelvin clip to the other end of the wire.
10. Read the length of
w
ire directly from the display. Please note
the “k” enunciator illumina t e s if measurements are at or above
1000 feet/meters.
11. Disconnect the test leads from the unit when not i n use.
Low Battery Indication
The “BAT” enunciator will illuminate in the lower left side of the display
to indicate battery voltage is low. The battery should be changed
immediately to ensure proper function and accuracy. Only alkaline
9 Volt batteries should be used.
S p e c i f i c a t i o n s
Measurement Range:
Accuracy:
Resistance:
Operating Temperature:
Operating Humidity:
Storage Temperature:
Auto power off:
Battery Life:
15 to 30,000 feet
26ga to 4/0ga
250MCM to 500MCM
±(2% of reading + 3 LSD) at 65˚ to 75˚F
±(3% of reading +3 LSD) below 65˚
and
bove 75˚F
a
LSD = least significant digit
0 to 65Ω
32˚ to 104˚F
20% to 80% RH
0˚ to 120˚F
After 5 minutes (approx.)
Depends on use. Typically 40 hours.
Extended measurements times can lower
battery life to no less than 6 hours.
Operational Hints
• Never apply voltage to the inputs.
• Temperature affects readings. Allow the CLM100 to attain the
ambient temperature of the wire under test.
• Use a 9 Volt alkaline battery only
• Use the test leads that came with the unit only. Other leads
will not work.
• Ensure that the test leads are clean and in good working order.
Measuring Resistance
1. If the resistance to be measured is wire, follow steps 1 through
3 under “Measuring Length of Wire.” Then follow steps 2 and 3
below. If a discrete resistor is being measured, turn the cable
length meter on and perform the calibration procedure.
2. Using the selector on the CLM100, turn to “R” on the dial.
3. Read the resistance of the wire directly from the display.
• Use an abrasive pad similar to t h e one provided to ensure the
wire under test is clean and free of oxidation.
• Ensure that insulation is stripped adequately from both ends of
the wire under test. This will enable measurements to be accurate.
• Ensure that the alligator clips are connecte d across the diameter
of the wire under test.
• When m e a s u r i n g wire for insertion into conduit, add extra wire
to compensate for the accuracy of the meter. For example, 205
feet of wire is needed to run inside a pi e c e of conduit that is 200
feet long. (This would allow 2.5 feet on each end to attach the
wire.) At 205 feet and 70˚F, the cable leng
th m
eter has an
accuracy of ±7 feet. In this case it would be safer to measure out
212 feet of wire. This would ensure that enough wire is available
for the application.
CLM100-MAN P. 2
Page 4
Limited Warranty
The CL M 100 is warranted to be free from defects in materials and workmanship for a
period of five years from the date of purchase. If within the warra n ty period your
instrument should become inoperative from such defects, the unit will be repaired or
replaced at UEi’s option. This warra n ty covers normal use and does not cover damage
which occurs in shipment or failure which results from alteration, tampering, accident,
misuse, abuse, neglect or improper maintenance. Batteries and consequential damage
resulting from failed batteries are not covered by warra n ty.
Any implied warranties, including but not limited to implied warranties of merchantability
and fitness for a particular purpose, are limited to the express warranty. UEi shall not be
liable for loss of use of the instrument or other incidental or consequential damages,
expenses, or economic loss, or for any claim or claims for such damage, expenses or
economic loss. A purchase receipt or other
proof of original purchase date will be required
before warra n ty repairs will be rendered. Instruments out of warra n ty will be repaired
(when repairable) for a service charge. Return the unit postage paid and insured to:
This warranty gives you specific legal rights. You may also have other rights which vary from
state to state.
CLM100
Cable Length Meter
Copyright © 2007 UEi CLM100-MAN 1/07
PLEASE
RECYCLE
Test Equipment Depot - 800.517.8431 - 99 Washington Street Melrose, MA 02176
TestEquipmentDepot.com
 Loading...