

Tykma Minilase Quick Start Manuals
L AS E RS FO R MA R KI N G
Quick Start Guide.

Minilase™ Quick Start Guide Rev. January 2012 •
2
Copyright © 2010-2012 TYKMA™ Inc. All rights reserved.
This document contains information covered by copyright.
Any information contained in this manual may be subject to change without prior
notice. All product or program names mentioned in this document are registered
trademarks owned by the respective companies. Windows™ and Windows™ XP are
trademarks of the Microsoft Corporation. They are only used in this document for
editorial purposes.
All information and contents in this document are property of TYKMA Inc. and
cannot be shown, distributed, modified and/or reproduced through electronic,
mechanical or any other way, without written consent from TYKMA Inc.
Originally Published October, 2010
Revised January, 2012
L AS E RS FO R MA R KI N G
TYKMA Technologies
931 E Water Street
Chillicothe, OH 45601
Toll Free: 877-318-9562
Fax: 740-779-9910
www.permanentmarking.com
www.minilase.com
Minilase™ Quick Start Guide Rev. January 2012 •
3
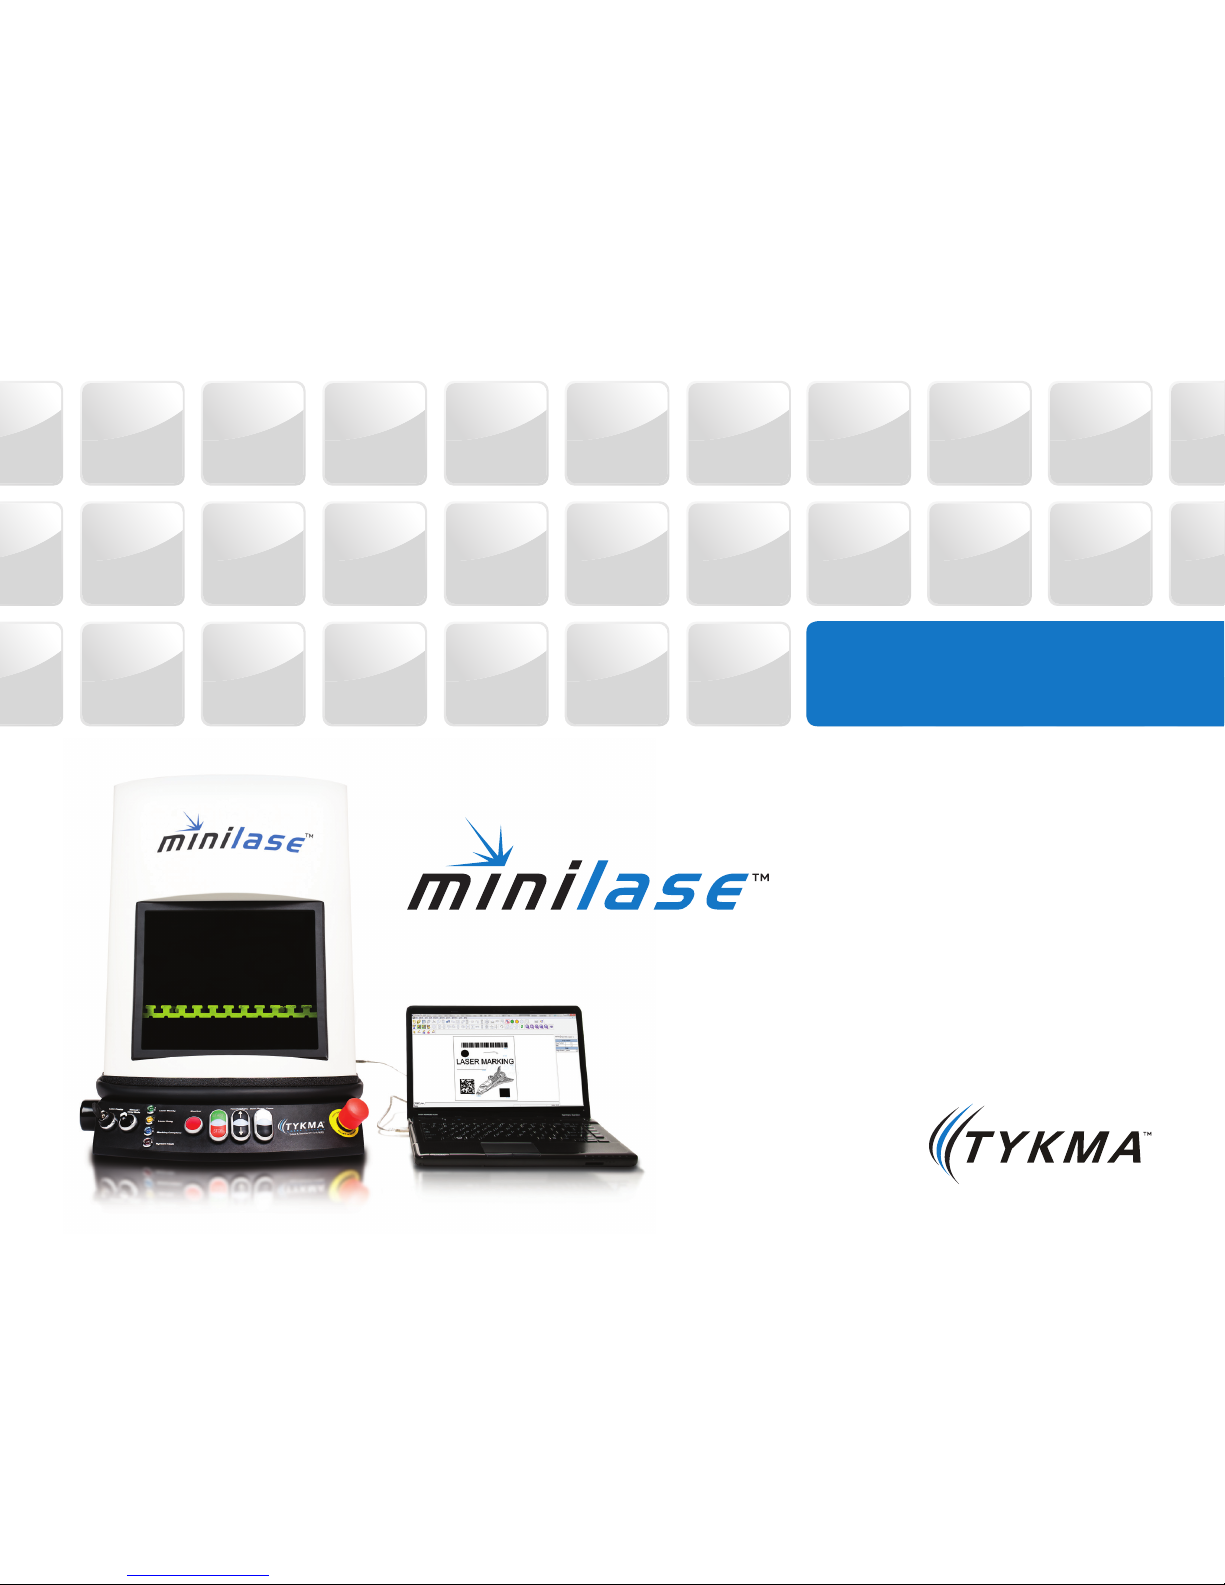
Thank you for purchasing the TYKMA Minilase™ Laser Marking System. Minilase™’s
unique easy-to-use features and capabilities provide high-quality performance.
What’s more, it comes completely assembled and is fully operational within
15 minutes.
Most laser marking systems require elaborate, time consuming setup, plus
complex assembly and training sessions. But, Minilase™ changes all of that. Let’s
get started!
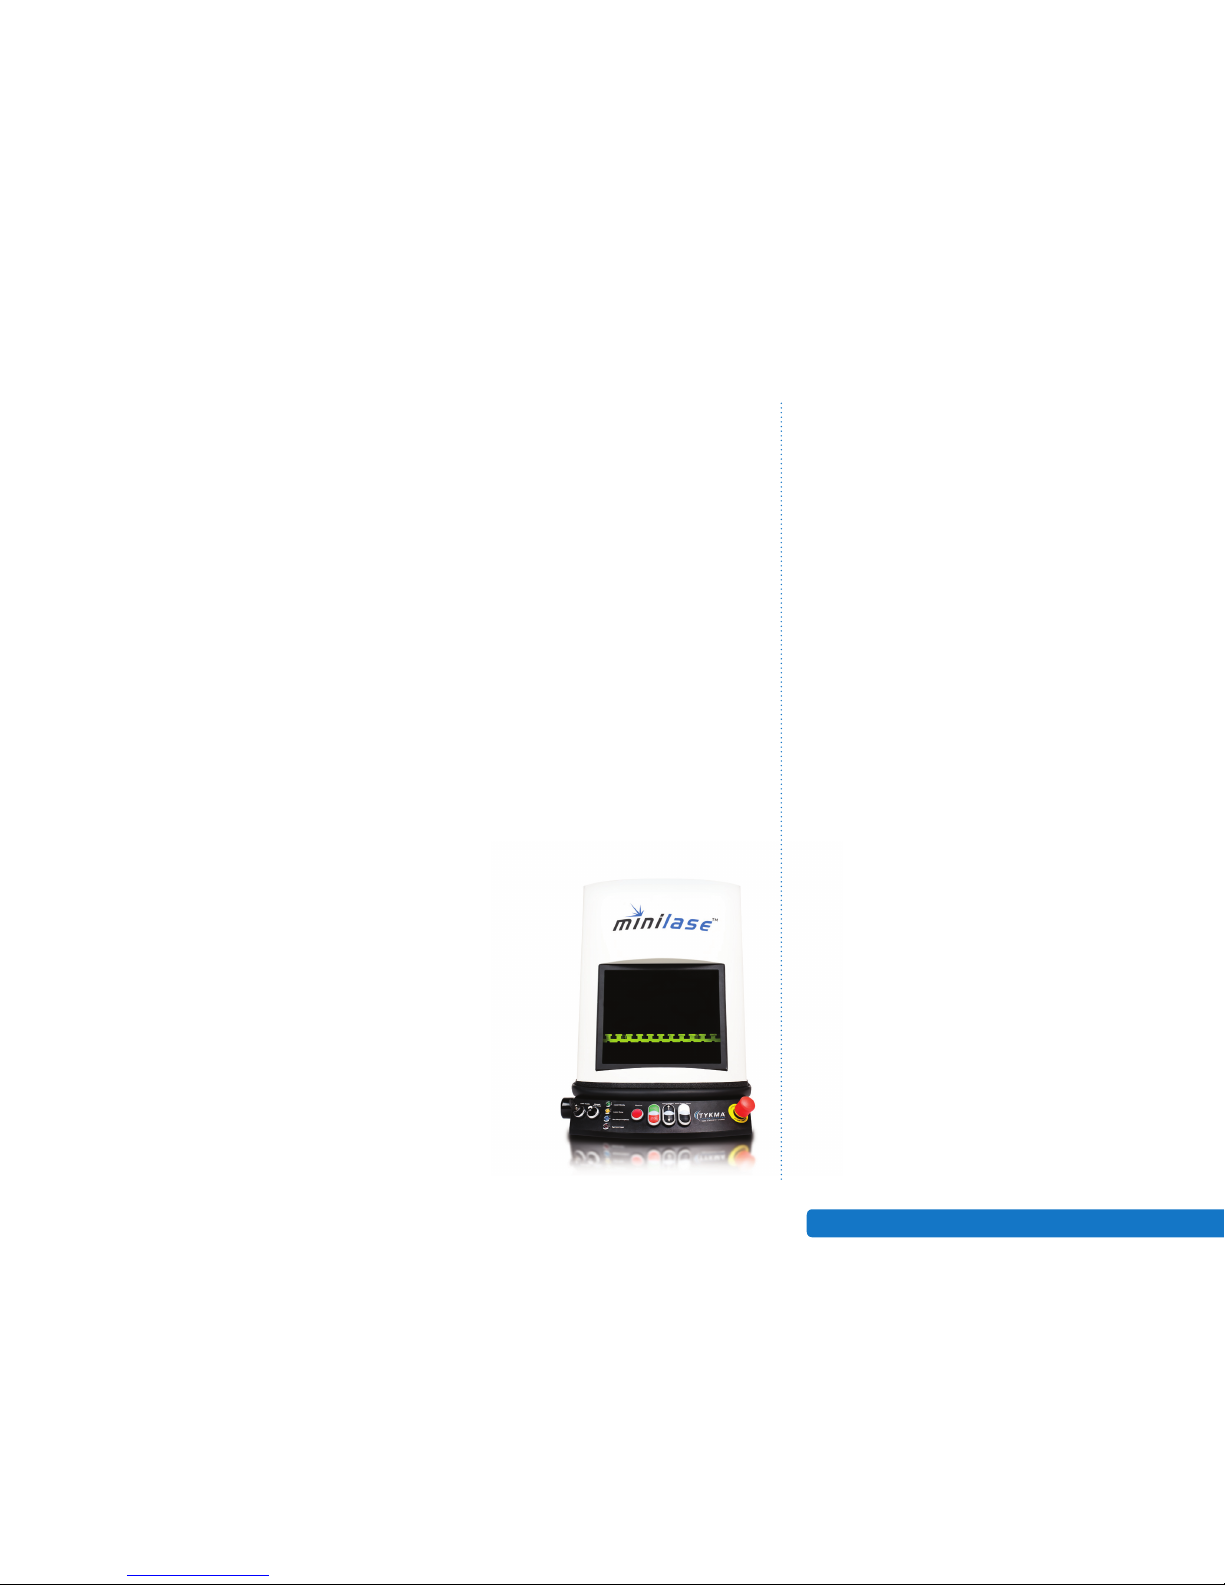
Your Minilase™ is shipped fully assembled in one box. Minilase™ is a desktop
system, so you should arrange for a suitable workbench or desk area. You
will need:
• An area 17˝ wide x 34˝ deep with at least 50˝ of headroom to accommodate
the Minilase™ system footprint.
• Ample room next to the system for a Laptop or Desktop PC, Monitor, Keyboard
and Mouse. You will be installing Minilase ™ Pro Software on your PC to program
and run the Minilase™.
Items included with your Minilase™ System
• Minilase™ Laser Marking Workstation Fully Assembled
• Minilase™ Quick Start Guide, you’re reading it!
• Minilase™ Pro Software Manual
• USB Stick with Minilase™ Pro Software Installation
and Digital Manual Copies
• One (1) Power Cord
• One (1) USB Connection Cable
• Set of two (2) Keys for your Minilase™ System
Computer system requirements
for Minilase™ Pro Laser Software:
• Windows™ XP Pro / Windows™ 7
Professional 32/64 Bit
• Minimum Pentium 4 Processor
• Minimum 80 GB Hard Drive Storage
System
• Minimum 2GB RAM
• USB 2.0
Minilase™ Quick Start Guide Rev. January 2012 •
4
Now, let’s go through these easy steps to power up your Minilase™!
Step 1: Remove the Minilase™ System from the box and place it on the desk or
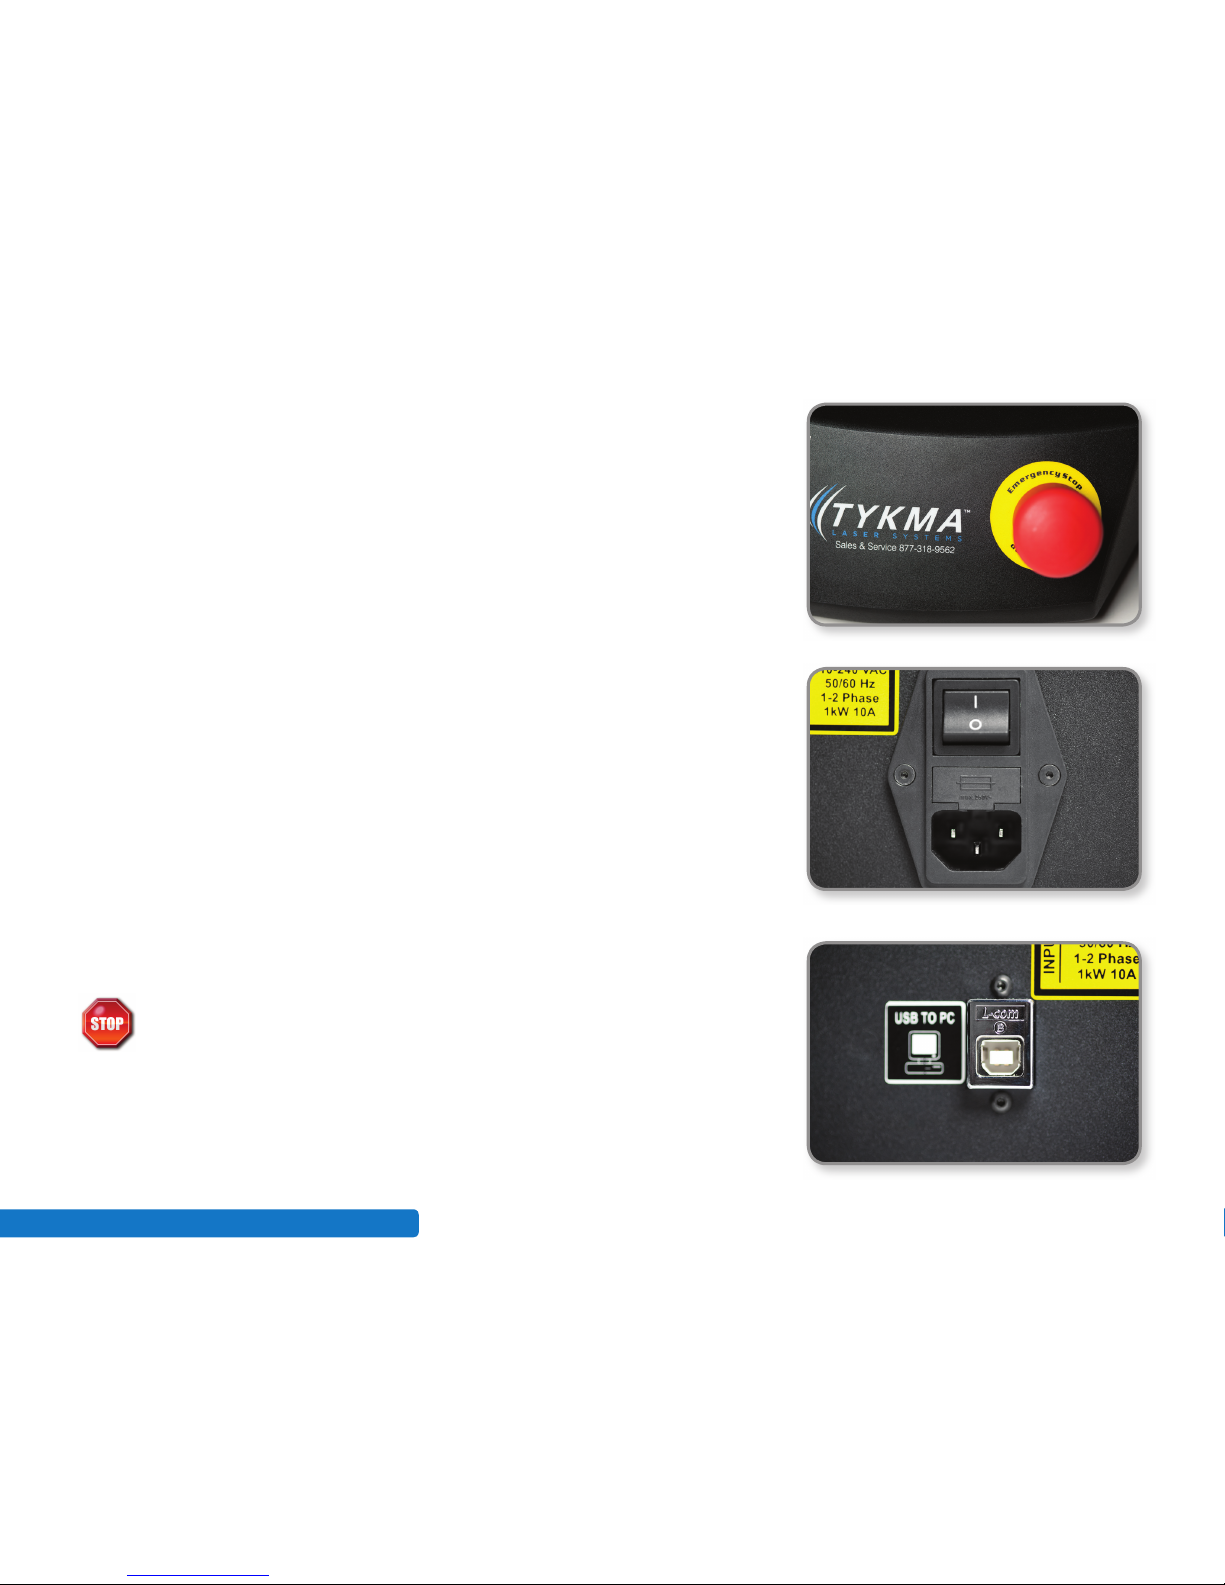
bench top where you plan to use it. Make sure the E-STOP is pulled toward you.
NOTE: If you purchased a Minilase™ MANUAL unit, this button is not included
on your system.
Step 2: Connect the supplied power cord to the input plug on the right side of the
Minilase™ system; then plug the power cord into a power conditioner or power strip
with surge protection. It is important that the Minilase™ be plugged into a surge
protector to maintain warranty coverage. In addition there is a 110-120VAC outlet
located next to the input power to connect your desktop or laptop PC. You can now
power up your Minilase™ system by pressing the rocker switch shown in the picture
to the ON position.
Step 3: If you have not already done so, please power up your desktop or laptop PC
that you will use to run the Minilase™ Pro Software.
Step 4: Plug the supplied USB cable into the “USB to PC” labeled port on the right
side of the Minilase™ system, next to the power cord port.
However DO NOT connect the USB cable to the PC at this time.
Step 5: Follow the instructions on the following page to install the Minilase™ Pro
software on your desktop or laptop PC. During part of this process you will be
instructed to plug the USB cable that is connected to the Minilase™ System into a
USB port on your PC. Do not connect this cable until you are instructed to do so by
the software installation wizard.
Step 2: Press rocker switch to ON and plug in
power cord to power up Minilase™.
Step 4: USB to PC port on right side of Minilase™.
side of the Minilase™ system, next to the power cord port.
Step 1: Make sure the E-STOP is pulled upward.
Minilase™ Quick Start Guide Rev. January 2012 •
5
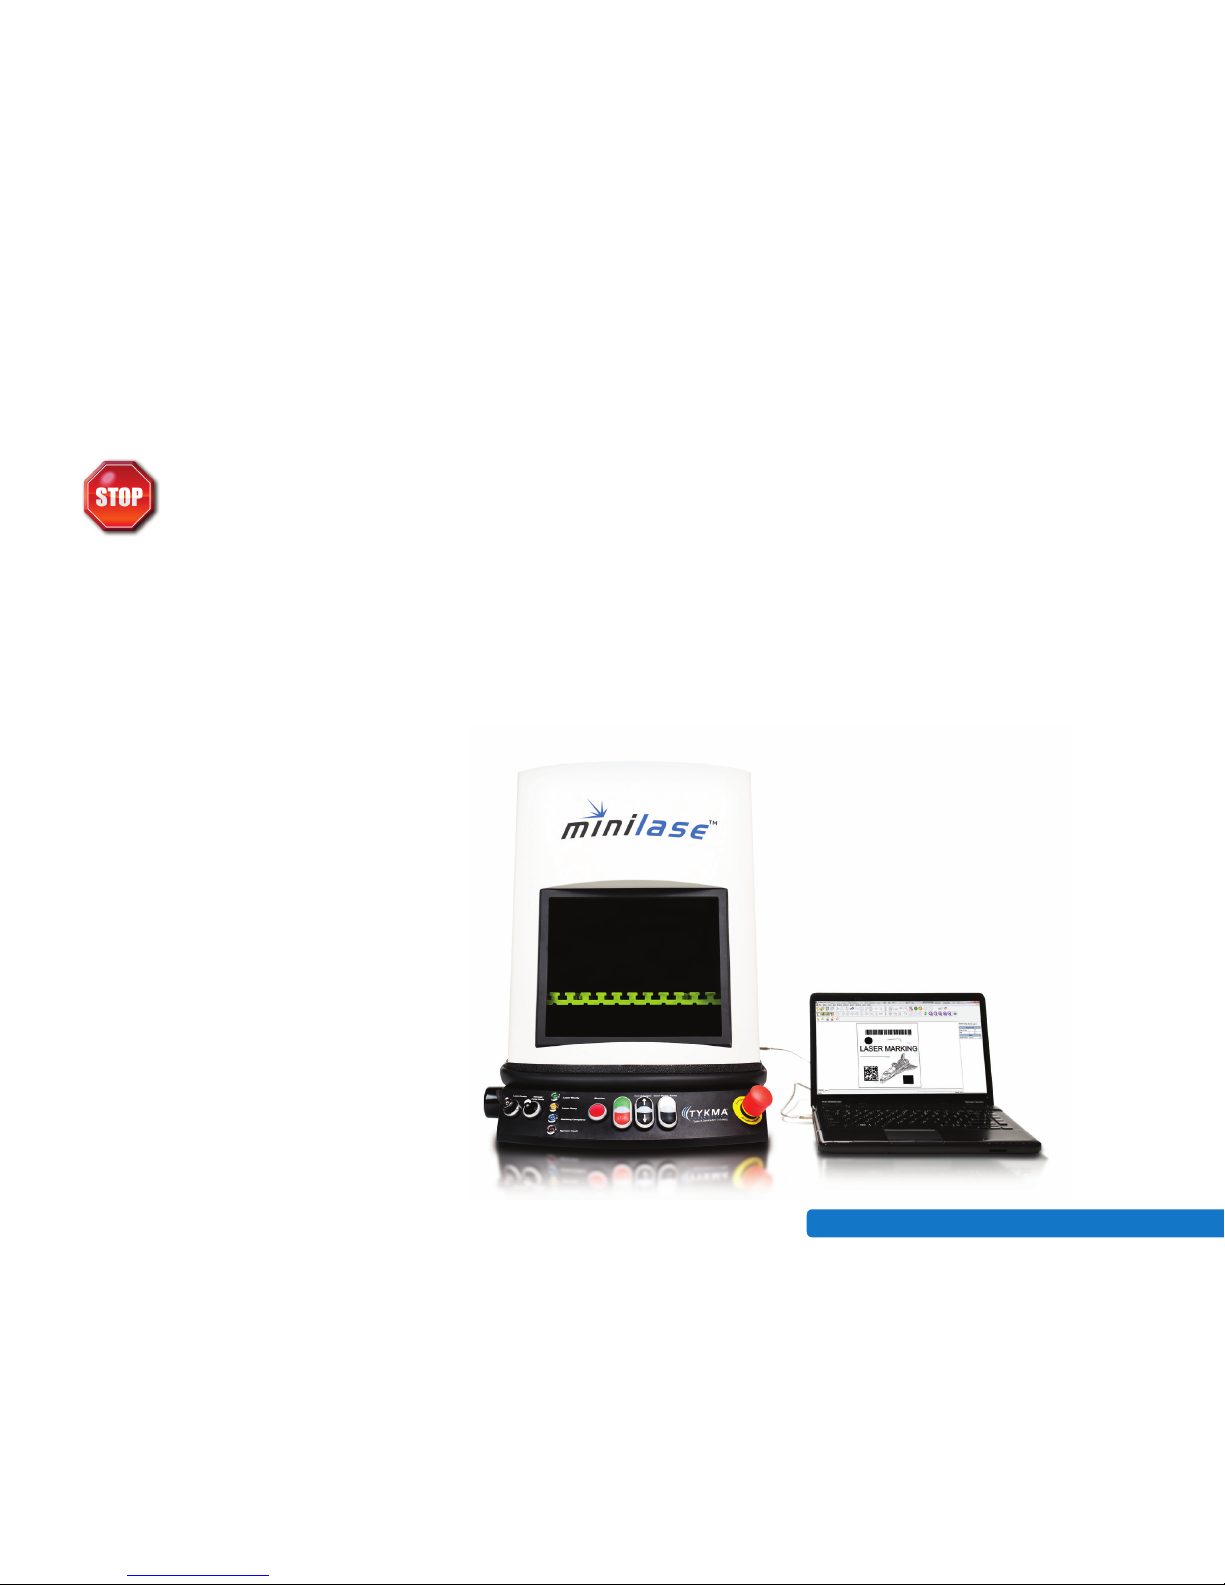
Before installation of the software please follow the Laser System
Quick Start Manual to power up your laser system. Please wait until
you are prompted by the software installation wizard before plugging
the USB connection into your computer.
Insert the provided USB Memory Stick into a USB 2.0 port on your computer.
Browse to “My Computer” on your PC and locate the USB Drive titled TYKMA Laser
Software and Manuals.
Right-click on the USB Drive and click “Explore.”
Locate the icon titled “TYKMA Minilase™ Pro
Installer” and double-click the icon to start the
installation process.
You will the follow the prompts as shown on the
next page.
 Loading...