

Tyco Safety Canada 01NB918 Users manual
WLS918-433
Wireless Panic Pendant
OPERATING INSTRUCTIONS
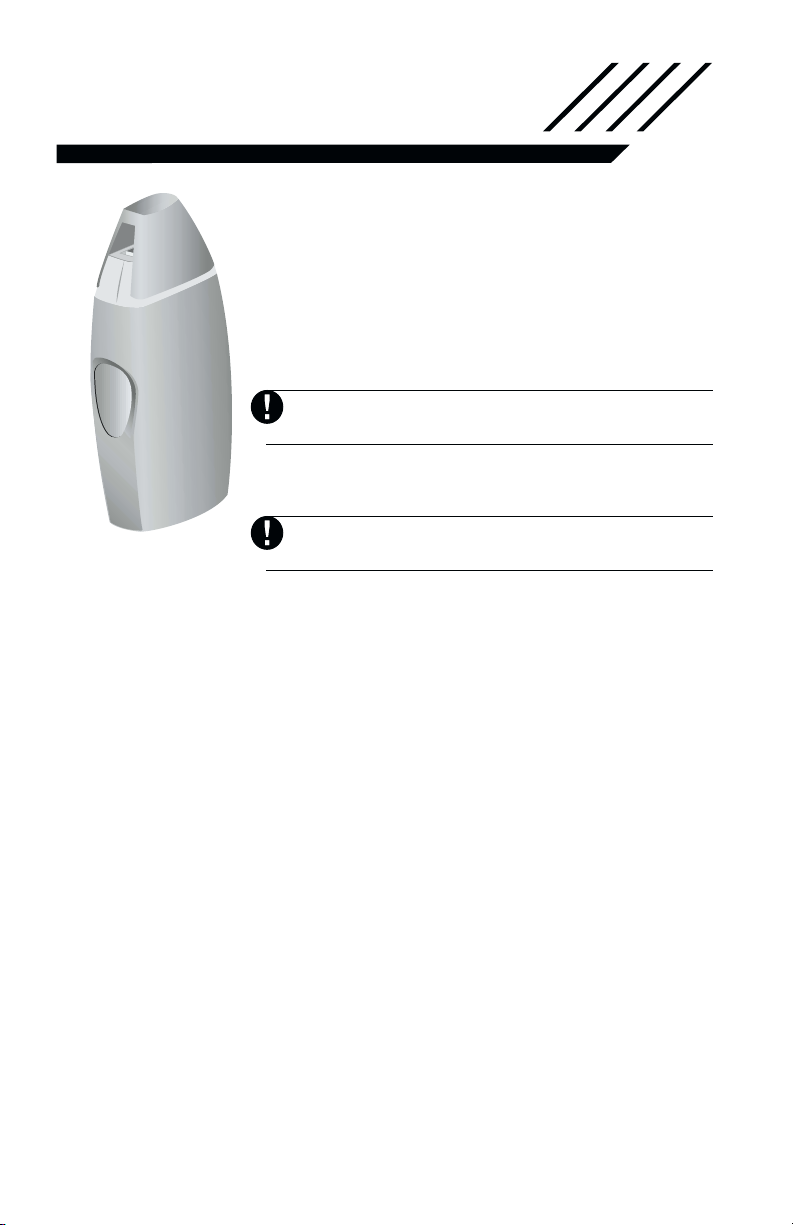
The WLS918 Wireless Panic Pendant is a device
designed to transmit an emergency signal from any
location within the range of the alarm system with which
it is used. Signals from the pendant will be transmitted
whether your alarm system is armed or disarmed.
The pendant can be attached to a lanyard or a belt clip.
The unit is even small and lightweight enough to be
placed in a shirt pocket or tucked inside a purse. The
pendant is also water resistant.
Signals will not be transmitted if the pendant is
not within the range of the wireless receiver.
To activate an alarm, press and hold both large outer
buttons for two seconds.
If the cap is not replaced, the LED will remain on
until the cap is restored.
Components of the WLS918
The WLS918 is made up of the following components:
• Cap - whether it is the tear away cap with attached lanyard (neck strap)
or the cap with attached belt clip.
• Rubber Boot - this boot adds water resistance to the product and
provides a soft grip to be able to easily grab the unit to tear it away or
push the activation buttons
• Clear Plastic Housing - the plastic housing holds the circuit board of
the WLS918 and is put inside the rubber boot
• LED - (Light indication) - the LED is used to indicate various conditions
of the pendant and can be seen through the side of the clear plastic
housing that is not covered by the rubber boot.
• Lithium battery - the WLS918 is powered by a user replaceable lithium
battery
Assembling the WLS918:
Tear Away Assembly:
1. The WLS918 comes set up for tear away operation by default. The tear
away cap will already be connected to the clear plastic housing.
2. Remove the cover over the bottom of the clear plastic housing
3. Put the battery into the pendant (please see ‘Replacing the Battery’ for
proper orientation)
4. Insert the clear plastic housing into the rubber boot

Belt Clip Assembly:
1. Remove the tear away cap from the clear plastic housing.
2. Break off the plastic tab that is permanently affixed to the top of the clear
plastic housing of the pendant.
3. Snap on the belt clip cap.
4. Put the battery into the pendant (please see ‘Replacing the Battery’ for proper
orientation).
5. Insert the clear plastic housing into the rubber boot
Testing the WLS918
The pendant should be tested on a weekly basis along with the rest of the alarm
system. For full system testing instructions, please consult your control panel
Instruction Manual.
To Test the Pendant:
1. Begin testing when your system is in the ready state and the keypad Ready
(Green) light is ON.
2. Press and hold either of the 2 buttons for 5 seconds. When the button has
been held long enough the LED in the pendant will turn ON steady for 2
seconds. Once the test transmission signal from the pendant has been
received by the alarm system and the pendant’s battery condition is normal,
the Ready light of the keypad will turn OFF for approx. 5 seconds.
3. If the pendant’s battery is low, the keypad Trouble (yellow) Light will turn ON
and a series of continuous keypad beeps will be heard.
Signals will not be received and processed if the pendant is not within
range of the alarm system.
When the WLS918 has a low battery, it will flash the LED once every 10
seconds until the battery is replaced.
When the unit detects a low battery, it will flash the LED once every 10
seconds until the battery is replaced.
Activating an Alarm
An alarm can be generated via the WLS918 in a few different ways:
1. Press and hold both buttons simultaneously for 2 seconds or
2. When using the tear away version, pull down on the unit until the cap breaks
away from the body of the WLS918 or
3. When using the belt clip version, pull down on the unit until the cap breaks
away from the body of the WLS918.
 Loading...