

Page 1
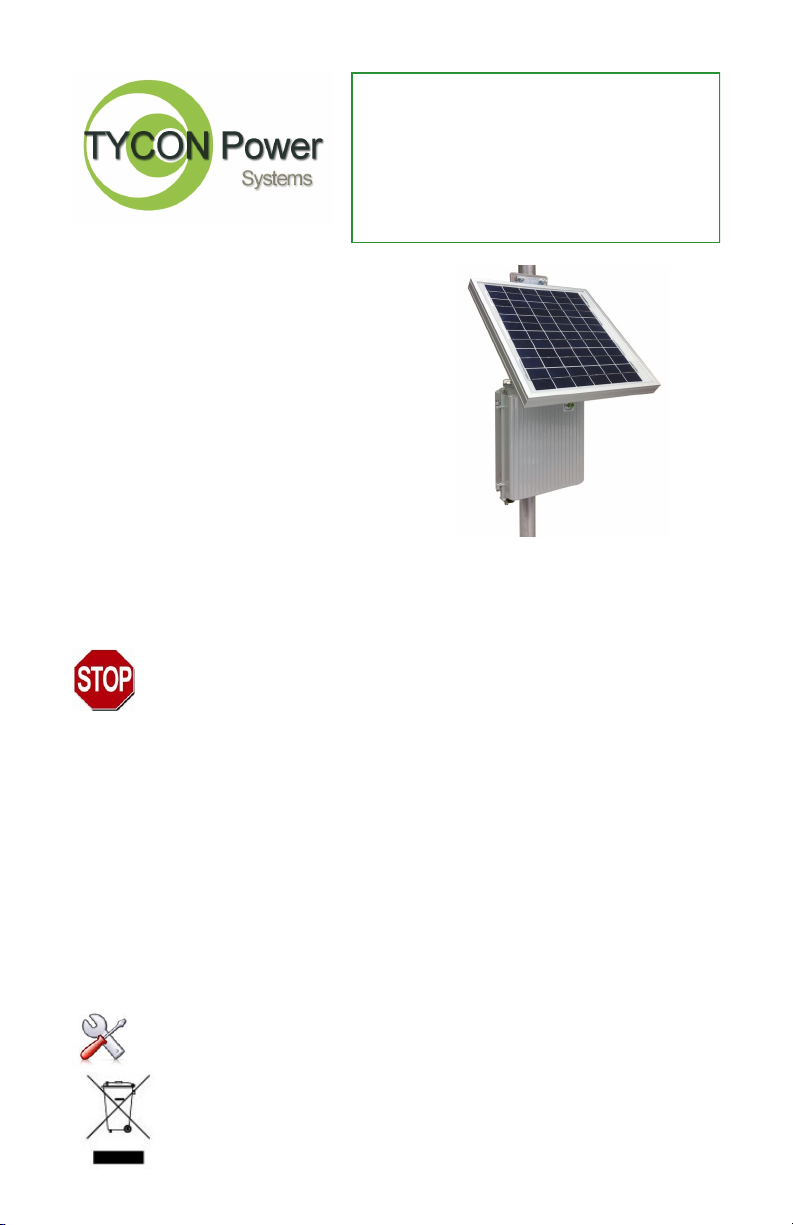
RPDC12-9-xx
RemotePro™ Remote
Power System
▫ Wireless Base Stations
and Client Devices
▫ Surveillance Cameras
▫ Remote Sensors
▫ Remote Lighting
▫ Off Grid Electronics
Congratulations! on your purchase of the RemotePro ™ off-
grid remote power system. Please take a moment to review this
Qwik Install Guide before assembly or battery installation.
DANGER! Avoid Powerlines!
You Can Be Killed!
When following the instructions in this guide take extreme care
to avoid contact with overhead power lines, lights and power circuits.
Contact with power lines, lights or power circuits may be fatal. We recommend to install no closer than 20 feet to any power lines.
Safety: For your own protection, follow these safety rules.
▫ Perform as many functions as possible on the ground
▫ Do not attempt to install on a rainy, windy or snowy day or if
there is ice or snow accumulation at the install site or if the
site is wet.
▫ Make sure there are no people, pets, etc. below when you are
working on a roof or ladder.
Recommended Tools: Philli ps Screwdriver, 3mm Al len
Wrench, 8mm and 14mm Open End Wrench
Please help preserve the environment and return
used batteries to an authorized depot
Page 2
Qwik Install
STEP 0: Mount the solar panel to the bracket and to the pole. It’s best
to mount so that the solar panel shades the enclosure.
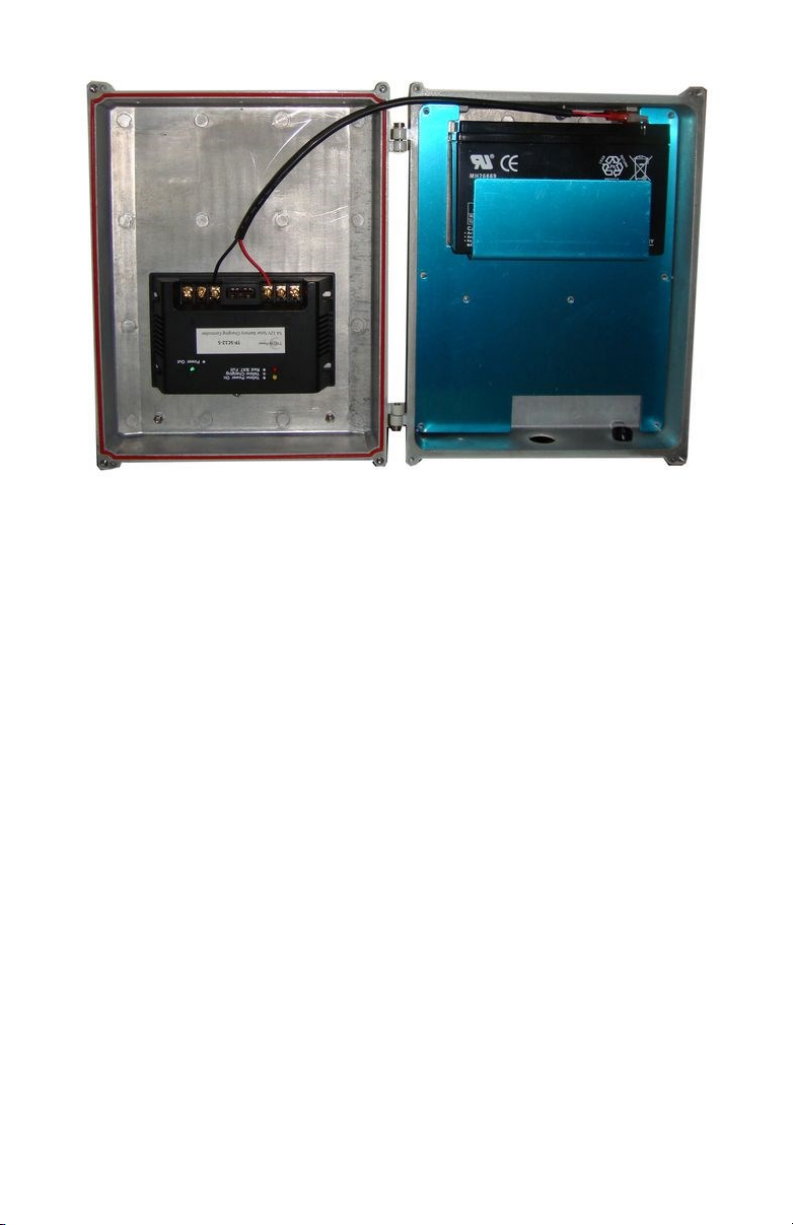
STEP 1: Connect the Battery to Controller BAT terminals. Be sure to
observe polarity. Black wire connects to battery negative terminal and
BAT(-) terminal on the controller. When a fully charged battery is connected, the Green LOAD LED should light on controller.
STEP 2: Install battery to enclosure with battery terminals on right. In-
stall metal plate using 8 screws.
STEP 3: Install Cable Feedthru into center hole in bottom of enclosure.
Feedthru gasket is on outside of enclosure and nut inside. Tighten nut.
OPTION: add a drop of threadlocker to the nut t o prevent acci-
dental loosening.
STEP 4: Install two bracket pieces to the back of enclosure using 4
screws. Bracket can be used for wall mounting or pole mounting.
STEP 5: Wir e solar panel to the cont roller solar inp u ts. Observ e
proper polarity. The solar panel should be facing South if in Northern
Hemisphere. Face North if in southern hemisphere.
STEP 6: Mount any electronics boards to the metal plate. Connect
your load to the controller LOAD output.
On the bottom of the enclosure there are two double D cutouts for
standard N Female bulkhead connectors which can be used for an external antenna or RF device. Just remove the hole plug to use this cutout.
2
Page 3

STEP 7: Tigh ten the RJ45 Feedth ru on th e cable. If the cable diameter is too small to make a good seal, wrap a couple turns of electrical
tape around the CAT5 cable at the seal area to increase it’s diameter.
STEP 8: Make su re lid gasket is clean and free from an y particles,
then carefully close the cover, making sure that wires are clear of the
seam and hinge area.
STEP 9: Tigh ten the 4 seal screws evenly to seal the cover. Use a
grease or oil on the 4 cover attached screws to make it easier to remove later.
TECH CORNER
Additional Information you may find useful
1. CONTROLLER: The controller turns off power to the load at 11V and
reconnects when the battery reaches 12V. This protects battery from
over-discharge and increases battery life and performance.
2. CAPACITY: The Remot ePro RPDC12-9-10 is rated at 2.5W continuous power output with 6 hours of peak sun per day. Reserve battery
capacity at 2.5W load is 36 hours. The RPDC12-9-05 is rated at 1.25W
continuous power.
3. VENTING: The enclosure is vented thru a Goretex Vent in the bottom of the enclosure. Don’t cover this vent.
Limited Warranty
The RemotePro™ products are supplied with a limited 24 month warranty which covers material and workmanship defects. This warranty
does not cover the following:
▫ Parts requiring replacement due to improper installation, misuse,
poor site conditions, faulty power, etc.
▫ Lightning or weather damage.
▫ Physical damage to the external & internal parts.
▫ Products that have been opened, altered, or defaced.
▫ Water damage for units that were not mounted according to user
manual.
▫ Usage other than in accordance with instructions and the normal
intended use.
3
Page 4

SPECIFICATIONS
Continuous Power Rating
Reserve Power @ Rated Load
Battery Voltage (DC)
Load Output Voltage (DC)
Battery Capacity
Battery Type
Battery Life
Controller Type
Overcharge Protection
Over-discharge protection
Over-discharge recovery voltage
Controller Self Consumption
Enclosure Type
Enclosure External Size
Enclosure Internal Size
Space for Customer Electronics
Operating Temperature
Valve Regulated Sealed Lead Ac-
id / Absorbent Glass Mat (AGM)
1.25W or 2.5W
72 or 36 Hours
Max Solar Panel Size 85W
Die Cast Aluminum
11 x 8.5 x 3.5”
(279 x 216 x 89mm)
(254 x 197 x 76mm)
7.75 x 5 x 1.25”
(197 x 127 x 32mm)
-30°C to +60°C
Subject to change without notice
12V
12V
9Ah
5 Years
12V 5A PWM
14.4V
11V
12.4V
<10mA
10 x 7.75 x 3”
System Weight (without batteries)
Battery Weight (each)
8000015 Rev 2 RPDC RemotePro™ Qwik Install Guide
4
12lb (5.4kg)
5.5lb (2.5kg)
 Loading...