

TwinStar Telescopes 4.5 Inch Reflector Telescope with iOptron Mount Assembly Manual
Assembly Guide : 4.5” Reflector with iOptron
INTRODUCTION
Congratulations! You have bought a wonderful telescope. This is a precision optical instru-
ment, and you have many wonderful evenings of observing the night sky ahead of you. This on-line
guide is to help you assemble your telescope properly.
We know that many people are visually oriented and that pictures of the assembly process would be
helpful. Since your telescope assembly guide and instruction manual does not have a lot of pictures,
we have put together this online guide to help you assemble your telescope for your first night of observing.
Once your telescope is assembled and ready to go, the rest is up to you. Learning astronomy is all
the fun anyhow! So let's get started . . .
ASSEMBLING THE TELESCOPE
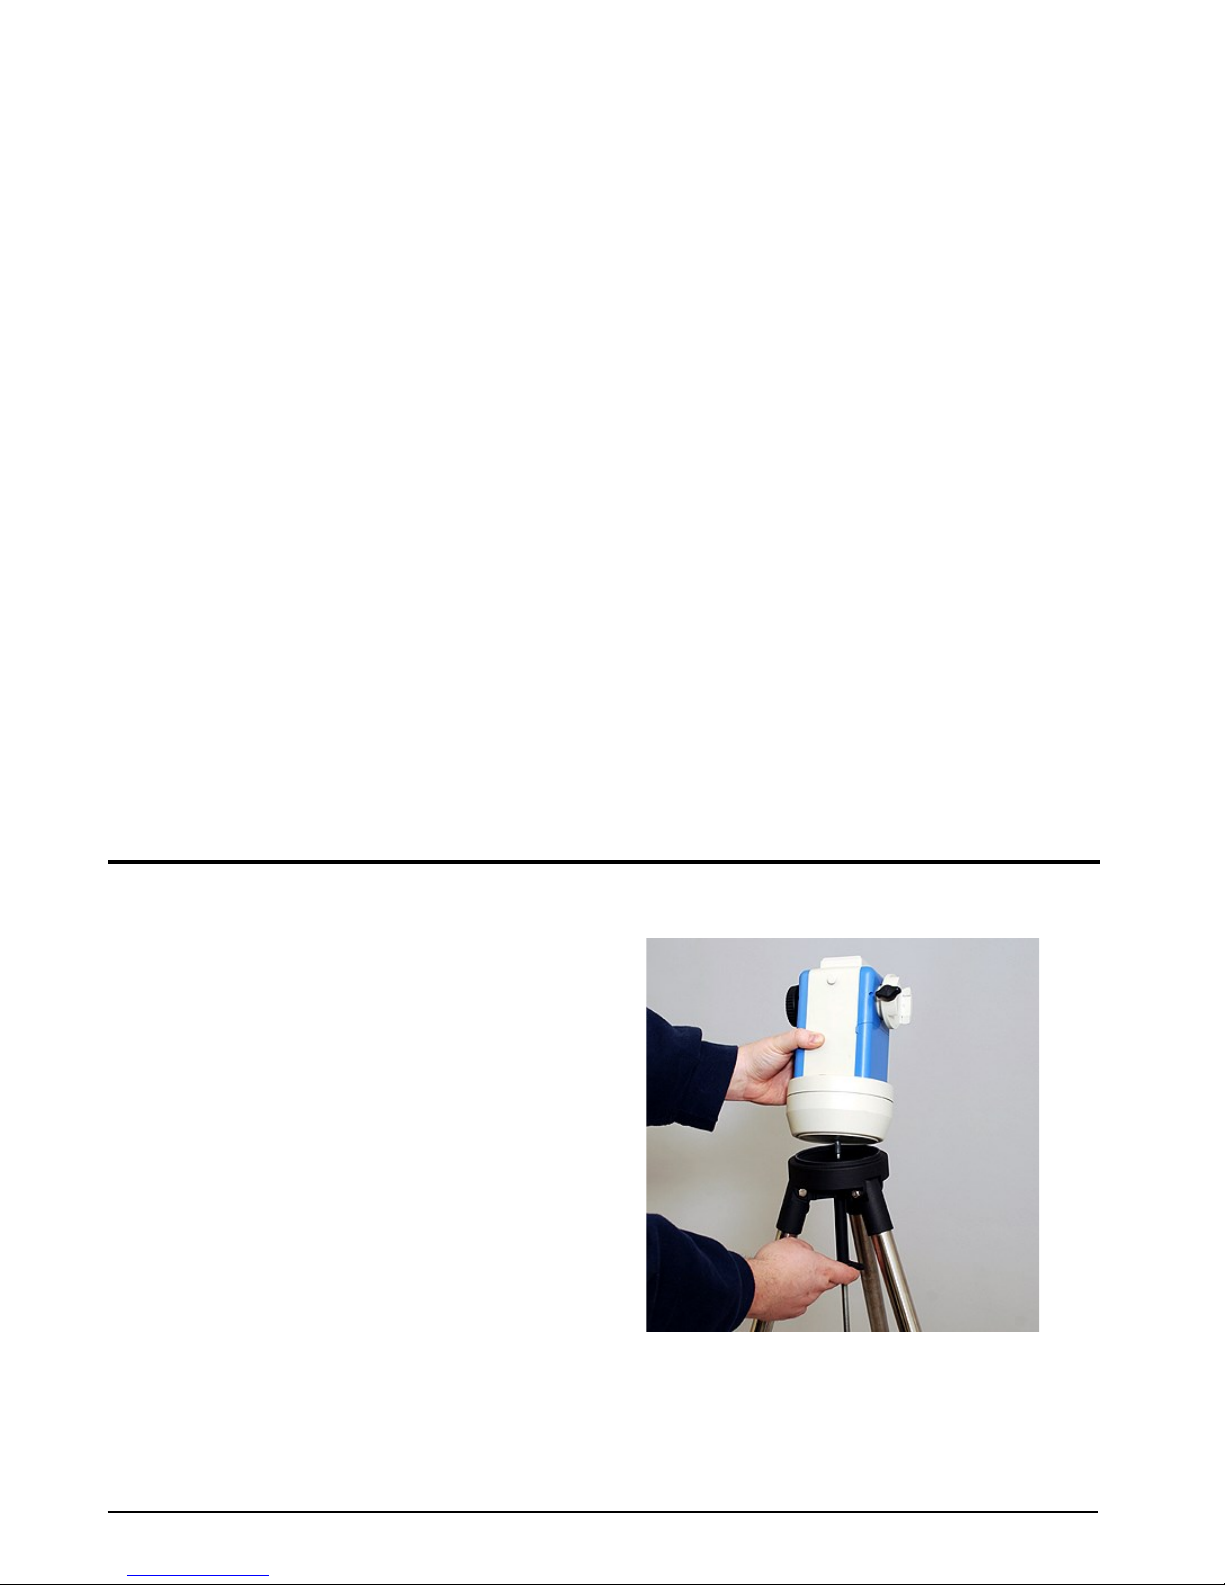
Step 1
Attach the iOptron SmartStar Cube to
the tripod as shown in Figure 1.
Figure 1 – Attaching the SmartStar Cube.
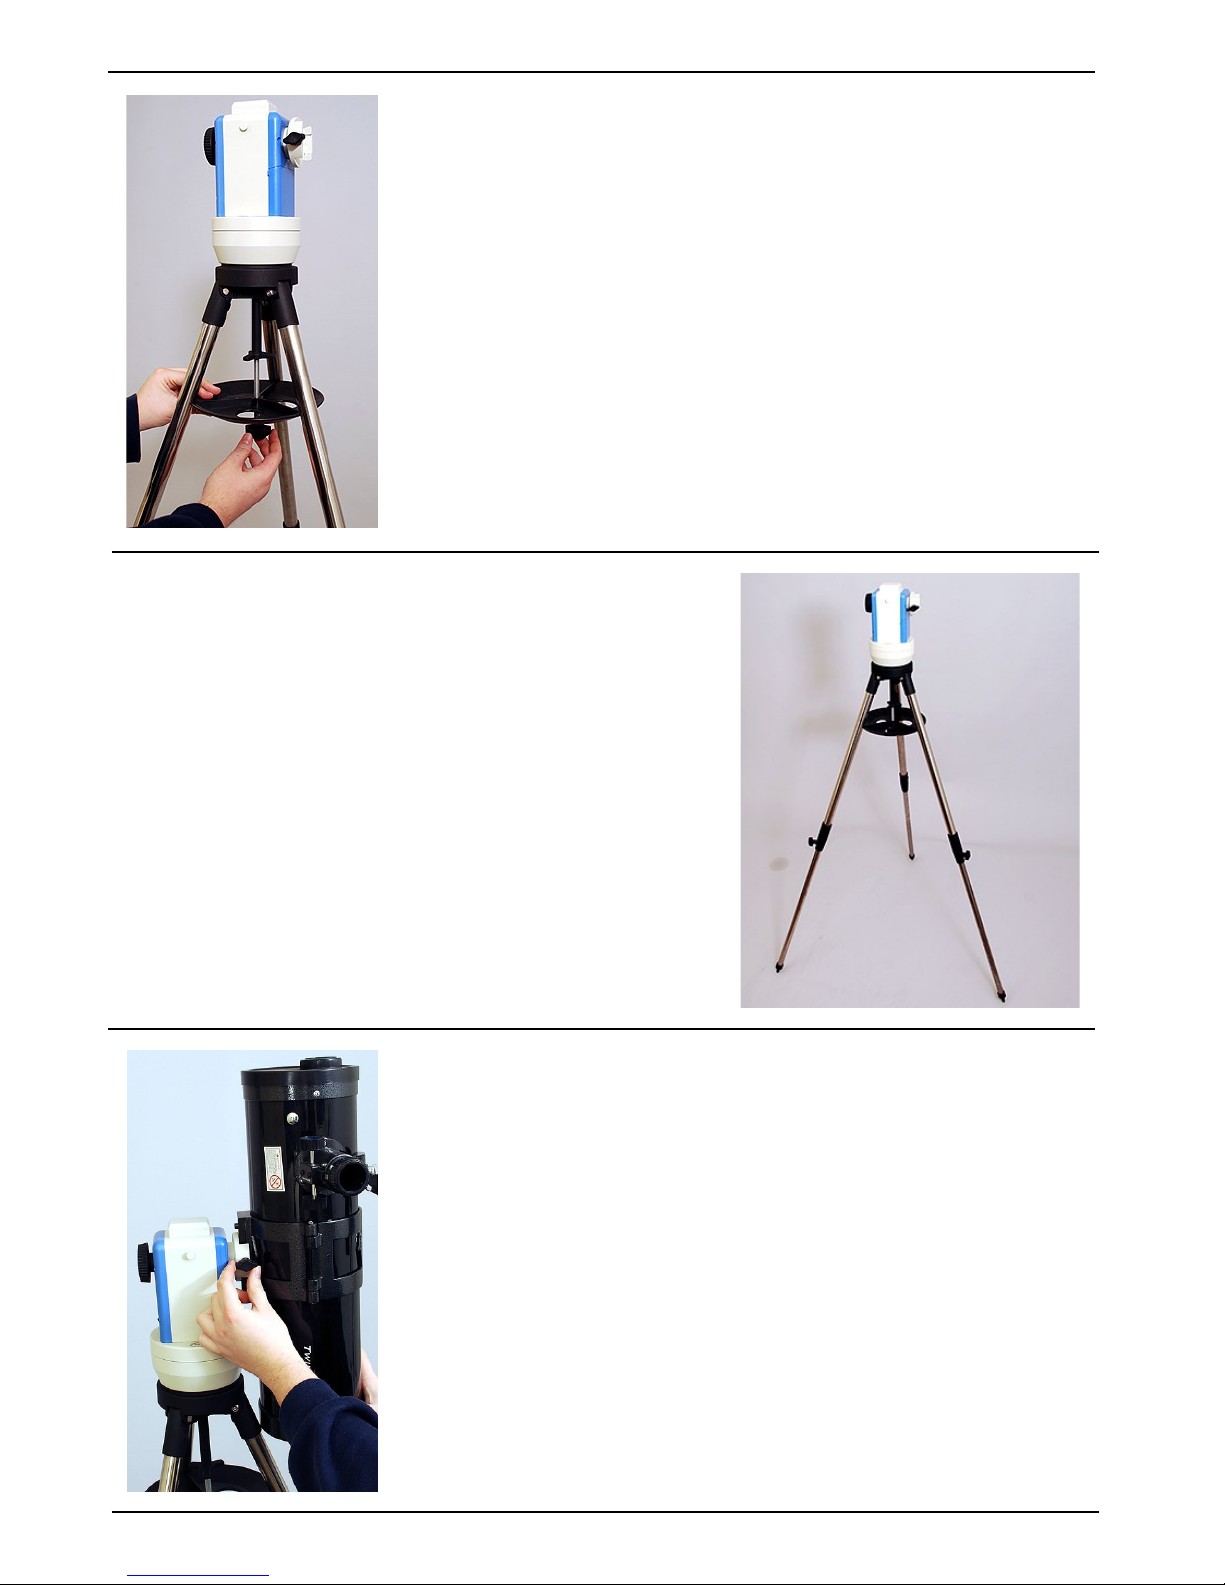
Step 2
Attach the Accessory tray to the tripod
as shown in Figure 2.
Figure 2 – Attaching the Accessory Tray.
Step 3
Your iOptron SmartStar tripod and
mount is ready to go!
Figure 3 – The completed iOptron SmartStar tripod and mount.
Step 4
Your 4.5 inch telescope attaches directly
to the iOptron Mount: IMPORTANT: Be
sure that the mounting “body belts” are
centered on your telescope tube. If your
telescope is not balanced in the center of
the tube, you will damage the motor inside the mount.
Figure 4 – Attach the telescope to the mount. Notice how the telescope tube is perfectly centered
within the body belts that attach it to the mount.
 Loading...