

TwinMOS TwinTAB-T7283GD1 User Manual

Catalog
1.1 Outlook For Your Device ..................................................... - 4 -
Front View & Back View ................................................................ - 4 -
Side View ....................................................................................... - 4 -
1.2 Attachment ................................................................................... - 4 -
1.3 Install SIM card and SD card ....................................................... - 4 -
SIM card ......................................................................................... - 4 -
SD card ........................................................................................... - 4 -
1.4 Charging and headphones ............................................................ - 5 -
Charging ......................................................................................... - 5 -
headphones ..................................................................................... - 5 -
1.5 Turning On/Off ............................................................................ - 5 -
Turning On ..................................................................................... - 5 -
Turning Off .................................................................................... - 5 -
Standby ........................................................................................... - 5 -
2.1 Home Screen ................................................................................ - 6 -
The main key .................................................................................. - 6 -
Status Bar ....................................................................................... - 6 -
Shortcuts ......................................................................................... - 7 -
Widgets .......................................................................................... - 7 -
Wallpapers ...................................................................................... - 7 -
Touch screen ................................................................................... - 8 -
2.2 Volumes ....................................................................................... - 8 -
Set the volumes .............................................................................. - 8 -
Call volumes................................................................................... - 9 -
2.3 People .......................................................................................... - 9 -
New contact .................................................................................... - 9 -
Edit contacts/ Delete contacts ....................................................... - 10 -
Backup contacts ........................................................................... - 10 -
Import contacts ............................................................................. - 11 -
Favorite contacts .......................................................................... - 11 -
3.1 Phone ......................................................................................... - 12 -
Make a phone call ........................................................................ - 12 -
Chapter 1 Quick Start
- 1 -

Receive calls ................................................................................. - 12 -
Handsfree ..................................................................................... - 12 -
Mute ............................................................................................. - 12 -
Telephone conference ................................................................... - 13 -
Call history ................................................................................... - 13 -
Emergency call ............................................................................. - 13 -
3.2 Message ..................................................................................... - 13 -
Write messages ............................................................................. - 13 -
Answer messages ......................................................................... - 14 -
Write MMS .................................................................................. - 14 -
4.1 Use the Google Account login ................................................... - 16 -
Regain your Google account's password ...................................... - 16 -
Set data synchronization ............................................................... - 17 -
4.2 Gmail ......................................................................................... - 17 -
Write a new Gmail ....................................................................... - 17 -
4.3 E-mail ........................................................................................ - 18 -
E-mail account settings ................................................................ - 18 -
Write and send messages .............................................................. - 18 -
View and save e-mail ................................................................... - 19 -
Reply e-mail ................................................................................. - 19 -
5.1 Mobile Networks ....................................................................... - 20 -
Check your network connection ................................................... - 20 -
5.2 WLAN ....................................................................................... - 20 -
On / off the WLAN ...................................................................... - 20 -
Search and connect WLAN .............................................................. - 21 -
5.3 Browser ...................................................................................... - 21 -
View the links in the page ............................................................ - 22 -
Zoom pages .................................................................................. - 22 -
Set your browser .......................................................................... - 22 -
6.1 Using Bluetooth ......................................................................... - 23 -
On / off the Bluetooth ................................................................... - 23 -
Connect the equipment to the new equipment .............................. - 23 -
Disconnect the Bluetooth and equipment ..................................... - 23 -
7.1 Music ......................................................................................... - 24 -
Play music .................................................................................... - 24 -
7.2 Camera ....................................................................................... - 25 -
- 2 -

Photo Options ............................................................................... - 25 -
View image................................................................................... - 28 -
Share pictures ............................................................................... - 29 -
Edit photos ................................................................................... - 29 -
7.3 Camcorder .................................................................................. - 30 -
Video options ............................................................................... - 30 -
View the video .............................................................................. - 33 -
Manage video ............................................................................... - 33 -
7.4 Sound Recorder .......................................................................... - 34 -
8.1 USB connection ......................................................................... - 35 -
8.2 SD card ...................................................................................... - 36 -
9.1 Alarm Clock ............................................................................... - 37 -
Add alarm ..................................................................................... - 37 -
9.2 Calendar ..................................................................................... - 38 -
New event .................................................................................... - 38 -
Edit the event ................................................................................ - 38 -
9.3 Maps .......................................................................................... - 39 -
Use the maps ................................................................................ - 40 -
View Maps ................................................................................... - 41 -
Get Directions .............................................................................. - 42 -
10.1 Device Settings ........................................................................ - 43 -
10.2 Date & time .............................................................................. - 44 -
10.3 Language & input .................................................................... - 44 -
10.4 Display ..................................................................................... - 45 -
Set the screen brightness .............................................................. - 45 -
Sleep ............................................................................................. - 46 -
10.5 Factory data reset.................................................................. - 47 -
10.6 Protect your device ............................................................... - 47 -
Protect your SIM card by PIN ...................................................... - 47 -
Screen security ............................................................................. - 48 -
- 3 -

WARNING:
※ For devices with external power supplies, plug socket should be placed in
short distance and easily accessible.
※ Using the wrong type battery replacement there is a danger of explosion, be
sure to follow the instructions disposal of used batteries.
Chapter 1 Quick Start
1.1 Outlook For Your Device
Front View& Back View
Side View
1.2 Attachment
Your packing box comprises the following attachments
• Tablet PC 1PCS
• USB Line 1PCS
• Charger 1PCS
• User Manual 1PCS
• Headphones 1PCS
• Warranty Card 1PCS
1.3 Install SIM card and SD card
SIM card
·Install SIM card
Locate the SIM card slot, then insert the SIM card with its gold
contacts facing down and its cut-off corner facing out the card slot.
·remove SIM card
To remove the SIM card, please turning off the product ,or it will be damage to
SIM card.
SD card
The device memory is 4GB ,you can store photos, music, video and other
data.,and also can extend memory by SD card .
·Install SD card
- 4 -

Locate the SD card slot, then insert the SD card with its gold contacts facing
down and its cut-off corner facing out the card slot
·remove SD card
1. Please make sure to disconnect the SD card and device.
Click
2. Open the SD card protection cover.
3. Use your fingertips to tap the SD card, SD card from the slot in the
pop-up.
1.4 Charging and headphones
Charging
When the battery is charging, the,the
When the battery is fully charged, the
headphones
When the user wants to use headsets or listening to music, plug the headset
into the headphone jack, the icon
Note:·when using headphones, you hear outside sounds may be limited.
·When it is a threat to your safety, please do not use headphones.
·When using headphones, please do not set the volume to the maximum,
because it may damage your hearing.
1.5 T urning On/Off
Turning On
Press and hold power key
seconds to enter the main screen.
Turning Off
Press and hold power key
Down. Select OK in the pop-up menu.
Standby
> Settings>Storage>Unmount SD card
icon appears in the status bar.
icon appears in the status bar.
appears in the status bar.
to turning on the product,it takes about 30
,Pop-up "Device Options" menu,Click Shut
1. If you do not unlock within a long time(about 10 seconds) , device will
automatic dark screen.
2. Light up the screen by pressing any side buttons.
3. Hold and slide up the green lock icon to the ceiling to unlock ; also press
the menu key to unlock.
- 5 -
2.1 Home Screen
Chapter 2 Basic Operation
Main screen contains five screens , horizontal sliding switch to the
extended screen.
The main key
·Menu
·Google Search
·The main screen key
·Back key
·Daemon icon
application can be opened.
Status Bar
Status bar will display various status information.You can click
off the status bar.
Icon Explain Icon Explain
:Open the application menu.
:Return to the previous operation screen
No Sim card
3g signal
Charging
Full power
Vibration mode
:Use google search.
: Recently used applications, click the desired
:Back to the main screen
to turn
Signal strength
GSM signal
Low power
Silent mode
Alarm
- 6 -
Note:The machine software is constantly upgraded, the status indicator may be
different with your device, subject to the actual equipment.
Shortcuts
To customize different home screen, you can add apps shortcut; reposition
the shortcut.
·Click
added to the main screen.
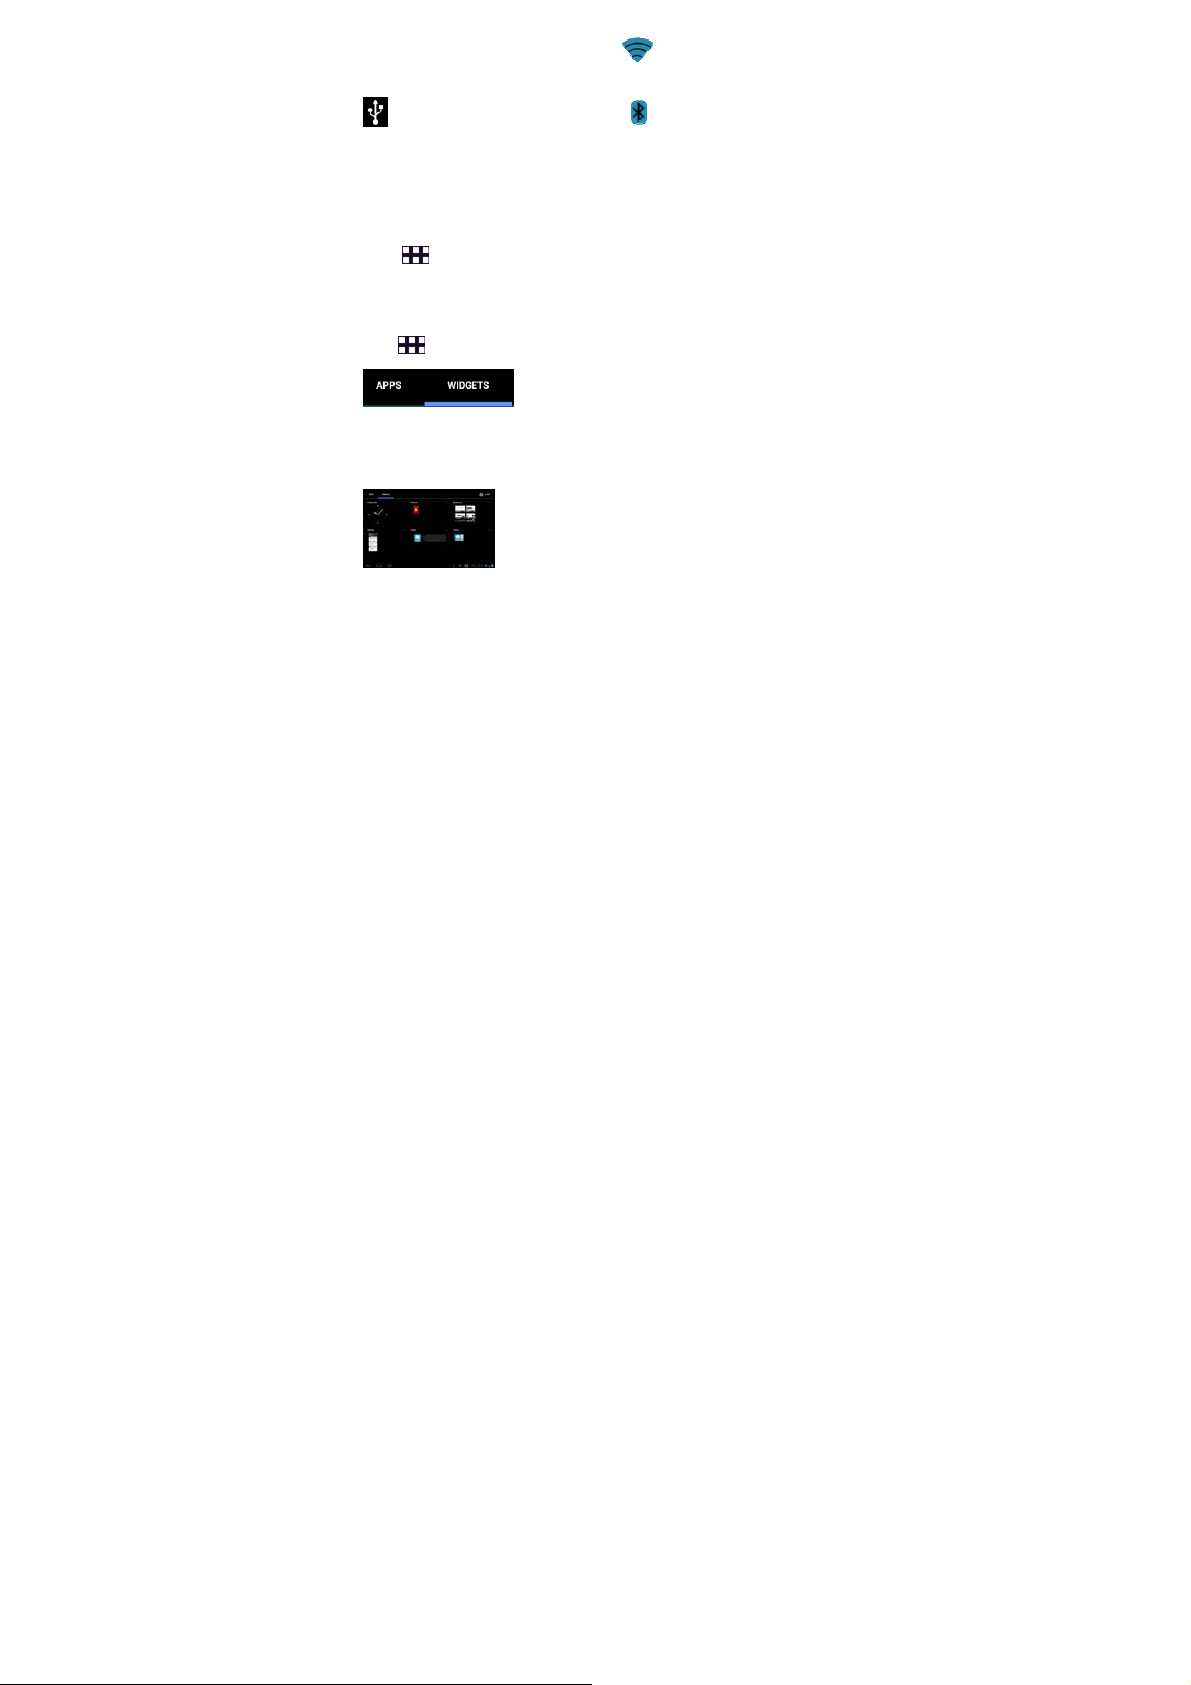
Widgets
You can add a clock, music player and calendar widgets on the main screen.
Click
Or sliding screen to the left into the widgets page,long press any widget drag
it to the screen.
Wallpapers
1.Touch and hold on home screen ,popup dialog box.
USB is
connected
to open the application menu,long press and drag the icon to be
to open the application menu,then click
Wifi is
connected
Bluetooth
- 7 -

Click “Gallery” Can select the system your own pictures as wallpapers.
Click “Live Wallpapers” Can select the system live wallpapers as
wallpapers.
Click “Wallpapers” Can select the system pictures as wallpapers.
2. Click
Touch screen
Steps:
1. Short Press touch screen: Use the tip of your finger to press exactly on
the touch key you want, being careful not to touch the keys for other
functions.
2. Long press touch screen: Press for more than 1.5 seconds to get into the
submenu.
3. Drag: Press and hold the scroll bar and drag up or down. On some
screens such as web pages, you can also scroll side to side.
4. Zoom: when you view page, you can double-click the screen to zoom in
or out the page.
2.2 V olumes
·Media volumes:Set the volumes of music, video, games and other media
players.
· Ringtone volumes:Set the volumes of the ringtone and notifications.
·Alarms volumes:Set the alarm volumes.
·Call volumes:Set the volumes of calls.
Set the volumes
Steps:
> Settings>Display>Wallpaper
> Settings>Sound>Volumes
- 8 -

·Set vibrate
Steps:
Check“Vibrate on ring”to Turned on or off the equipment vibration.
Call volumes
During a call, you can press the left side of the volume up and down key to
adjust the call volume.
2.3 People
You can save contacts, phone numbers and e-mail and other related content.
New contact
Steps:
1. Enter your contact’s information.
2. Click “DONE” to save the contact.
> Settings>Sound>Volumes
> People> new contact
- 9 -
Edit contacts/ Delete contacts
Edit contacts:
1. Click
2. Choose the contact you want to edit,click
to save the contact.
Delete contacts:
1. Click
2.Click
3. Check the contacts you want to delete, click “OK” to delete the checked
contacts.
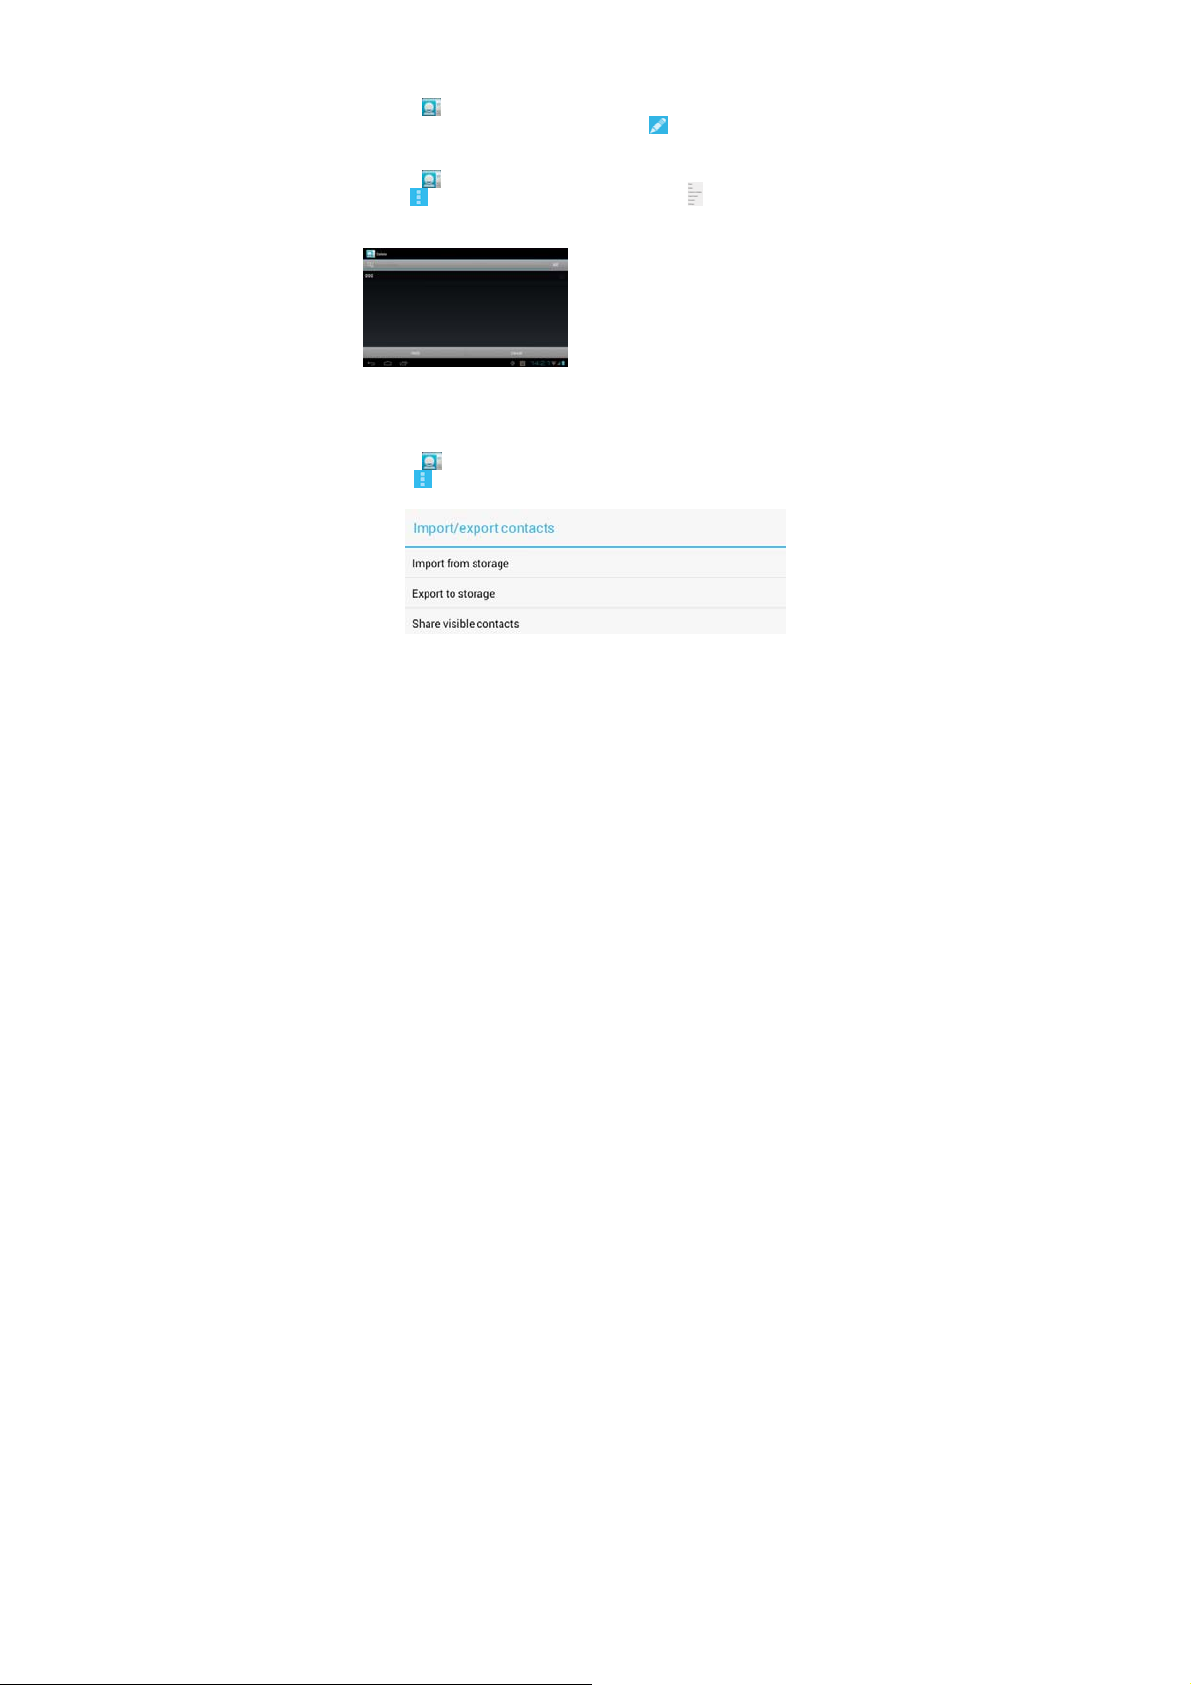
Backup contacts
You can export your contact data to the SD card.
Steps:
1. Click
2. Click
3. Click “Export to storage”
,open the contact list.
. After editing, click “DONE”
,open the contact list.
,in the pop-up menu, choose “Delete”
,open the contact list.
> Import/export.
- 10 -

Import contacts
·Import from SD card
Steps:1. Click
2. Click
3.Click “Import from storage”.
Favorite contacts
You can add commonly used contacts and special contacts to your collection,
in order to find and use.
Steps:
Select a contact in your contact list, then click the star icon to make it turn
blue.
,open the contact list.
> Import/export.
- 11 -

Chapter 3 Use the device
3.1 Phone
Make a phone call
1.
> Phone
2. Press the number keys, enter the phone number.
3. Click
4. When the call is completed, press the hang up to end the call.
Note:1.Click
Receive calls
When the incoming call, the device will issue a prompt,you can hold down
the
Note:you can hold down the
phone and send a message.
Handsfree
You can use the handsfree to ensure traffic safety while driving.
Use hands-free speaker / microphone device / Bluetooth headset to make and
receive calls.
Mute
During a call, you can make the other side can not hear your voice.
Press the mute, turn on or turn off mute.
,make a call.
1. You can also select a contact to call.
2. During a call,click
,drag it to the to receive calls;or drag it to the to hang up.
can remove the number.
can open the dial pad to the digital input.
and drag it to the message icon to hang up the
- 12 -

Telephone conference
1.
> Phone.
2. Press the number keys to input the number of the first person.
3. Outgoing calls.
4. The other party answers,click
5. Press the number keys to enter the next party calls and outgoing calls.
6.Click
Call history
You can view the received calls, missed calls, dialed calls and other
information in the call history.
Steps:
Click
Emergency call
1.
2. Press the number keys to enter the emergency number.
Note:1. Different countries have different emergency call numbers, so the
emergency call number in your device is not effective in all regions. Sometimes
due to network, environmental, or interference with the impact of events, an
emergency call may not call..
2. The phone features of the device must be turned on when you make an
emergency call,.
3.2 Message
Write messages
Steps:
1. Enter the message receiver,you can also press
the contacts.
2. Enter the text you want to send.
3. Click
to connect the two sides call.
> Phone.
to view the call history.
> Phone(If the device is locked, click Emergency Call.)
> Messaging> new message.
,send the message.
.
,Find a receiver from
- 13 -
Answer messages
The top status bar will be prompted when you receive new information.
Steps:
Select the message you want to reply:
1. Enter the text you want to send.
2. Click
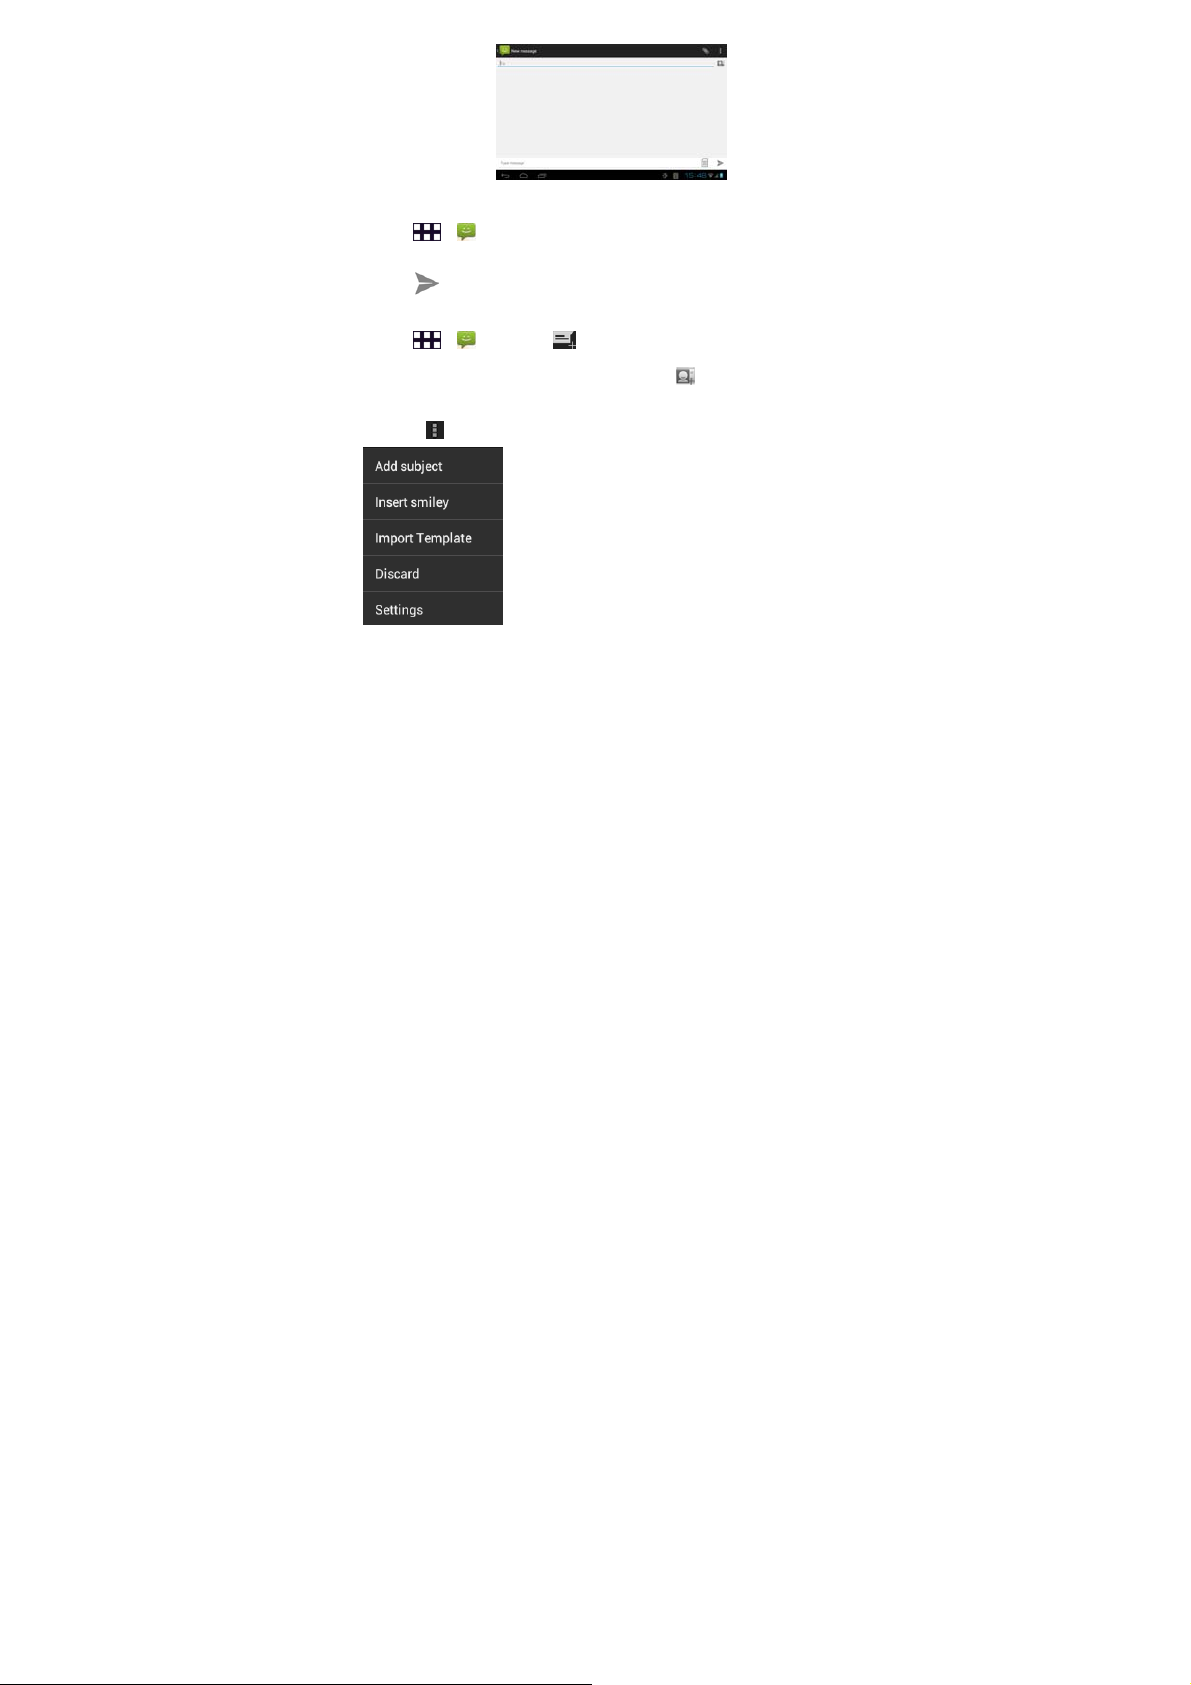
Write MMS
Steps:
Enter the message receiver,you can also press
Next, in the following ways you can make a SMS converted into a MMS.
1.Click
> Messaging
,send the message.
> Messaging> new message.
,Find a receiver
>add subject.
- 14 -

2.Click to add pictures, music or video files for MMS。
- 15 -

Chapter 4 E-mail
4.1 Use the Google Account login
Using the Google Account login can make your device synchronized with
the server,and you must use a Google account to synchronize Google Apps,
Google Talk,and Android Market.
Steps:Click
Click “Sign in”, enter your user name and password, then click “Sign in”.
After logging in,all e-mail, contacts and calendar in your Google account will be
synchronized to the device.
Note:If you do not have a Google account, click Create.
Regain your Google account's password
If you have forgotten your Google account's password, you can perform the
following steps to obtain the password:
1. On tn the computer, open a browser and go to:
http://google.com/accounts
2. In the right side of the web page ,click“Can't access your account? ”.
3. Select “I don't know my password”.
4. Then follow the procedure t to reset your password.
> Setting> Accounts & sync>ADD ACCOUNT>Google
- 16 -
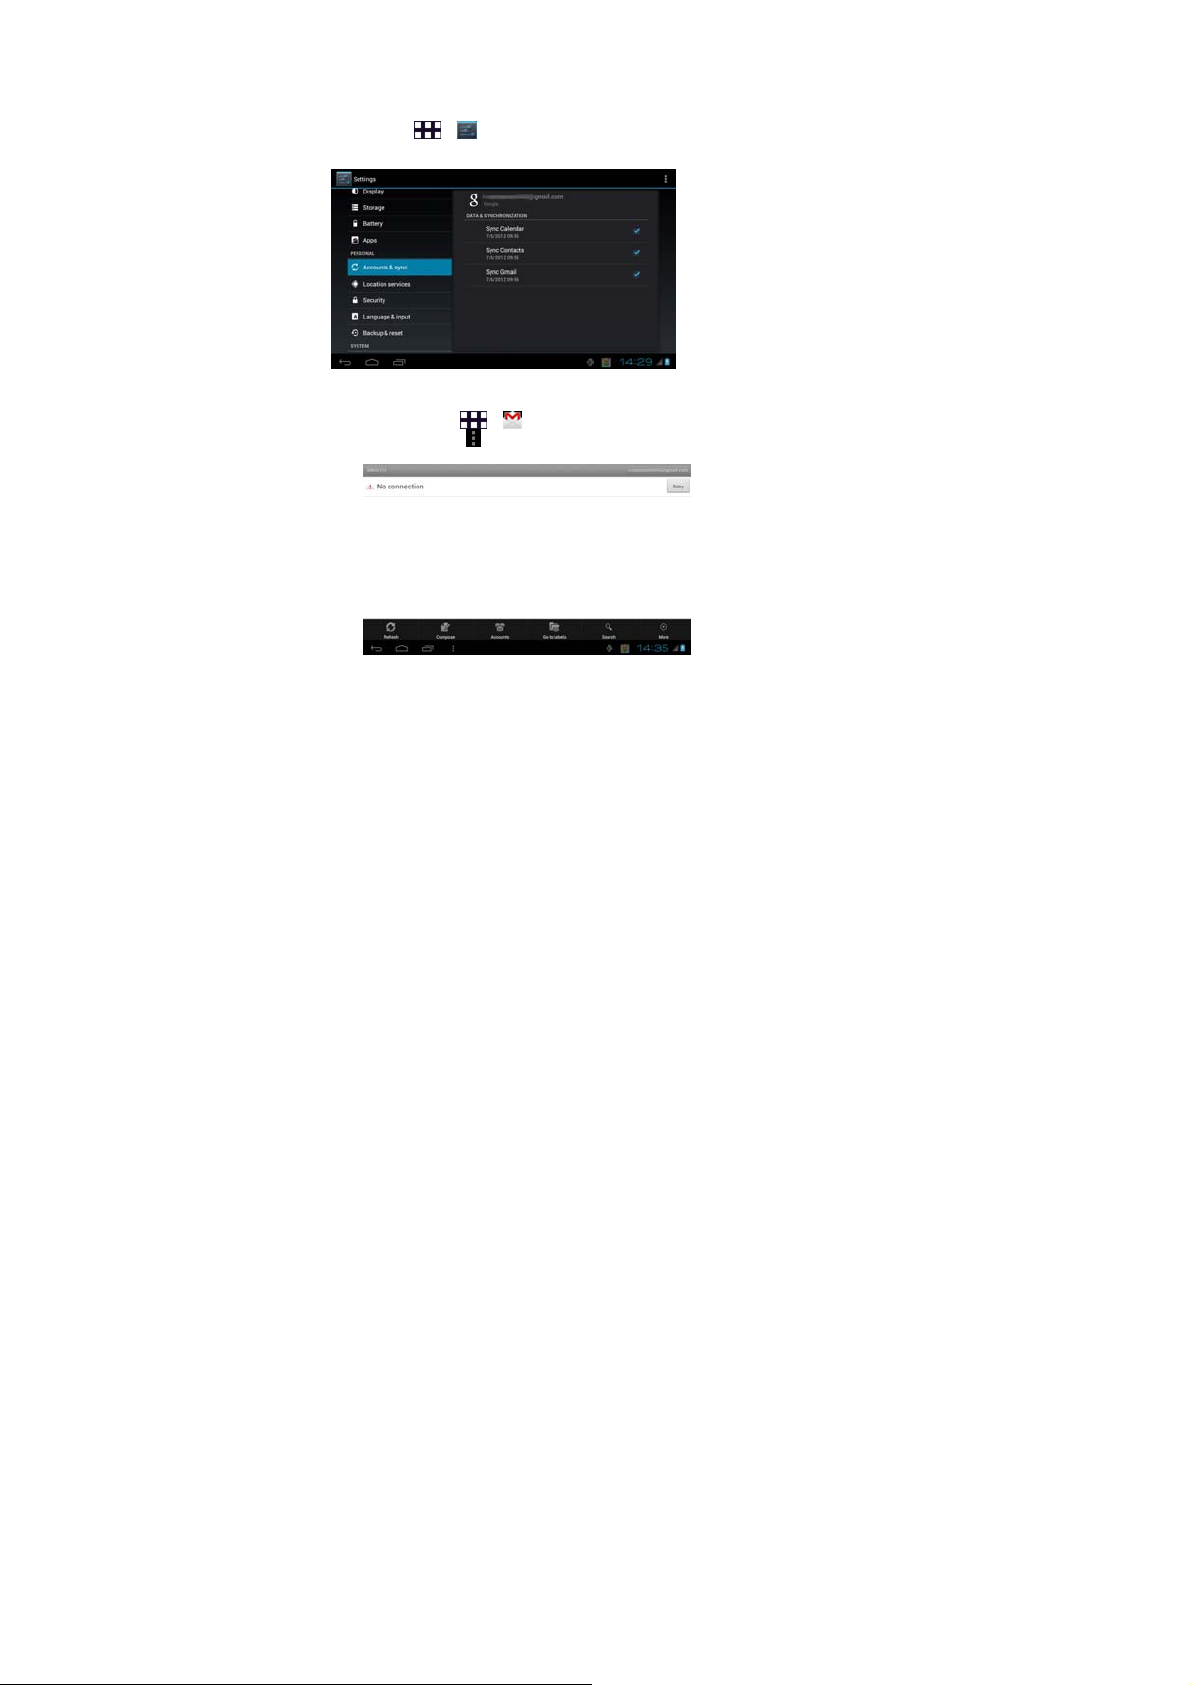
Set data synchronization
You can bind a Google account for synchronize the contacts in the device to
the website. This will facilitate the continuous update of the Google application
information.
Steps:
1. Click
2. Click the account you want to synchronize.
4.2 Gmail
Write a new Gmail
Steps:1.Click
> Setting> Accounts & sync.
2.Click
> Gmail.
, then select“Compose”.
- 17 -
 Loading...