

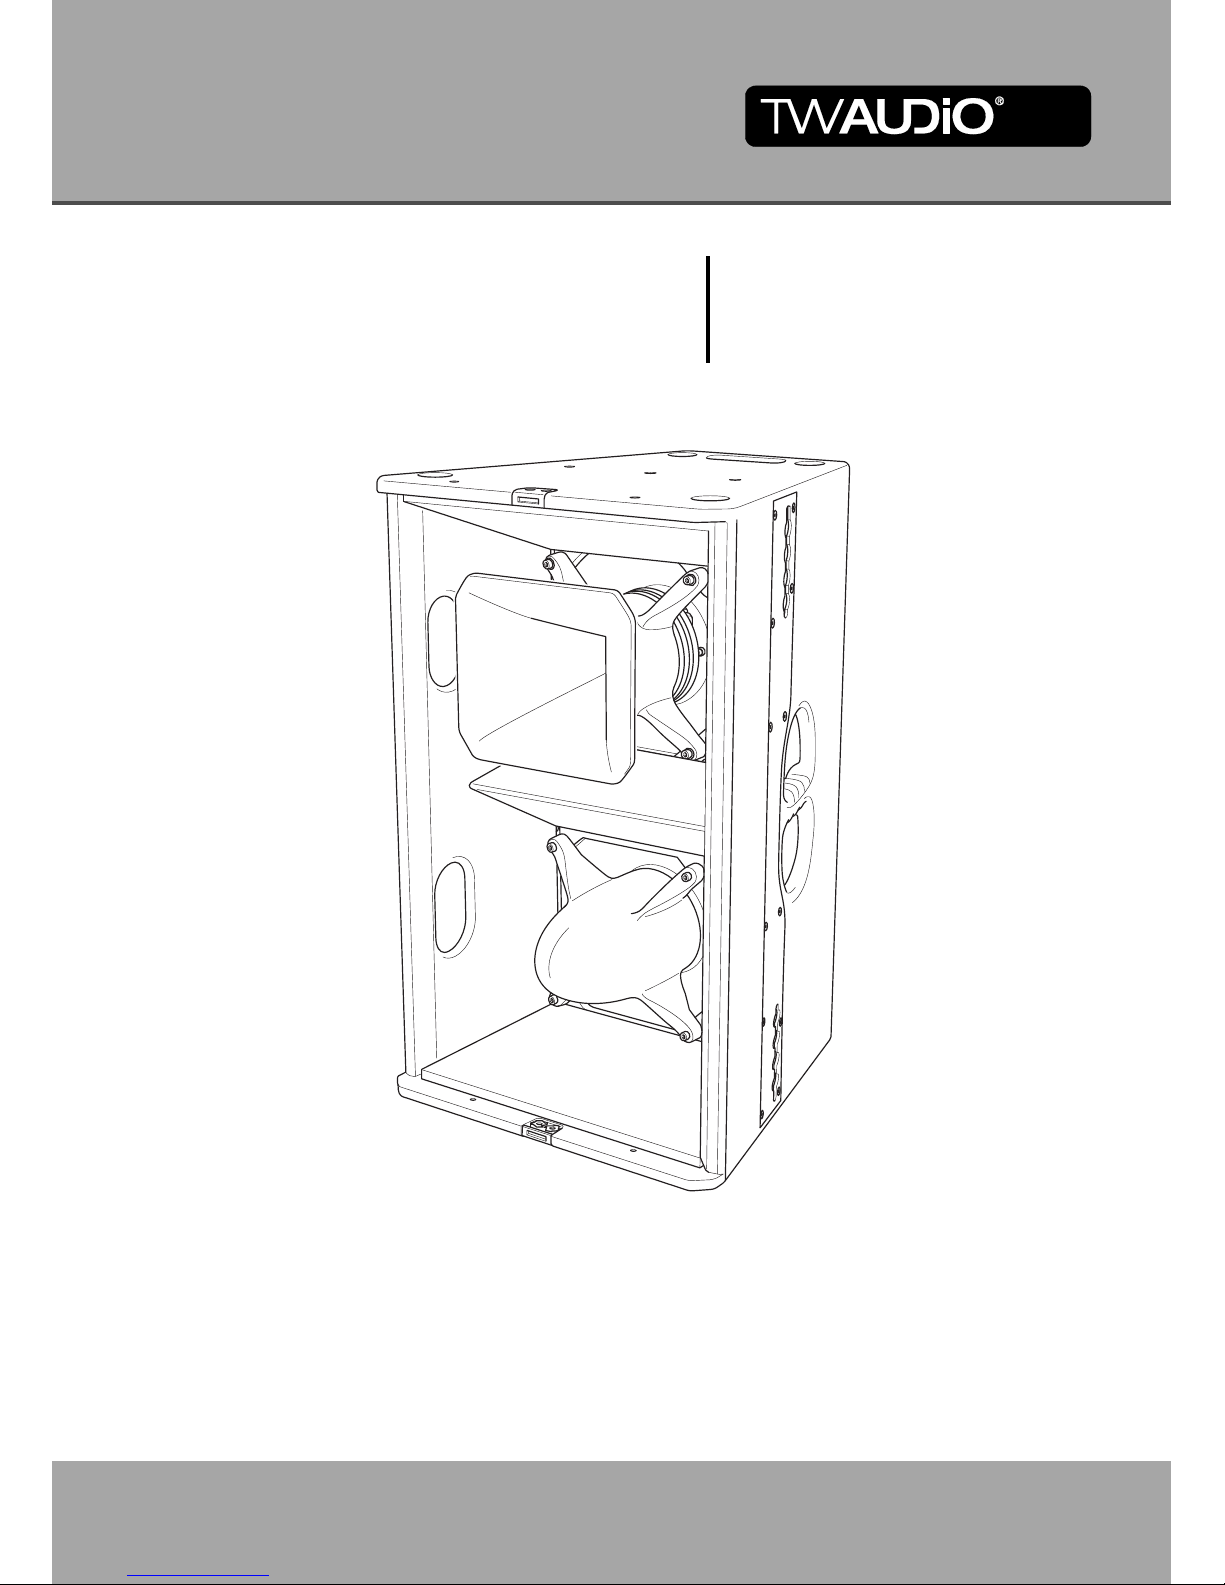
T24N
Operating Manual

Operating Manual T24N
Introduction
Thank you for choosing a high quality product "MADE IN GERMANY" from TW AUDiO.
The T24 was the first TW AUDiO loudspeaker and a benchmark for almost ten years for
numerous users in the live and installations market. The innovative 2 × 12"/1.4" horn in
horn construction enables an outstanding dynamic and 143 db top acoustic pressure
with an enclosure front surface of just 70 × 40 cm. In 2014 a substantial upgrade followed with the T24N.
Good just got better – and lighter. The specifically developed 12" neodymium chassis
together with the new enclosure construction make the horn loaded loudspeaker full
range capable just under 70 Hz. The new 1.4" mid high range driver with a 3" titanium
membrane reproduces silky highs exact and free of distortion even on the highest levels.
The standard fitted 60° × 40° horn can be, without the use of tools, exchanged for a
90° × 50° horn.
If you lend your product to another party, inform that party of the safety-related operating
procedures and hand over this operating manual. If you require additional copies of this
operating manual, they can be obtained free of charge from TW AUDiO at any time.
Strictly adhere to the instructions contained in this operating manual that are marked as
follows:
Instructions in the operating manual
WARNING
This symbol in combination with the signal word "Warning" identifies a potentially hazardous situation. Failure to comply with this safety instruction can lead to serious injury
or even death.
WARNING
This symbol in combination with the signal word "Warning" identifies a potentially hazardous situation for persons with a pacemaker. Failure to comply with this safety instruction can lead to serious injury or even death.
CAUTION
This symbol in combination with the signal word "Caution" identifies a potentially hazardous situation. Failure to comply with this safety instruction can lead to light or moderate
injury.
NOTE
This symbol in combination with the signal word "Note" identifies a potentially hazardous
situation. Failure to comply with this safety instruction can lead to product damage.
TIP
This symbol in combination with the signal word "Tip" identifies additional information or
notes that will simplify working with TW AUDiO products on the basis of practical experience.

Operating Manual T24N
Operating manual: OM-T24N
Version 1.0 en, 12/2015
© by TW AUDiO 2015; all rights reserved.
All information contained in this operating manual was correct to the best of our knowledge at the time of printing.
Quality warranties or assurance of suitability for a certain type of use based on the technical specifications, dimensions and weights are not granted by TW AUDiO.
TW AUDiO also shall not assume liability for any secondary damage (property damage
and/or personal injury) nor for the failure to comply with this operating manual.
TW AUDiO reserves the right to make changes that take into account the latest engineering advancements.
TW AUDiO is pleased to receive suggestions for improvement and recommendations on
this operating manual. Please send us any feedback you may have to the following email address.
info@twaudio.de
TW AUDiO GmbH
Osterholzallee 140-2
71636 Ludwigsburg, Germany
Telephone: +49 (0) 71 41 - 48 89 89 0
Telefax: +49 (0) 71 41 - 48 89 89 99
Notes on the products
Read manual
before use!
Before setting up the device, read the operating manual carefully and keep this document in a safe place together with the T24N loudspeaker.
General information

Operating Manual T24N
Content
Safety | Intended use.............................................................................................1
Overview.................................................................................................................3
Components............................................................................................................... 3
Variants ...................................................................................................................... 4
Operating modes........................................................................................................4
Technical data........................................................................................................5
Data sheet.................................................................................................................. 5
Wiring diagram ........................................................................................................... 5
Setting up the loudspeaker...................................................................................6
Setup.......................................................................................................................... 6
Rotating the horn and exchanging the horn cone ...................................................... 6
Connecting cables...................................................................................................... 7
Operation.................................................................................................................... 7
Transport and storage...........................................................................................8
CE Conformity Declaration ...................................................................................9
Disposal................................................................................................................10
1
Operating Manual T24N
1. Safety | Intended use
Please adhere to the following safety instructions to avoid risks when operating the loudspeakers.
The T24N loudspeaker was developed for professional use in sound systems. The loudspeaker may only be used by trained and qualified personnel.
Note the operating modes described in this operating manual.
Other uses are not permissible.
TW AUDiO shall not be liable for any damage that ensues from unintended use.
WARNING
Loudspeakers generate an electromagnetic field. Persons with pacemakers are not permitted to remain in the immediate vicinity of loudspeakers as the electromagnetic fields
can cause pacemakers to malfunction.
WARNING
When working with heavy loads over 20 kg, use suitable aids (dollies, hoisting slings,
etc.). Multiple people may be required depending on the situation.
Ensure that the units are in a stable position and are firmly attached. A falling loudspeaker can result in serious personal injury and property damage.
When using and assembling TW AUDiO loudspeakers, only use materials specified by
TW AUDiO. These tasks must be performed by qualified personnel. Adhere to the applicable safety regulations.
NOTE
When using the loudspeakers, ensure that they are not exposed to the following ambient
conditions:
• Direct sunlight
• Moisture
• Jolting
•Dust
WARNING
Keep away from the immediate vicinity of loudspeakers that are operated at high sound
pressure levels. These loudspeaker systems are capable of endangering your health.
Sound levels beginning as low as approx. 90 dB SPL can lead to long-term hearing impairment.
NOTE
Avoid:
• Feedback
• Distorted signals (clipping)
• Peaks that result when devices are switched on or hot plugged and unplugged.
These signals can result in overloading of the loudspeaker.

2
Operating Manual T24N
Note that TW AUDiO does not provide a warranty for damage that can be attributed to
this type of overload and therefore cannot be held liable for any secondary damage.
WARNING
Ensure that the loudspeaker is not exposed to permanent thermal overloads. This may
cause a fire and result in serious personal injury and property damage.
NOTE
A permanent, magnetic field is present in the immediate vicinity of loudspeakers. Ensure
that objects which react sensitively to magnetic fields are not located in the immediate
vicinity of the loudspeaker. In particular, this applies to magnetic data carriers, EC cards
and CRT displays. A distance of approx. one meter is sufficient to avoid damage.
NOTE
Check loudspeakers and accessory parts regularly for visible wear. This is essential to
ensure fault-free operation on a permanent basis. Replace worn parts promptly. Spare
parts can be obtained from TW AUDiO.

3
Operating Manual T24N
2. Overview
Figure 2.1 - Overview
1. Dolly latch base to attach the TW AUDiO T24N front dolly
2. Milling for rubberfeet for safely stacking loudspeakers
3. 15 mm multiplex housing – Warnex texture paint surface finish
4. Rigging plate for attaching accessory parts
5. Ergonomic carrying handles (left and right)
6. Rubber feet (4 pieces)
7. Handles (top and bottom)
8. M10 threaded insert for attaching accessory parts
9. Warning label
10. Switch for operating mode (passive, biamp)
11. Standard connection panel with two speakON
®
connectors
12. Type label
13. 12" cone drivers
14. Interchangeable horn with 1.4" compression driver
15. Phase plug
2.1 Components
(Integrate graphics)
3
7
13
14
13
15
10
11
12
9
8
4
5
6
1 2

4
Operating Manual T24N
The T24N loudspeaker is available in a 60° × 40° variant and in a 90° × 50° variant. The
specified degree values refer to the horizontal and vertical radiation characteristics of
the horn. Different interchangeable horn cones can be installed for this purpose. The
variant of the T24N loudspeaker can be identified on the outside of the horn cone (see
figure 2.2).
Figure 2.2 - Variants of the T24N horn cone
2.2 Variants
60°
90°
60°
90°
TIPP
The modular design of the high frequency
unit allows a quick change between the different characteristics of dispersion.
The entire high frequency unit consists of
the horn cone (1), the horn base (2), the
driver plate (3) and the compression driver
(4).
1
2
3
4
2.3 Operating modes
The T24N loudspeaker has a switch (see figure 2.4) on
the back for switching between two different operating
modes (see figure 2.1, no. 10).
In the "PASSIVE" mode, the loudspeaker is operated on
a passive audio crossover with a single amplifier channel.
In the "BIAMP" mode, the internal passive crossover is
being by-passed, therefore the low-frequency section
(2×12") and high-frequency (1×1,4") section must be
driven separately by individual processed amplifier channels.
Figure 2.4
NOTE
Never change the operating mode while the loudspeaker is connected. In addition to setting the switch, the corresponding preset on the amplifier must be changed.
Operating with an incorrect preset can damage parts of the loudspeaker.
Figure 2.3 - High frequency unit

5
Operating Manual T24N
3. Technical data
Figure 3.2 - Wiring diagram
3.1 Data sheet
Operating mode
Biamp Passive
Components 2 × 12" LF/1 × 1.4" HF
Frequency response 65 – 18,000 Hz
Power handling, program/
peak
1400/2800 W LF
220/440 W HF
1400/2800 W
Impedance 4Ω LF
8Ω HF
4Ω
Coverage angles (h × v) 60° × 40° or 90° × 50°
Max. SPL/1 m 143 dB
Dimensions (h × w × d) 706 × 440 × 440 mm
Weight 33.1 kg
Finish Warnex texture paint
3.2 Wiring diagram
(Integrate graphics)
parallel
LF 12"
LF 12"
HF 1,4"
LF 12"
LF 12"
HF 1,4"
PIN 1+
LF 2±
HF 1±
FF 1±
PIN 1–
PIN 2+
PIN 2–
PIN 1+
PIN 1–
PIN 2+
PIN 2–
parallel
PIN 1+
PIN 1–
PIN 2+
PIN 2–
PIN 1+
PIN 1–
PIN 2+
PIN 2–
4 OHM
8 OHM
4 OHM
8 OHM
4 OHM
PASSIVE
X-OVER
PASSIVE
+
--
+
--
+
--
+
--
+
--
+
--
BIAMP
LF 2±
HF 1±
FF 1±
PASSIVE
X-OVER
BYPASSED
PASSIVE
BIAMP
1,6 kHz

6
Operating Manual T24N
4. Setting up the loudspeaker
The T24N loudspeaker is designed for upright operation. A variety of accessories is
available from TW AUDiO to securely attach the loudspeaker, e.g. on stands or suspended from trusses and motor lifts. Horizontal operation is not an intended use.
The horn of the T24N loudspeaker is positioned such that the horizontal coverage is 60°
and the vertical coverage is 40°. In some situations, it may be advantageous to change
the output characteristics of the high-frequency range. For this purpose, you can rotate
the horn together with driver or exchange the horn itself into 90° × 50° variant. Proceed
as follows.
4.2.1 Rotating the horn
1. Place the T24N loudspeaker on the back side with front grill facing up. Ensure that
you work on a clean and non-slip surface.
2. To remove the front grill of the loudspeaker, use a 3-mm hex key.
Remove the four screws on the top and bottom of the loudspeaker enclosure (two
on each side).
3. Pull the horn cone up and out of the horn base.
4. Unplug the black connector from the enclosure.
5. Release the fixing screws of the horn base.
8. Insert the horn cone back in the horn base. To do so, firmly push the horn cone to
enable the catch mechanism to engage in the horn base. Then check that the horn
cone is firmly seated in the horn base.
9. Screw the front grill back on hand-tight.
4.1 Setup
WARNING
Ensure that the loudspeakers are in a stable position to prevent personal injury and
property damage. Secure stacked loudspeakers properly so that they can be tipped by
10° in any direction without toppling. Ensure that no thoroughfares are crossed when
laying loudspeaker cables. Use cable protectors or similar if necessary.
NOTE
TW AUDiO recommends using only the accessories specified by TW AUDiO to secure
the loudspeakers.
4.2 Rotating the horn and exchanging the horn cone
NOTE
6. Rotate the horn base by 90°. Ensure that you hold onto it firmly at all times. This
will prevent damage to the woofer membrane. ow tighten the horn base again. For
this purpose, use a 6-Nm torque wrench.
NOTE
7. Plug the black connector back in. Ensure that the cable connection of the driver
does not touch the membrane of the woofer. Otherwise, this component could be
damaged.

7
Operating Manual T24N
4.2.2 Exchanging the horn cone
1. Place the T24N loudspeaker on the back side with front grill facing up. Ensure that
you work on a clean and non-slip surface.
2. To remove the front grill of the loudspeaker, use a 3-mm hex key.
Remove the four fixing screws on the top and bottom of the loudspeaker housing.
3. Pull the horn cone up and out of the horn base.
4. Insert the other horn cone back in the horn base. To do so, firmly push the horn
cone to enable the catch mechanism to engage in the horn base. Then check that
the horn cone is firmly seated in the horn base.
5. Screw the front grill back on hand-tight.
To create a cable connection with an amplifier rack from TW AUDiO, proceed as follows.
A T24N loudspeaker can only be operated with a DSP controller. TW AUDiO only recommends using presets developed by TW AUDiO. The TW AUDiO system racks are
ideal for this purpose.
4.3 Connecting cables
NOTE
Ensure that the cable cross section is sufficiently large (at least 2.5 mm²) to avoid power
losses. TW AUDiO recommends using the loudspeaker cables available from
TW AUDiO.
Ensure that the polarity (+/-) and pin connection (1/2) of the cables are correct. An error
here will result in a significant change in the loudspeaker sound characteristics and may
damage the compression driver.
The connection assignment of the T24N loudspeaker can be found in section 3.2 "Wiring
diagram" on page 5.
The two speakON NL4 connectors on the back side of T24N allows to link multiple
T24Ns on a single amplifier output. Note that parallel connection reduces the total impedance seen by the amplifier.
The total impedance of loudspeakers connected in parallel must not drop below the minimum operating impedance of the amplifier.
4.4 Operation
NOTE
Ensure that the preset that matches the chosen operating mode (see section 2.3) is recalled before connecting the loudspeaker to the amplifier.
Operating with an incorrect preset can damage parts of loudspeaker.
NOTE
Ensure that the amplifier is properly sized according to requirements. Undersizing or
oversizing may damage the loudspeaker.
Please note the technical data in section 3.1.

8
Operating Manual T24N
5. Transport and storage
Because the T24N loudspeaker weighs over 20 kg, two people are needed to move and
transport the unit.
NOTE
The FDB30 front dolly and the Twin Case can be used to transport the T24N loudspeaker by a single person.
When transporting and storing the unit, it is important to ensure that the surface and
front grill of the loudspeaker are not damaged. Moisture can penetrate through exposed
wood surfaces and cause the wood to swell. A bent or broken front grill will no longer adequately protect the sensitive speaker membranes.
In addition, appreciable dust deposits may prevent the loudspeaker membrane from
working properly. For this reason, the loudspeakers should be transported and stored in
a safe, careful, dry and largely dust-free manner.
The following accessory parts for transport and storage are available from TW AUDiO:
• CaseT24 (flightcase for two T24N)
• CoverT24 (protective cover)
• FDB30 (front dolly)
The original packaging is not suited for permanent storing and transporting.

9
Operating Manual T24N
6. CE Conformity Declaration
Copy and translation of the original CE Conformity Declaration:
We hereby declare that the below-referenced components by virtue of their design and
construction, and in the configuration placed on the market by us, satisfy the safety and
health requirements of the applicable EC directives. This declaration becomes invalid in
case of modifications that have not been approved by us.
This declaration applies to the following components:
• T24N-60
• T24N-90
as well as all model variants based on these, provided that they correspond to the original factory models and have not been technically modified in any way.
Applicable directives:
• 2001/95/EC
• 2011/65/EU
Applicable national standards and technical specifications:
• DIN 18800
• DIN 4113
• DIN EN ISO 14121-1
• BGV C1/BGI 810-3
• EN 50581:2012
Ludwigsburg, Germany, 01 April 2014 ___________________________
Tobias Wüstner

10
Operating Manual T24N
7. Disposal
It is prohibited to dispose of used electrical equipment with household refuse.
All products of TW AUDiO GmbH are so-called B2B products. This means that they are
sold by a commercial business to a commercial business. TW AUDiO products that bear
the trash can symbol shown here are only permitted to be disposed of by TW AUDiO.
The loudspeaker owner is legally responsible for the disposal of used devices that do
not bear this symbol. This pertains to all products delivered prior to 29 March 2010. Nevertheless, TW AUDiO will also be happy to assist you in this case.
If you have any question regarding the disposal of used devices, please contact us under the following telephone number:
+49 (0) 71 41 - 48 89 89 0
Thus, TW AUDiO is in strict compliance with the Waste Electrical and Electronic Equipment Directive (2012/19/EU) for the protection of our environment.
TW AUDiO is registered as a manufacturer and distributor of electric devices under the
following WEEE registration number with the German registry office EAR as a B2B manufacturer:
DE54488702
In countries outside of the European Union, follow the local regulations.

TWAUDiO GmbH
Osterholzallee 140-2
71636 Ludwigsburg
Germany
P: + 49 (0) 71 41-48 89 89 0
F: + 49 (0) 71 41-48 89 89 99
E: info@twaudio.de
W: www.twaudio.de
 Loading...