

Tuzio H6026, H6024, H6023 User Manual

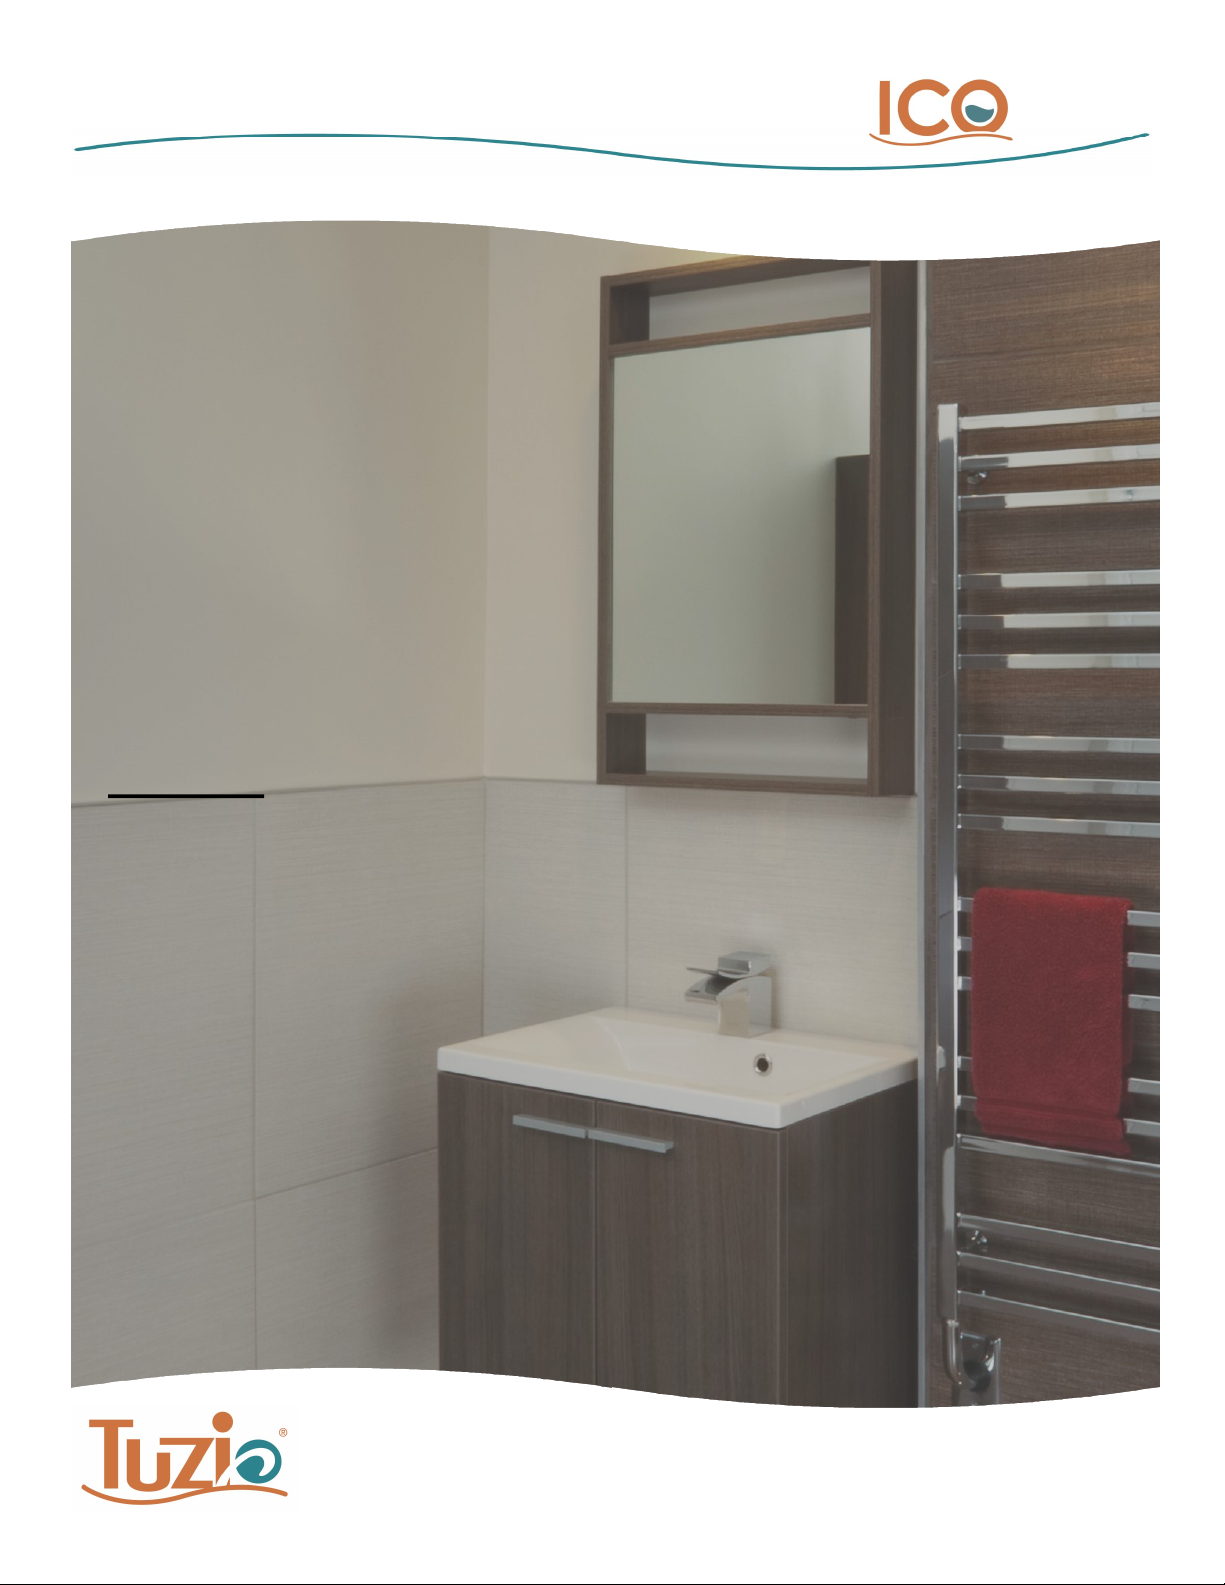
Tuzio® Stour 500
Towel Warmer
Installation Guide
Code: H6023 / H6024 / H6026
19.5” x 27.25” x 5” Hydronic
Technical Helpline:
Toll-Free 1-877-757-8990
www.icocanada.com
2
Congratulations!
You are the proud owner of a quality Tuzio Towel Warmer.
This product has been specifically engineered and tested to provide
optimal comfort and satisfaction.
ICO carries a broad range of luxury bathroom products designed to make
everyday living just a little more enjoyable! Visit www.icocanada.com to
learn more.
Contents
Rough-In Requirements For Constant Circulation Heating System Page 3
Rough-In Requirements For Dedicated Heating System Page 4
Installation Instructions Page 5
Valve Connection Page 5
Specifications & Drawings Page 6
3
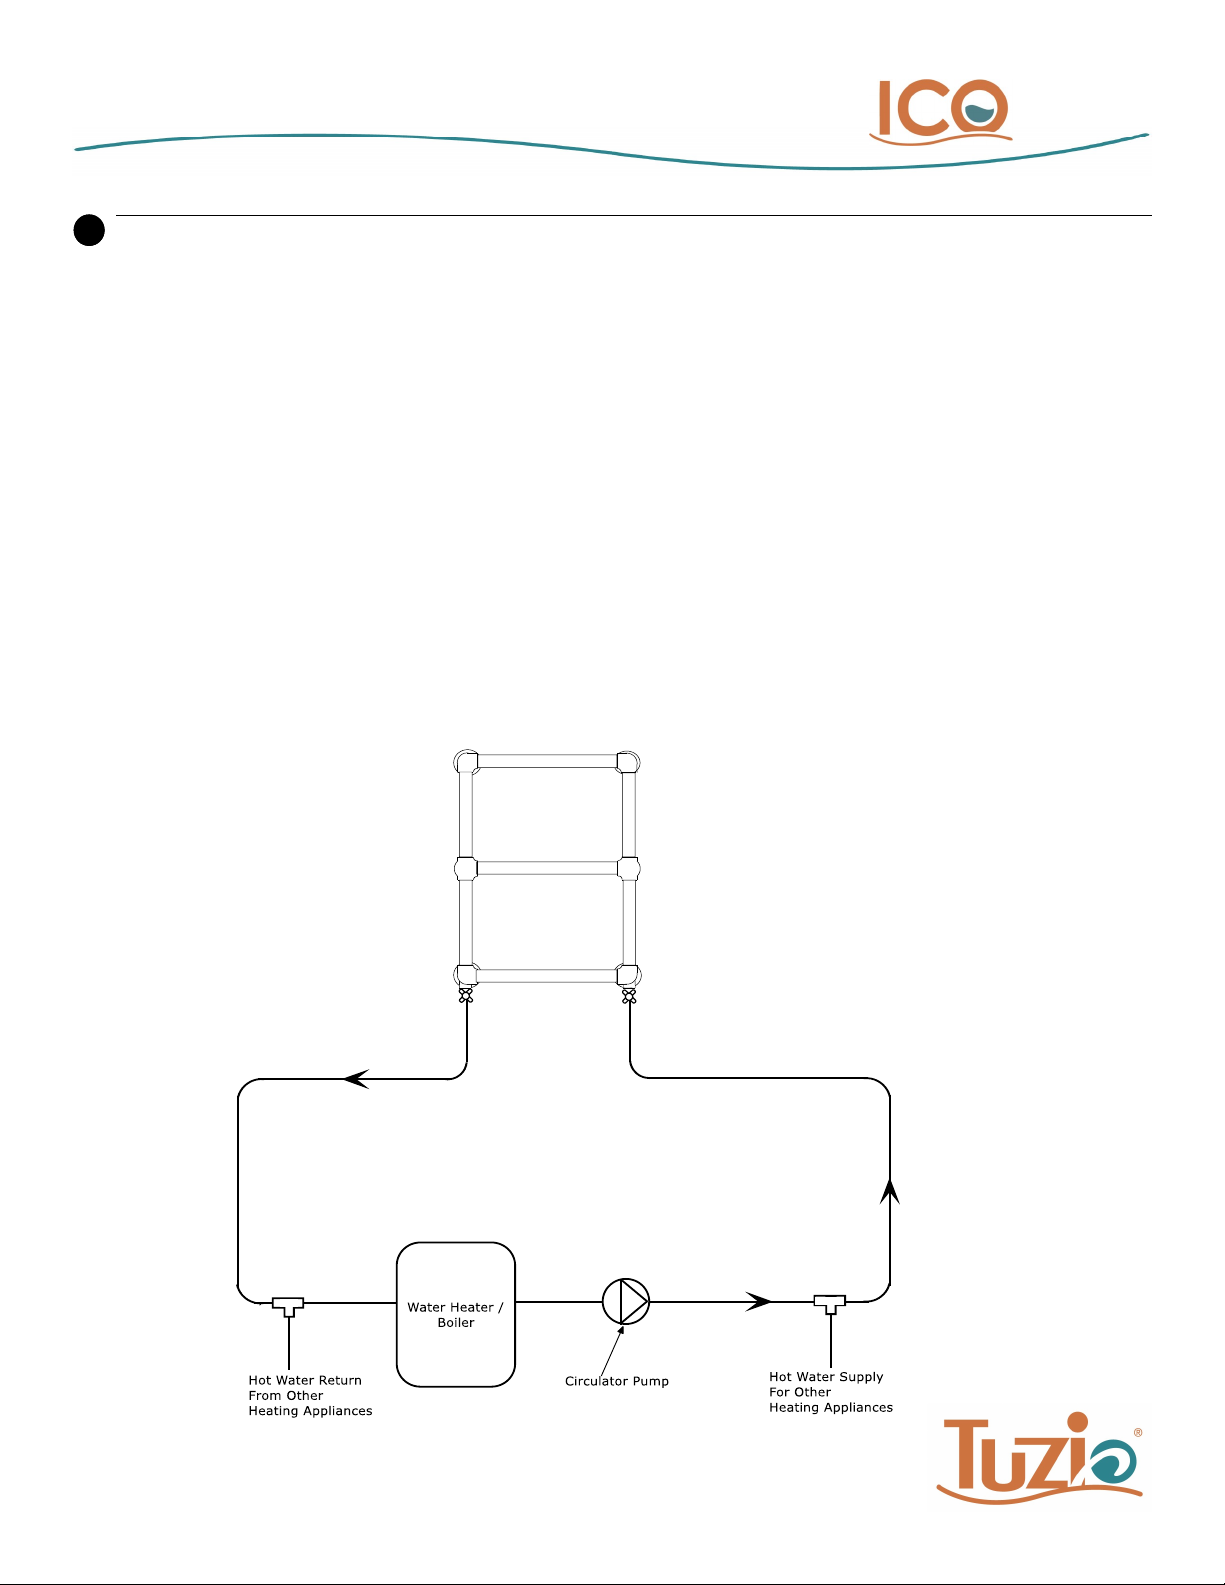
fig. 1
Using this installation method, the towel warmer is controlled using the valves attached to the towel warmer, and can be
operated independently from the heating system. This method of installation is popular where there are multiple heating
appliances connected to a closed hot water heating system, and electronic control of the individual towel warmer is not
important.
1. Install heating system pipework to proposed towel warmer location and tee off the main circuit to provide a branch
circuit for the towel warmer. Piping to towel warmer valves should be 1/2” copper.
2. Rough-in pipes as per locations shown on fig 4.
3. If a hydronic installation pack is being used (see fig 5), these should be connected (solder connected) within the wall.
If a hydronic installation pack is not being used (see fig 6), these 1/2” copper supply lines should protrude through
wall in order to connect to towel warmer valves.
4. Wall studs or plywood backing is required in the wall at bracket locations. See figure 4 for bracket locations.
Towel Warmer Installation Procedure
Rough-in Requirements - for constant circulation heating system (see figure 1)
1
 Loading...