

Tuxedo MR6K-48X Assembly & Operation Instruction Manual
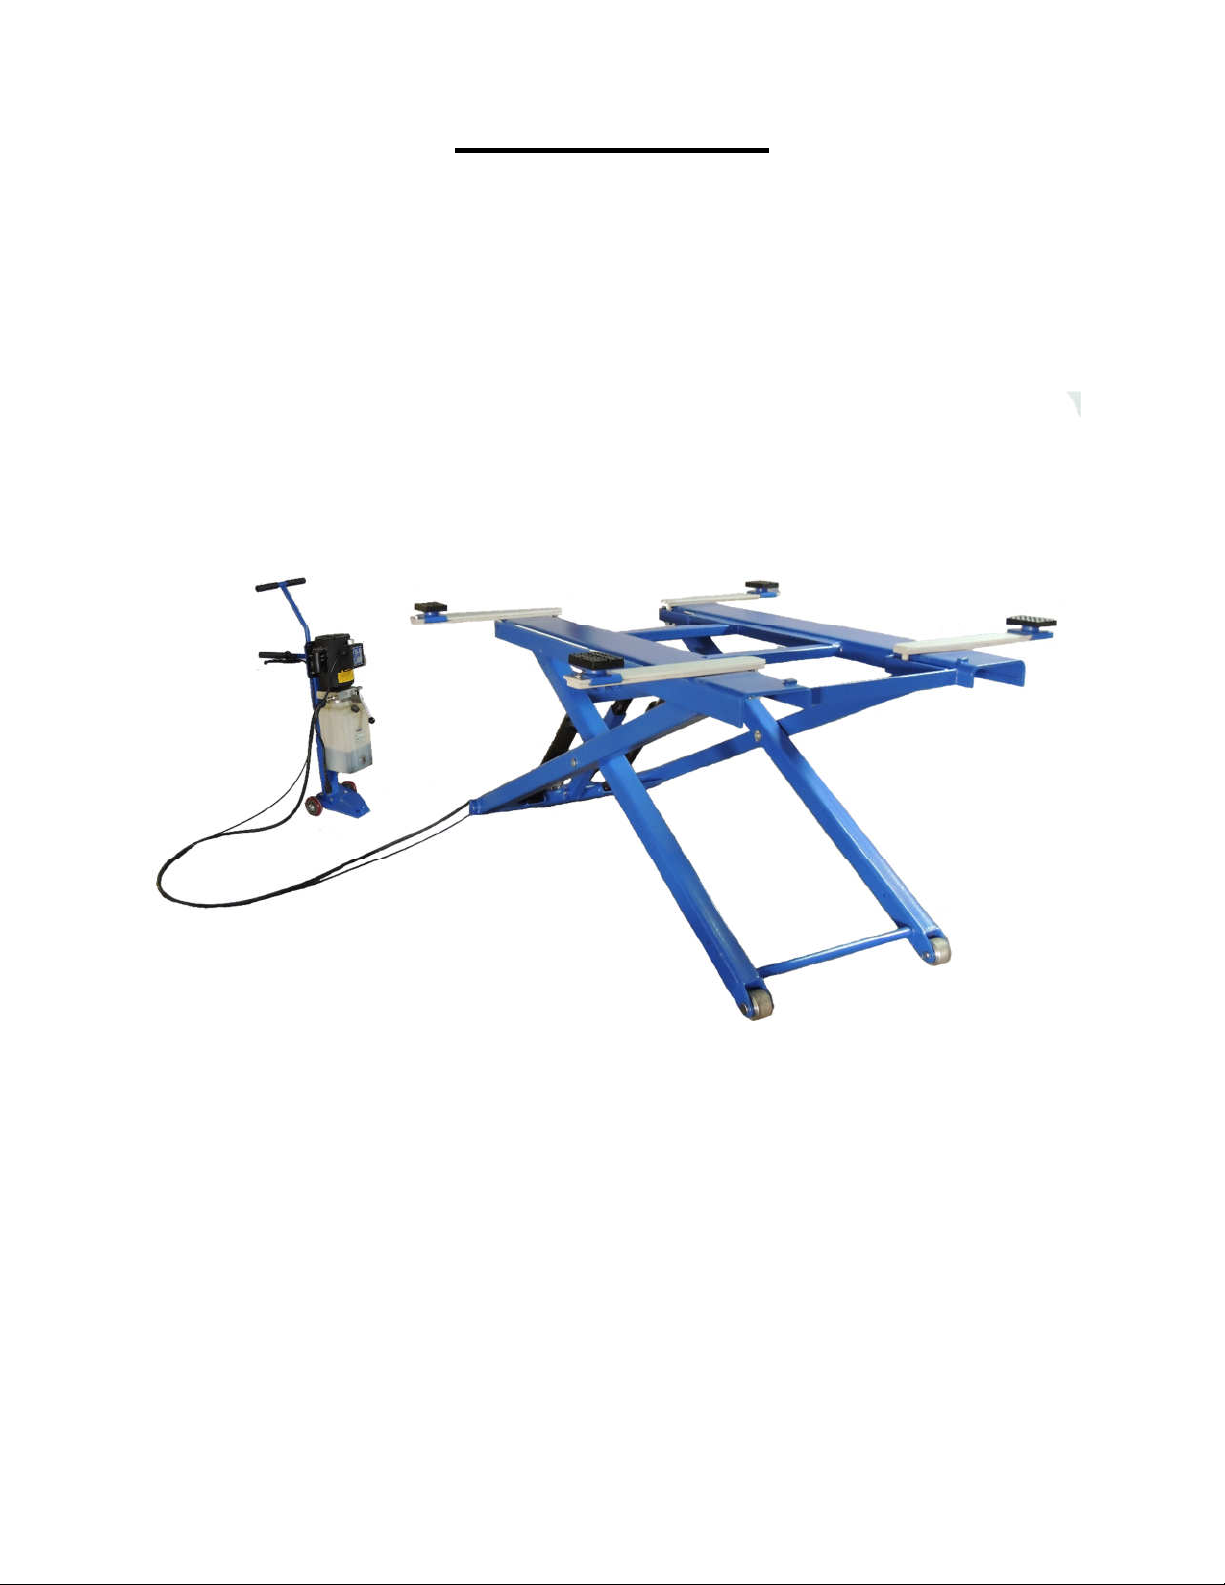
MR6K-48X
Mid-Rise Scissor Lift
6,000 lbs.
ASSEMBLY & OPERATION
INSTRUCTION MANUAL
November 2014
Important!
Be sure to read the operating instructions before operating your lift!
Getting Ready
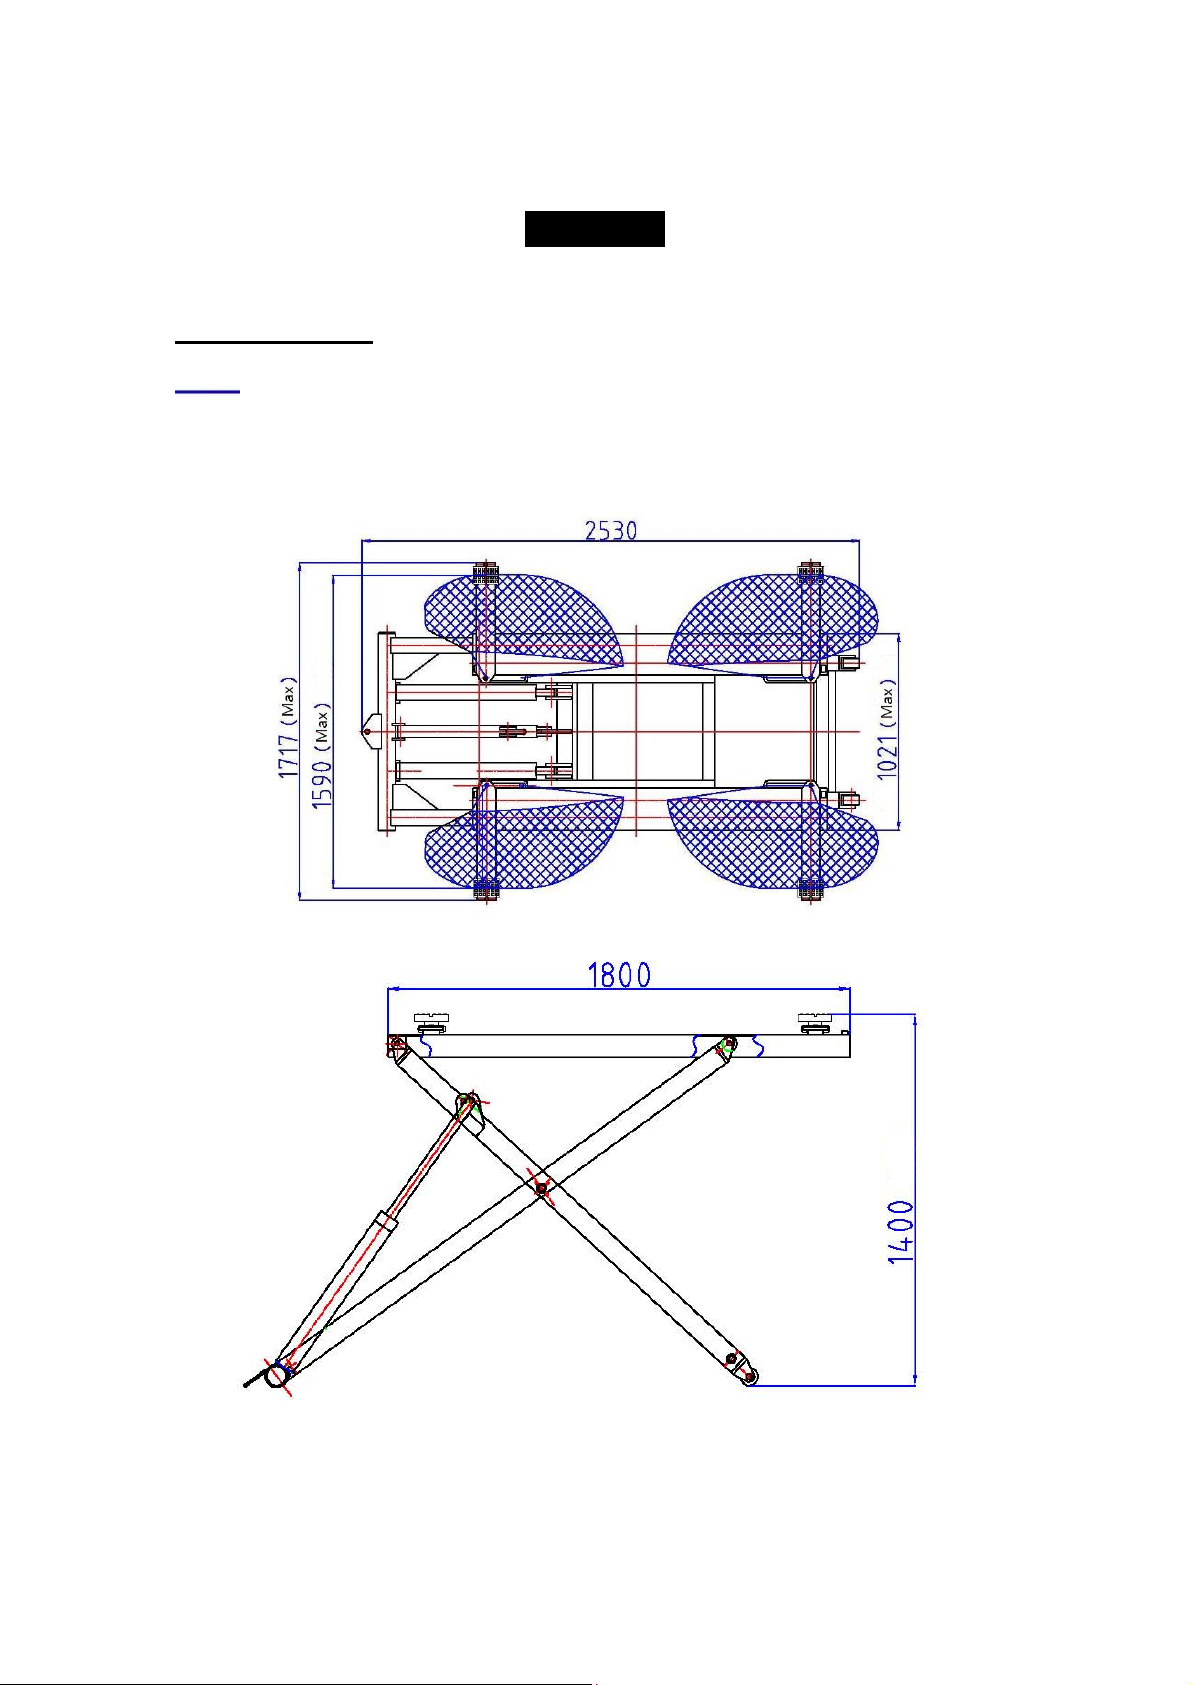
Make sure you have made all necessary measurements to assure that
your lift will fit in your shop / garage and accommodate the car you intend to lift
with it. Make sure you have enough clearance at the top, and enough width to
allow walking around. And make sure he knows what the circuit requirements are
(110 volt, single phase, 15 amp).
5
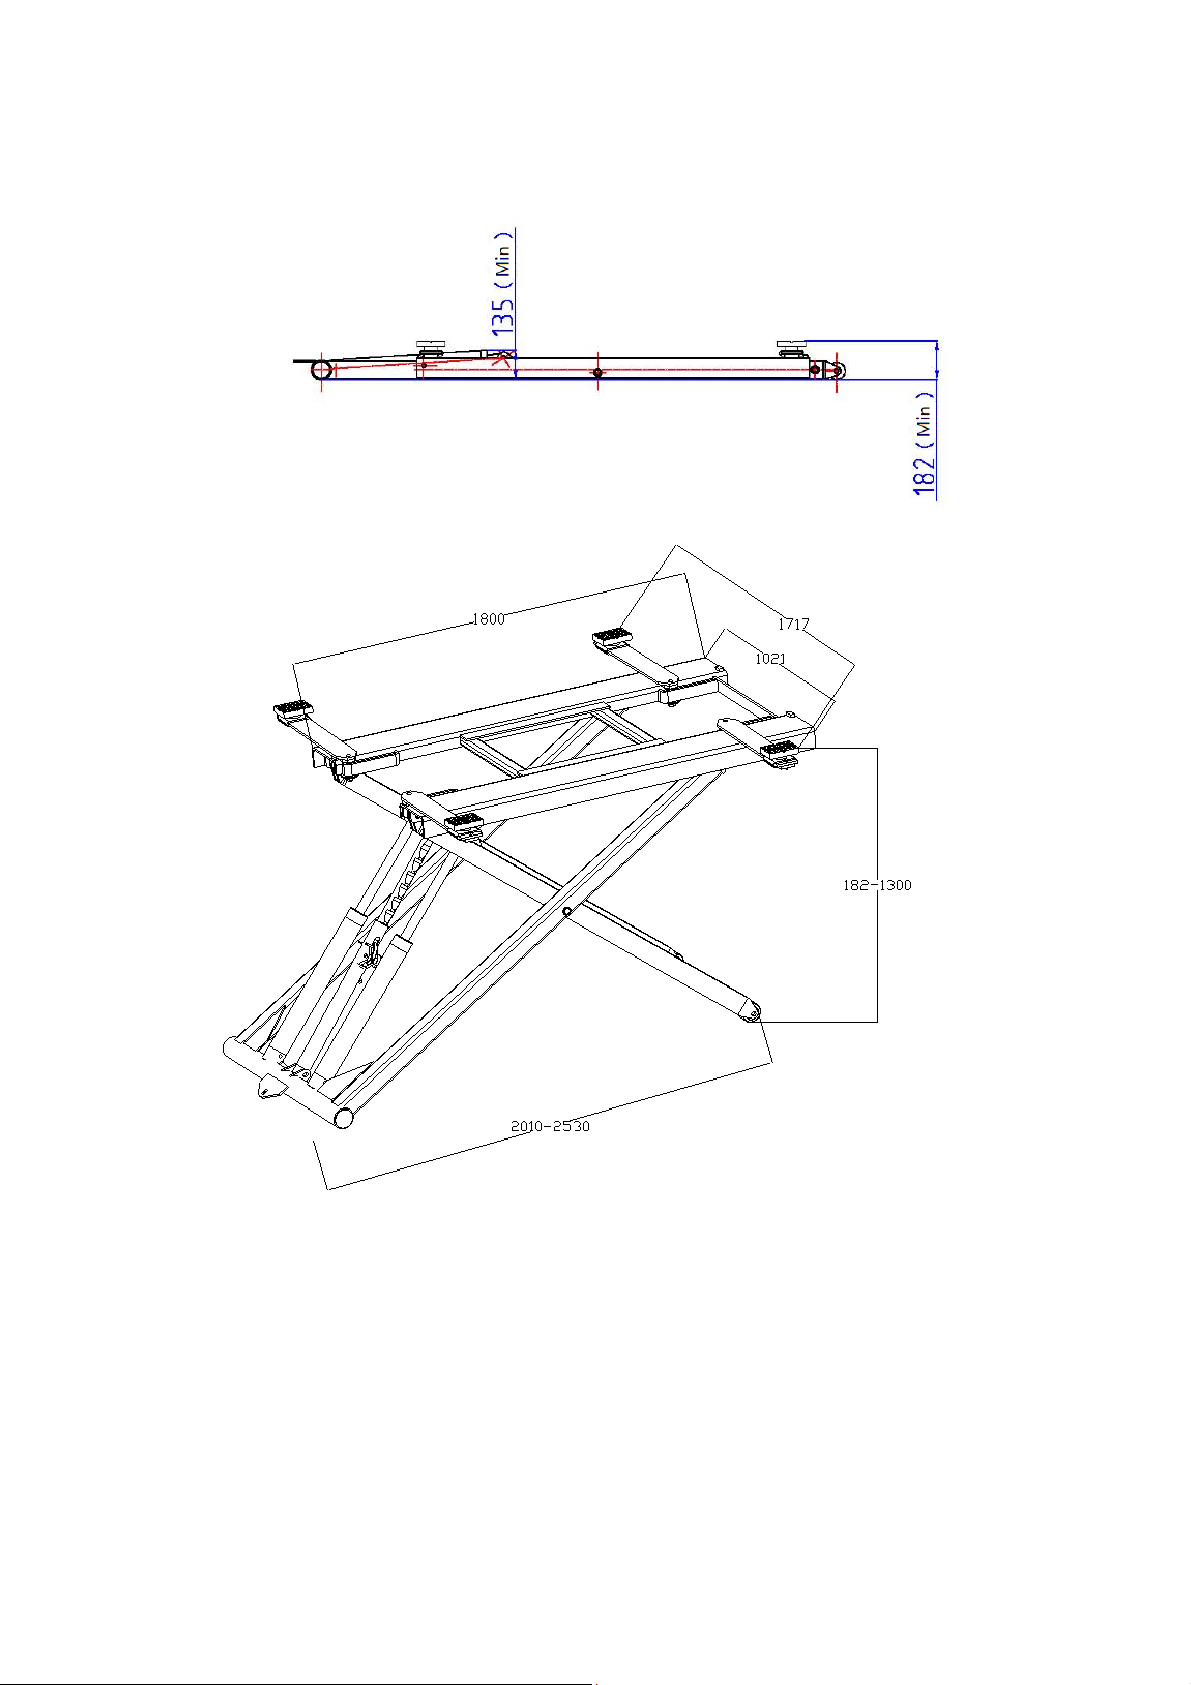
Fig. 1
Make sure you have someone to help you. The piece of this lift is big, heavy, and
cumbersome. The lift package weighs about 900 pounds by itself. It is possible
for one people to install this lift if he has the appropriate lifting and handling
equipment, but it is definitely easier and faster if there is another people available
to help manhandle the piece into place. As with any activities involving big heavy
materials, safety must be uppermost in your mind. This lift is not difficult to install
because of its simple design, but this very design makes it extremely effective for
shop and residential garage use. With proper preparation and installation, you
will be very pleased with this lift.
6

Required Tools
1. Fork Lift to unload lift on delivery
2. Wrenches and socket with ratchet
3. Adjustable wrench
4. Pliers
5. Flat blade screwdriver
Installation
You will need common hand tools that most homeowners have, like a hammer,
screwdrivers and pliers, but in addition, you will need some tools that are not
common. Each installation is somewhat different, and depends on how much
room you have to work around the lift. Here is a chronological sequence of
installation steps, with the associated tools.
1 Unloading the lift
You’ll need a forklift that can handle about 2000 to 2300 pounds and operate on
a smooth surface.
2 Un-banding the lift
The steel bands which secure the lift parts to the pallets are heavy duty. You’ll
need a pair of metal shears or tin snips to cut the bands. Be very careful when
doing this because the bands will tend to fly apart when they are cut, and the
heavy lift parts may shift when freed from the bands. Stand to the side of the
bands when you cut them, and use gloves when removing the cut bands
because they have sharp edges.
3. Moving pieces
You can move the large piece to the garage with the forklift. Other smaller pieces
can be moved manually.
7

STEP 1--- Assemble the dolly & cable handle
Take out the pieces of the dolly from the carton. Then
assemble them to be the dolly as Fig. 2. Then mount
on the lock-release cable handle on the dolly. ( Fig.3)
Fig. 3 Fig. 2
STEP 2 --- Mount on the motor pump
Take out the motor pump from the carton also. Then use the bolts provided to fix
the pump on the dolly.(Fig.4)
Fig. 4 Fig. 5
STEP3 --- Hose connecting & filling the tank
Connect the hydraulic hose to the pump output port. (Fig. 5 )
Then fill the thank with hydraulic oil AW32# or AW46# about 6 L.
8
 Loading...