

Page 1

“Operating”
EZ9Plus & EZ11Plus
Instructions on:
Page 2
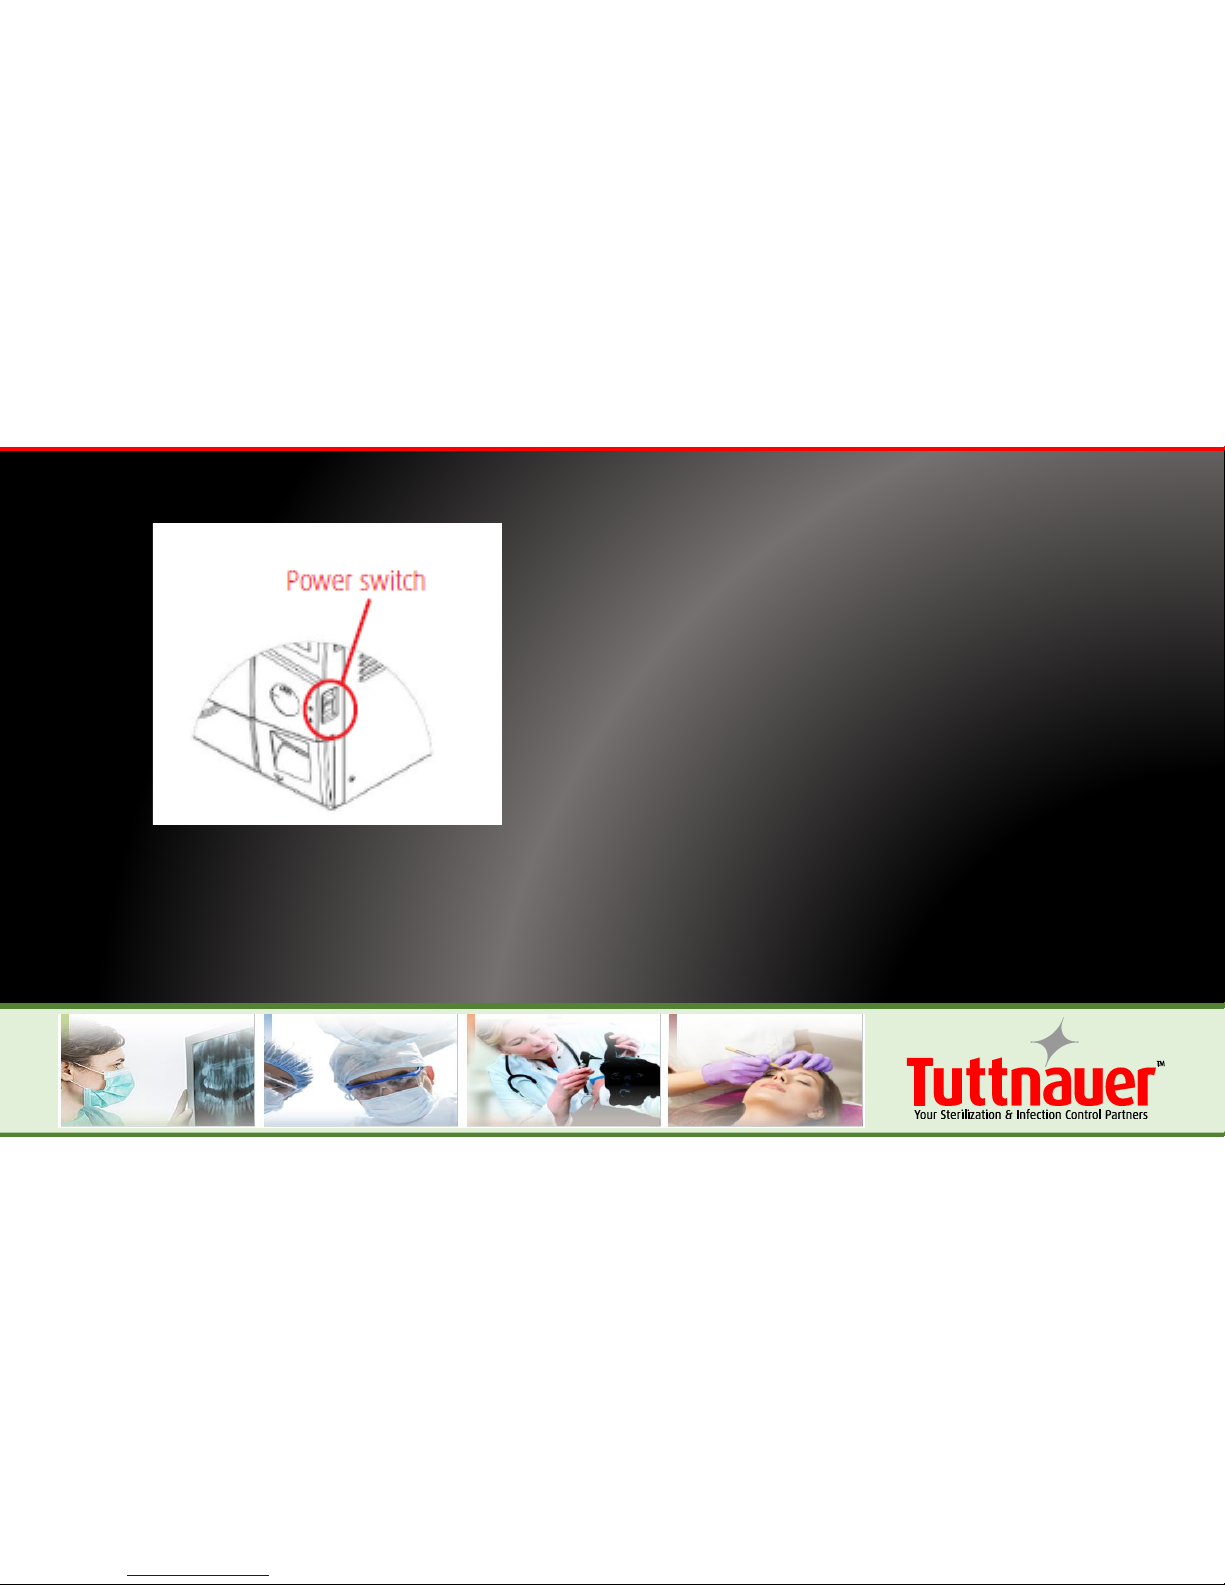
Step 1
Turn the unit on by setting
the rocker switch mounted
on the right side of the
front panel to the “On”
position.
NOTE: The EZ11Plus has an automatic pre-heating mode which activates automatically in the “Wrapped Instruments,
Pouches”, “Handpieces”, and “Custom A” cycles. Use caution since pre-heating will make the bottom of the chamber hot.
(This feature is not active in the EZ9Plus.)
Page 3
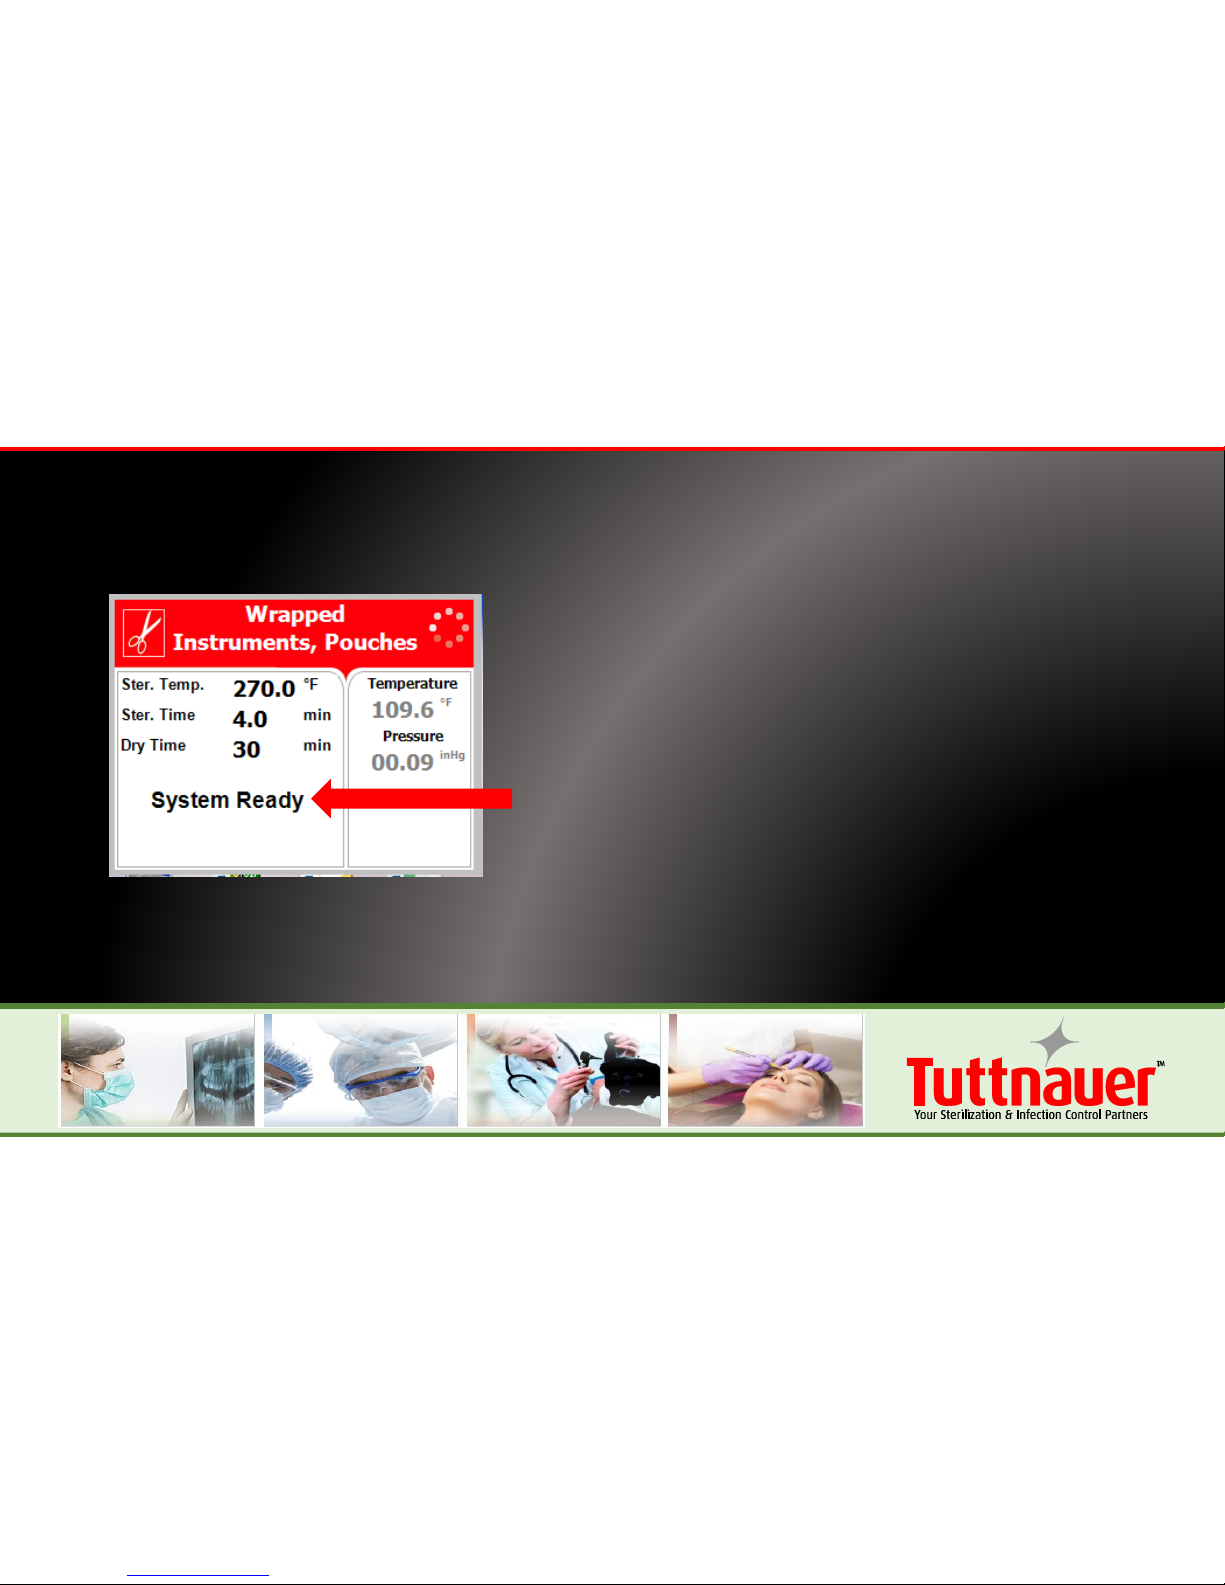
Step 2
Open the door when
“System Ready” is
displayed on the screen
Page 4
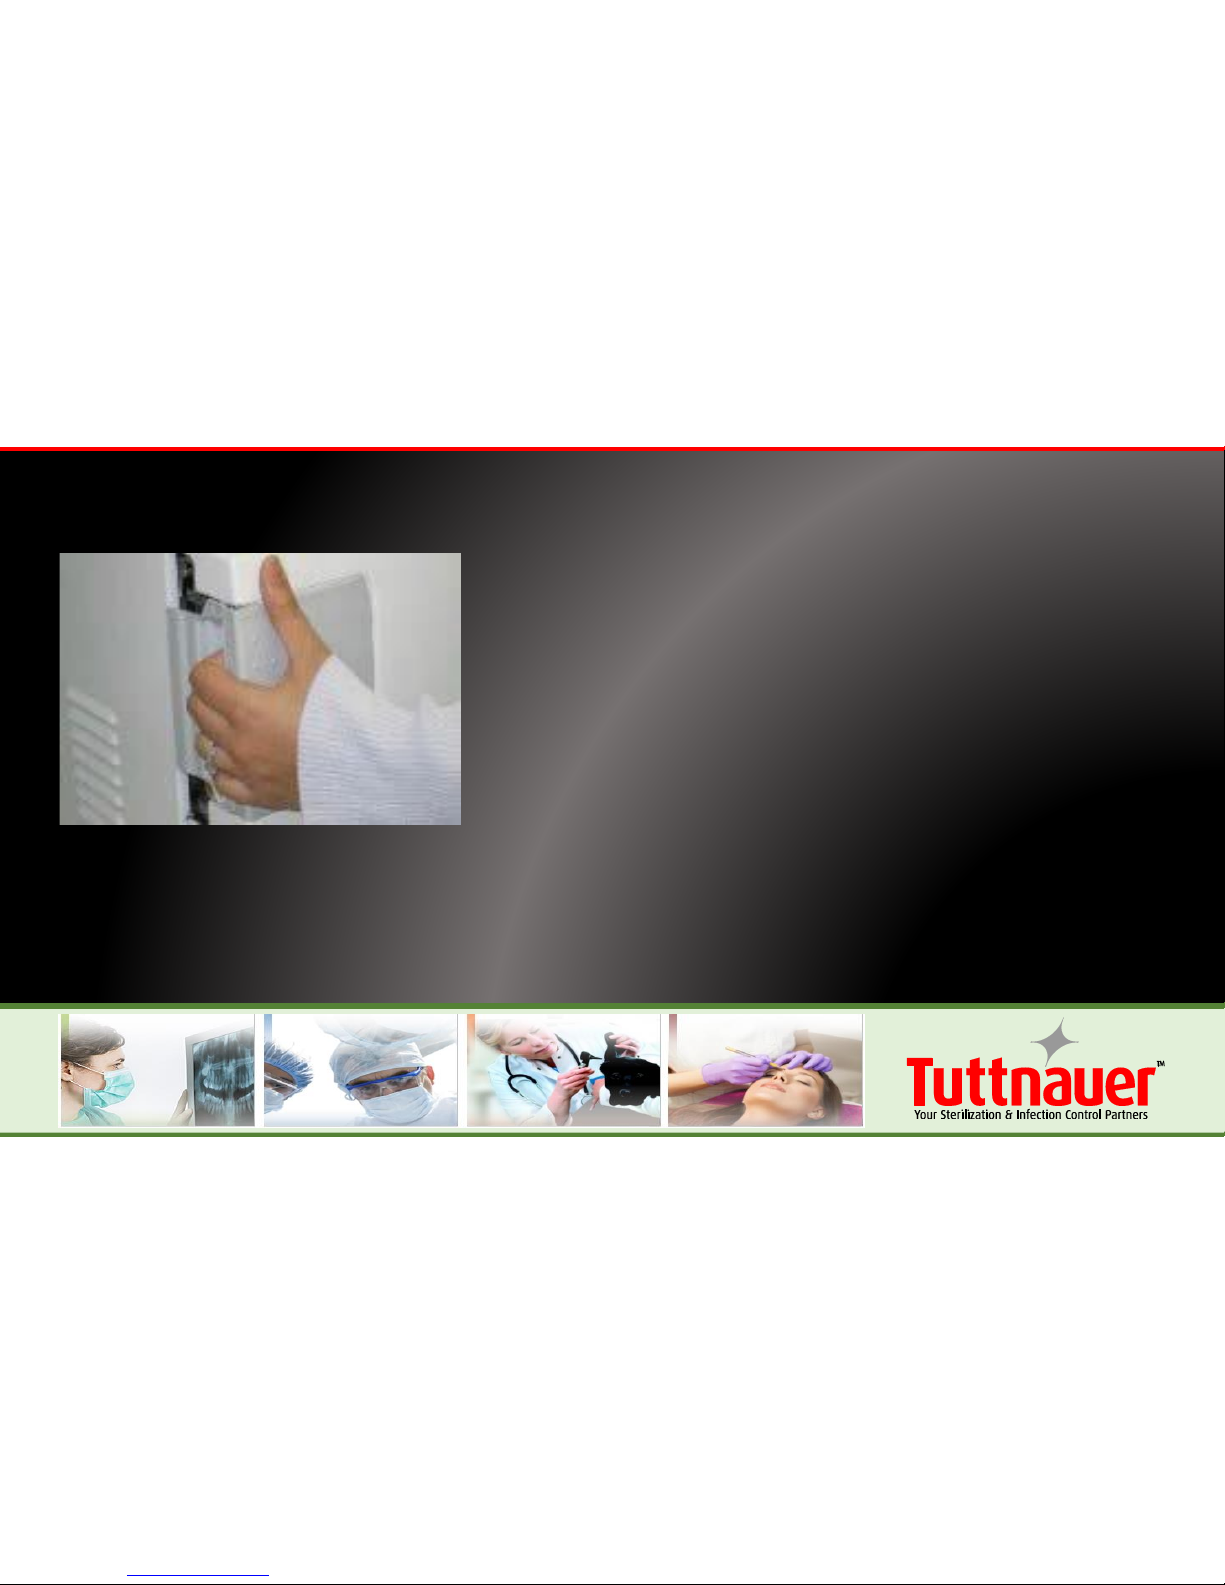
Step 3
• Place your thumb on the plastic
door cover and the other
fingers in the handle pocket.
• Pull the handle until the latch
of the door is released.
NOTE: This machine is equipped with an electronic door lock. The door will not open when the sterilizer
is running a cycle, when the power is off, or when the display screen does not read “System Ready”.
Page 5

Step 4
• Fill the reservoir by pouring steam distilled
water, gently, into the front funnel until it
reaches the top of the blue area on the
level gauge.
• This reservoir is designed with an overflow
and filling the reservoir above the safe
level as indicated on the Front Fill Funnel
will cause excess water to spill out below
the machine onto the counter
Page 6

Step 5
Select a program to run by
using the “UP” or “DOWN”
arrow keys.
(Programs can only be selected when the door is open.)
Unwrapped
Instruments
270oF
Wrapped
Instrument,
Pouches
270oF
Unwrapped
Delicate
Instruments
250oF
Handpieces
270oF
Page 7

Step 6
• Adding extra dry time can be done if the default
drying time is not adequate.
• Press the UP/DOWN keys simultaneously for 1-2
seconds then select “Add extra dry time” from the
Quick Options Menu by pressing the START/STOP key.
• Use the UP/DOWN keys to select the amount of
additional dry time and press the START/STOP key
(see sec 7.1.1 in the Operator’s Manual for more details).
Page 8

Proper loading options for EZ9Plus include:
EZ9Plus
loaded
with 3
stainless
steel trays
EZ9Plus
loaded with
2 stainless
steel
trays and
optional
pouch rack
EZ9Plus
loaded
with 2 full
and 2
half
cassettes
Load the autoclave properly according to instructions in sec. 10 of the Operator’s Manual. Separate instruments
of dissimilar metal, don’t overload the unit, observe maximum weight limits. Using a pouch rack with wrapped
instruments will improve efficiency.
Page 9

Proper loading options for EZ11Plus include:
EZ11Plus
loaded
with 5
stainless
steel trays
EZ11Plus
loaded with
4 stainless
steel trays
and pouch
rack
EZ11Plus
loaded
with 4
full and 4
half
cassettes
(must load
vertically)
Load the autoclave properly according to instructions in sec. 10 of the Operator’s Manual. Separate instruments
of dissimilar metal, don’t overload the unit, observe maximum weight limits. Using a pouch rack with wrapped
instruments will improve efficiency.
Page 10

• Close the door by holding the handle in the
open position while pushing the door until it
comes to the closed position, then releasing
the handle.
• The “Door Open” symbol will be replaced
with “System Ready” on the screen once the
door is closed.
• Should the Door Open symbol remain on the
screen, gently pressing on the door will
engage the lock and secure the door.
Page 11

Start the cycle by pressing
the START/STOP key.
Page 12

At the end of a successful cycle,
the screen shows the “Cycle
Ended” message and the door is
automatically unlocked.
Open the door and use the tray handle or wear heat-resistant gloves to remove the load from the autoclave.
On completion of the cycle, the load should be visually inspected to ascertain that the load is dry, and that
sterilization indicators have made the required color change.
Page 13

Use only FDA cleared chemical & biological indicators designed for steam sterilization
that are compatible with the particular sterilization cycle temperature and exposure
time being monitored.
At least once a week use a biological spore test (Bacillus Stearothermophilus) in any
load to insure proper sterilization (be aware testing standards may vary; contact
appropriate state/local agencies for specific sterilization guidelines for your office).
Always follow the spore test manufacturer’s instruction.
Be sure to follow all maintenance instructions as outlined in section 12 of the
Operator’s Manual.
-END-
 Loading...