

Tuscan Chef GX-CS, GX-CI, GX-B1, GX-A2GX-DL, GX-CM Owner's Manual
...
Congratulations on your Purchase of a Tuscan Chef GX Series Outdoor Oven
SAFETY WARNINGS
GX-Series Wood-Fired Ovens – Owner’s Manual
Installation and Operating Instructions for Models:
GX-CS/CI
GX-CM/C2
GX-B1
GX-A2
GX-DL/D1
INSTRUCTIONS – IF THESE INSTALLATION AND OPERATION INSTRUCTIONS ARE NOT
STRICTLY FOLLOWED, A FIRE OR EXPLOSION MAY RESULT CAUSING PROPERTY
DAMAGE, PERSONAL INJURY OR DEATH.
HOT SURFACES – THE OVEN CAN REACH AND MAINTAIN EXTREMELY HOT
TEMPERATURES. DO NOT TOUCH AND KEEP CHILDREN AND PETS AT A SAFE DISTANCE.
LEVEL SURFACE – OVEN SHOULD BE SET UP ON A LEVEL SURFACE THAT HAS THE
CAPACITY TO SUPPORT THE FULL PRODUCT WEIGHT.
DO NOT LIGHT WITH FUEL ACCELERANTS – THE WOOD-BURNING CHAMBER ALLOWS
FOR EASY INGNITION GIVEN ITS DESIGN. FOR SAFETY REASONS, DO NOT ADD GAS,
LIGHTER FLUID OR OTHER NON-APPROVED FIRE STARTING PRODUCTS.
DO NOT USE OR STORE GASOLINE OR OTHER FLAMMABLE MATERIALS IN THE VICINITY
OF THIS APPLIANCE.
34 Castle Harbour Dr.
Port Perry, Ontario L9L 1P5
Tel: 905.982.2646
1
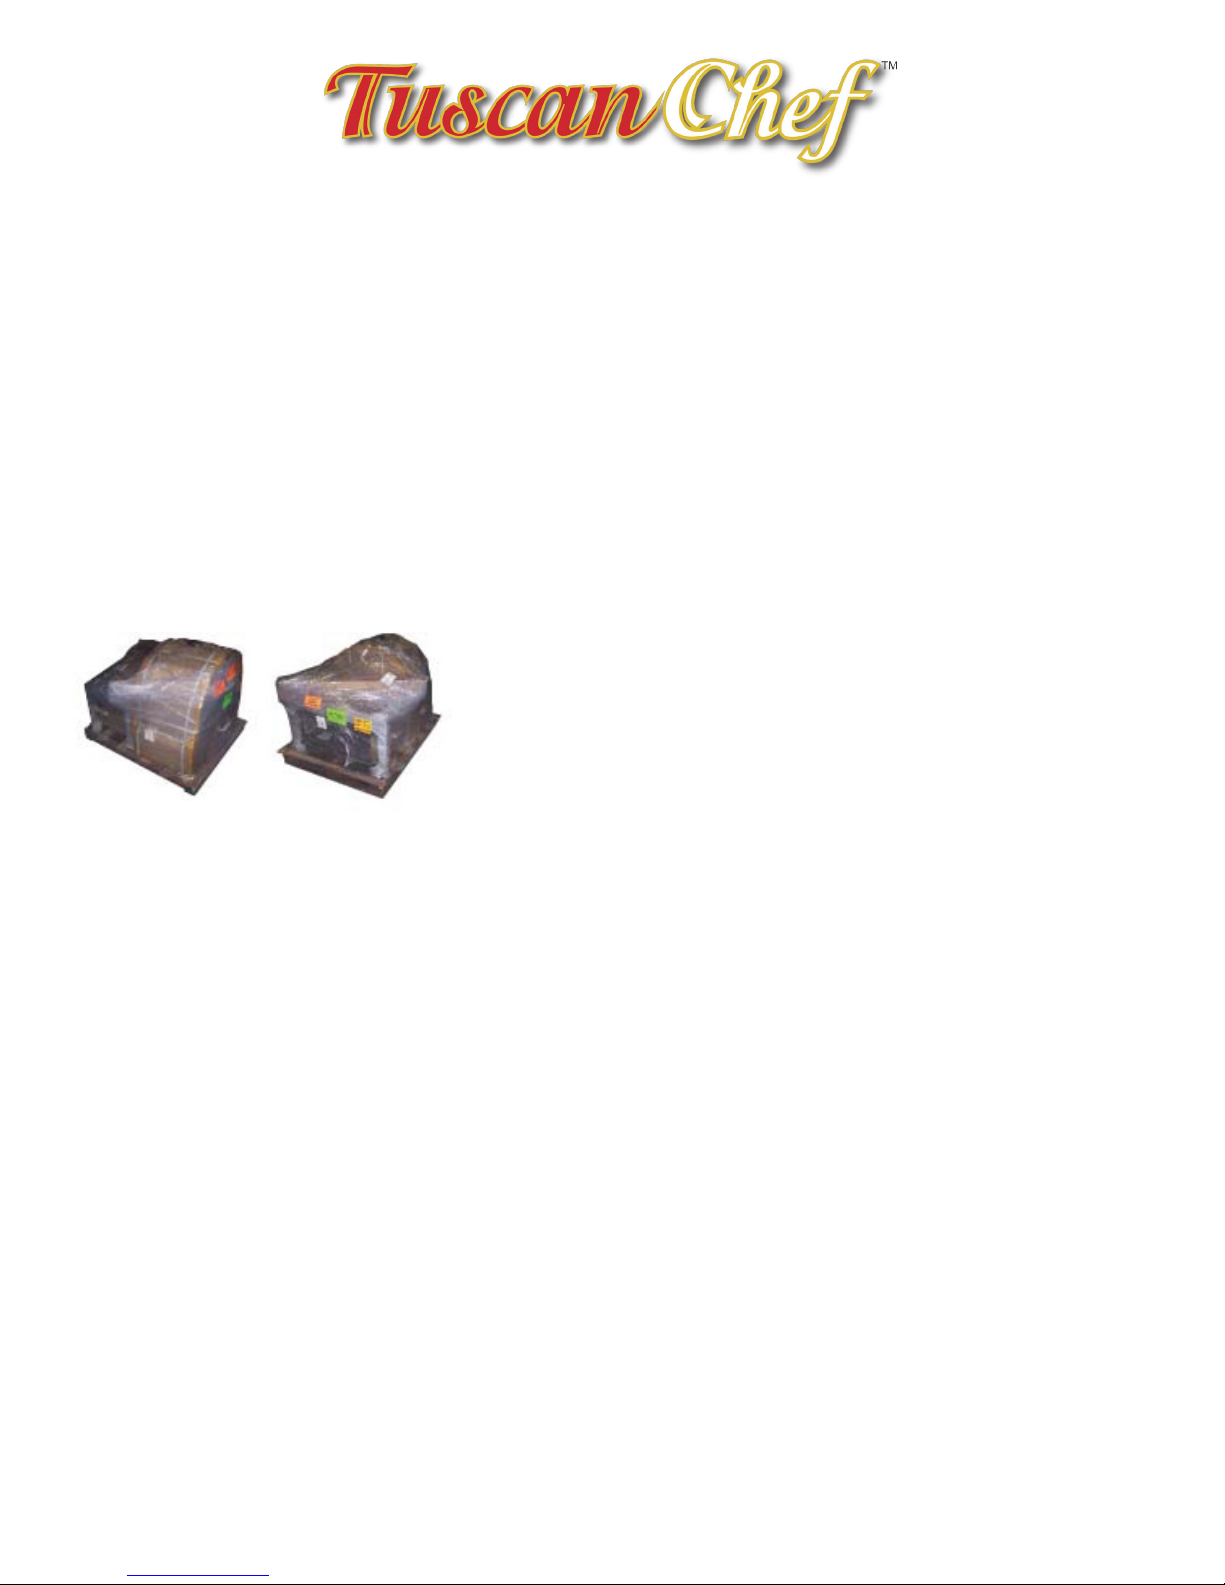
Table of Contents
Table of Contents..................................................................................................................2
Delivery & Inspection ............................................................................................................2
List of Materials ....................................................................................................................2
Tools Required for Assembly ................................................................................................2
Installation Instructions .........................................................................................................2
Built-In Kitchen Installation ...................................................................................................3
GX-BM/B1 Additional Instructions for Side Shelf Installation................................................3
GX-BM/GX-B1 Additional Instructions .................................................................................. 4
Initial Operating Instructions .................................................................................................4
Ignition Instructions...............................................................................................................4
Regulating Temperature .......................................................................................................4
Maintenance Instructions......................................................................................................5
Warranty Information ............................................................................................................5
Delivery & Inspection
GX-Series ovens are shipped via common courier on pallets
similar to the image above.
Be sure to inspect the shipment for damages that may
have occurred in shipping. If there are any damages to the
packaging SIGN FOR IT AS “DAMAGED” or refuse delivery.
The ovens are well-packaged and damages seldom occur.
If you sign for the delivery as “No Damages,” then you are
responsible for ling any damage claim with the freight carrier.
Upon signing for the oven, please promptly open the
packaging to inspect for any potential damages. Damages
reported after three days following delivery are assumed to
have happened after delivery. Please contact your dealer with
questions.
List of Materials
Shipments will include the following items:
1. GX Series Wood-Fired Oven
2. Temperature Gauge
3. Stainless Steel Chimney
4. Stainless Steel Chimney Cap
5. Stainless Steel Removable Oven Shelf
6. Optional Steel Base including:
a. Two Poly Swivel Stem Casters
b. Two Poly Swivel Stem Casters with
Brake
c. Caster Installation hardware including
nuts, bolts and washers
7. Optional Cover
Tools Required for Assembly
• Adjustable crescent wrench
• Phillips head screwdriver
• Pliers
• Cutting tool (to open packaging)
Installation Instructions
1. Remove all outside and inside packaging
materials from the oven. It is recommended
to assemble oven on a moving pad or card
board to prevent scratching parts.
2. Assemble Optional Stand. If not purchased,
proceed to step 3.
a. Set the stand on its side
b. Attach wheels, one wheel at a time as
follows:
i. Slide the stem of the wheel
through the bottom of the stand
ii. Slide washer onto wheel stem
iii. Afx locknut to stem. Ensure
that the locknuts are tightened securely
c Set stand upright and lock the wheels
d. Set oven onto the stand. The bottom of the
oven will have “tabs” allowing the oven to slide
into the slots on the stand. This prevents the
oven from sliding on the stand after setup.
2
 Loading...