

Turnkey iVIBE Outdoor Installation

iVIBE Outdoor Installation, Issue 4, MJL, Nov 2016
1
iVIBE® Outdoor Installation
The contents of the Outdoor Installation Kit are illustrated below.
Heavy Duty Tripod
Tripod Star
Microphone Boom Arm
5-meter Booted Cable
Microphone Clip
Water Resistant Windscreen
Microphone Weather Shield
Pair of Sandbags
Wall Bracket
Shield Clamp and M8x16 screw
Please contact Turnkey Instruments Ltd if any parts are missing
When being used outside, it is very important that the microphone and other parts and
connectors of the equipment are properly protected from water, rain, snow, wind and other
harsh weather conditions. The Outdoor Installation Kit has been especially developed for this
purpose.
The microphone may be fitted to the heavy duty tripod and boom or the wall bracket. Always
assess the likely impact of adjacent walls and buildings on the free field performance of the
microphone.

iVIBE Outdoor Installation, Issue 4, MJL, Nov 2016
2
Installation Site
When choosing a site, account should be taken of ease of access and risk of damage or loss of
monitoring equipment.
The following locations should be avoided, wherever possible:
areas where voids could affect the monitoring results, e.g. a hollow area beneath a
concrete pavement; and
areas where loose or poorly compacted fill could affect the monitoring results, e.g. on the
berm of a slope, or close to concrete steps or surface drainage channels
DO NOT place iVIBE on a loose paving slab for this may move independently, giving rise to higher
readings than those to which the adjacent structure is being subjected.
DO NOT place a brick, or similar heavy object, on top of the iVIBE. There is a very strong chance
that it will lead to higher readings. Its centre of gravity will be raised and the object may well
move independently of iVIBE giving spurious readings.
DO NOT drop the microphone. This is a precision item and must be handled carefully.
DO NOT drop the iVIBE seismic body. Damage to the accelerometers could be the result.
DO prevent iVIBE from being knocked or disturbed by objects, people or animals and thus
giving false readings.
DO check daily that equipment has not been disturbed.
When using iVIBE to monitor vibration only, the instructions regarding the tripod and
microphone placement may be ignored.
iVIBE Outdoor Installation, Issue 4, MJL, Nov 2016
3
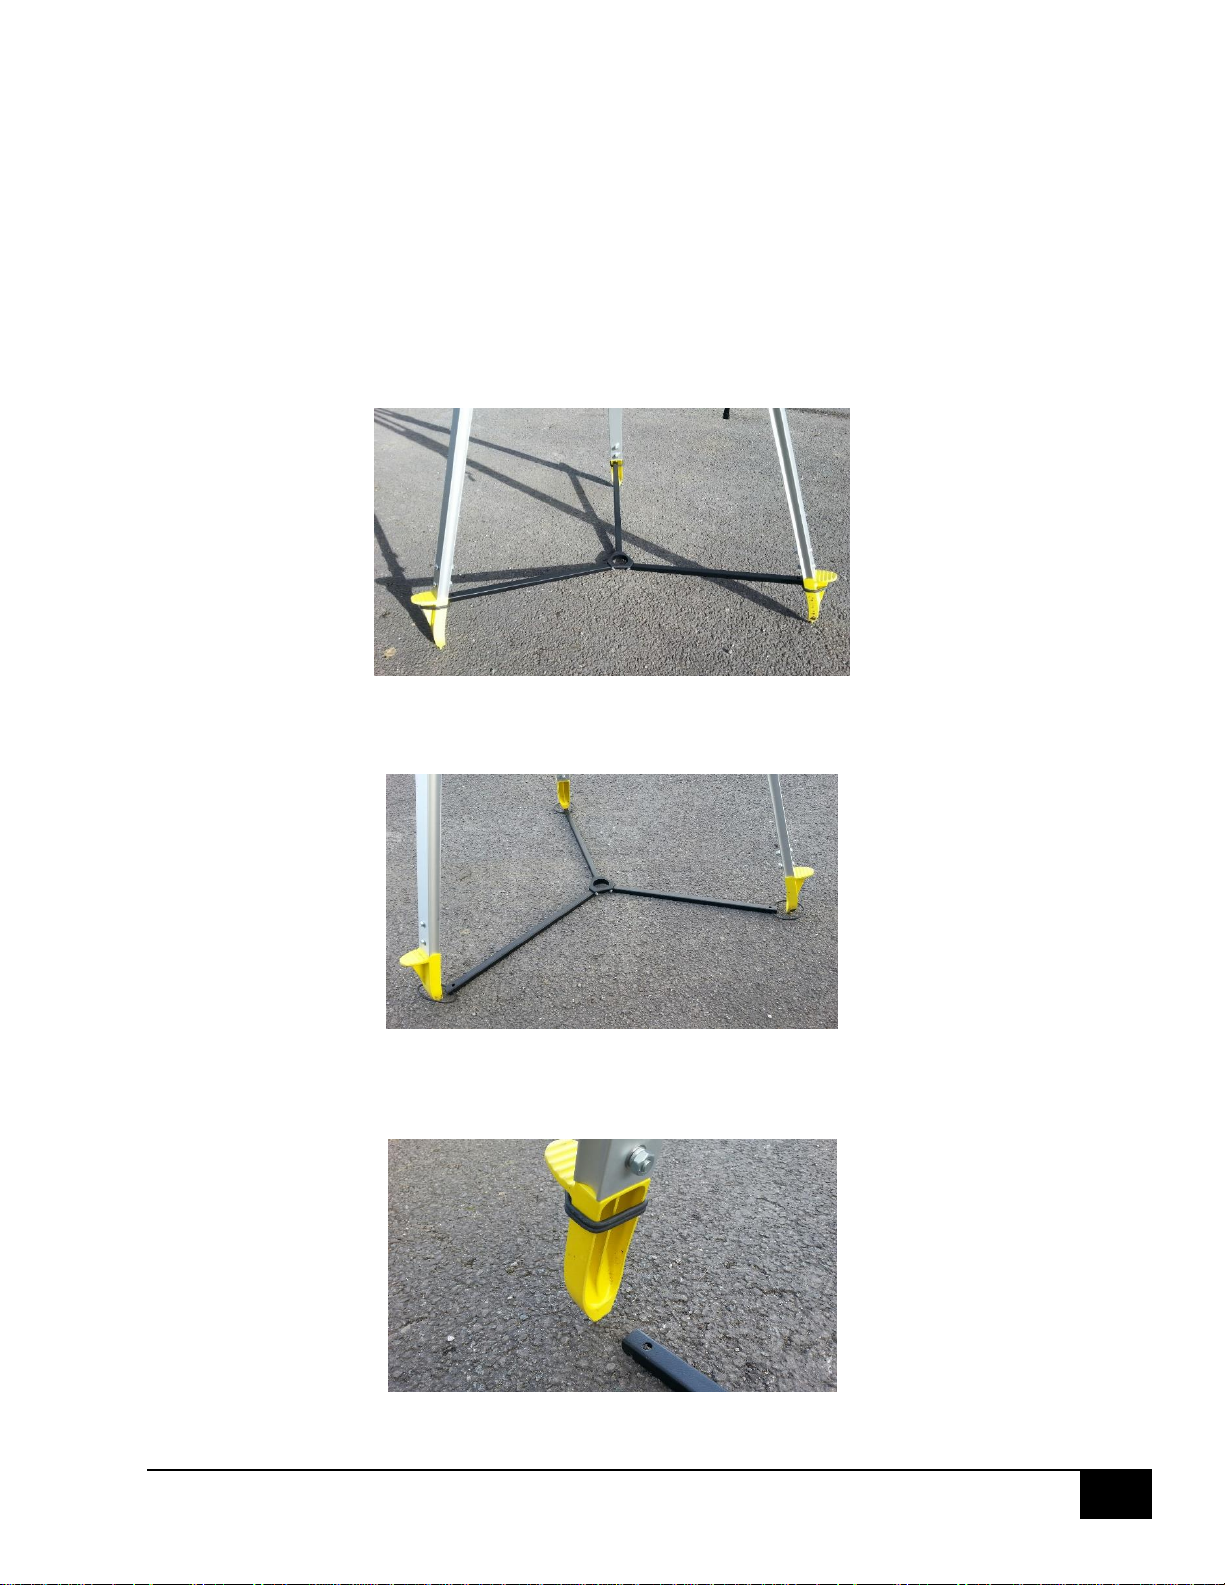
Tripod Installation on Hard Ground
Please note the central hook underneath the tripod’s top plate will not take heavy weights.
When erecting the Tripod onto a slippery surface or on hard ground such as Tarmac or Asphalt
you must attach the Tripod Star to all three legs of the tripod to prevent the legs from splaying
apart. Proceed as follows:
1. Position Tripod and Tripod Star in desired location with legs through the open elastic
loops as shown.
2. Detach elastic loop from tripod star leg, double the loop over and fit onto the tripod leg
as far up the yellow spiked foot as you can, repeat on other two legs.
 Loading...