

Page 1

Your Global Automation Partner
Operating Instructions
Li-Q25L…E
Linear Position Sensor
with Analog Output
Page 2

2
Hans Turck GmbH & Co. KG | T +49 208 4952-0 | F +49 208 4952-264 | more@turck.com | www.turck.com
Contents
Page 3

3
2018/10
1 About These Instructions 5
1.1 Target groups 5
1.2 Explanation of symbols 5
1.3 Other documents 5
1.4 Feedback about these instructions 5
2 Notes on the Product 6
2.1 Product identication 6
2.2 Scope of delivery 6
2.3 Legal requirements 6
2.4 Manufacturer and service 7
3 For Your Safety 7
3.1 Intended use 7
3.2 General safety notes 7
4 Product Description 8
4.1 Device overview 8
4.2 Properties and features 9
4.3 Operating principle 9
4.4 Functions and operating modes 9
4.4.1 Output function 9
4.5 Technical accessories 10
5 Mounting 13
6 Connection 14
7 Commissioning 15
8 Operation 15
8.1 LEDs 15
9 Setting 15
9.1 Setting by manual bridging 16
9.1.1 Manual bridging – Setting the measuring range 16
9.1.2 Manual bridging – Resetting the sensor to factory settings 16
9.1.3 Manual bridging – Resetting the sensor to inverted factory settings 16
9.1.4 Manual bridging – Activating the Teach Lock 16
9.1.5 Manual bridging – Deactivating the Teach Lock 16
9.2 Setting via TX1-Q20L60 teach adapter 17
9.2.1 Teach adapter – Setting the measuring range 17
9.2.2 Teach adapter – Resetting the sensor to factory settings 17
9.2.3 Teach adapter – Resetting the sensor to inverted factory settings 17
9.2.4 Teach adapter – Activating the Teach Lock 17
9.2.5 Teach adapter – Deactivating the Teach Lock 17
Contents
Page 4

4
Hans Turck GmbH & Co. KG | T +49 208 4952-0 | F +49 208 4952-264 | more@turck.com | www.turck.com
10 Troubleshooting 18
11 Maintenance 18
12 Repair 18
12.1 Returning devices 18
13 Disposal 18
14 Technical Data 19
Page 5

5
2018/10
1 About These Instructions
This manual describes the setup, the functions and use of the product and helps you to operate
the product for its intended use. Read the instructions carefully prior to using the product. This
will prevent the risk of personal injury and damage to property. Keep these instructions safe
during the service life of the product. If the product is passed on, pass on these instructions as
well.
1.1 Target groups
These instructions are written for suitably qualified and trained personnel and must be read by
anyone entrusted with the mounting, commissioning, operation, maintenance, disassembly or
disposal of the device.
1.2 Explanation of symbols
The following symbols are used in these instructions:
DANGER
DANGER indicates a hazardous situation, which, if not avoided, will result in death or
serious injury.
WARNING
WARNING indicates a hazardous situation with the risk of death or serious injury if it is
not prevented.
NOTICE
NOTICE indicates a situation that may cause damage to property if it is not prevented.
NOTE
NOTE indicates tips, recommendations and important information about special action steps and issues. The notes simplify your work and help you to avoid additional
work.
MANDATORY ACTION
This symbol denotes actions that the user must carry out.
RESULT OF ACTION
This symbol denotes the relevant results of an action.
1.3 Other documents
Besides this document the following material can be found on the Internet at www.turck.com:
■
Data sheet
1.4 Feedback about these instructions
We make every effort to ensure that these instructions are as informative and as clear as possible. If you have any suggestions for improving the design or if some information is missing in
the document, please send your suggestions to techdoc@turck.com.
Page 6
6
Hans Turck GmbH & Co. KG | T +49 208 4952-0 | F +49 208 4952-264 | more@turck.com | www.turck.com
2 Notes on the Product
2.1 Product identication
2.2 Scope of delivery
The following are included in the scope of delivery:
■
Linear position sensor (without positioning element)
■
Optional: Positioning element and mounting element
2.3 Legal requirements
The device is subject to the following EC directives:
■
2014/30/EU (electromagnetic compatibility)
■
2011/65/EU (RoHS 2)
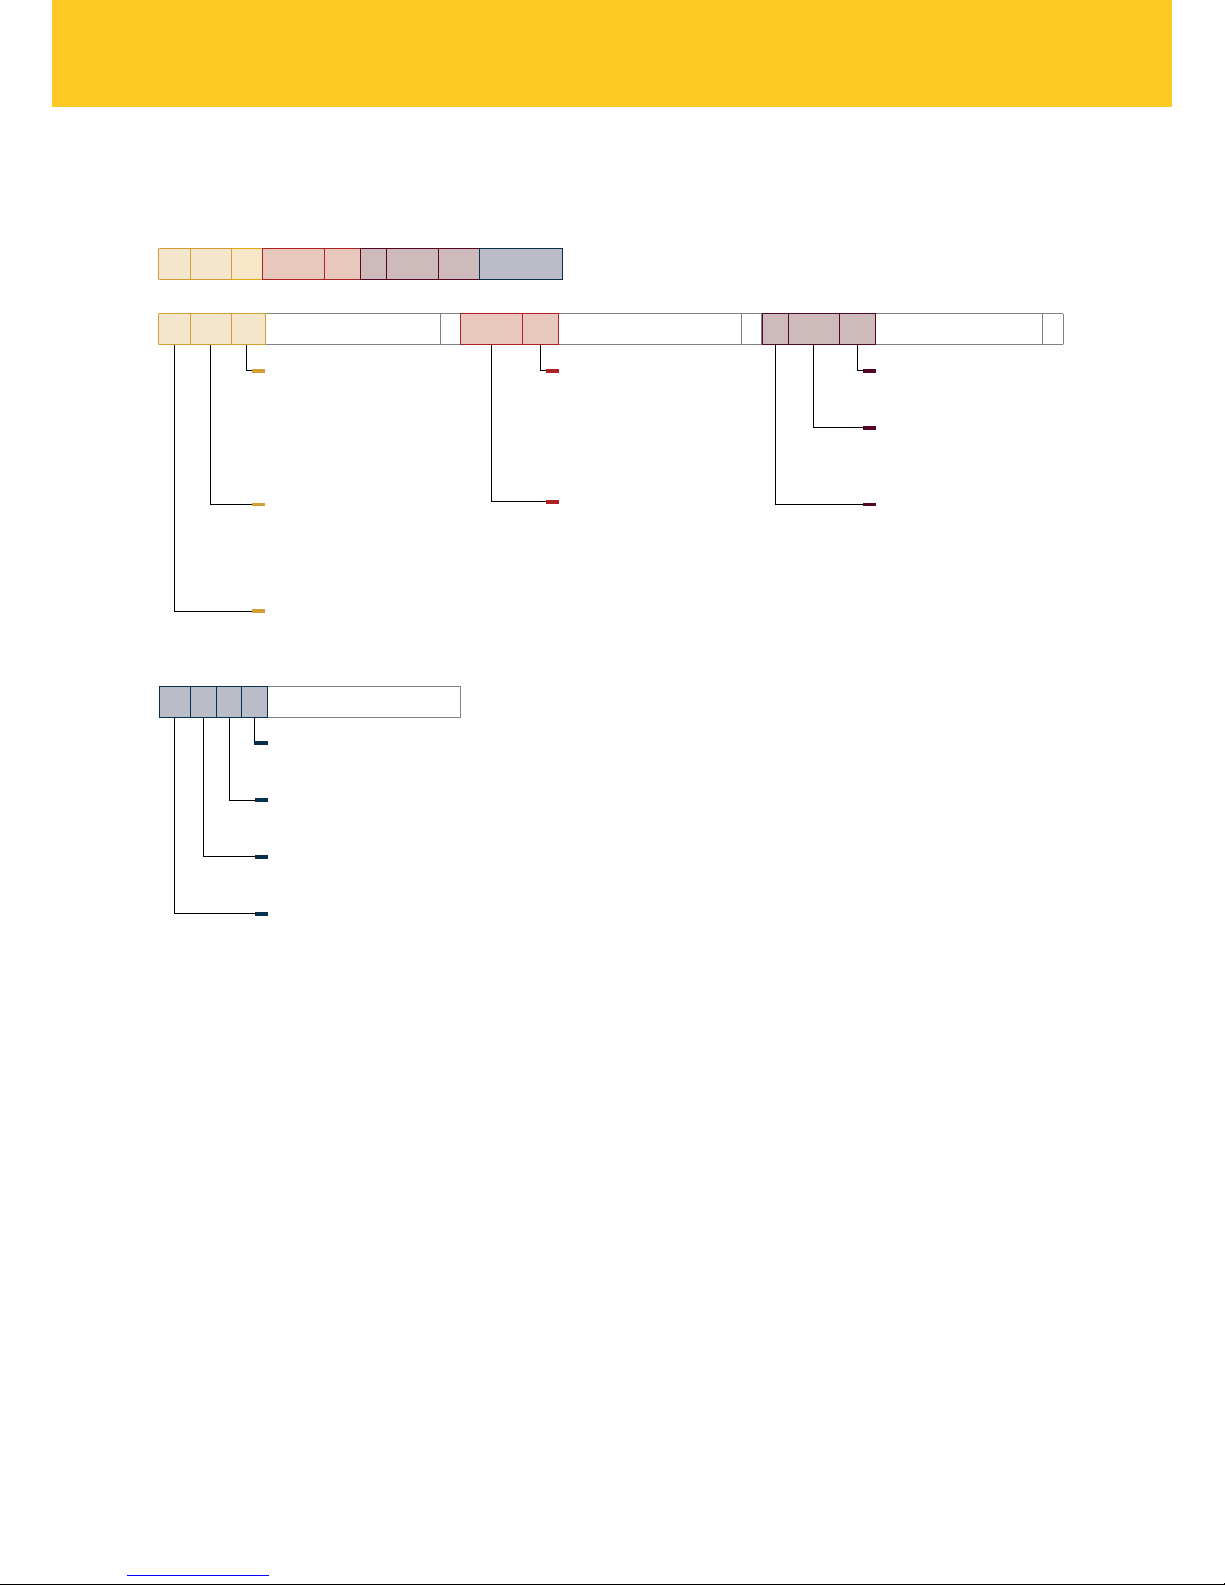
H1 1 5 1
Electrical connection
Configuration
1 Standart configuration
Number of contacts
5 5 pin
Connector
1 Straight
Connector
H1 Male M12 x 1
Li 100 P1
Inductive linear
position sensor
–
Positioning element
P0 No positioning
element
P1 P1-Li-Q25L
P2 P2-Li-Q25L
P3 P3-Li-Q25L
Measuring range
100 100…1000 mm,
in 100 mm steps
1250…2000 mm,
in 250 mm steps
Functional principle
Li Linear inductive
Li 100 P1 Q25L M1 E LiU5 X3 H1151
Q25L M1
Housing style –
Mounting element
M0 No mounting element
M1 M1-Q25L
M2 M2-Q25L
M4 M4-Q25L
Housing style
Q25L Rectangular,
profile 25 x 35 mm
E LiU5 X3
Electrical version –
Number of LEDs
X3 3 x LED
Output mode
LiU5 Analog output
4…20 mA/0…10 V
Series
E Extended
generation
Page 7

7
2018/10
2.4 Manufacturer and service
Turck supports you in your projects – from the initial analysis right through to the commissioning of your application. The Turck product database offers you several software tools for
programming, configuring or commissioning, as well as data sheets and CAD files in different
export formats.
You can access the Product Database directly via the following address:
www.turck.de/products
For further inquiries in Germany contact the Sales and Service Team on:
Sales: +49 208 4952-380
Technical: +49 208 4952-390
For overseas inquiries contact your national Turck representative.
Hans Turck GmbH & Co. KG
Witzlebenstraße 7
45472 Mülheim an der Ruhr
Germany
3 For Your Safety
The product is designed according to state of the art technology. Residual hazards, however,
still exist. Observe the following warnings and safety regulations in order to prevent danger to
persons and property. Turck accepts no liability for damage caused by failure to observe these
warnings and safety instructions.
3.1 Intended use
The devices are designed only for use in industrial areas.
The Li-Q25…E inductive linear position sensors with an analog output are used for contactless
and wear-free linear position measuring.
The device must only be used as described in these instructions. Any other use is not in accordance with the intended use. Turck accepts no liability for any resulting damage.
3.2 General safety notes
■
The devices are not safety components and must not be used for the protection of persons
and property.
■
The device must only be fitted, installed, operated, maintained and parameterized by trained
and qualified personnel.
■
The device only fulfills the EMC requirements for industrial applications and is not suitable for
use in residential areas.
Page 8

8
Hans Turck GmbH & Co. KG | T +49 208 4952-0 | F +49 208 4952-264 | more@turck.com | www.turck.com
4 Product Description
The inductive linear position sensors of the Li-Q25L series with an analog output consist of a
sensor and a positioning element. The two components form a measuring system for measuring and converting the measured variable for Length and Position.
The sensors are supplied with a measuring length of 100…2000mm: In the 100…1000mm
range, variants are available in 100 mm steps, in the 1000…2000mm range, variants are available in 250 mm steps. The maximum measuring range of the sensor is defined by its length.
However, the measuring range can be individually adapted with a teach operation.
The sensor is housed in a rectangular aluminum profile.
The positioning element is available in different designs in a plastic housing (cf. Accessories
list in chapter 4.5). Sensor and positioning element comply with degree of protection IP67 and
can withstand the vibrations of moving machine parts as well as being resistant to a number of
environmental media.
Sensor and positioning element together enable contactless and wear-free measuring. The
sensors operate in absolute mode. Voltage failures do not require renewed homing or recalibration. All position values are determined as absolute values. Homing movements after a voltage
failure are unnecessary.
4.1 Device overview
Fig. 1: Dimensions of Li-Q25L…E in mm – L = 29 mm + measuring length + 29 mm
25.2
51
3
45.7
38.6
33.8
5
M12 x 1
10,5
29
25
29
L
35
A
B
Page 9

9
2018/10
4.2 Properties and features
■
Measuring lengths of 100…2000mm
■
Shock-proof up to 200 g
■
Keeps linearity under shock stress
■
Magnetic field immunity
■
5kHz scan rate
■
16-bit resolution
4.3 Operating principle
The Li-Q25L linear position sensors have contactless operation based on the inductive resonant
circuit measuring principle. Measuring is insensitive to magnetic fields as the positioning element is not based on a magnet but on a coil system.
Sensor and positioning element form an inductive measuring system. An induced voltage generates appropriate signals in the receiver coils of the sensor, depending on the position of the
positioning element. The signals are evaluated in the internal 16-bit processor of the sensor and
output as analog signals.
4.4 Functions and operating modes
The devices are provided with a current and voltage output. The device output provides a current and voltage signal that is proportional to the position of the positioning element.
Fig. 2: Output characteristics – Device with 0…10V voltage output
and 4…20mA current output
4.4.1 Output function
The measuring range of the sensor starts at 4mA or 0V and ends at 20mA or 10V.
Current and voltage outputs can be used simultaneously. The simultaneous use of current and
voltage output can be used for redundant signal evaluation. A display device can also receive a
signal while the second signal is further processed by a PLC.
Besides the LEDs the sensor provides an additional control function. If the positioning element
is outside of the detection range and the coupling between the sensor and the positioning
element is thus broken, the analog output of the sensor is 24mA or 11V. This error can thus be
evaluated directly via the higher-level controller.
A
I [mA]U [V]
0
B
AB
4
10
11
20
24
Page 10

10
Hans Turck GmbH & Co. KG | T +49 208 4952-0 | F +49 208 4952-264 | more@turck.com | www.turck.com
4.5 Technical accessories
Dimension drawing Type Ident No. Description
Positioning element
40,4
20
40
20,7
28,8
35,3
M5
M5
8
reference
point
P1-Li-Q25L 6901041 Guided positioning element for Li-
Q25L, is guided in the groove of the
sensor
12
35,5
32
23
21,5
4,5
4,5
ø 5,2
(4x)
26,3
12,5
reference
point
P2-Li-Q25L 6901042 – Free positioning element for Li-Q25L
– The nominal distance to the sensor
is 1.5mm.
– Coupling with the linear position
sensor possible at a distance of up
to 5 mm or a lateral offset of up to
4mm possible
12
35,5
32
23
21,5
4,5
4,5
ø 5,2
(4x)
26,3
16
reference
point
P3-Li-Q25L 6901044 – Free positioning element for Li-
Q25L, operational at 90° offset
– The nominal distance to the sensor
is 1.5mm.
– Coupling with the linear position
sensor possible at a distance up to 5
mm or a misalignment tolerance of
up to 4mm possible
14
28
23
11,1
35,8
19,9
7
9
ø 4,4
(4x)
reference point
P6-Li-Q25L 6901069 – Free positioning element for Li-Q25L
– The nominal distance to the sensor
is 1.5mm.
– Coupling with the linear position
sensor possible at a distance up to 5
mm or a misalignment tolerance of
up to 4mm possible
Page 11

11
2018/10
Dimension drawing Type Ident No. Description
40,4
20
40
20,7
M5
M5
reference
point
P7-Li-Q25L 6901087 Guided positioning element for Li-
Q25L without ball joint is guided in the
groove of the sensor
Mounting accessories
31,2
10,6
50
66
7,5
15
ø 5,6
M1-Q25L 6901045 –Mounting foot for Q25L linear posi-
tion sensor
– Material: Aluminum
– Recommended tightening torque:
3Nm
– 2per bag
42,5
56
7,5
15
ø 4,5
31,2
10,6
M2-Q25L 6901046 –Mounting foot for Q25L linear posi-
tion sensor
– Material: Aluminum
– Recommended tightening torque:
3Nm
– 2per bag
M4-Q25L 6901048 –Mounting bracket and MN-M4-Q25
sliding block for Q25L linear position
sensor
– Material: Stainless steel
– 2per bag
MN-M4-Q25 6901025 –Sliding block with M4 thread for
Q25L linear position sensor
– Material: Galvanized steel
– Recommended tightening torque:
2.2Nm
– 10per bag
Page 12

12
Hans Turck GmbH & Co. KG | T +49 208 4952-0 | F +49 208 4952-264 | more@turck.com | www.turck.com
Dimension drawing Type Ident No. Description
9
19,2
22
M5
M5
18°
7
AB-M5 6901057 Axial joint for guided positioning
elements
9
19,2
22
M5
M5
18°
7
ABVA-M5 6901058 –Axial joint for guided positioning
elements
– Material: Stainless steel
9
19,2
22
M5
M5
18°
7
RBVA-M5 6901059 – Angle joint for guided positioning
elements
– Material: Stainless steel
Teach adapter
60
30
50
20
M12 x 1
M12 x 1
42.5
ø 15
ø 4.5
8
TX1-Q20L60 6967114 Teach adapter for easy adaption of the
measuring range
Connection accessories
L
RKS4.5T-2/TXL 6626373 – Connection cable
– M12 female connector
– Straight
– 5-pin
– Shielded
– Cable length: 2m
– Sheathing material: PUR, black
– cULus approval; other cable lengths
and types available, see
www.turck.com
45.4
ø 15
M12 x 1
14
50
5
Page 13

13
2018/10
5 Mounting
Different mounting accessories are available for the various mounting possibilities of the linear
position sensor in the plant.
Fig. 3: Mounting with mounting foot or mounting bracket
Mounting element Recommended tightening torque
M1-Q25L 3 Nm
M2-Q25L 3 Nm
MN-M4-Q25L 2.2 Nm
Sensor type Recommended number of xings
Li100…Li500 2
Li600…Li1000 4
Li1250…Li1500 6
Li1750…Li2000 8
Page 14

14
Hans Turck GmbH & Co. KG | T +49 208 4952-0 | F +49 208 4952-264 | more@turck.com | www.turck.com
6 Connection
NOTE
Turck recommends the use of shielded connection cables.
Connect the female connector of the connection cable to the male connector of the device.
If required, connect the TX1-Q20L60 teach adapter between the female connector of the con-
nection cable and the plug connector of the device.
Connect the sensor as per Figure 4.
NOTE
Keep pin 5 potential-free during operation in order to prevent any accidental teach
operations, or activate Teach Lock (see chapter 9.1.4/9.2.4).
Pin layout Wiring diagram
4 BK
1 BN3 BU
2 WH
5 GY
3 BU
1 BN
2 WH
4 BK
–
+
I
U
ext. teach
5 GY
Fig. 4: Pin layout and wiring diagram
Page 15

15
2018/10
7 Commissioning
The device is operational automatically once the cables are connected and the power supply is
switched on.
8 Operation
8.1 LEDs
Fig. 5: LEDs 1 and 2
LED Display Meaning
LED 1 Green Positioning element within measuring range
Yellow Positioning element in detection range with reduced signal
quality (e.g. distance to sensor too large)
Yellow flashing Positioning element not in detection range
Off Positioning element outside of set measuring range
LED 2 Green Power supply error-free
9 Setting
The sensor offers the following setting options:
■
Set the start of the measuring range (zero point)
■
Set the end of measuring range (end point)
■
Reset measuring range to factory settings:
maximum measuring range
■
Reset measuring range to inverted factory settings:
maximum measuring range, inverted output characteristic
■
Activate/deactivate Teach Lock
The measuring range can be set by manual bridging or with the TX1-Q20L60 teach adapter.
Zero point and end point of the measuring range can be set in succession or separately.
NOTE
Keep pin 5 potential-free during operation in order to prevent any accidental teach
operations, or activate Teach Lock (see chapter 9.1.4/9.2.4).
LED 2
LED 1
Page 16

16
Hans Turck GmbH & Co. KG | T +49 208 4952-0 | F +49 208 4952-264 | more@turck.com | www.turck.com
9.1 Setting by manual bridging
9.1.1 Manual bridging – Setting the measuring range
Switch on the power supply of the device.
Place the positioning element at the required zero point of the measuring range.
Bridge pin 5 and pin 3 for 2s.
LED 2 flashes green for 2 s during bridging.
The zero point of the measuring range is stored.
Switch on the device power supply.
Place the positioning element at the required end point of the measuring range.
Bridge pin 5 and pin 1 for 2s.
LED 2 flashes green for 2 s during bridging.
The end point of the measuring range is stored.
9.1.2 Manual bridging – Resetting the sensor to factory settings
Switch on the device power supply.
Bridge pin 5 and pin 1 for 10s.
LED 2 flashes green for 2 s,
then shows a continuous green light for 8 s
and flashes green again (after 10s).
The sensor is reset to its factory settings.
9.1.3 Manual bridging – Resetting the sensor to inverted factory settings
Switch on the device power supply.
Bridge pin 5 and pin 3 for 10s.
LED 2 flashes green for 2 s,
then shows a continuous green light for 8 s
and flashes green again (after 10s).
The sensor is reset to its inverted factory settings.
9.1.4 Manual bridging – Activating the Teach Lock
NOTE
The Teach Lock function is deactivated by default.
Switch on the device power supply.
Bridge pin 5 and pin 1 for 30s.
LED 2 first flashes green for 2 s,
then shows a continuous green light for 8 s
and flashes green again (after 10s)
and then flashes green (after 30 s) at a higher frequency.
The Teach Lock function of the sensor is activated.
9.1.5 Manual bridging – Deactivating the Teach Lock
Switch on the device power supply.
Bridge pin 5 and pin 1 for 30s.
LED 2 shows a continuous green light for 30 s (Teach Lock is still activated)
and flashes green after 30 s at a higher frequency.
The Teach Lock function of the sensor is deactivated.
Page 17

17
2018/10
9.2 Setting via TX1-Q20L60 teach adapter
9.2.1 Teach adapter – Setting the measuring range
Switch on the device power supply.
Place positioning element at the zero point of the measuring range.
Hold down the pushbutton on the adapter to Teach-Gnd for 2 s.
LED 2 flashes green for 2 s and then shows a continuous green light.
The zero point of the measuring range is stored.
Switch on the device power supply.
Place the positioning element at the end point of the measuring range.
Hold down the pushbutton on the adapter to Teach-UB for 2 s.
LED 2 flashes green for 2 s and then shows a continuous green light.
The end point of the measuring range is stored.
9.2.2 Teach adapter – Resetting the sensor to factory settings
Switch on the device power supply.
Hold down the pushbutton on the adapter to Teach-UB for 10 s.
LED 2 flashes green for 2 s,
then shows a continuous green light for 8 s
and flashes green again (after 10s).
The sensor is reset to its factory settings.
9.2.3 Teach adapter – Resetting the sensor to inverted factory settings
Switch on the device power supply.
Hold down the pushbutton on the adapter to Teach-Gnd for 10 s.
LED 2 flashes green for 2 s,
then shows a continuous green light for 8 s
and flashes green again (after 10s).
The sensor is reset to its inverted factory settings.
9.2.4 Teach adapter – Activating the Teach Lock
NOTE
The Teach Lock function is deactivated by default.
Switch on the device power supply.
Hold down the pushbutton on the adapter to Teach-UB for 30 s.
LED 2 first flashes green for 2 s,
then shows a continuous green light for 8 s
and flashes green again (after 10s)
and then flashes green (after 30 s) at a higher frequency.
The Teach Lock function of the sensor is activated.
9.2.5 Teach adapter – Deactivating the Teach Lock
Switch on the device power supply.
Hold down the pushbutton on the adapter to Teach-UB for 30 s.
LED 2 shows a continuous green light for 30 s (Teach Lock is still activated)
and flashes green after 30 s at a higher frequency.
The Teach Lock function of the sensor is deactivated.
Page 18

18
Hans Turck GmbH & Co. KG | T +49 208 4952-0 | F +49 208 4952-264 | more@turck.com | www.turck.com
10 Troubleshooting
Malfunctions of the resonance coupling are indicated on LED 1.
If the device does not function as expected, first check whether ambient interference is present.
If there is no ambient interference present, check the connections of the device for faults.
If there are no faults, there is a device malfunction. In this case, decommission the device and
replace it with a new device of the same type.
11 Maintenance
Ensure regularly that the plug connections and cables are in good condition. The devices are
maintenance-free, clean dry if required.
12 Repair
The device must not be repaired by the user. The device must be decommissioned if it is faulty.
Observe our return acceptance conditions when returning the device to Turck.
12.1 Returning devices
If a device has to be returned, bear in mind that only devices with a decontamination declaration will be accepted. This is available for download at
https://www.turck.de/en/retoure-service-6079.php
and must be completely filled in, and affixed securely and weather-proof to the outside of the
packaging.
13 Disposal
The devices must be disposed of correctly and must not be included in normal household
garbage.
Page 19

19
2018/10
14 Technical Data
Measuring range
Measuring range 100…1000mm in 100 mm steps; 1250…2000mm in 250 mm steps;
Resolution 16bit
Nominal distance 1.5mm
Blind zone a 29mm
Blind zone b 29mm
Repetition accuracy ≤ 0.02% of full scale
Linearity tolerance depending on measuring length (see data sheet)
Temperature drift ≤ ± 0.003%/K
Hysteresis not applicable due to operating principle
Ambient temperature -25…+70°C
Operating voltage 15…30VDC
Ripple ≤ 10% U
ss
Insulation test voltage ≤ 0.5kV
Short-circuit protection Yes
Wire breakage / reverse polarity protection yes/yes (power supply)
Output function 5-pin, analog output
Voltage output 0…10V
Current output 4…20mA
Load resistance voltage output ≥ 4.7kΩ
Load resistance current output ≤ 0.4kΩ
Sampling rate 5kHz
Current consumption < 50mA
Design Rectangular, Q25L
Dimensions (measuring length + 58) × 35 × 25mm
Housing material Anodized aluminum
Material of active face Plastic, PA6-GF30
Electrical connection Male connector, M12 × 1
Vibration resistance (EN 60068-2-6) 20g, 1.25h per axis; 3 axes
Shock resistance (EN 60068-2-27) 200g, 4ms 1/2sine
Degree of protection IP67
IP66
MTTF 138 years to SN 29500 (Ed. 99) 40 °C
Packed quantity 1
Operating voltage indication LED: Green
Measuring range indication Multifunction LED: Green, yellow, yellow flashing
Page 20

100003779 | 2018/10
*10000778*
Over 30 subsidiaries and over
60 representations worldwide!
www.turck.com
 Loading...