

TukTuk Factory E-TUK LIMO User Manual & Maintenance Manual

TTUUKKTTUUKK
FFAACCTTOORRYY
Keep this booklet with your vehicle
USER MANUAL &
MAINTENANCE GUIDE
E-TUK LIMO
2
You probably cannot wait to start driving. But, before you get started,
read this manual carefully. We have put together this booklet so you
can take full advantage of the capabilities of the vehicle.
For your safety and the safety of your passengers, please read the
instructions carefully. It provides you with helpful information, what to
do in case of an error and how to get the most out of your e-Tuk. Also,
if you maintain your vehicle well, this will help you in keeping your
operational costs low.
Thank you and enjoy your driving experience!
Congratulations on purchasing your e-Tuk!
- The Tuk Tuk Factory team
3
Getting
familiar
DrivingBatteryMaintenance
QUICK START GUIDE 4
GETIING FAMILIAR 6
Dashboard & handlebars 6
Controls 8
BDI 9
Maximum load 10
Safety 11
DRIVING CONDITIONS 12
Temperatures 12
Tips to extend your range 13
BATTERY INFORMATION 14
Battery health 14
Battery specs 16
CHARGING STANDARD CHARGER 20
Standard charging sequence 20
Time to charge 21
The Charger display 22
Dashboard charging LED 23
ELECTRICS 24
The Fusebox 24
12V Battery 26
FLUIDS 28
Oil 28
TROUBLESHOOTING 30
It’s not working! 32
BDI error messages 34
VEHICLE INFO 36
MAINTENACE SCHEDULE 38
YOUR ETUK’S DNA 40
SERVICE & MAINTENANCE HISTORY 42
4
L
O
C
K
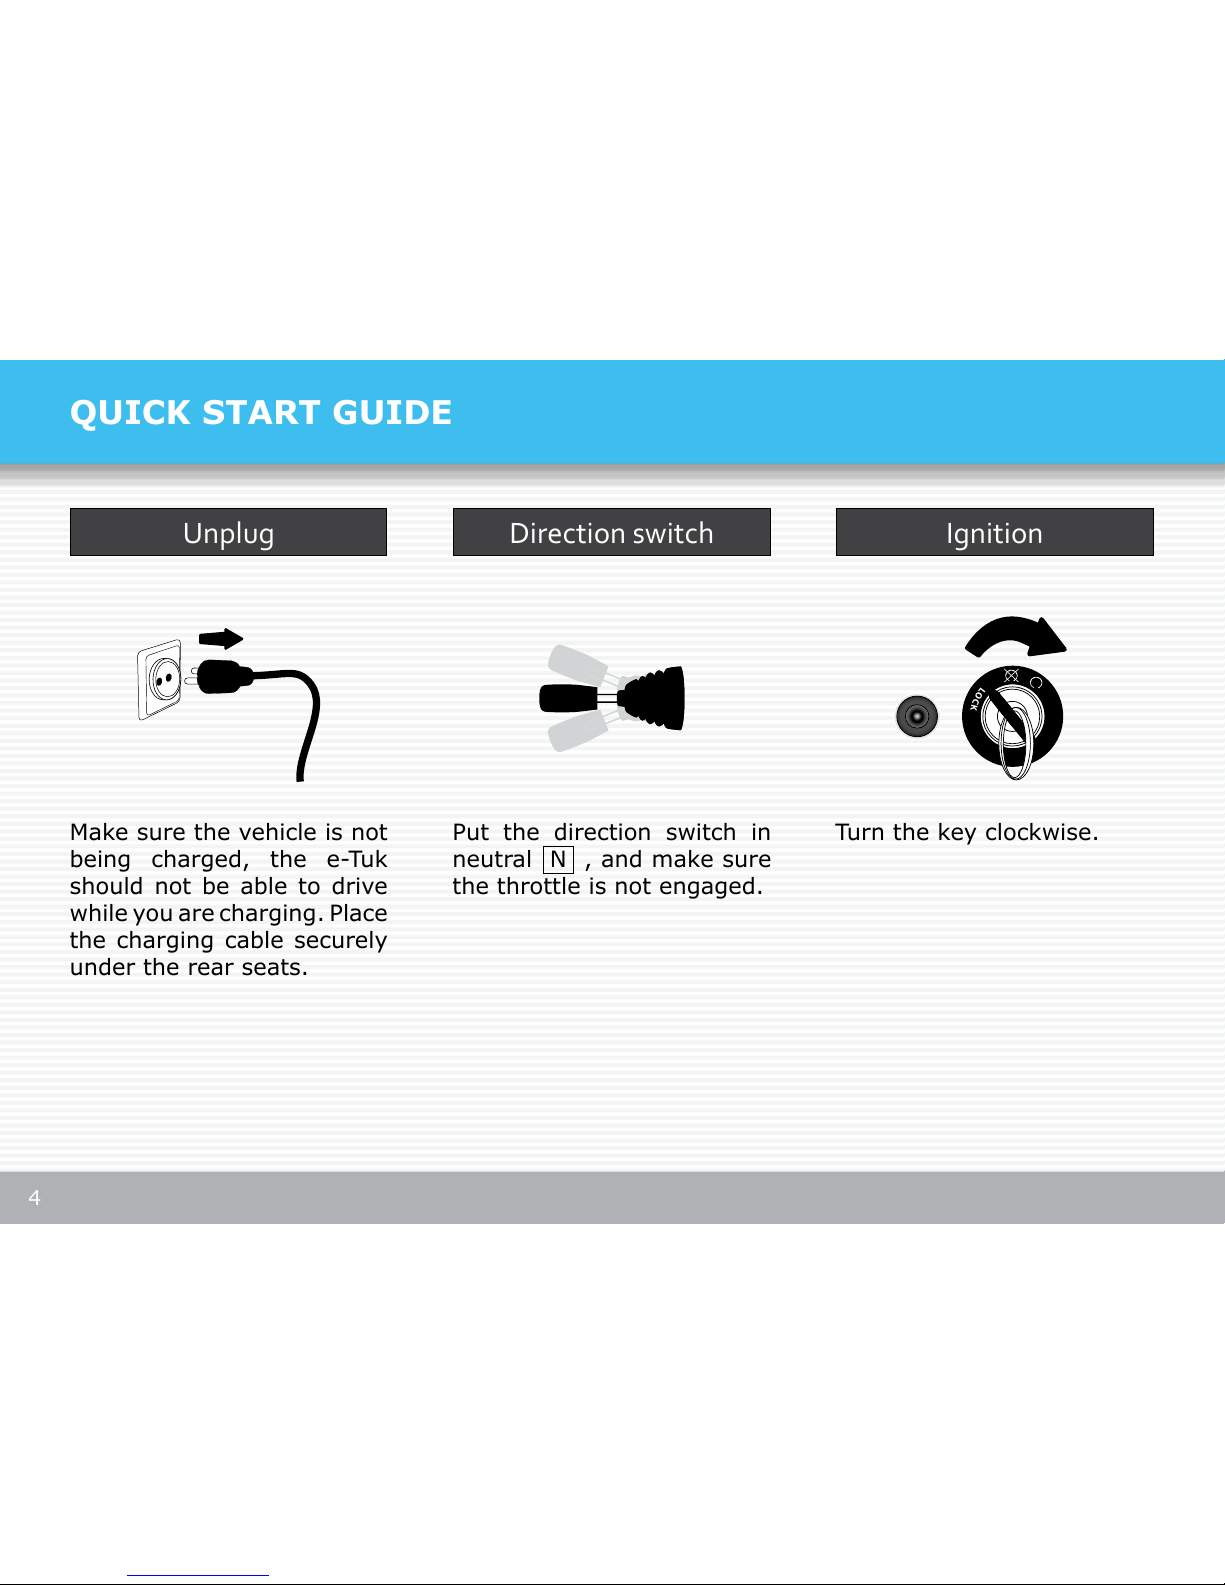
IgnitionUnplug Direction switch
Make sure the vehicle is not
being charged, the e-Tuk
should not be able to drive
while you are charging. Place
the charging cable securely
under the rear seats.
Put the direction switch in
neutral N , and make sure
the throttle is not engaged.
Turn the key clockwise.
QUICK START GUIDE

5
Display turns on Parking brake
Put in of
The display will switch on
and you will hear two *clicks*,
one louder than the other.
Check the state of charge
and if possible the Ub or
system voltage. If it is
around 76V your battery is
full.
Make sure the park brake is
released. The e-Tuk will not
drive when it is engaged.
Also make sure theat the
red emergency button is
released
Put the direction switch in D
to drive forwards and R to
drive backwards.
Do not forget to put on your
seatbelt before you start
driving
Getting
familiar
6
kmph
mph
0
10
20
30
40
10
20
0
0020
0020
10
20
30
40
50
60
80
70
10
20
30
40
50
0
0
ON
OFF
1 2 3
4
5
6
A
B
C
D
E
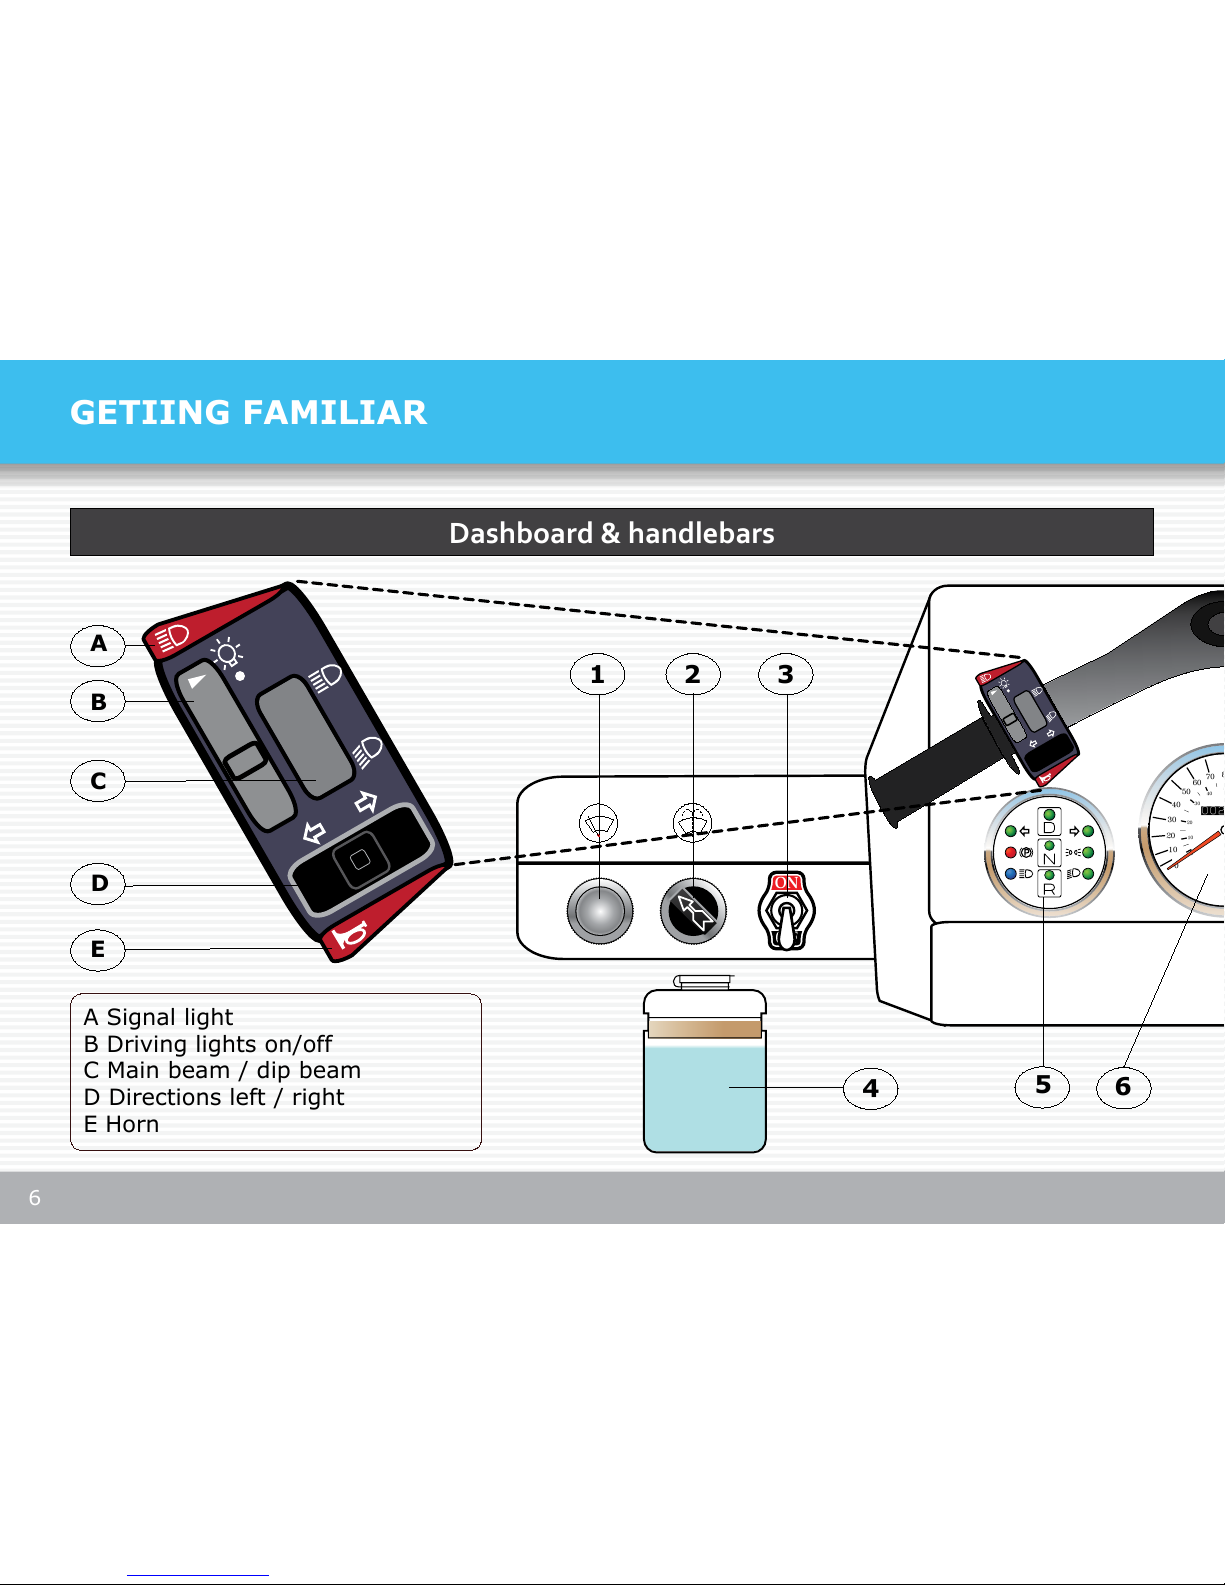
A Signal light
B Driving lights on/off
C Main beam / dip beam
D Directions left / right
E Horn
GETIING FAMILIAR
Dashboard & handlebars

7
50
60
80
70
30
40
50
6
6
90
100
60
50
kmph
mph
L
O
C
K
7
8
9 10
11
12
1 Windscreen washer
2 Windscreen wiper
3 Taxi sign light
4 Windscreen washer uid
5 Tell-tales display
6 Speedo- & Odometer
7 Battery Display Indicator
8 Charger LED
9 Key switch
10 Throttle
11 Direction Switch
12 Hazard light switch
13 Outlet 12volt
13
*2011 model. Layout may
change for newer models
Getting
familiar
8
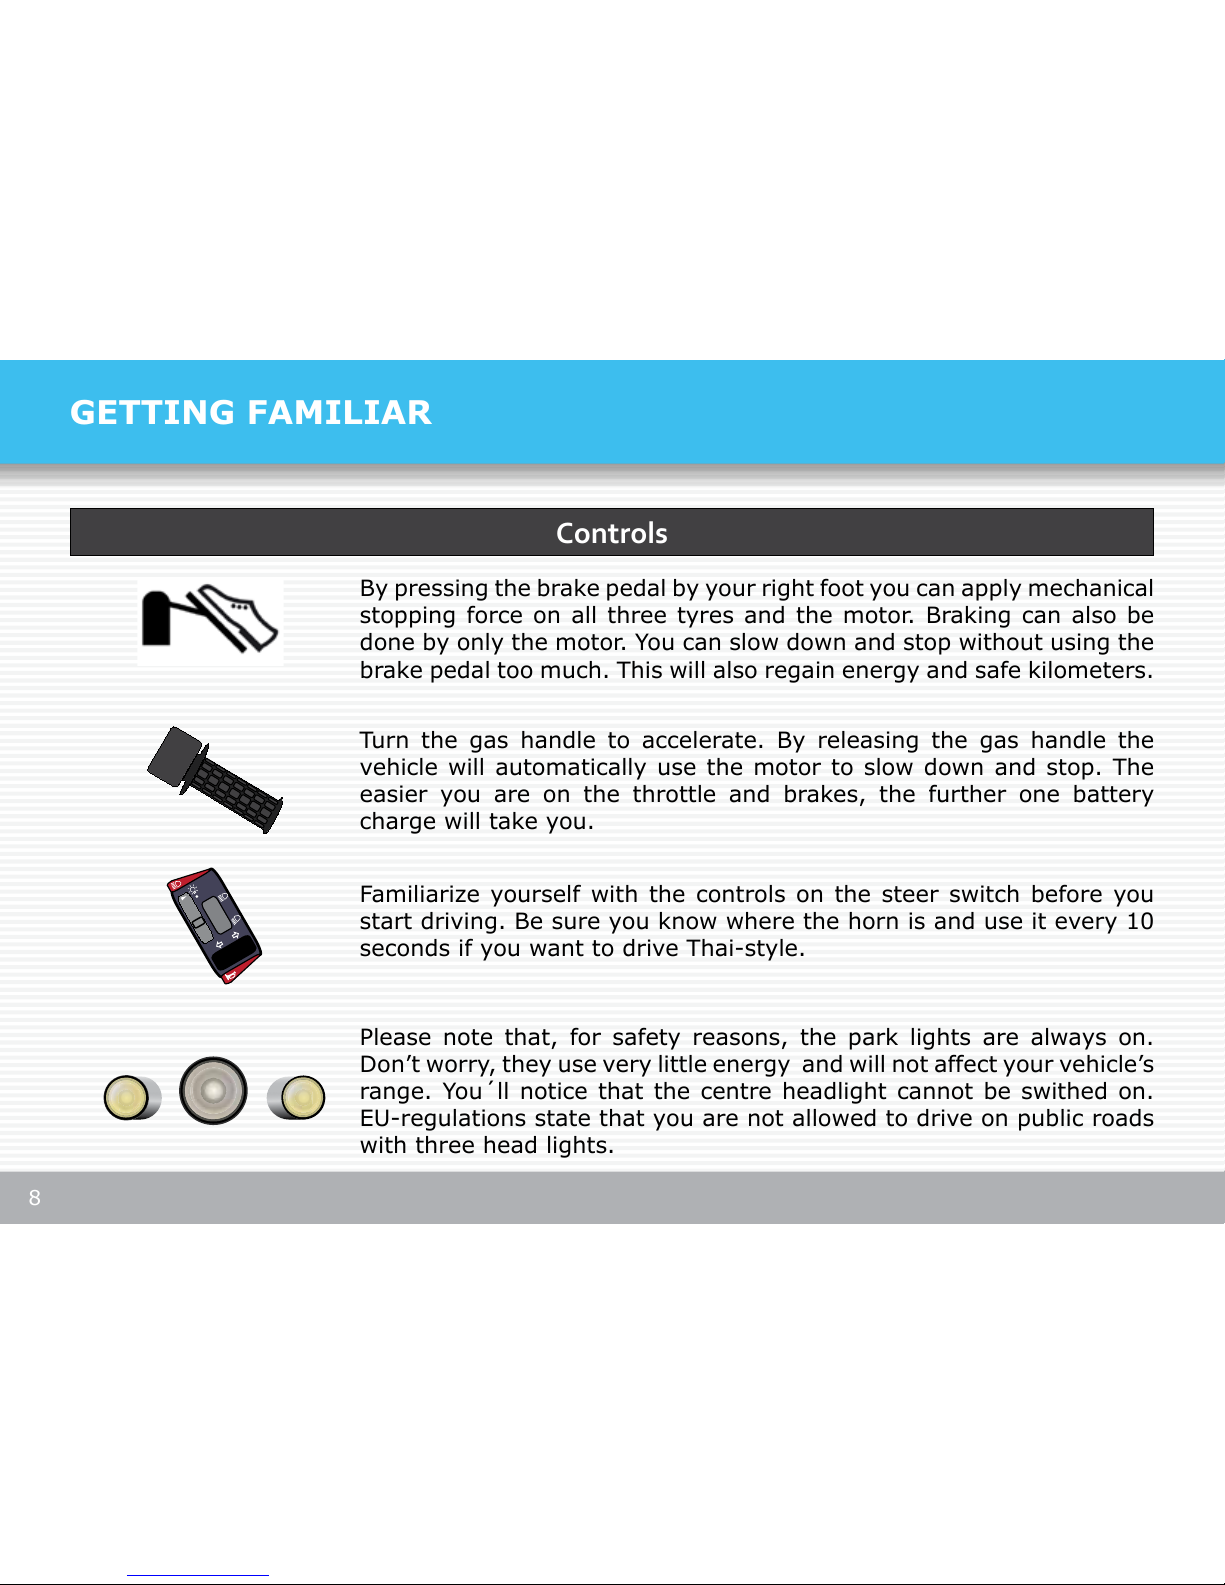
By pressing the brake pedal by your right foot you can apply mechanical
stopping force on all three tyres and the motor. Braking can also be
done by only the motor. You can slow down and stop without using the
brake pedal too much. This will also regain energy and safe kilometers.
GETTING FAMILIAR
Turn the gas handle to accelerate. By releasing the gas handle the
vehicle will automatically use the motor to slow down and stop. The
easier you are on the throttle and brakes, the further one battery
charge will take you.
Familiarize yourself with the controls on the steer switch before you
start driving. Be sure you know where the horn is and use it every 10
seconds if you want to drive Thai-style.
Please note that, for safety reasons, the park lights are always on.
Don’t worry, they use very little energy and will not affect your vehicle’s
range. You´ll notice that the centre headlight cannot be swithed on.
EU-regulations state that you are not allowed to drive on public roads
with three head lights.
Controls
9
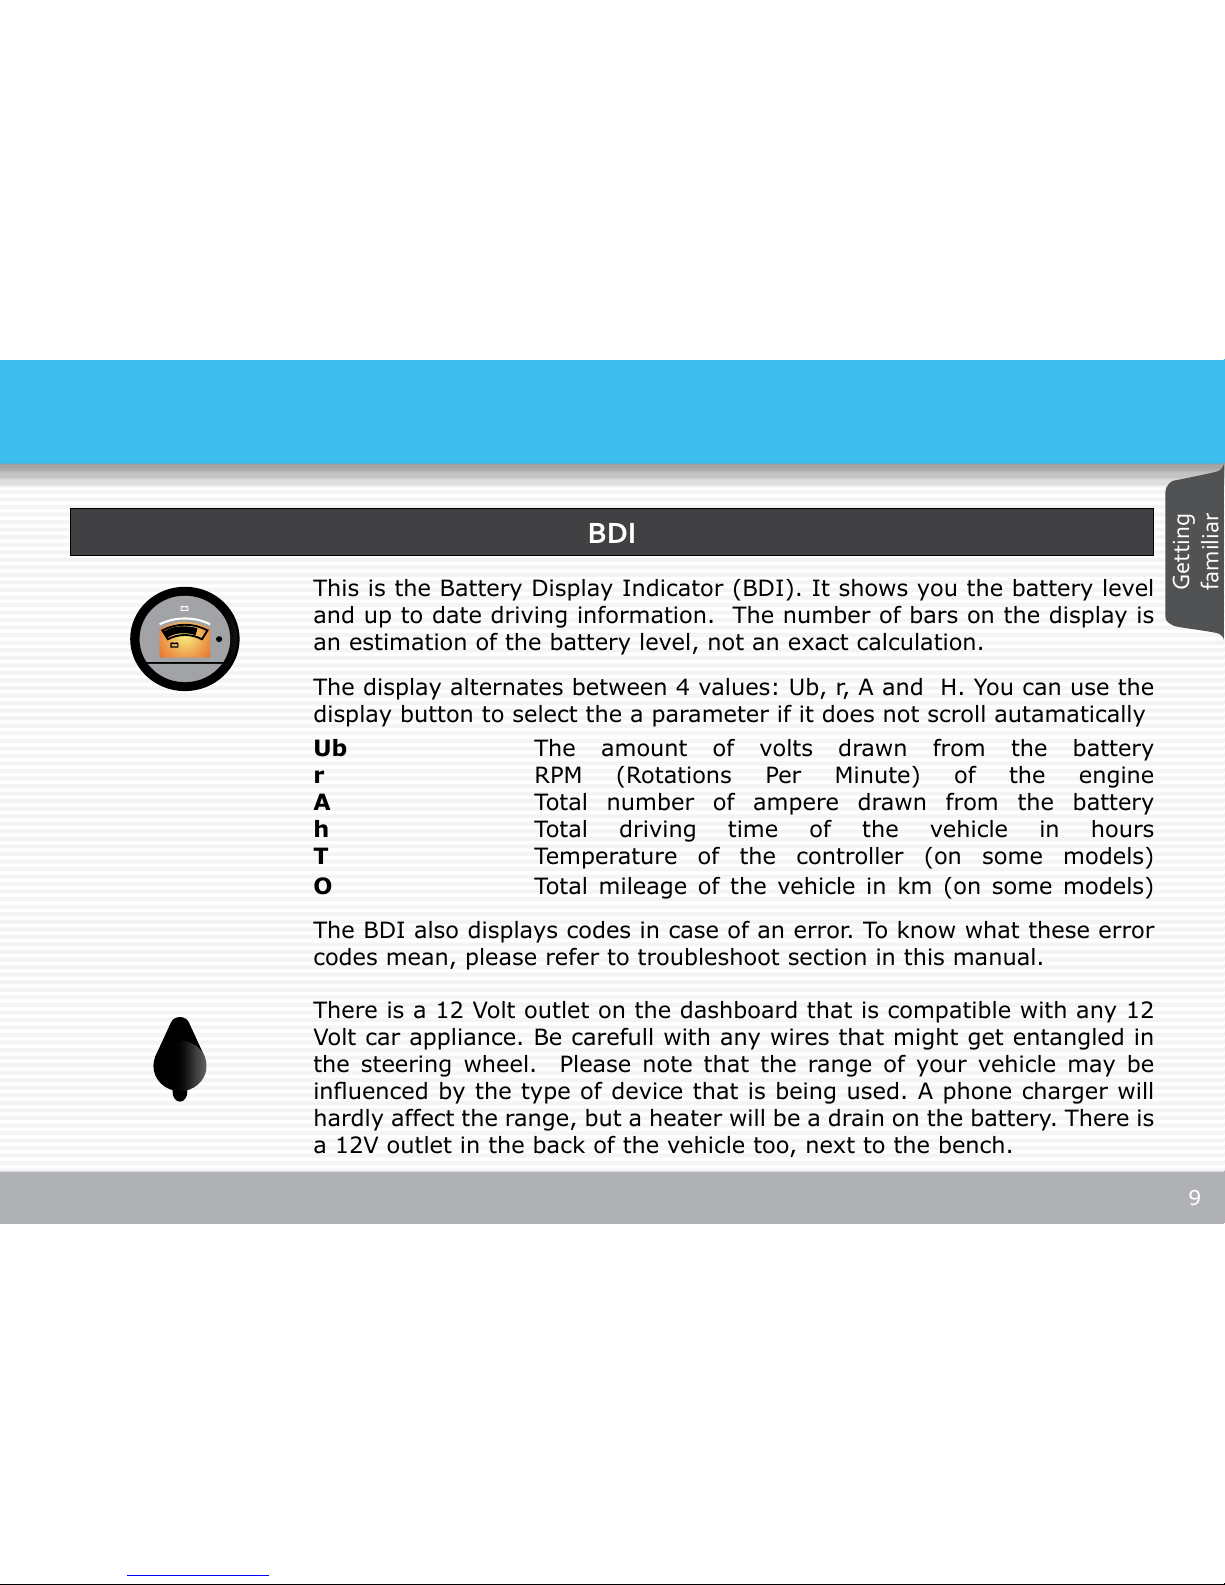
This is the Battery Display Indicator (BDI). It shows you the battery level
and up to date driving information. The number of bars on the display is
an estimation of the battery level, not an exact calculation.
The display alternates between 4 values: Ub, r, A and H. You can use the
display button to select the a parameter if it does not scroll autamatically
The BDI also displays codes in case of an error. To know what these error
codes mean, please refer to troubleshoot section in this manual.
Ub The amount of volts drawn from the battery
r RPM (Rotations Per Minute) of the engine
A Total number of ampere drawn from the battery
h Total driving time of the vehicle in hours
T Temperature of the controller (on some models)
O Total mileage of the vehicle in km (on some models)
There is a 12 Volt outlet on the dashboard that is compatible with any 12
Volt car appliance. Be carefull with any wires that might get entangled in
the steering wheel. Please note that the range of your vehicle may be
inuenced by the type of device that is being used. A phone charger will
hardly affect the range, but a heater will be a drain on the battery. There is
a 12V outlet in the back of the vehicle too, next to the bench.
BDI
Getting
familiar
10
Maximum load
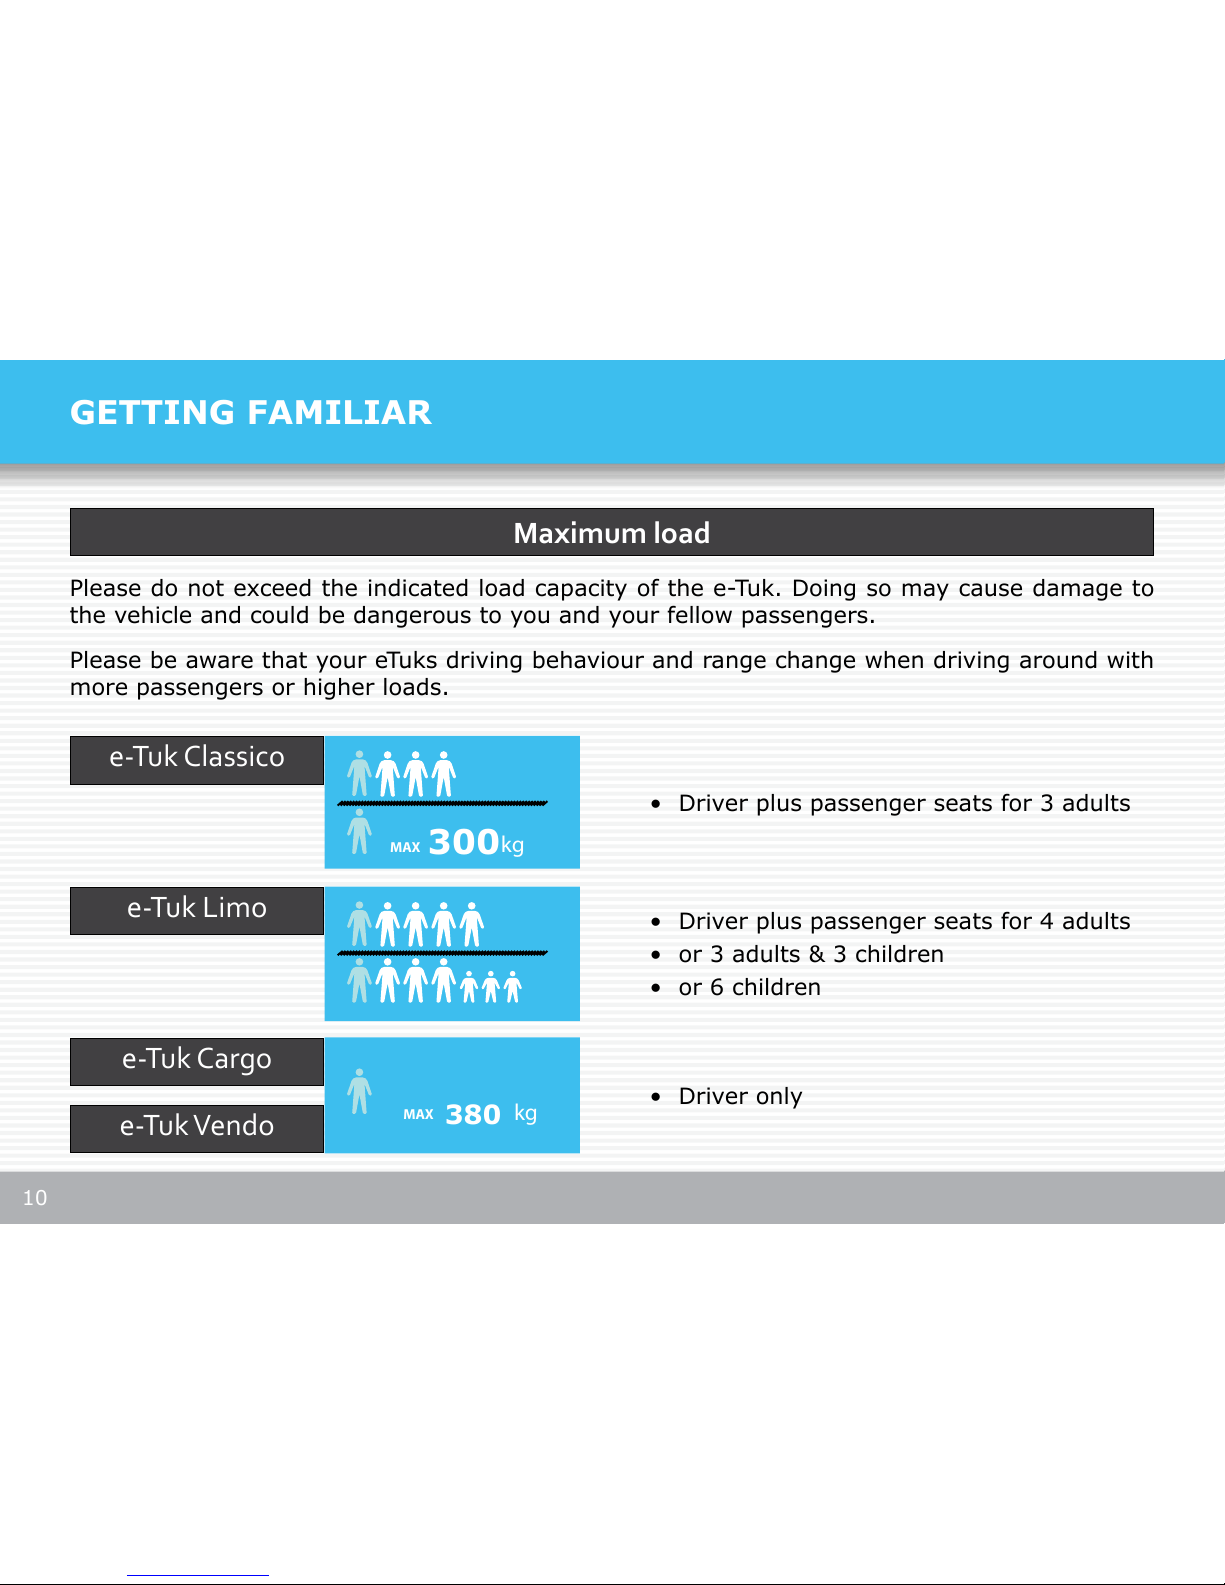
e-Tuk Classico
e-Tuk Limo
e-Tuk Cargo
e-Tuk Vendo
Please do not exceed the indicated load capacity of the e-Tuk. Doing so may cause damage to
the vehicle and could be dangerous to you and your fellow passengers.
Please be aware that your eTuks driving behaviour and range change when driving around with
more passengers or higher loads.
• Driver plus passenger seats for 3 adults
• Driver plus passenger seats for 4 adults
• or 3 adults & 3 children
• or 6 children
• Driver only
GETTING FAMILIAR
MAX
kg
380
MAX kg
300
11
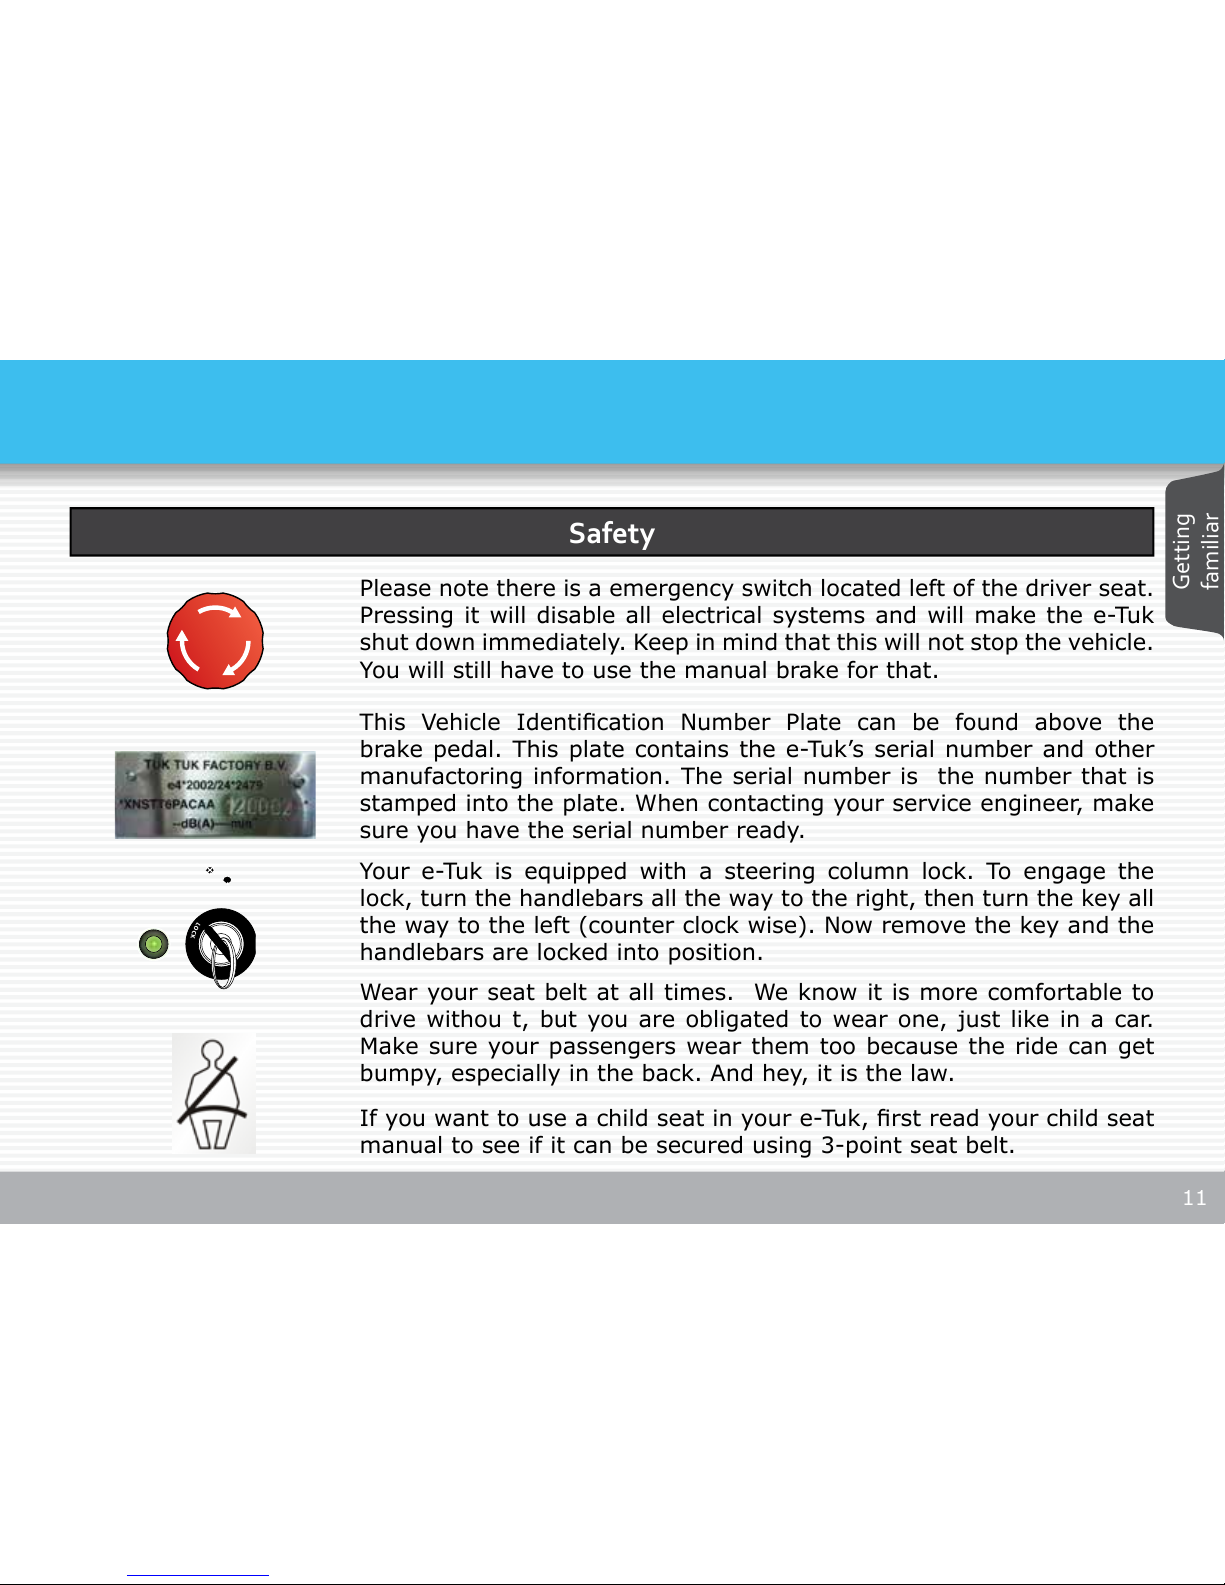
Wear your seat belt at all times. We know it is more comfortable to
drive withou t, but you are obligated to wear one, just like in a car.
Make sure your passengers wear them too because the ride can get
bumpy, especially in the back. And hey, it is the law.
If you want to use a child seat in your e-Tuk, rst read your child seat
manual to see if it can be secured using 3-point seat belt.
Please note there is a emergency switch located left of the driver seat.
Pressing it will disable all electrical systems and will make the e-Tuk
shut down immediately. Keep in mind that this will not stop the vehicle.
You will still have to use the manual brake for that.
This Vehicle Identication Number Plate can be found above the
brake pedal. This plate contains the e-Tuk’s serial number and other
manufactoring information. The serial number is the number that is
stamped into the plate. When contacting your service engineer, make
sure you have the serial number ready.
L
O
C
K
Your e-Tuk is equipped with a steering column lock. To engage the
lock, turn the handlebars all the way to the right, then turn the key all
the way to the left (counter clock wise). Now remove the key and the
handlebars are locked into position.
Safety
Getting
familiar

12
DRIVING CONDITIONS
Weather conditions may have affect on performance and vehicle range.
High temperatures (35+ °C) combined with high payloads may cause
the motor and controller to get very warm. Drive calmly and at a steady
pace and give the motor time to cool down every now and again.
Driving uphill draws more juice from the batteries and requires more
power from the motor. Keep in mind that while driving in a hilly area,
the range of your vehicle can be a little shorter than usual. Your vehicle
will get you up a hill inclination of 20%. When you are stationary on
a hill, do not use the throttle to prevent the vehicle from rolling down
the hill. This will cause the controller to get very hot. Instead, use the
brake pedal as you would in a normal car.
When driving away on a hill, apply throttle and release the footbrake.
Your vehicle may roll back slightly before taking off.
Temperatures
Hill inclination
Very cold weather may reduce the range of your vehicle slightly, as cold
batteries hold less energy. Your vehicle will drive normally but keep in
mind that you may get a few kilometers less on a single charge. Tuk
Tuk Factory recommends you park your vehicle inside and in a warm
envirmonment.
13
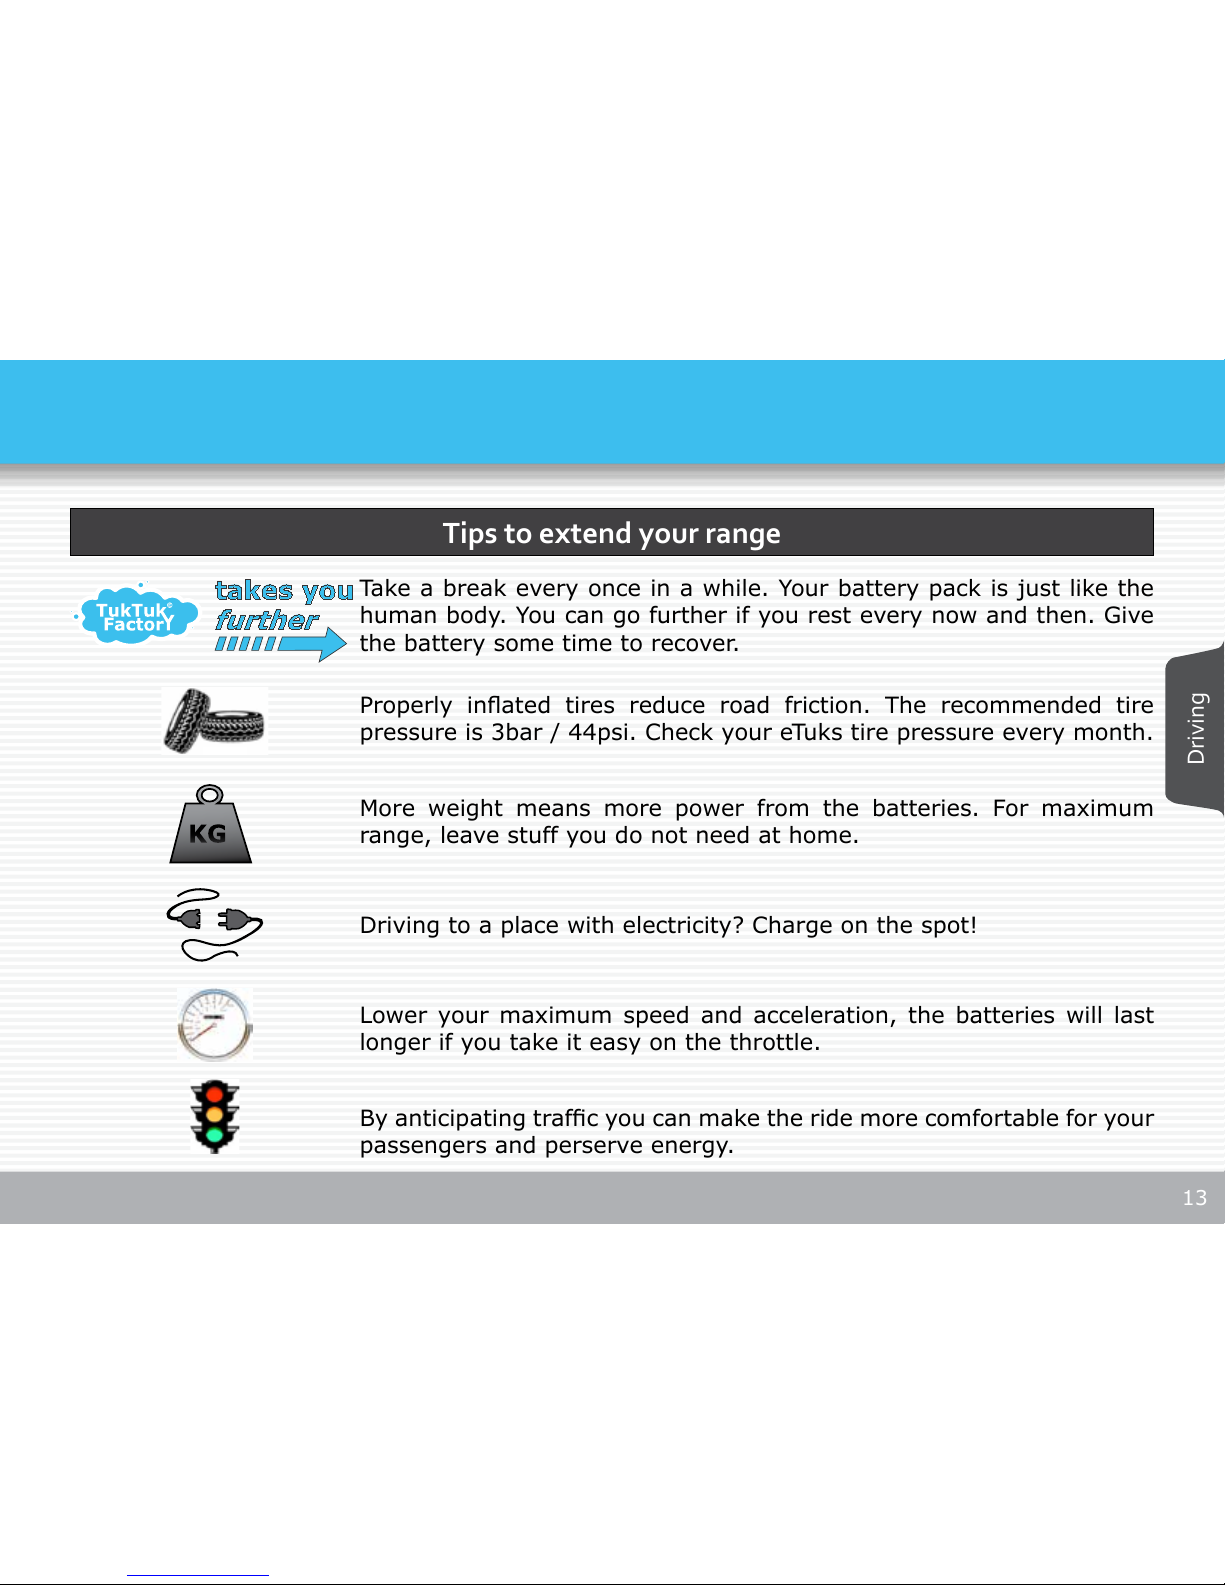
Tips to extend your range
KG
By anticipating trafc you can make the ride more comfortable for your
passengers and perserve energy.
More weight means more power from the batteries. For maximum
range, leave stuff you do not need at home.
Properly inated tires reduce road friction. The recommended tire
pressure is 3bar / 44psi. Check your eTuks tire pressure every month.
Lower your maximum speed and acceleration, the batteries will last
longer if you take it easy on the throttle.
Driving to a place with electricity? Charge on the spot!
Take a break every once in a while. Your battery pack is just like the
human body. You can go further if you rest every now and then. Give
the battery some time to recover.
takes you
further
Driving

14
BATTERY INFORMATION
Your eTuk’s battery is one of the major
components of the vehicle. It gives you the
energy to get wehere you need to go. If you
can rely on your battery, you can rely on your
vehicle.
To keep your battery in the best condition you
need to take good care of it. Following some
basic maintenance rules keeps your battery
in good shape and increases its lifetime.
These rules have been set up by the battery
manufacturer*. Not following them will void
battery warranty
• All battery maintenance, exept for cleaning
and watering, should be done by an
authorised service mechanic. Always wear
protective clothing, gloves and goggles
when handling batteries
Battery health
Safety
Inspection & Cleaning
• Keep ames, sparks or metal objects away
from batteries (use insulated tools)
• Neutralize acid spills with baking soda
immediately
• Charge with vent caps securely in place
• Provide proper ventilation during charging
to prevent explosive gas build up.
• Keep batteries clean and dry
• Check that all vent caps are tight
• Check that all connections are tight (see
recommended torque values)
• Use a solution of baking soda and water to
clean if there is acid residue on batteries
or corrosion on the terminals
• Terminal protectors or protectant spray
can be applied to reduce corrosion
15
Storage
Watering
Charging
• Add distilled water to cells
• Never add acid to cells this is dangerous
and will alter the chemistry
• Only add water to fully charged batteries.
Let the batteries cool down after charging
before adding water
• Add water to the maximum level indicator
• Do not overll the batteries
• Batteries should be charged after every
use to ensure they are never stored in a
discharged condition
• If batteries are stored for extended
periods of time they should be charged
approximately every 6 weeks
• Lead-acid batteries DO NOT have a
memory affect (they do not need to be
fully discharged prior to charging)
• The charging cycle should always be
nished completely to ensure battery life
• If charging cycles have been cut off,
equalization should be done. Fully charge
the batteries and keep the charger powered
for at least 8 hours after the cycle.
• Batteries should be fully charged prior to
and during storage
• Never store discharged batteries
• Store batteries in a cool, dry place to
minimize self-discharge
• Recharge batteries prior to putting them
back into service to ensure they are fully
charged
• If the plates are exposed in discharged
batteries, add water to a level just above
the lead plates
Battery
 Loading...