

Page 1
INSTALLATION INSTRUCT IONS
2003-2010 With Under Seat Metal Tray
Page 1
2011-Current With Under Seat Plastic T ub
Page 2
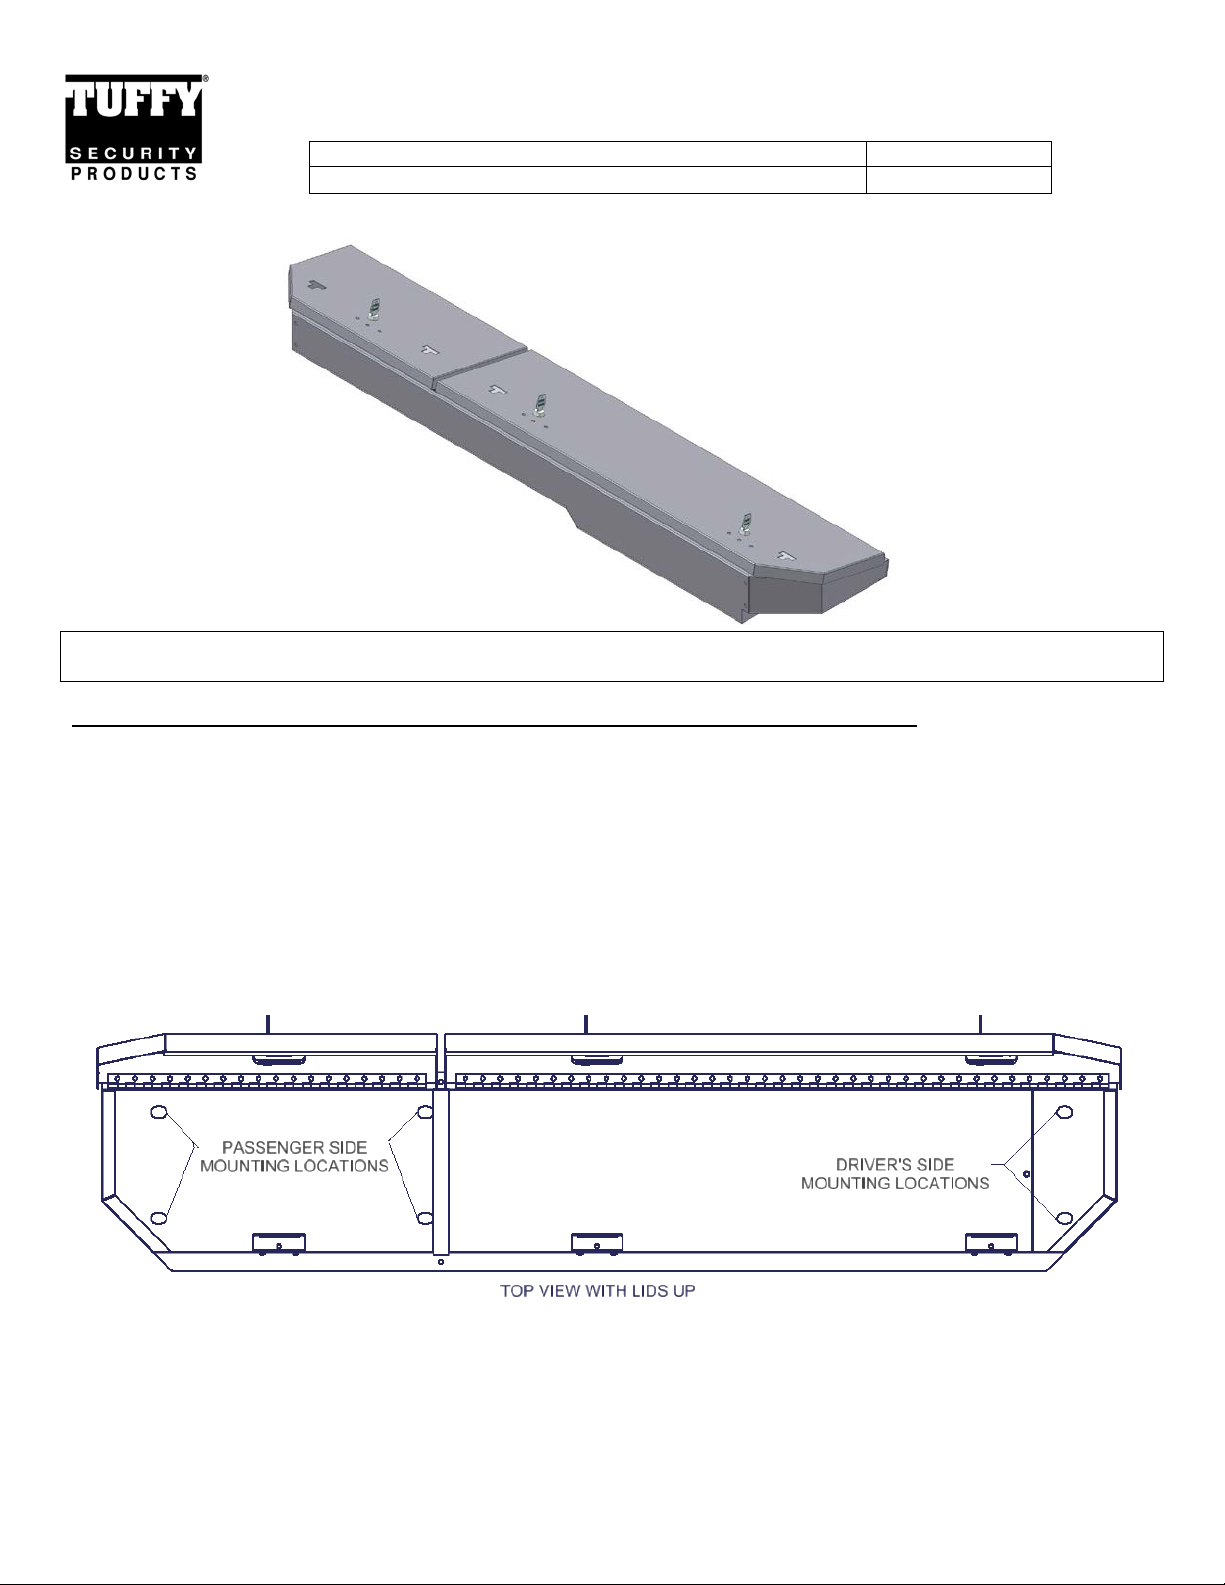
2003+ Ford F250/F350 Crew-Cab Under Rea r-Seat Lockbox #309
Please read and fill out the enclosed warra nty registration card to activate your warranty.
PARTS CHECKLIST
LOCKBOX #309
Tools needed for standard installation in ‘03-’10 F250/F350 with metal trays under rear seat
• 18mm Socket and Ratchet • Torx T-40, and T-43(some cases) Sockets
PLEASE READ ALL INSTRUCTIONS THOROUGHLY BEFORE STARTING INSTALLATION.
1. Flip both rear seats up so they are sec ur ed in the upright position.
2. Locate and, using the 18mm socket, remove the OEM bolt that holds the forward edge of t he tr ay in position, it is the second bolt
on the driver’s side at the back of the foot well. Set this bolt aside for r e installation later.
3. Locate and remove the (6) OEM bolts that secure the factory under seat tray to the seat brackets, you w ill reuse these.
4. Remove the factory tray to make room for the #309.
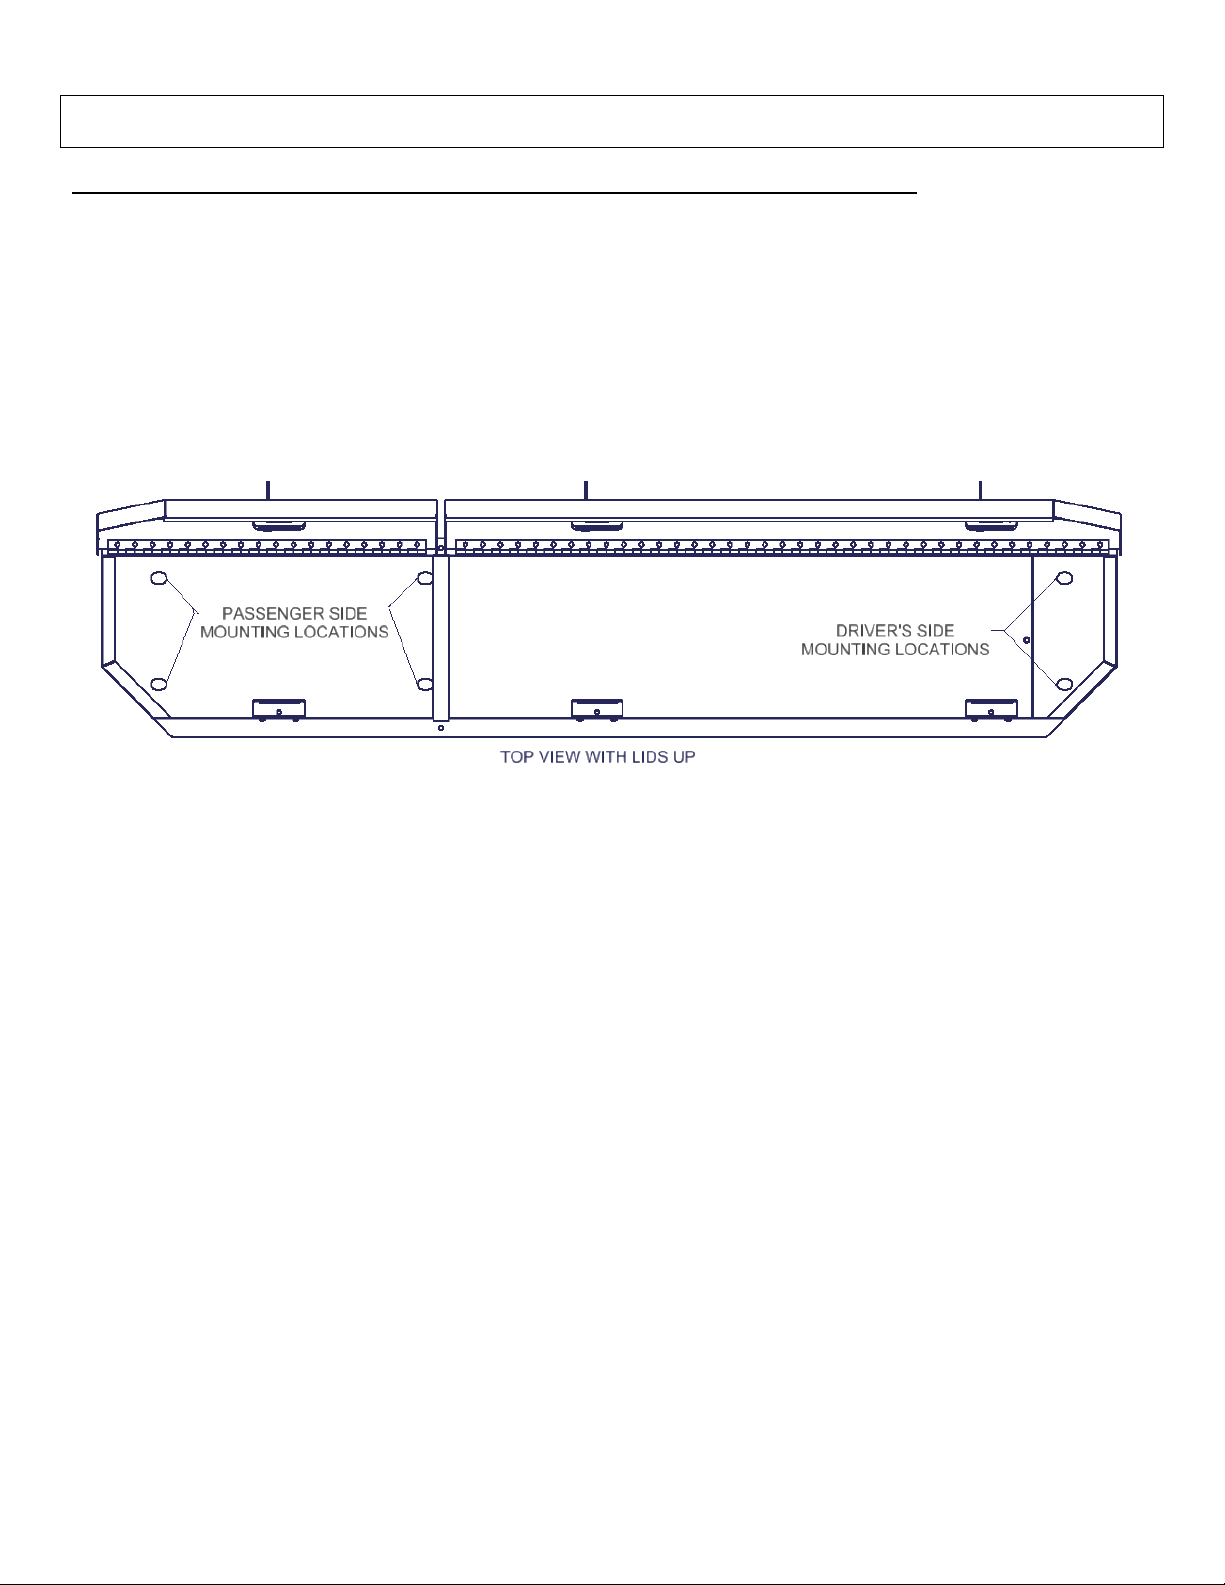
5. Place the #309 Lockbox in the rear under seat area so that the holes (See Figure #1) in the lockbox align with the threaded hole s
in the rear seat brackets, and the deeper area of the box is on the driver’s side.
FIGURE 1
6. Loosely install the (6) OEM bolts that were set aside in Step 2.
NOTE: Do not tighten the OEM bolts as some adjustability is required in t he next steps.
7. Adjust the Lockbox’s side to side position so that the gap in the lids aligns with the rear seat split. This may be done by
alternately opening the Lockbox lids and raisi ng and lowering the rear se ats, and adjusting to minimize interference.
8. Once the Lockbox is in its final p osition, the (6) OEM bolts may be tightened, and the 18mm bolt(removed in Step 2) may be
reinstalled to prevent water from entering the cab of the vehicle.
Page 1 of 2 - 6/25/2014 – Rev0
Page 2
Tools needed for standard installati on in ‘11-Current F250/F350 with plastic storage tub under rear seat
• ½” Socket and Ratchet
PLEASE READ ALL INSTRUCTIONS THOROUGHLY BEFORE STARTING INSTALLATION.
1. Flip both rear seats up so they are sec ur ed in the upright position.
2. Locate and remove the (6) OEM bolts that secure the factory under seat plastic storage tub, you will reuse these.
3. If equipped, disconnect the electrical connection to the 12V power port by depressing the tab on the connector and pulling apart.
Leave the wires in place as the tub may be reinstalled later.
4. Remove the factory storage tub to make room for the #309.
5. Place the #309 Lockbox in the rear under seat area so that the holes (See Figure #1) in the lockbox align with the threaded holes
in the rear seat brackets, and the deeper area of the box is on the driver’s side.
FIGURE 1
6. Loosely install the (6) OEM bolts that were set aside in Step 2.
NOTE: Do not tighten t he OEM bolts as some adjustabi lity is required in the next steps.
7. Adjust the Lockbox’s side to side position so that the gap in the lids aligns with t he r e a r seat split. This may be done by
alternately opening the Lockbox lids and raising and lowering the rear seats, and adjusting to minimize interference.
8. Once the Lockbox is in its final p osition, the (6) OEM bolts may be tightened.
Call (970)564-1762 for Technical Support
Page 2 of 2 - 6/25/2014 – Rev0
 Loading...