

Page 1
INSTALLATION INSTRUCTIONS
Samurai Security Console Part # 052
Please read and fill out the enclosed warranty registration card to activate your warranty.
Tools Needed
Marking Pencil or Pen
½ ” Socket and Ratchet
½ ” Wrench
5/16” Wrench
3/8 ” Wrench
Drill and 3/8” drill bit (1/8” bit recommended for pilot hole)
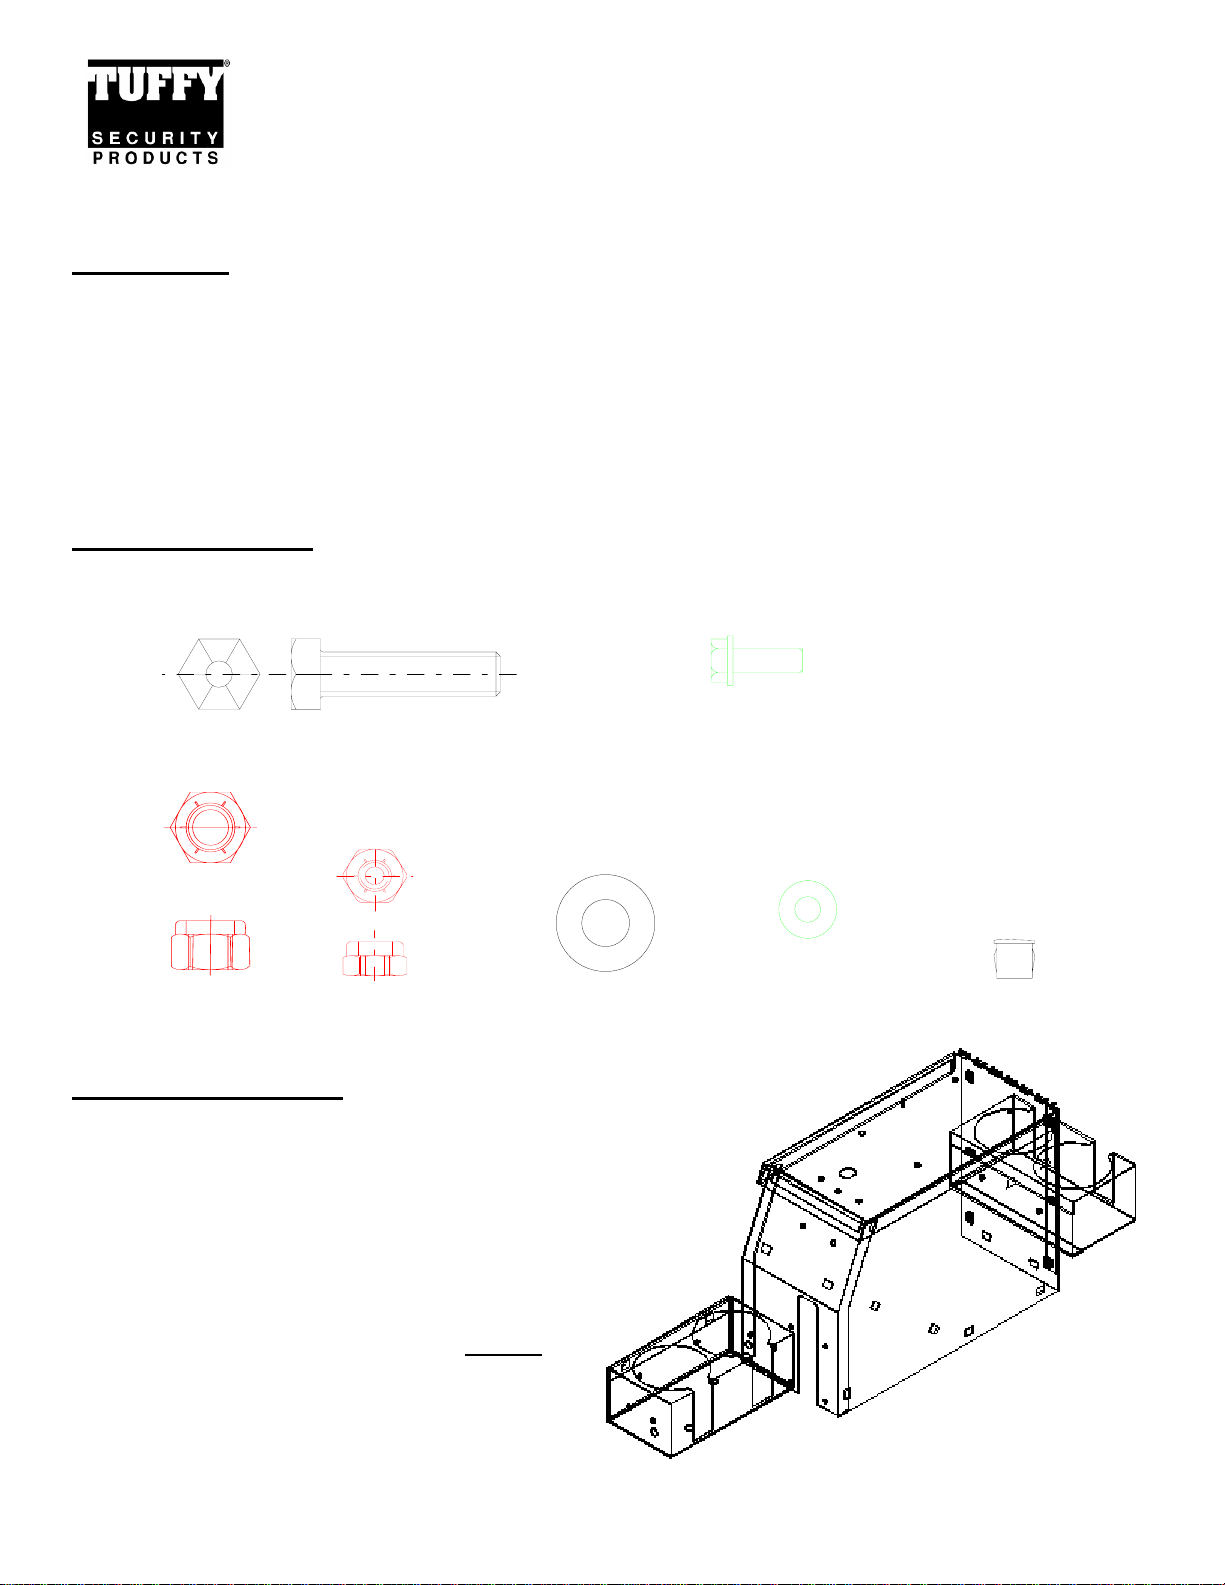
Shipping Package
(4)5/16 x 1 ¼” Grade 8 Bolts (2) 10-32 Unslotted Machine screws
(4) 5/16” Locknuts (2)10-32 Locknuts (8)5/16” Washers (2)#10 Washers (2) Hole Plugs
Mounting Directions
1. Attach the drink holder to either the
rear of the console or the front of the
console using (2) 10-32x ½” screws,
(2) #10 locknuts, and (4) #10
washers. Additional drink holders for
the rear can be purchased
separately, Tuffy part #034. NOTE
:
Clearance between the emergency
brake and a front mounted drink
holder is close and the operator
might hit their hand.
Page 1 of 2 - 1/28/2008 – Rev122006
Page 2
2. Pull the emergency brake all the way up and place the console between the seats in
the final mounting position desired. NOTE
: If the emergency brake pulls up more
than about 45 degrees it should be adjusted by a qualified professional prior to
installation of your Tuffy console.
3. Mark the floor directly under the (4) 3/8” mounting holes in the Tuffy console.
4. Remove the console. Cut holes in the carpet where the marks are (from step #3).
5. Warning
, failure to cut the carpet out of the way may cause the drill bit to damage
the carpet. Also make sure nothing will be damaged underneath the vehicle by
drilling.
6. Drill a 3/8” hole in each marked spot.
7. Fasten down the rear of the console using (4) 5/16 x 1 ¼” bolts, (4) 5/16 locknuts,
and (8) 5/16” washers. Push at least one of the bolts up from underneath the
vehicle for security.
8. Warning
, if the drink holder is mounted to the front of the console, be careful that
there is no interference with the emergency brake.
9. Insert (2) ¼” hole plugs into the drink holder mounting holes not used.
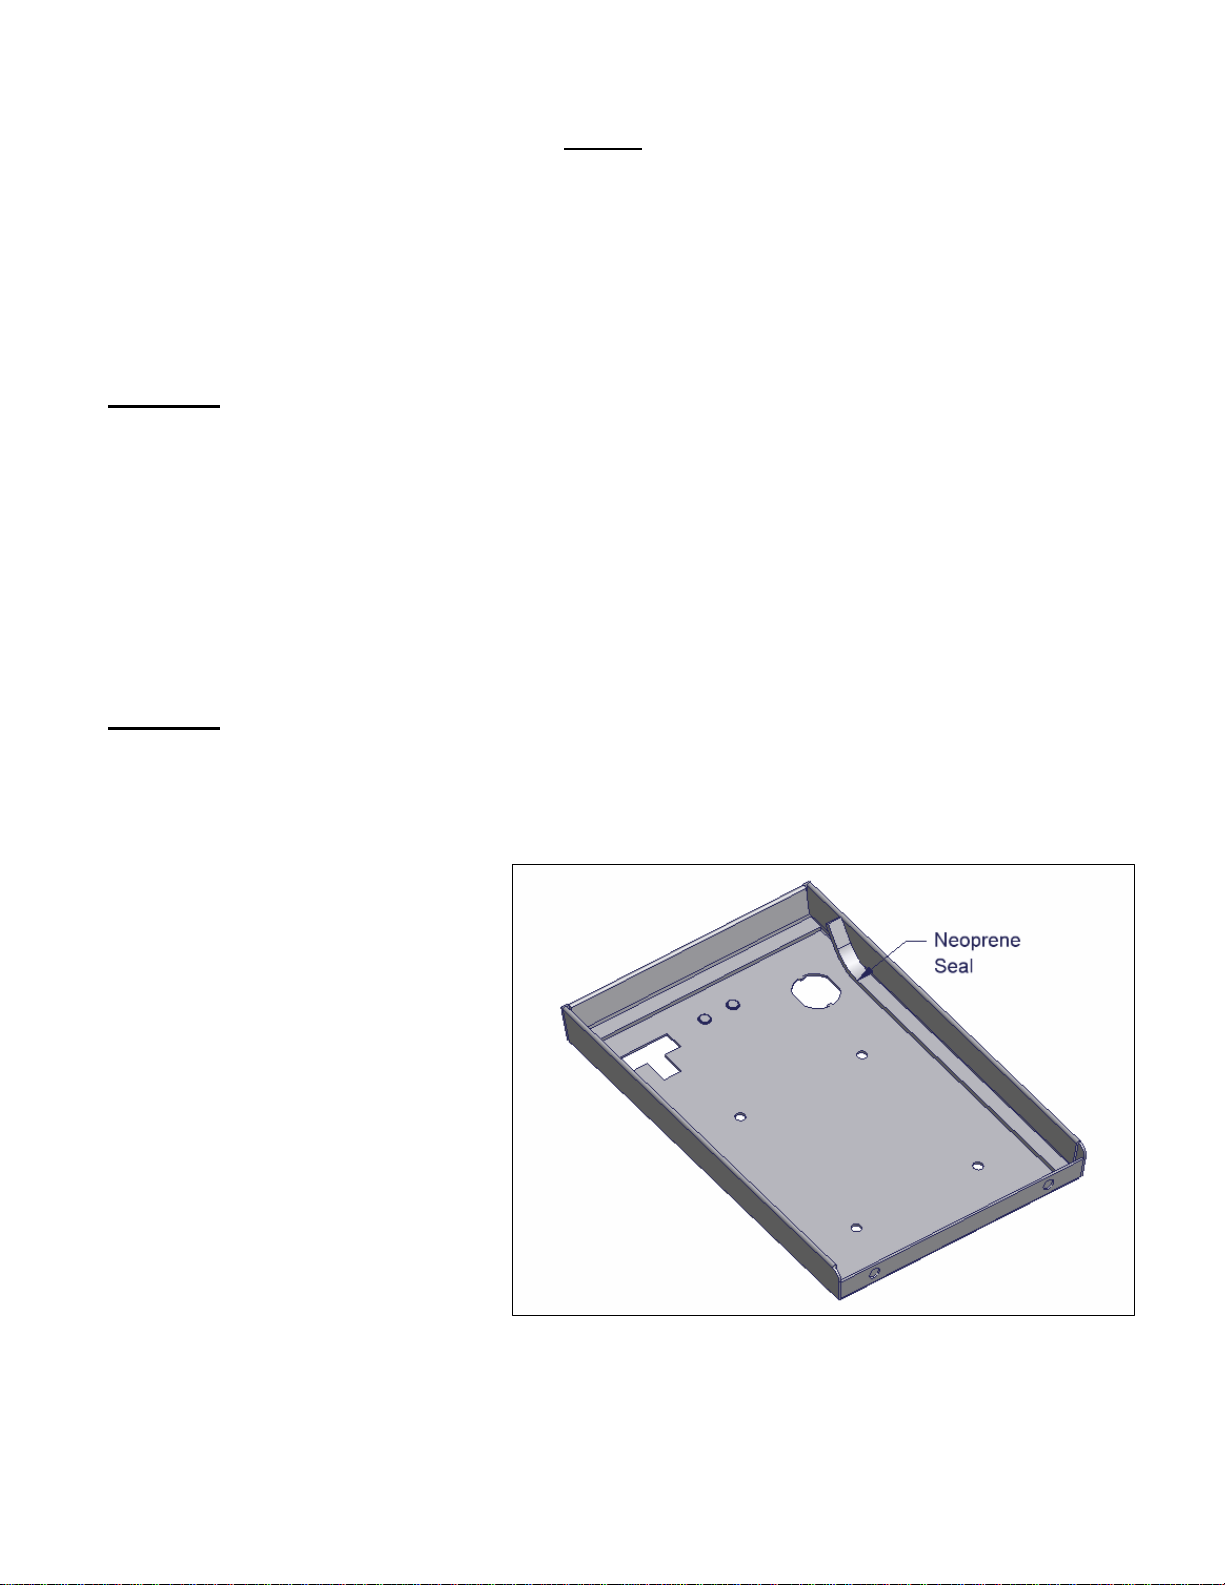
10. Apply neoprene seal as
illustrated.
11. Check lock operation.
Call (970) 564-1762 for Technical Support
Page 2 of 2 - 1/28/2008 – Rev122006
 Loading...