

Page 1
INSTALLATION INSTRUCTIONS
TJ Console Part #044
Please read and fill out the enclosed warranty registration card to activate your warranty.
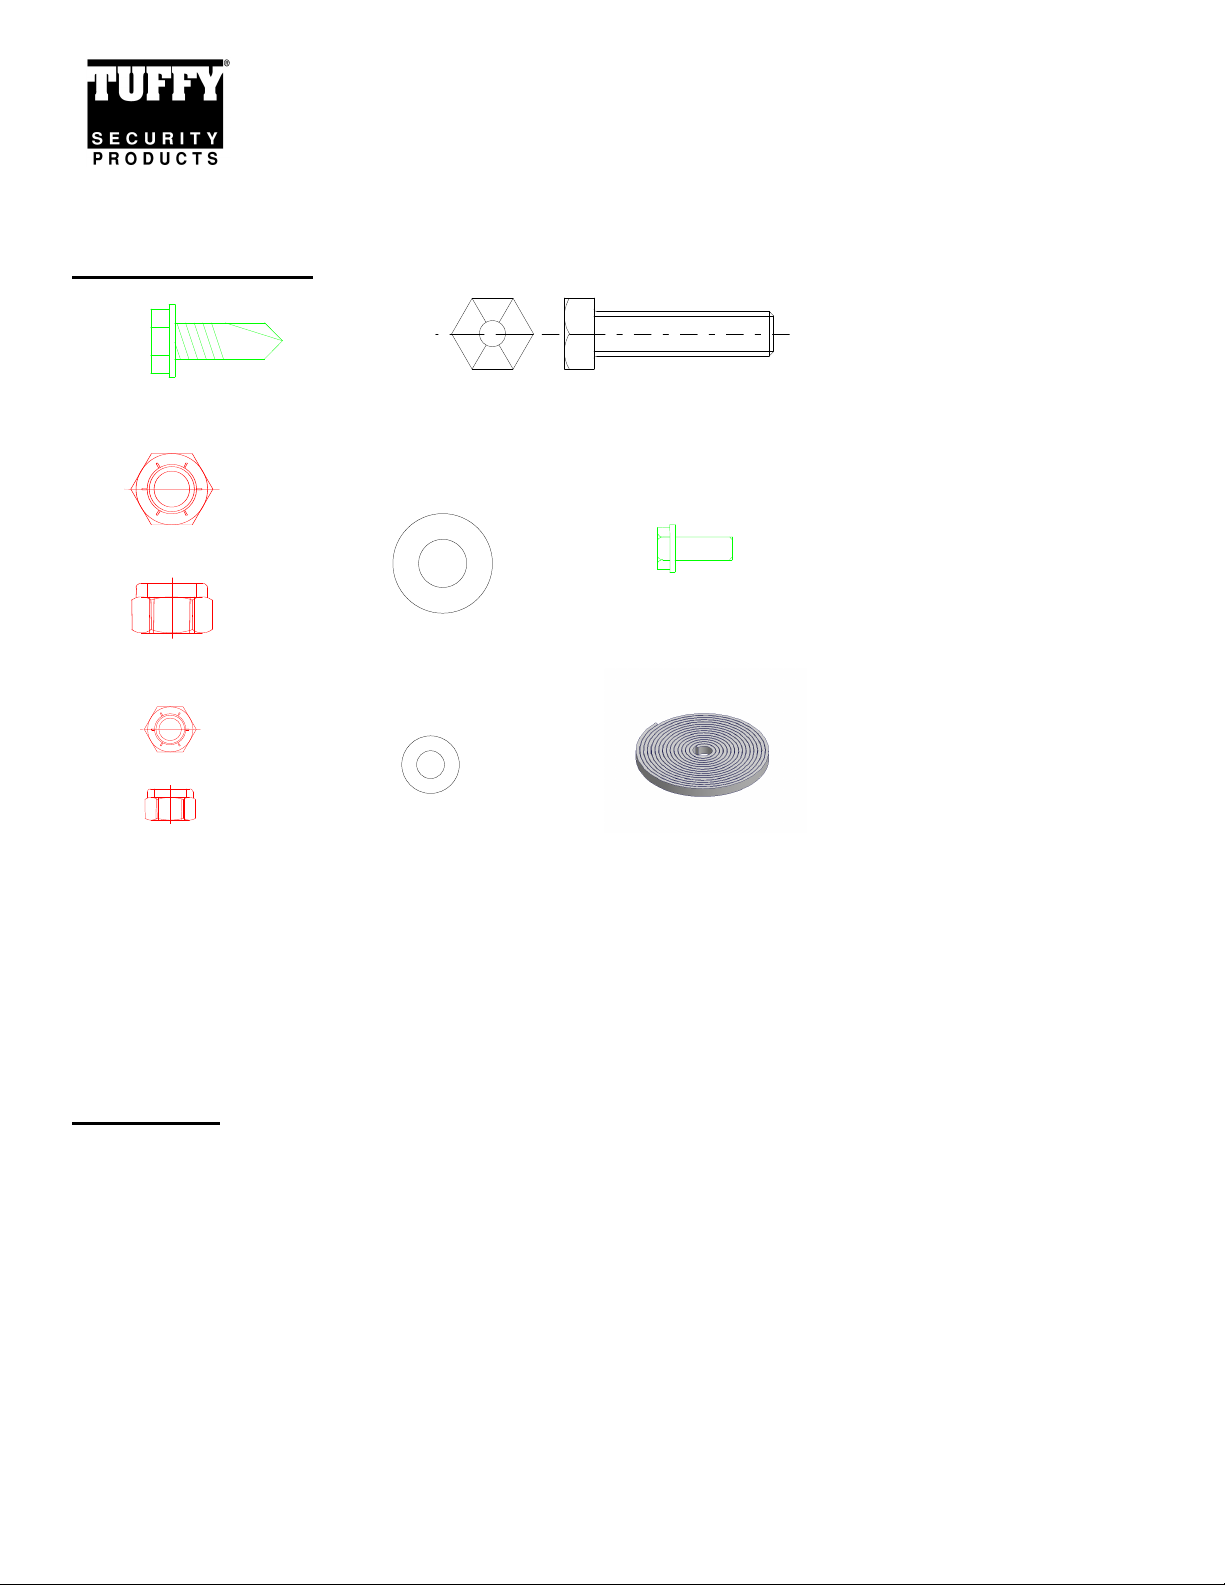
Shipping Package
(2) 1/4 x ¾” Self Tapping Screws (2) 5/16-18 X 1 ¼” Bolts
(2) 5/16 Locknuts (4) 5/16” Washers (4) 10-32x1/2 Screws
(2) 10-32 Nylock nuts (2) #10 Washers Neoprene seal
Tools Needed
(1) ½” wrench or ratchet, socket, and extension
(1) ½” wrench
(1) 3/8” wrench or ratchet, socket, and extension
(1) 5/16” Wrench
3/8” drill bit
Electric drill
Silicone sealant (not necessary but recommended)
Installation
1. Please read all instructions before starting installation.
2. It is recommended to use silicone sealant on any mounting points to vehicle body to prevent future rust problems.
3. Removing one or both of the seats will make installation easier.
4. Apply the rubber seal to the underside of the lid. (SEE FIGURE 1)
5. If you do not have a factory console, remove the rubber emergency brake cover. Save these screws because you may reuse some
of them.
6. Attach the drink holder to the rear of the console using (2) 10-32 x ½” bolts, (2) 10-32 nylock nuts and (2) #10 washers.
Warning! Make sure that there is nothing under the vehicle that will be damaged by the drill bit when drilling.
7. Drill out the two original mounting holes (HOLES 1 AND 2 IN FIGURE 2), located on the floor of the vehicle, to 3/8” diameter.
8. Install the Tuffy console by guiding the console over the emergency brake, Be careful not to tear the seats.
9. Insert the (2) ¼-20 x ¾” self tapping screws in the holes (HOLES 3 AND 4 IN FIGURE 3) on the passengers side of the console.
Page 1 of 2 - 1/31/2014 – Rev122006
Page 2
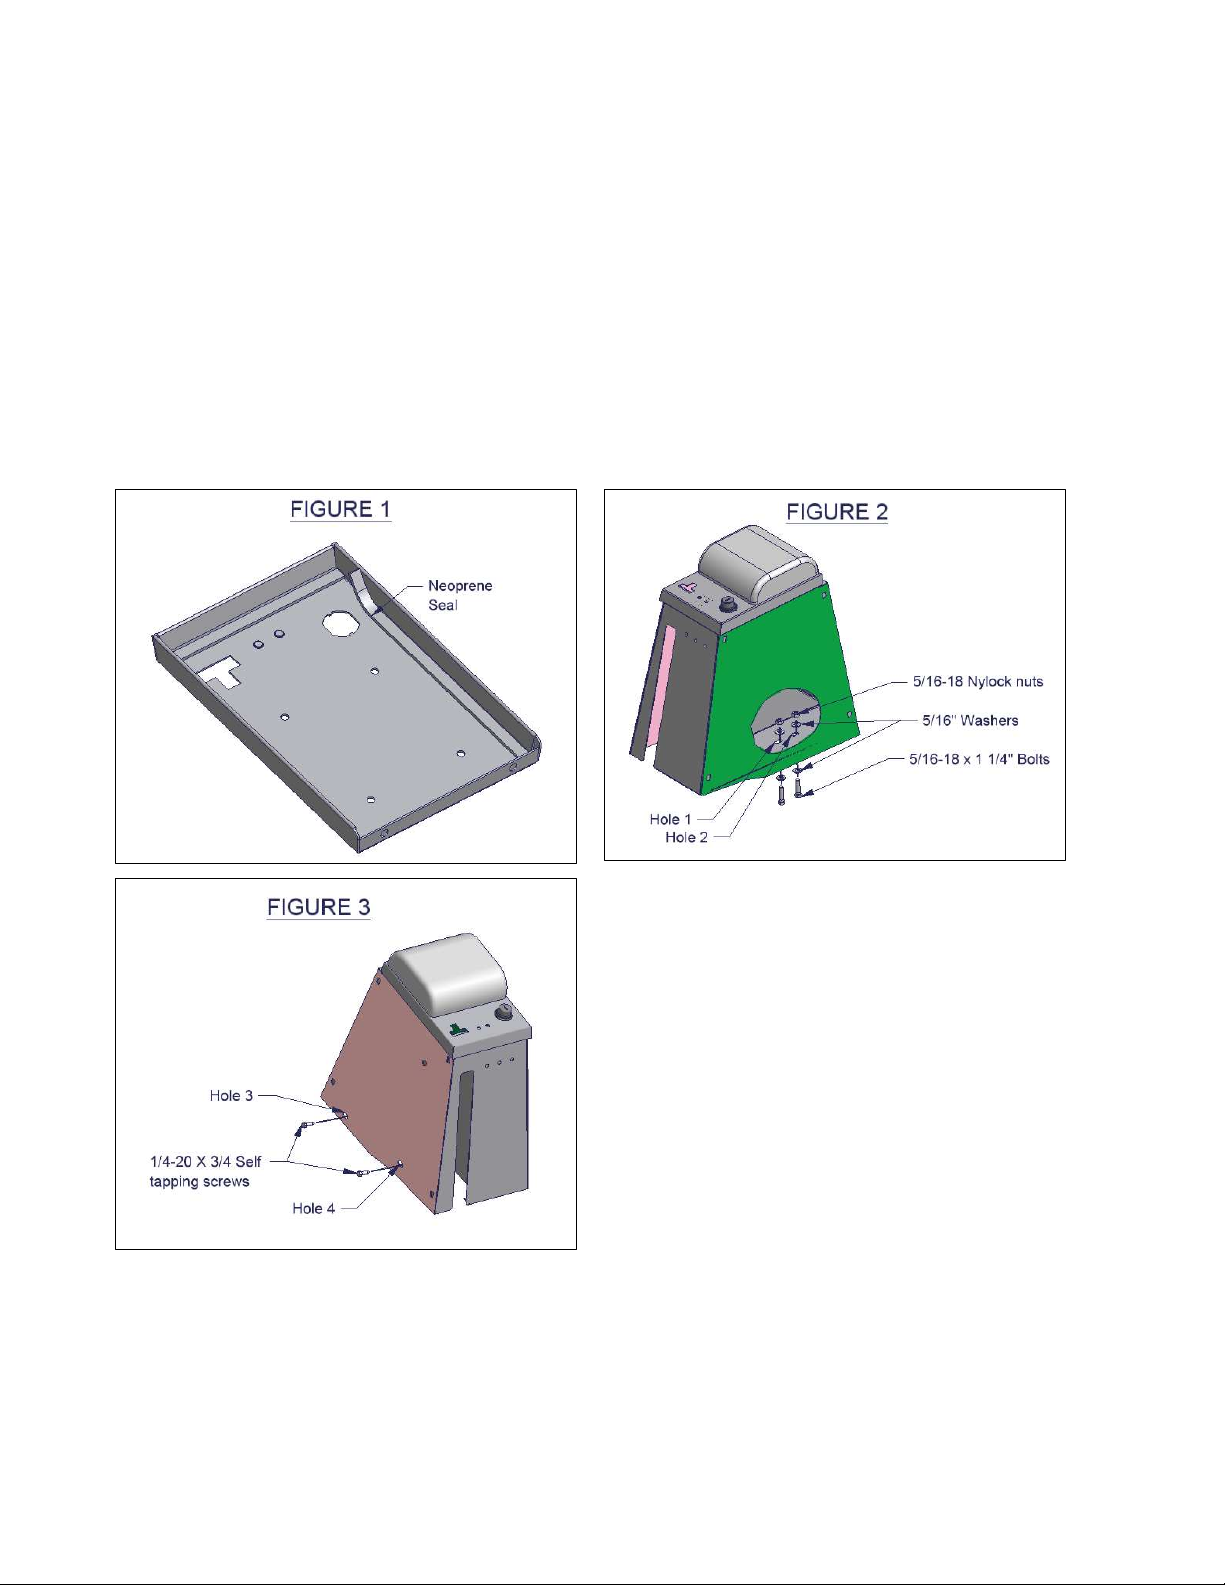
10. Bolt the console down using the (2) 5/16” bolts, (2) 5/16” nuts, and (4) 5/16” washers (IN HOLES 1 AND 2 IN FIGURE 2); push
at least one bolt up from the bottom for added security.
11. Make sure emergency brake is operating properly. Adjustment by a qualified mechanic may be necessary.
12. Check lock operation. The rubber seal will need to be compressed initially and will wear-in with time.
13.
Lock it up!
ATTENTION:
FREQUENT LUBRICATION IS NECESSARY ON THE LOCKING SYSTEM
The pushbutton lock contains an “O” ring seal to protect the interior from dust and water. If this mechanism is not
lubricated regularly it will become difficult to operate and it may not return to its home position preventing the key from
operating the lock. If this happens simply pull up on the pushbutton to manually bring it back to its home position.
Lubricate the pushbutton with a light lubricant such as silicone spray. The pushbutton may have to be periodically
disassembled and cleaned.
Call (970) 564-1762 for Technical Support
Page 2 of 2 - 1/31/2014 – Rev122006
Page 3

CUTTING INSTRUCTIONS FOR JEEP
WRANGLER TJ 2001 & UP
MOPAR PART# 5HJ98LAZAB PLASTIC DRINK HOLDER
INSERT IN FRONT SHIFTER CONSOLE FOR JEEP TJ WITHOUT STOCK
FULL CONSOLE
Applies to Jeep Wrangler TJ 2001 and up with two drink holders in the original front shifter console. The
original plastic drink holder will have to be cut to allow the front of the console to sit in the proper position.
If the drink holder is not cut the console will have to be mounted back behind the drink holder.
1. Line up the cut template on the front of the plastic drink holder
2. Using the template mark the cut location on the plastic drink holder
WARNING! Mark and cut the drink holder carefully, Tuffy does not sell
replacements for this part (Part# 5HJ98LAZAB) it will have to be ordered
from a local Mopar dealership.
3. After marking the cut location secure the drink holder for cutting. (Gripping the back side of the two
drink holder extrusions in a vice using a cushion to prevent damage to the drink holder is advised)
4. Carefully cut the drink holder using a hacksaw.
5. De-bur the cut edges with a file.
6. Check the fit, additional cutting or filing may be required to fine-tune the fit.
Page 4

 Loading...