

Page 1
Shipping Package
INSTALLATION INSTRUCTIONS
YJ Glove box Part # 036
Please read and fill out the enclosed warranty registration card to activate your warranty.
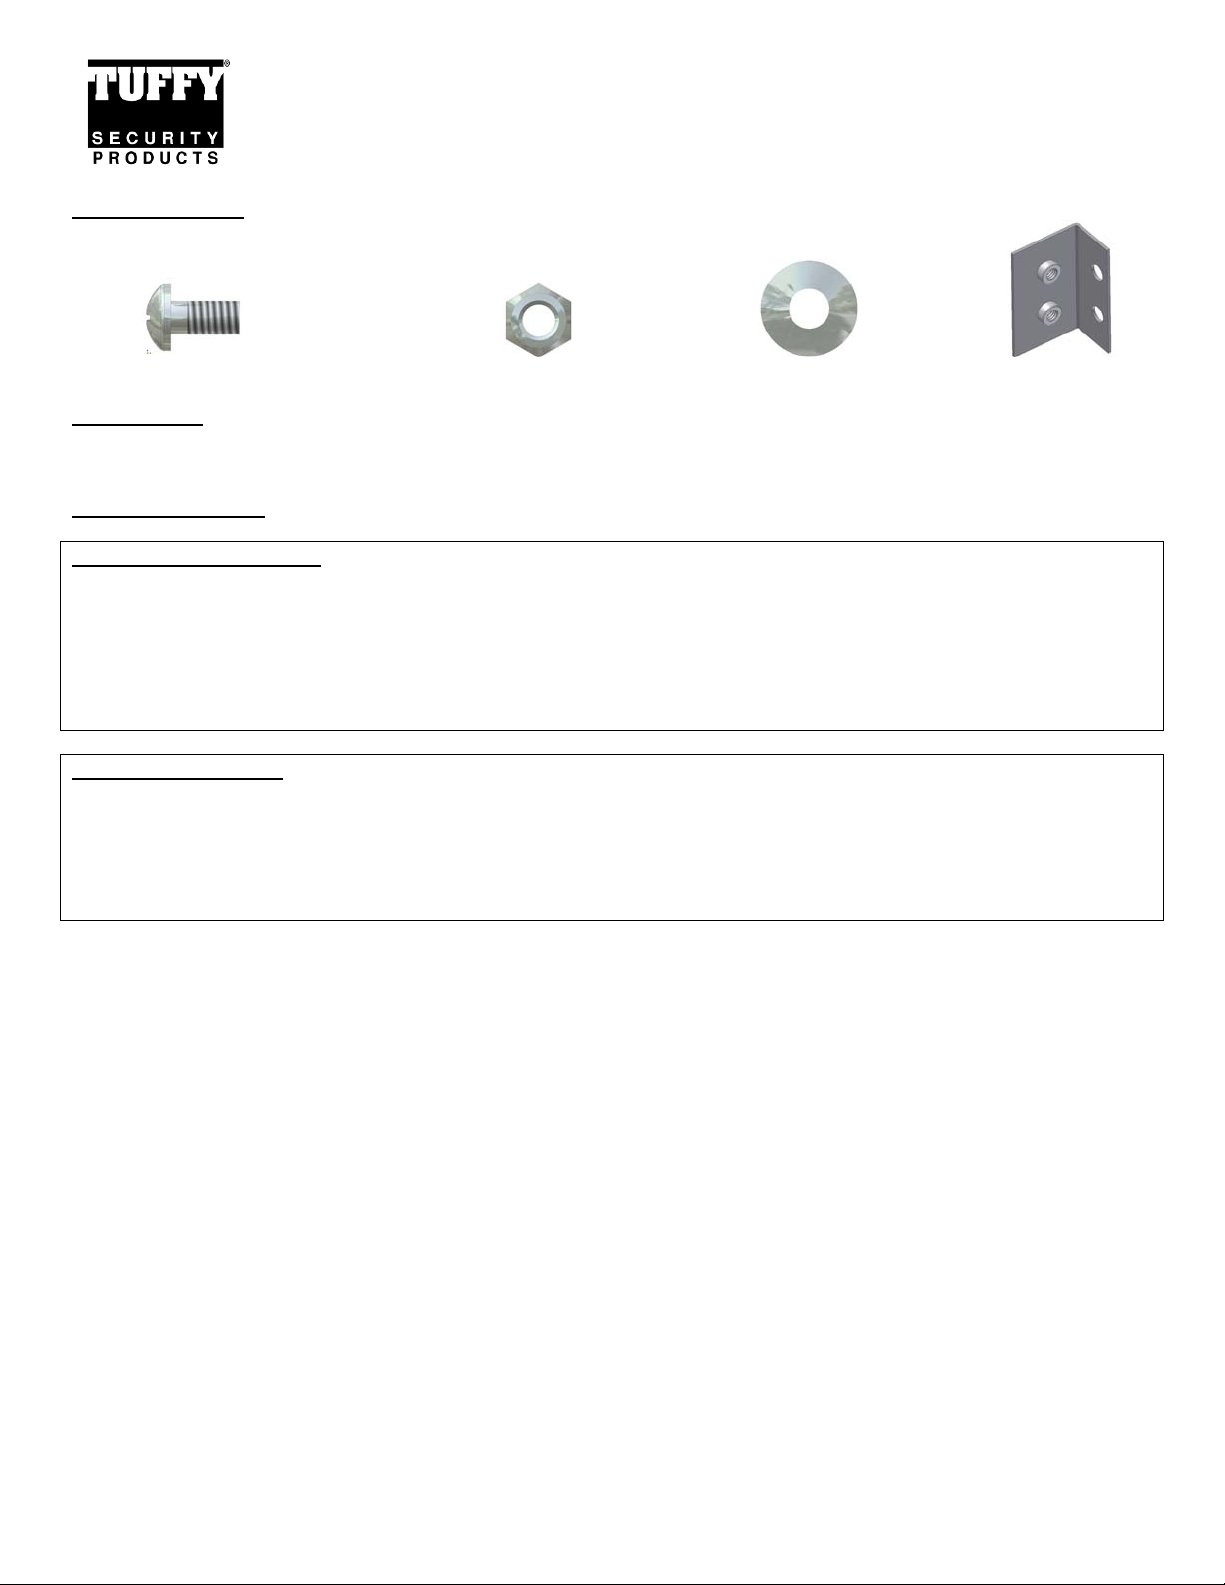
#13.1 (8)¼-20x1/2” screws #13.3 (4) ¼-20 nuts #13.2 (12) ¼” washers #7 (2) “L” Brackets
Tools Needed
#2 Phillips head screwdriver
7/16” Socket and Ratchet or 7/16” Wrench
Mounting Directions
Remove factory glove box
1. Remove the three original screws from across the top of the glove box face above the panic handle, save these
screws. (#13.5 Figure 1)
2. Open the original glove box, remove the screws fastening the lid and remove the lid.
3. Reach behind the dash and remove the (4) nuts on the backside of the glove box face. There are two nuts behind
each end of the panic handle. These nuts are very difficult to get to and tedious to remove. We recommend using a
¼” drive ratchet with a 7/16” socket. Warning- in some case s there may be sheet metal screws instead of nuts,
however they are located in the same spot. (#13.3 Figure 1)
Install Tuffy glove box
1. Using the same holes that the factory panic handle was connected, install the (2) “L” brackets using the (4) ¼-20X1/2”
bolts #13.1, washers #13.2, and nuts #13.3. The 3/8” holes in the “L” bracket should be mounted in front of the metal
dash frame #13.4. (See Figure 1)
2. Insert the Tuffy glove box and fasten the remaining (4) ¼-20x1/2” bolts #13.1 and washers #13.2 to the “L” brac kets
through the holes on the inside of the glove box. (See Figure 1).
3. Refasten the (3) original screws #13.5 across the top of the glove box face. (See Figure 1)
Page 1 of 2 - 5/29/2008 – Rev122006
Page 2
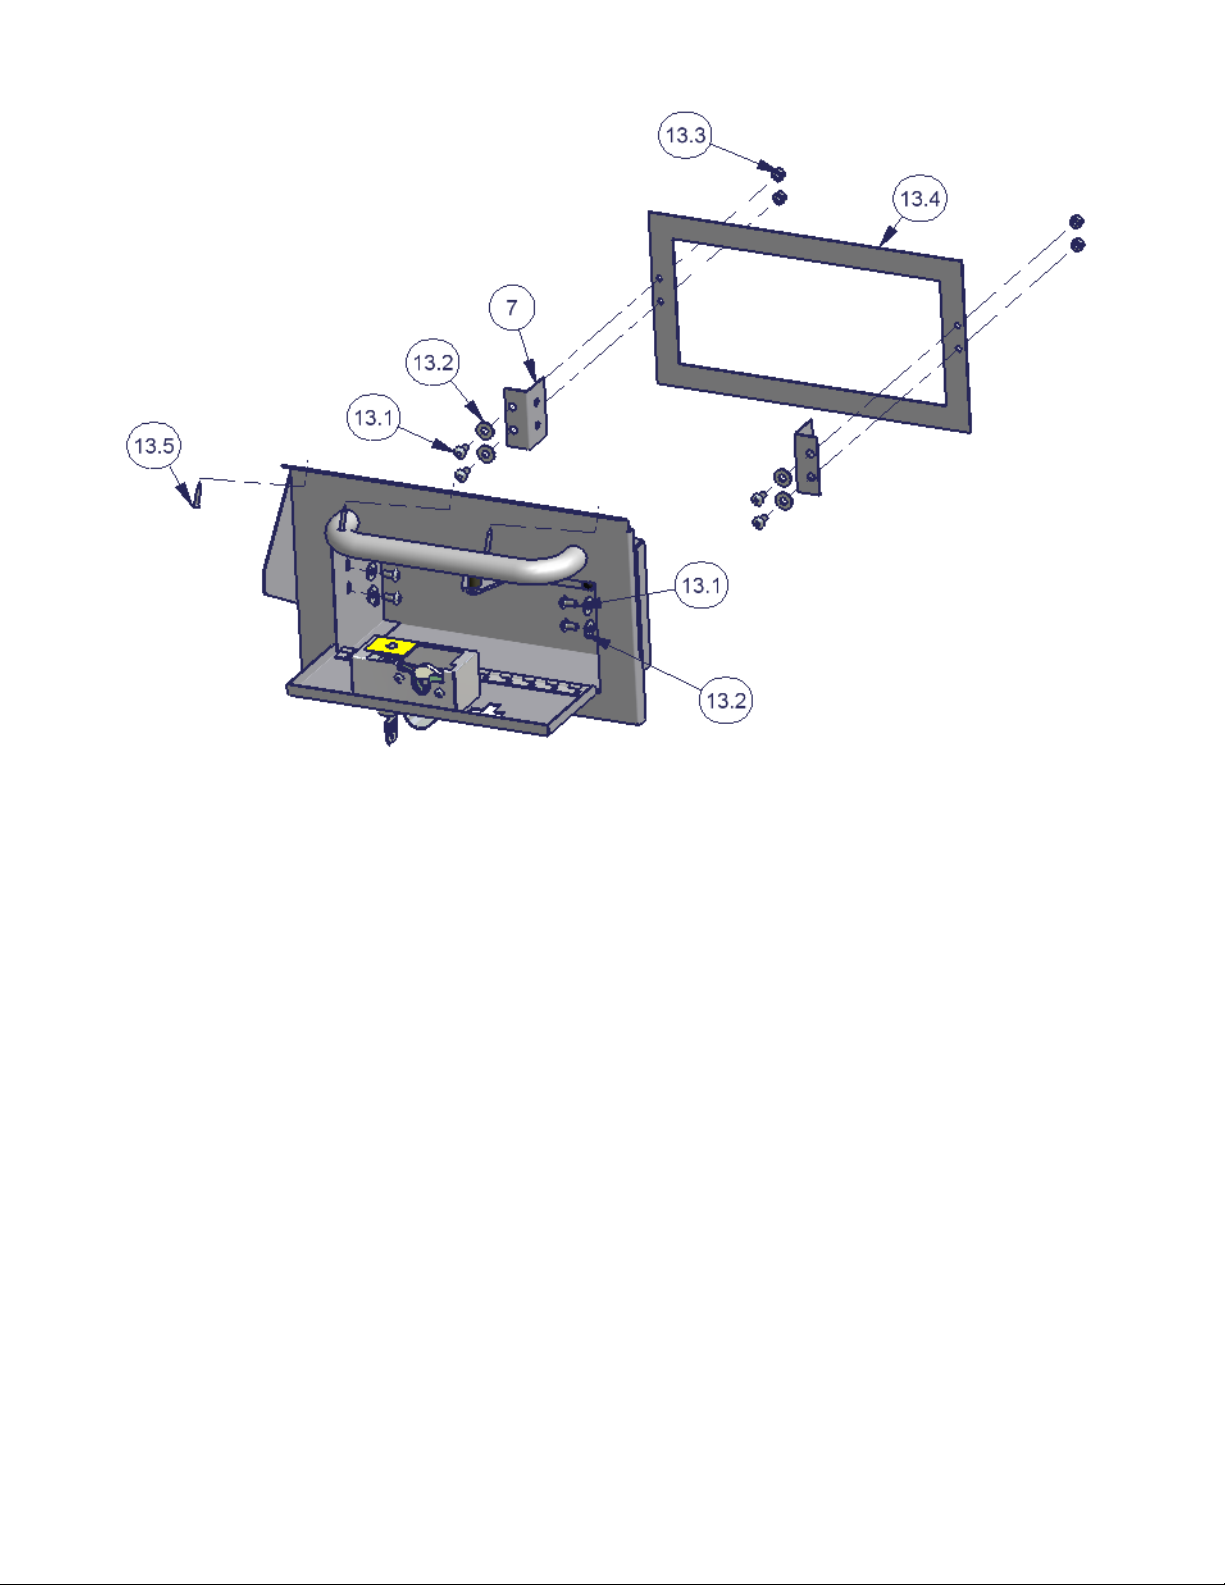
Figure 1
ATTENTION:
FREQUENT LUBRICATION IS NECESSARY ON THE LOCKING SYSTEM
The pushbutton lock contains an “O” ring seal to protect the interior from dust and water. If this mechanism is not
lubricated regularly it will become difficult to operate and it may not return to its home position preventing the key from
operating the lock. If this happens simply pull up on the pushbutton to manually bring it back to its home position.
Lubricate the pushbutton with a light lubricant such as silicone spray. The pushbutton may have to be periodically
disassembled and cleaned.
Call (970) 564-1762 for Technical Support
Page 2 of 2 - 5/29/2008 – Rev122006
 Loading...