

O
O
p
peerraattiioo
n
n
M
Maa
n
n
u
uaall
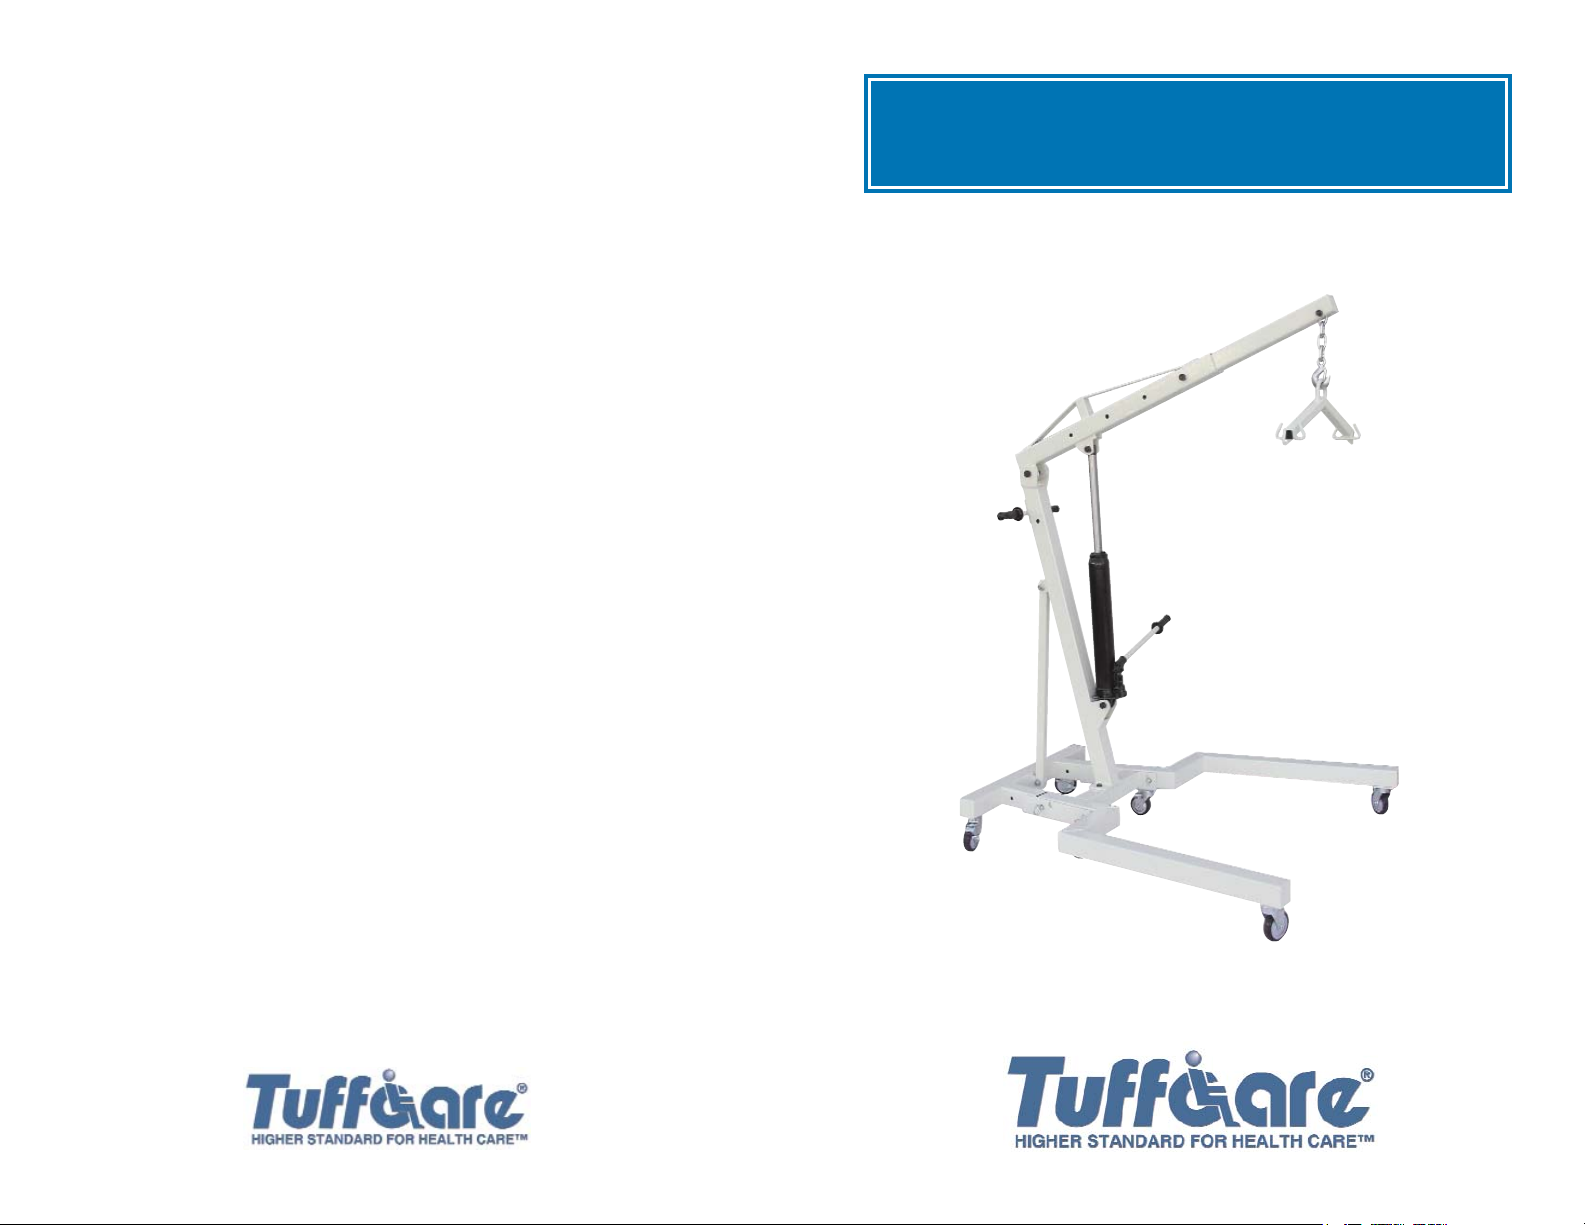
Bariatric Patient Lifter
Rhino P500

T
T
ABLE OF
ABLE OF
CONTENTS
CONTENTS
Forward ............................................................ 2
Safety Precautions.............................................. 2
P500 Layout........................................................ 3
Assembly Instructions ................................. 4 - 5
Operation Instructions ...................................... 6
Rising and Lowering the lifter .................... 7
Transferring Patient from Bed..................... 8
Returning patient to Bed .............................. 9
Transfer Patient in Lifter.............................. 9
Transfer Patient from Wheelchair ............ 10
Transfer Patient to wheelchair .................. 10
Raise the Patient from the Floor................ 11
Lower the Patient to the Floor .................. 11
Transfer from and to Automobile .............. 12
Transfer to Automobile .............................. 12
Maintenance .................................................... 13
Warranty Information .................................... 14
- 14 -
Limited Warranty
The warranty below has been drafted to comply with Federal Law applicable to
products manufactured after July 4, 1975. This warranty is extended only
to the original purchaser/consumer (or dealer non-consumer who does not
buy for resale).
Tuffcare® warrants that it's proprietary Rhino Series patient lifters will be
free from defective workmanship and materials for a period of one (1)
years following the date of original manufacture with the following exceptions:
All welds are warranted for the life of the p
atient lifter
. Electronics on
the lifter are warranted for one (1) year. The warranty period commences
on the original manufacture date. If within such warranty period any such
product proven to Tuffcare® satisfaction to be defective, such product will
be repaired or replaced at Tuffcare® option.
Tuffcare® sole obligation and your exclusive remedy under this warranty
shall be limited to such repair and/or replacement. This warranty does not
include any labor charges incurred in replacement parts instillation. Freight
charges to the factory are at the expense of the consumer or seller. Return
freight charges will be prepaid by Tuffcare®. For warranty service, please
contact the authorized dealer from whom you purchased your Tuffcare®
products. In the event that you do not receive satisfactory warranty service,
please write directly to Tuffcare®. DO NOT RETURN PRODUCTS WITHOUT
PRIOR AUTHORIZATION.
LIMITATIONS AND EXCLUSIONS: The foregoing warranty shall not apply
to products subjected to negligence, abuse, misuse, improper operation,
improper maintenance, improper storage or damages beyond Tuffcare®
control. The evaluation will be solely determined by Tuffcare®. The warranty
shall not apply to problems arising from normal wear, or failure to follow
instructions, or if parts are not manufactured by Tuffcare®, or not comply
with original equipment specifications that are added to Tuffcare® product.
THE FOREGOING WARRANTY IS EXCLUSIVE AND IN LIEU OF ALL
OTHER WARRANTIES, INCLUDING BUT NOT LIMITED TO THE IMPLIED
WARRANTIES OF MERCHANTABILITY AND FITNESS FOR A PARTICULAR
PURPOSE AND SHALL NOT EXTEND BEYOND THE DURATION OF THE
EXPRESS WARRANTY PROVIDED HEREIN. TUFFCARE® SHALL NOT
BE LIABLE FOR ANY CONSEQUENTIAL OR INCIDENTAL DAMAGES
WHATSOEVER.
This warranty gives you specific rights and you may also have other legal
rights which very from state to state. Some states do not allow the exclusion
or limitations of incidental or consequential damage, or limitation on how
long an implied warranty lasts, therefore, the above exclusion and limitation
may not apply to you.
- 1 -

- 13 -
FOR
FORWW
ARD
ARD
*
Do not operate your lifter unit until you read and fully understand
this manual.
*
Do not operate your Rhino lifter until it is fully assembled and
checked.
*
Do not attempt to lift objects with the lifter. The lifter is designed
solely for transferring patients.
*
Adjust the sling properly, position patients so their knees are
slightly above their waist and the weight centered in the middle.
*
Do not transfer patients over shag or deep pile carpeting, thresholds,
unpaved surfaces, outdoors or any other obstructions that can cause
wheel stoppage and the lifter to tip over.
*
Do not transfer patients on the lifter to go up or down a deep slop.
*
Do not lock the rear brakes or block the wheels when lifting patient.
All four wheels must be free to roll and allow the lifter to center
itself beneath the patient.
*
Do not exceed the maximum weight capacity of the lifter.
Do not modify or replace parts with other than those manufactured
by TUFFCARE.
- 2 -
MAINTENANCE
MAINTENANCE
1. Clean patient lifter regularly with non abrasive cleaners.
2. Check monthly that all screws are tight and have not loosened.
3. Inspect monthly for signs of leakage on hydraulic ram-jack and
nicks or scratches on the lifting rod.
4. Check monthly for cut or exposed wires on the electrical
components of the motorize patient lifter.
5. Lubricate the rod on the hydraulic ram-jack or the actuator every
three month to ensure smoothness when lifting.
6. Make sure all rubber tips and ends are in good condition for use.
Congratulations on your purchase of a TUFFCARE Rhino series patient
lifter! Our Rhino lifter's are engineered and designed with durability and
easy maintenance in mind.
Rhino lifters allow patients to be lifted and transferred with minimum
effort. Before attempting to lift anyone please become familiar with
using the lifter.
Read through this manual and get acquainted with your patient lifter.
Follow the maintenance schedule to ensure proper function of your unit.
SAFETY
SAFETY
PRECAUTIONS
PRECAUTIONS

- 3 -
A. BOOM H. FRONT CASTER
B. BOOM EXTENSION I. BASE EXTENSION LEG
C. PUSH HANDLE J. RELEASE KNOB
D. SUPPORT K. JACK HANDLE
E. BASE L. HYDRAULIC RAM
F. LOCKING CASTER M. CRADLE
G. ROLLER SHAFT N. HOOK
- 12 -
A
C
N
L
E
Hydraulic Fixed Base Lifter
RHINO P500 LA
RHINO P500 LA
YOUT
YOUT
Transfer
from Automobile
1. Park the automobile on a flat, smooth surface. Open the car door all
the way.
2. Set a folded sling under the patient's back until the bottom of the
sling touches the auto seat. Lift the patient's thighs and pass the
end loops under the patient's legs. Cross the loops.
3. Lower the lifter's top bar so the cradle can clear the top of the
door. Move lifter closer to auto so the loops on the sling can be
attached to the hooks on the cradle.
4. Raise the lifter slowly and move the lifter back inch at a time.
Repeat the process a few times until the patient's weight is rested
on the sling.
5. Move lifter away from the car and rotate sling so that patient is
facing the attendant.
Transfer to Automobile
1. Push the lifter towards the car door. Approach car with patient’s
back to car seat.
2. Lean patient forward and adjust the sling to correct height so the
head will clear car door. Continue to move the lifter forward until
patient is inside the car.
3. Lift the patient's feet and legs inside the door and face the patient
to the front of the car.
4. Slowly lower the lifter until the patient's weight is rested on the car
seat. Remove the sling from patient or leave it behind patient for
transferring out of car when reach destination. The lifter can be
disassembled and placed in a car trunk.
B
C
F
G
D
I
I
J
K
M
H

- 11 -
- 4 -
ASSEMBL
ASSEMBLYY
INSTRUCTIONS
INSTRUCTIONS
Raise the Patient from the floor
1. Roll the patient on the side and place the sling under the patient.
2. Move the lifter over the patient. Next place 1 or 2 pillows beneath
the patient's head and shoulders, preventing any possible strain or
injury when lifting the patient.
3. Lower the lifter so the loops on the sling can reach the hooks on
the lifter bar, attach the loops.
4. Lift the patient off the floor. Turn the cradle so the patient is facing
towards the upright bar. Rest the patient's legs on the base of
the lifter.
Lower
the Patient to the floor
1. Before lowering patient, the
patient should be centered in
the sling.
2. Place a few pillows on the base
of the lifter, to prevent the
patient from hitting the base.
Then slowly lower the sling to
the floor. While lowering make
sure the pillows are beneath the
patient's head.
A. Please carefully unpack the container and remove the patient Lifter
from the shipping carton.
B. Inspect the packaging, make sure there's no shipping damage and
all the components are in the shipping carton.
C. Assistance is needed and highly recommended due to the heavy
weight of parts in completing the final assembly.
1. Pull out upper Pinlock.
2. Remove upper Roller Shaft.
3. Carefully lay Base Extension Leg on the floor.
CAUTION: Keep fingers away from the moving components when
lowering down Base Extension Legs.
Figure 2
Figure 1

4. Insert Roller Shaft to secure Extension Leg.
5. Insert Pinlock to secure Roller Shaft.
6. Repeat step 1 to 5 for the other leg.
7. Depend on the desired weight to be lifted, please select the
proper lift limit.
- 10 -
- 5 -
ASSEMBL
ASSEMBLYY
INSTRUCTIONS
INSTRUCTIONS
Figure 5
Figure 4
Max 800 lbs
Max 1200 lbs
Max 1000 lbs
Transferring Patient from Wheelchair
1. Secure the wheelchair from rolling back by engaging both wheel
locks on the wheelchair. Have the sling folded as in Page 11
2. Lean patient forward and set the folded sling behind the patient’s
back. Set the sling as far down as possible until it touches the back
of the wheelchair seat.
3. Open the sling, pull the button loop section of the sling under
patient’s thighs then cross the loops
4. Move the lifter over the wheelchair and attach the loops to the
cradle hooks. Then slowly raise the patient above the seat.
Transferring Patient to
Wheelchair
1. Fist lock both brakes on the
wheelchair. Position the lifter
over the wheelchair to center
the wheelchair seat.
2. Lower the lifter slowly and while
descending, guide the patient into
the chair by pushing on the knees
until the patient has achieved in a
comfortable sitting position.
3. Detach the sling seat and roll the
patient lifter away. Then remove
the sling seat under the patient.

- 9 -
- 6 -
For safety and security of the patient, please READ carefully all of the
instructions before operating.
The attendant responsible for using the patient lifter should be thoroughly
familiar with its operation. Since no patients are alike, care and discretion
should be used to produce the most effective, safe and labor saving
method of handling patient.
For adjustable base lifters, the legs of the base should always be widened
to insure proper stability and balance. The narrow position is only used
for moving the unit through narrow passages, such as doorways.
Remember that the patient lifter is used for transferring patients only,
not transporting.
To set the U-style sling under patient first fold it as shown.
OPERA
OPERA
TING
TING
INSTRUCTIONS
INSTRUCTIONS
A
C
D
B
Returning Patient to Bed
1. Raise the lifter until the patient's buttocks is above the mattress.
If the patient can not be lifted above the bed try to lower the bed
height, do not push or pull patient onto bed. This may tip over the
lifter or injure the patient.
2. Move the lifter over the bed until the patient is approximately in the
center. Lift the patient's feet and legs onto the bed. Gently rotate
the patient to face end of the bed and slowly lower the patient onto
the bed.
Transfer Patient in lifter
1. When wheeling patients in the
lifter try to keep the patient as
low as possible. Keeping the
center of gravity low to the
ground to avoid tipping over.
Have the patient's feet rest on
the base of the lifter. The patient
must face the attendant at all
times.
2. Push the lifter by grabbing on the
the push handles. Do not attempt
to go over deep carpet, small
objects or unpaved surfaces. Do
not try to go up or down a slop
over 5% or one that's over the
attendant's ability to handle.

- 8 -
- 7 -
Raising and Lowering the Lifter
Before attempting to raise the patient, be sure that the patient is seated
comfortably and properly, the loops on the sling are hooked correctly.
Make sure that all the attachments are secure. Keep the base legs
widened.
Turn the knob on the release valve clockwise all the way. .Firmly tighten
the knob. Use jack handle to pump the hydraulic ram-jack with full
strokes, the cradle will raise slowly with every stroke. If the release valve
is not securely tight the unit will not lift. To lower the patient, gently
release the valve by turning it counter clockwise. The rate of a patient's
descent is determined by how quickly the knob is turned and the amount
of pressure released
IMPORTANT - Do not turn the knob too quickly or too far,
otherwise the patient will rapidly descend.
Transferring Patient fr
om Bed
1. Carefully and gently roll the patient on their side. The sling seat
should be folded lengthwise and placed under the patient so that the
lower edge of the seat is slightly below the back.
2. Now roll the patient back onto their other side and pull the sling
seat so that it unfolds under the patient. Then pull the leg loops
forward and under the patients thighs. The loops should come
through the patients legs. Then cross the loops.
3. Roll the base of the patient lifter over the bed as far as possible so
that the cradle is directly over the patient. Lower the top bar and
attach the loops on the sling to the hooks of the cradle.
4. Elevate the patient into a upright position by rising the head of
the bed or by using pillows.
5 Make sure the parking brake is not set. It will allow the lift to
center itself beneath the patient.
6. Raise the patient, make sure the patient is in a safe sitting
position as the lifter rises.
7. As the patient is being raised, the cradle will level the patient
into a seated position. Raise the patient until buttocks are just
above the mattress. Rotate the patient to face lifter so the legs
dangle off side of the bed.
8. Transfer the patient to wheelchair or other transport device by
holding onto the push handles.
 Loading...