

Tucker GTR Assembly & Instruction Manual
TUCKER GTR CABINET
ASSEMBLY INSTRUCTION MANUAL
IMPORTANT
Read all instructions before you assemble, install or operate this
appliance.
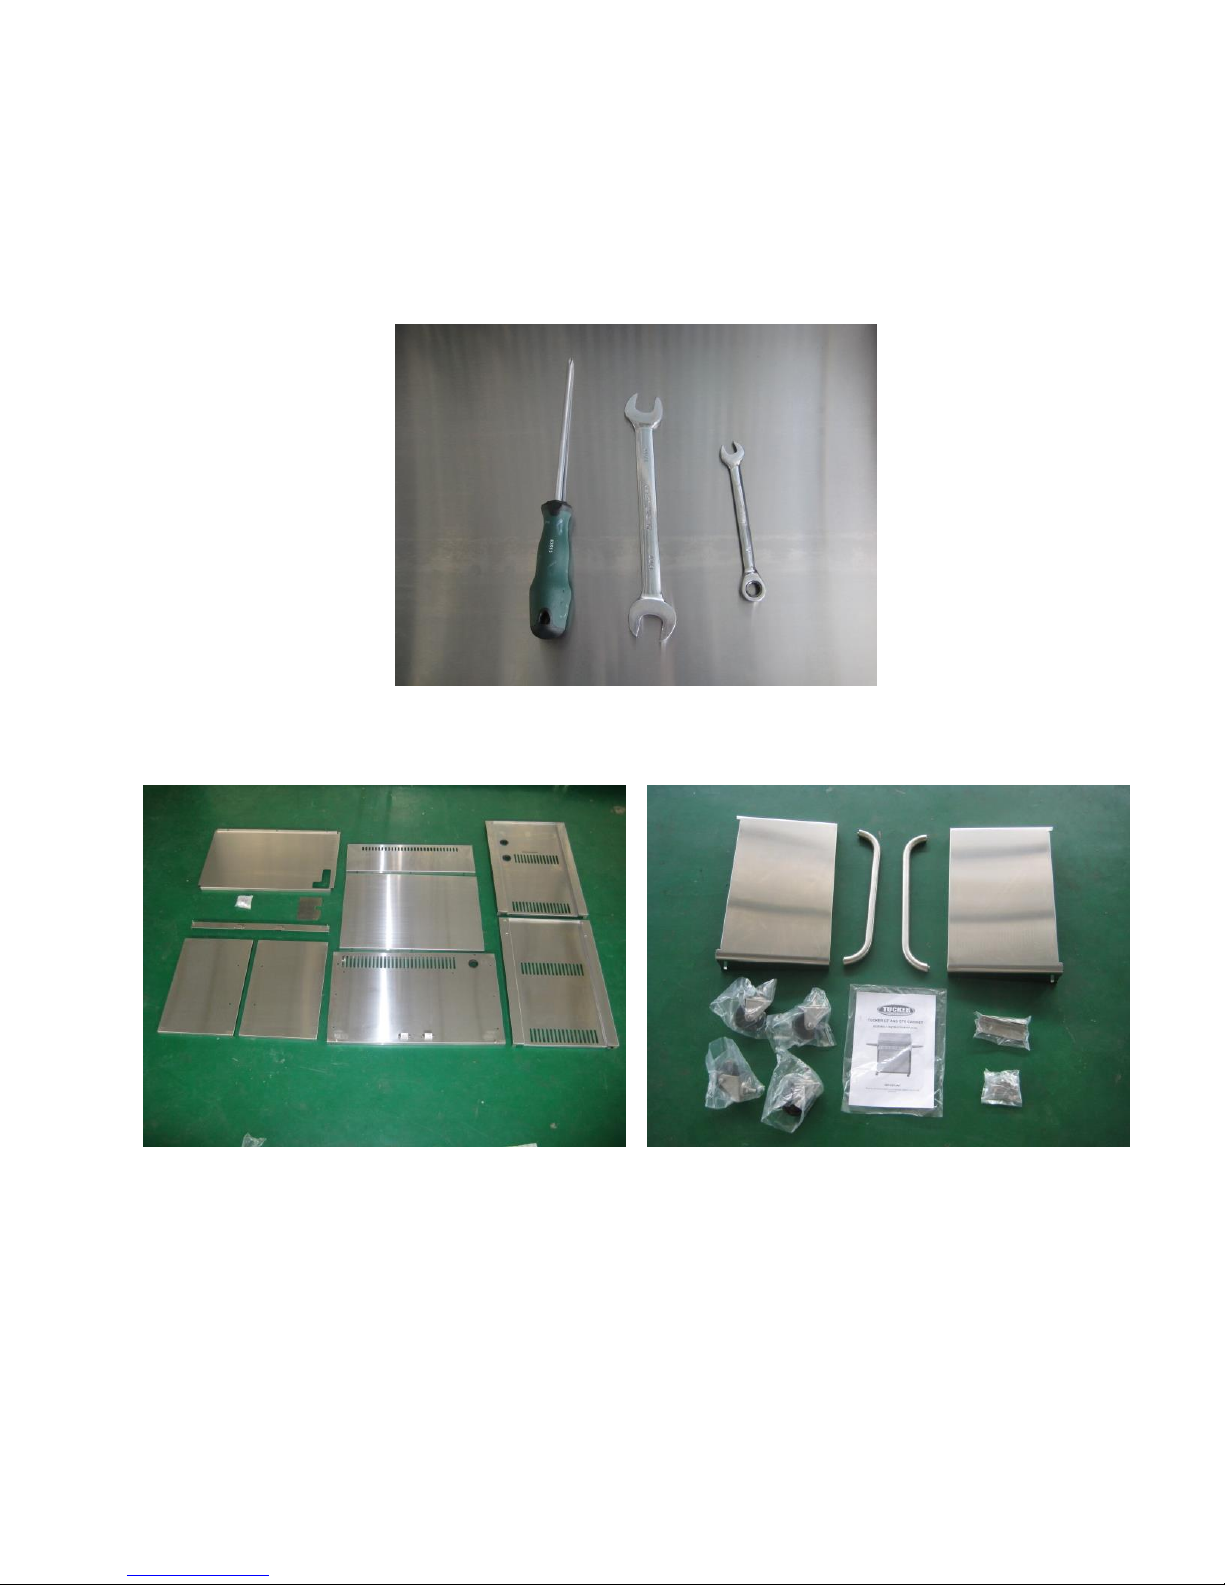
TOOLS REQUIRED FOR ASSEMBLY
8, 10 and 17 mm spanners and a Phillips head screw driver.
PARTS LIST
1 x Cabinet base plate
4 x casters
2 x rear cabinet back panels (1 x large, 1x small )
2 x cabinet side panels,
1 x cabinet top panel and hose cover plate with 2 nuts and bolts.
1 x door top fascia panel
2 x doors (4,5,6 burner models)
28 x bolts and nuts
(1 x front middle fascia panel for 6 burner model only)
(1 x door 3 burner model)
4 x serving shelf attachment brackets and 8 x 35 mm bolts (used when
bolting barbecue to cabinet)
2 x serving shelves and 4 x 15mm bolts, spacers, washers and lock
nuts
2 x serving shelf handles and 4 x nuts to attach them.
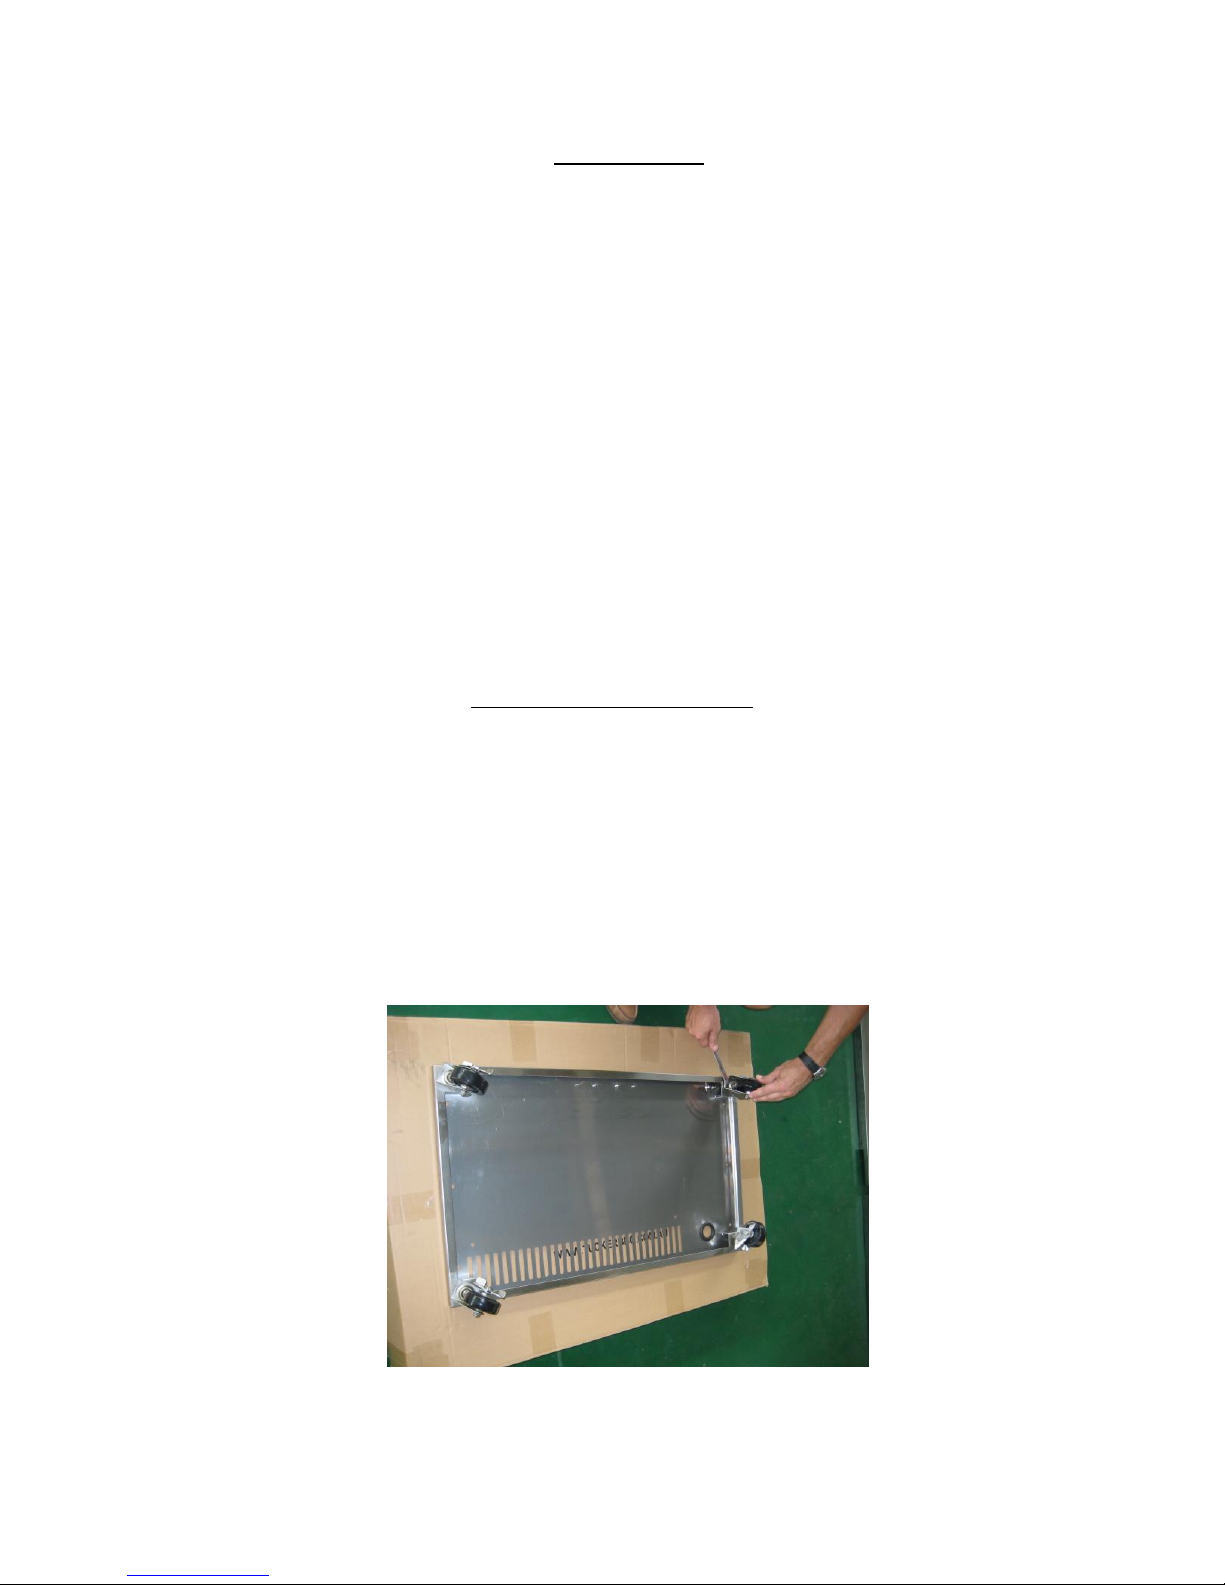
ASSEMLY INSTRUCTIONS
1. Remove any wrapping, cable ties or coatings from components.
2. Ensure you have all the correct components for the cabinet assembly.
Note: For ease of assembly, attach all nuts and bolts loosely before
tightening them firmly on cabinet.
3. Bolt the 4 castors to the base plate with a 17mm spanner.
4. Bolt one side panel to the base plate.
 Loading...