

TT MediTrade Kikuhime Instruction Manual
Item no. KKH-015 Issue 07
Type HPM –KH-01
Power On / Off
Hold button Freeze the measuring result
Pressure range 0—120mmHg
Times of indicat. Approx. . 3 times pr second
Function Automatic power off after 3 minutes
Precision +/- 8mmHg
Battery Use only ER6VM batteries (use of other type may cause
shortage of voltage, resulting in abnormal operation.
Maintenance If stained, wipe with a damp cloth, which has been
soaked in neutral detergent. Do not use benzine.
Sensors: To be
cleaned with alcohol
on- ly.
Warning:
Guarantee: Free replacement within 2 years of delivery (Sensors only
Type B Applied Part
Avoid opening the battery compartment on Kikuhime’s
backside. In case of need for battery exchange, please
return instrument to TT-Meditrade.
Instruction manual
For
Kikuhime
Subbandage & Body Pressure
Measuring Device
TT MediTrade
Søleddet 15, DK 4180 Sorø
Tlf.: +45 57822017 Fax: +45
57832517
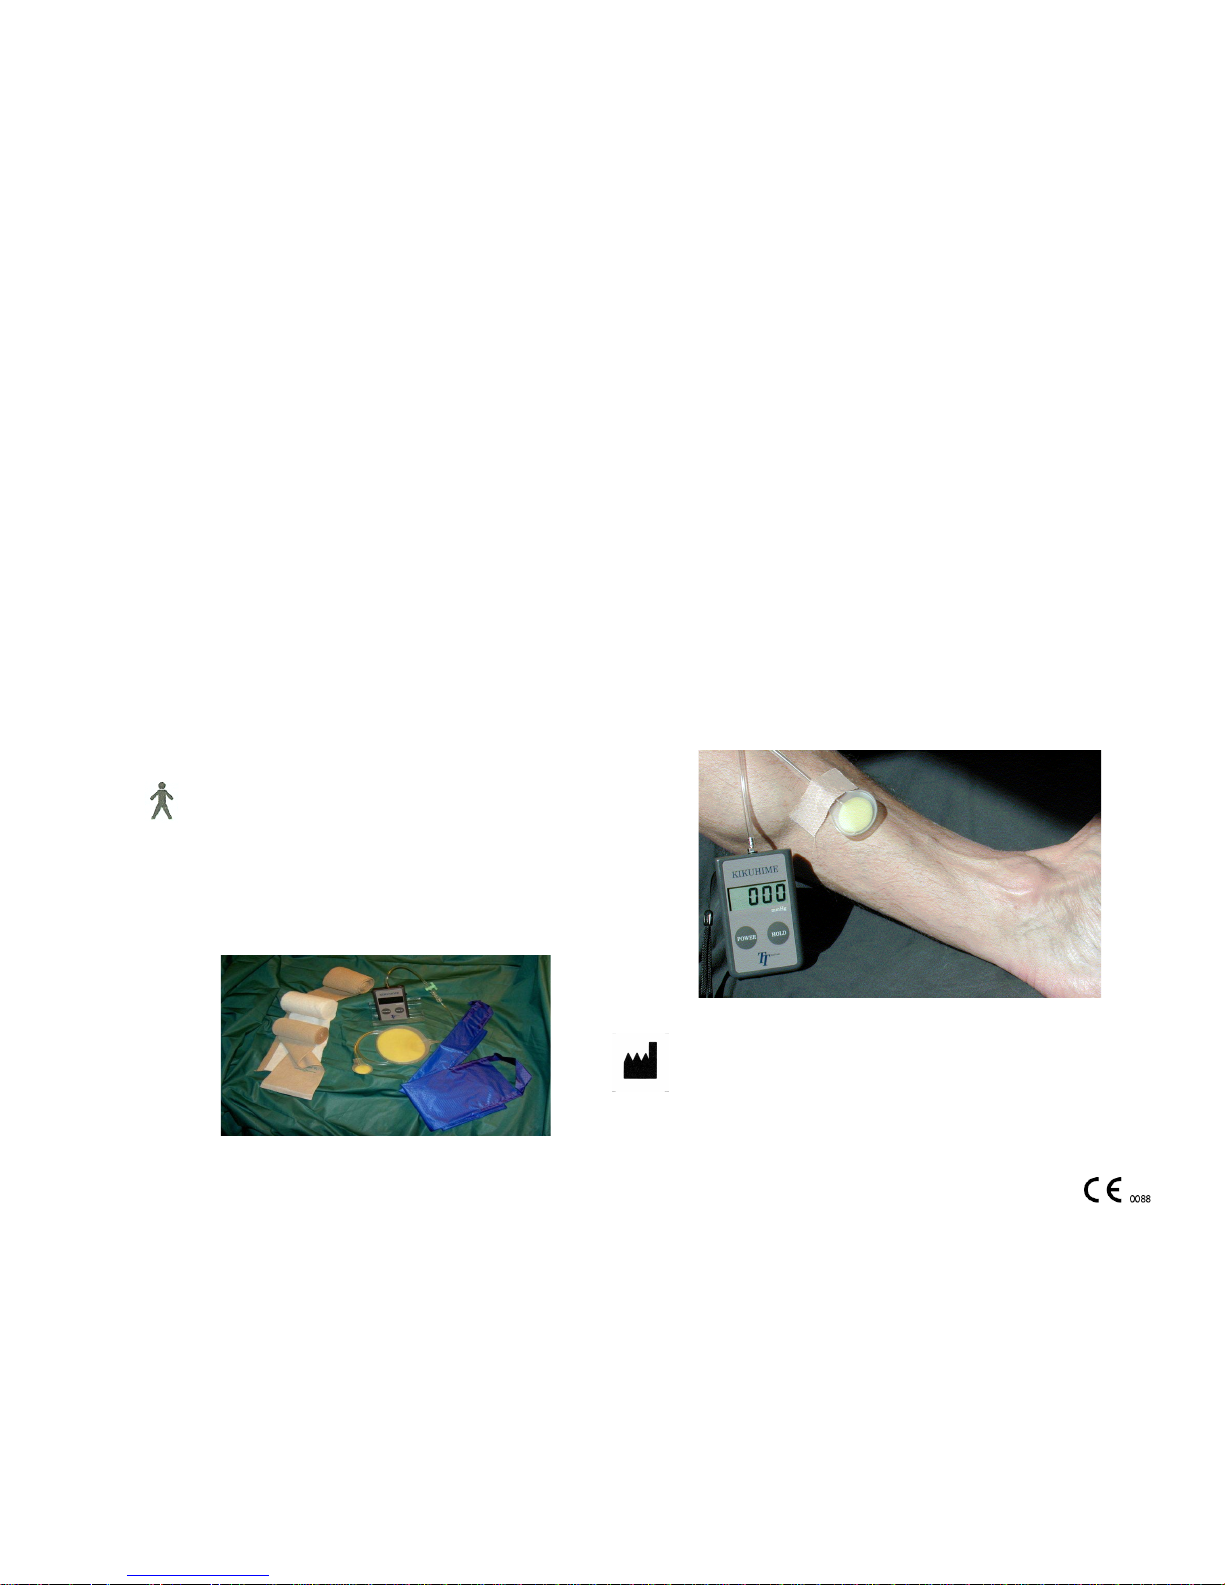
The Kikuhime kit contains:
1 Kikuhime pressure meter
1 Small & large sensor
1 Screwdriver for calibration
1 Easy Glide with handle
1 Bag
Calibration
Due to changes in the atmospheric pressure, the meter must be calibrated if the value on the display
is more than +/- 1mmHg
To performing a 0mmHg calibration,- turn on the meter before connection the tubes.
Push the button “Power”.
Check the pressure indications to be +/- 000. on the display. The adjustment screw is located
on top of the meter, (Fig 2)
If adjustment is needed, use the small yellow screwdriver and turn the adjustment screw only
few mm until 0 mmHg is displayed. The meter is now calibrated . Screw very carefully .
Connecting the meter
1. Connect the tube with the 3-way valve to the meter (Fig 1)
2. Connect the chosen sensor (balloon) to the 3-way valve by use of the Luer Lock
3. Turn the 3-way valve to
closed position (Fig 3) Now
the meter is ready for use.
.
The "HOLD” button is "freezing” the measuring results.
Scope of application
Measuring the Subbandage Pressure under compression bandages and elastic stocking
Example: Training of new wound healing staff.
If new wound healing staff has doubts as to the application of the bandage, check the subbandage pressure.
A pedagogical method of showing the patient how the subbandage pressure changes when walking - motivation
for exercising the calf muscle (the muscle venous pump).
Verification of different subbandage pressures at the malleolus and behind the malleolus - reason for using pads.
How to check elastic stockings, e.g. in connection wi th follow-up visits/ aftercare (prevention of new venous leg
ulcers).
Application of the large sensor
Subbandage pressure measuring under compression bandages, Ex.: Training new nursing staff, Validating
subbandage pressure if new nursing staff is uncertain. Ped agogical method to show the patient how subbandage
pressure changes during time, -motivate for exercise of the calf muscle (muscle-vein pump). Verifying of
different subbandage pressure on the malleolus and behind malleolus. - reasons for training of new nursing staff.
.
Application of compression bandage with Easy Glide
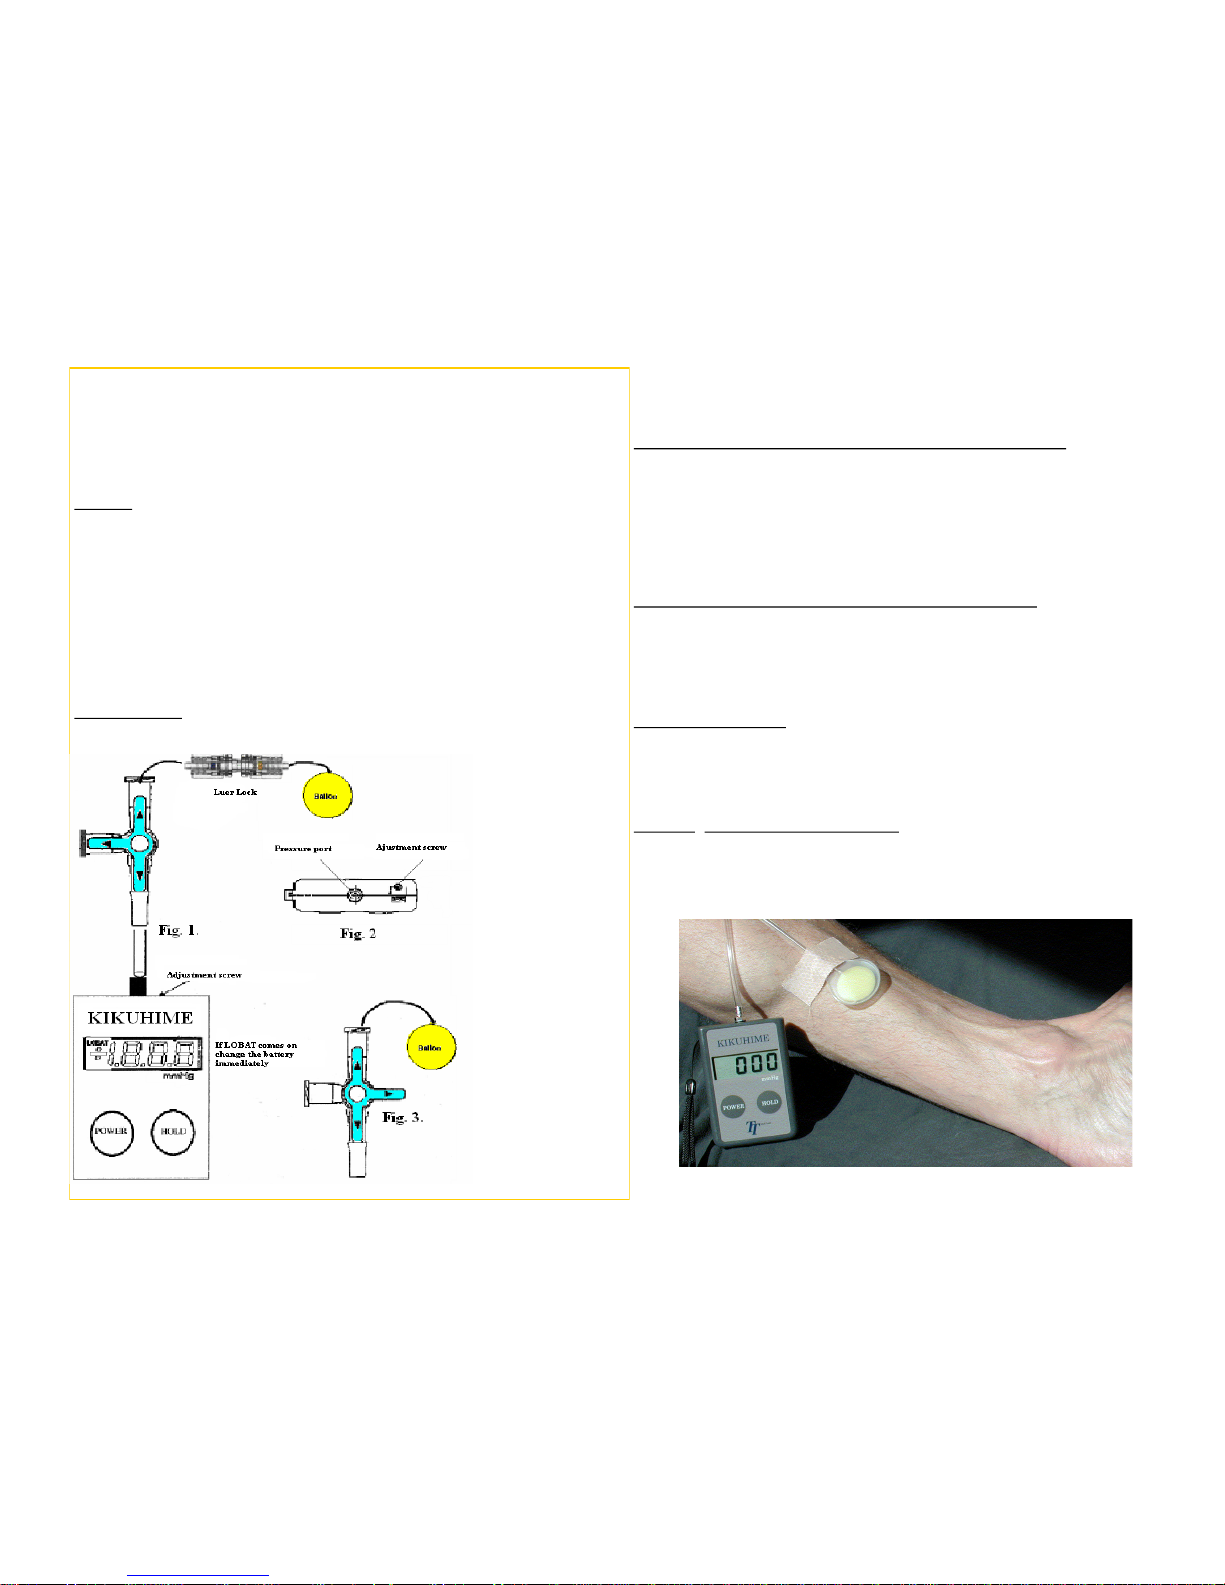
Place the sensor 2 cm from the button of the folded Easy Glide at ankle level (If possible ask the patient to hold
the Easy Glide and tube at the knee).
Perform the application of the compression bandage as usual. Check the subbandage pressure at ankle level on
the Display. When done, remove the sensor buy pulling the tube and outer layer of the Easy Gli de at the same
time. Check the pres-
sure j ust below the
knee to ensure a gradu-
ated compression.
Correct placement of the sensor.
Application of compression bandage with Easy Glide with handle (Small sensor).
Place the sensor inside the Easy Glide with handle ,1 cm from the bottom.
Place the Easy Glide at ankle level. Perform the application of the compression bandage as usual.
Check the subbandage pressure at ankle level. Remove the sensor by pulling the tube and the Easy Glide.
 Loading...