

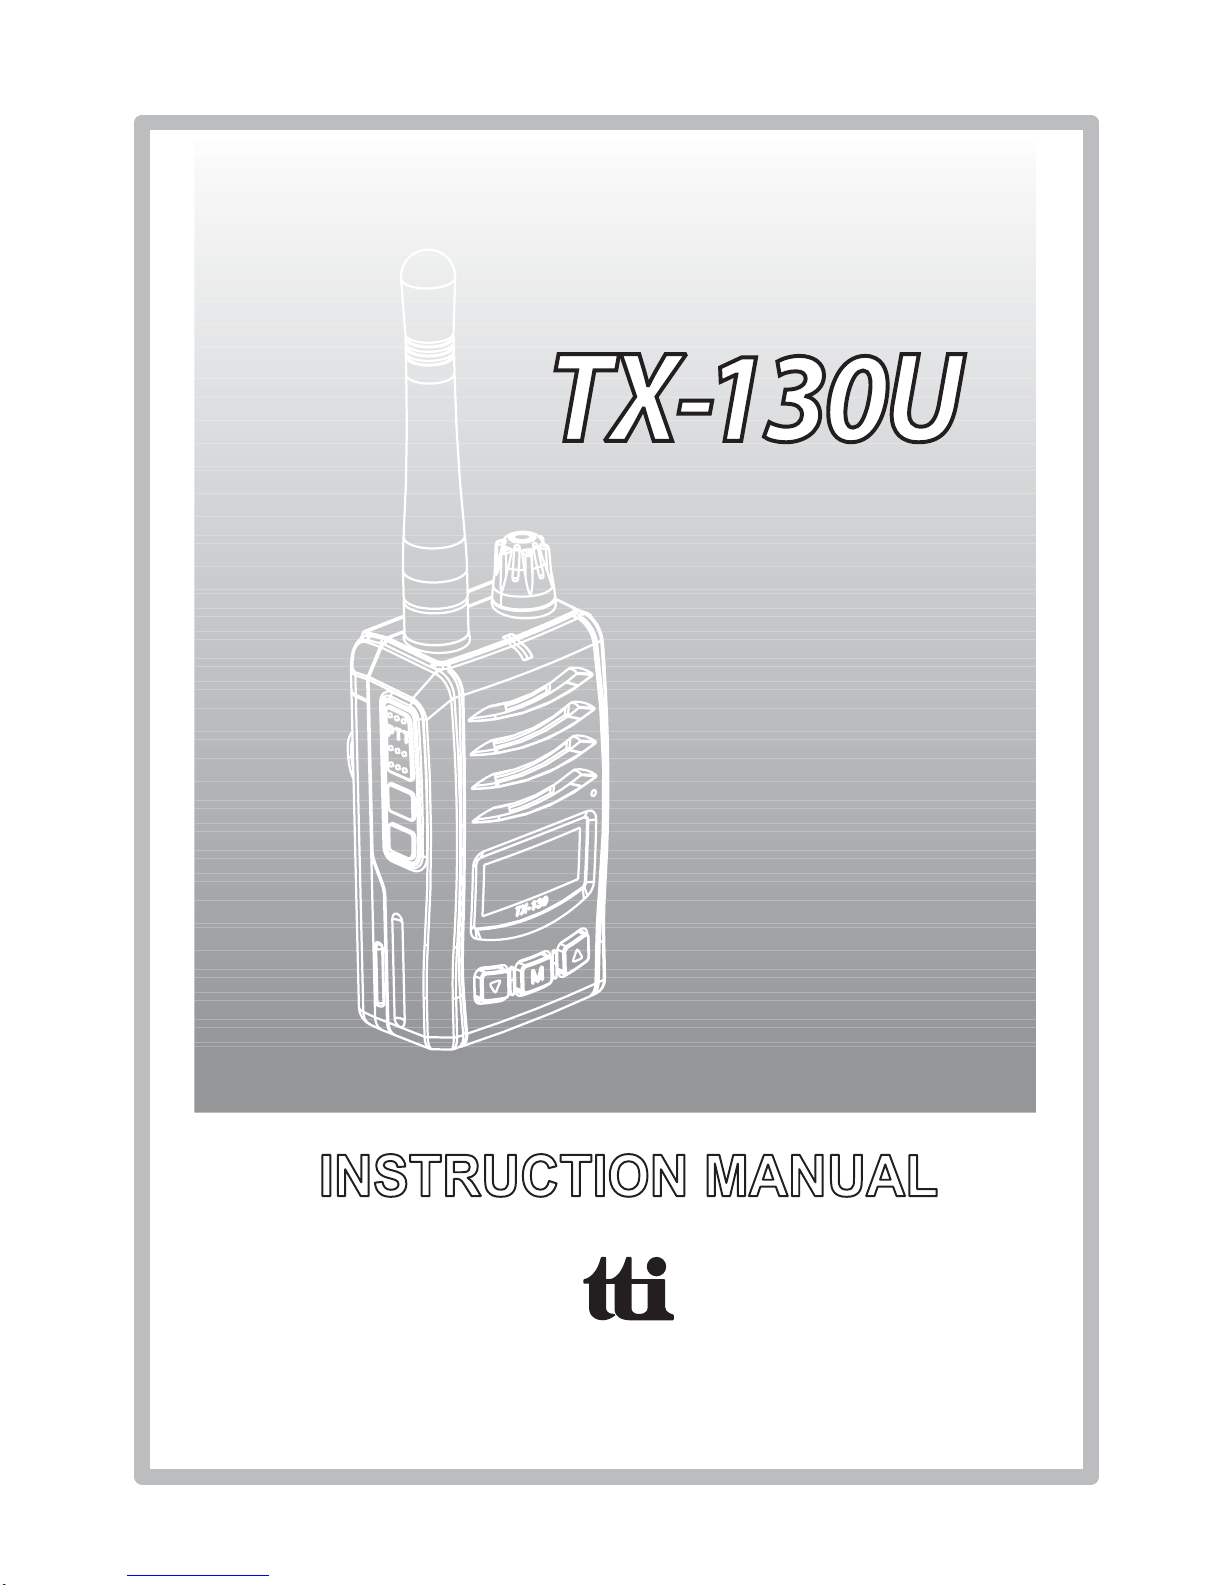
TTikorea TX-130U Instruction Manual
www.ttikorea.co.kr
PMR446 TRANCEIVER


Thank you for purchasing this radio.
All our products are built to offer excellent
value by combining advanced features,
great design and manufacturing quality.
To ensure you are familiar with the operation
and features of your radio, and in order to
obtain the best performance, please read
this manual carefully before operation.

Contents
Caution .............................................................................
1.Radio Controls ...............................................................
2. Equipment and Accessories Supplied ..........................
3. Fitting the Battery pack .................................................
4. Battery Charging ...........................................................
5. Radio Controls
1. Power On/Off/Volume Control ................................
2. Push-To-Talk (PTT) Button ...................................
3. Monitor/Lock Button ..............................................
4. Scan Memory/Scan Button ..................................
5. Down Button ..........................................................
6. Menu(Mode) Button ............................................
7. Up Button
6. LCD Display ..................................................................
7. Menu mode ...................................................................
8. Basic Radio Operation ..................................................
9. Radio Features Explained ............................................
10. Radio Cloning
11. Radio ID Editing ..........................................................
12. Troubleshooting .........................................................
13. CE Declaration ........................................................
14. Safety Requirements ..............................................
15. Technical Specifications ...........................................
..............................................................
............................................................
16. Declaration of Conformity ...........................................
5
6
7
7
8
9
9
9
9
10
10
10
11
12
13
14
19
20
20
21
21
22
ENGLISH
24

TX-130U
5
Caution
IMPORTANT - READ ALL INSTRUCTIONS carefully and completely
before operating your radio and retain this manual for future reference.
NEVER connect the radio to a power source other than the supplied
battery. This may damage your product.
NEVER operate your radio with the antenna less than 5cm from
exposed parts of the body.
NEVER use the radio in or near a mining facility or other area which
uses remotely triggered explosives or an area labelled "Blasting Area".
NEVER
use or charge your radio in a potentially explosive atmosphere.
DO NOT place your radio in front of a vehicle airbag.
DO NOT operate your radio on board an aircraft.
DO NOT use your radio with a damaged antenna.
DO NOT attempt to modify your radio in any way.
ALWAYS charge your radio at normal room temperature.
ALWAYS switch off your radio where notices restrict the use of
two-way radio or mobile telephones.
ALWAYS replace the accessory jack cover (if applicable) when
the jack is not in use.
ONLY use TTI approved rechargeable batteries with the supplied charger.
AVOID charging your radio or battery pack while it is wet.
AVOID storing or charging your radio in direct sunlight.
AVOID storing or using your radio where temperatures are below
-20or above +60
ENGLISH
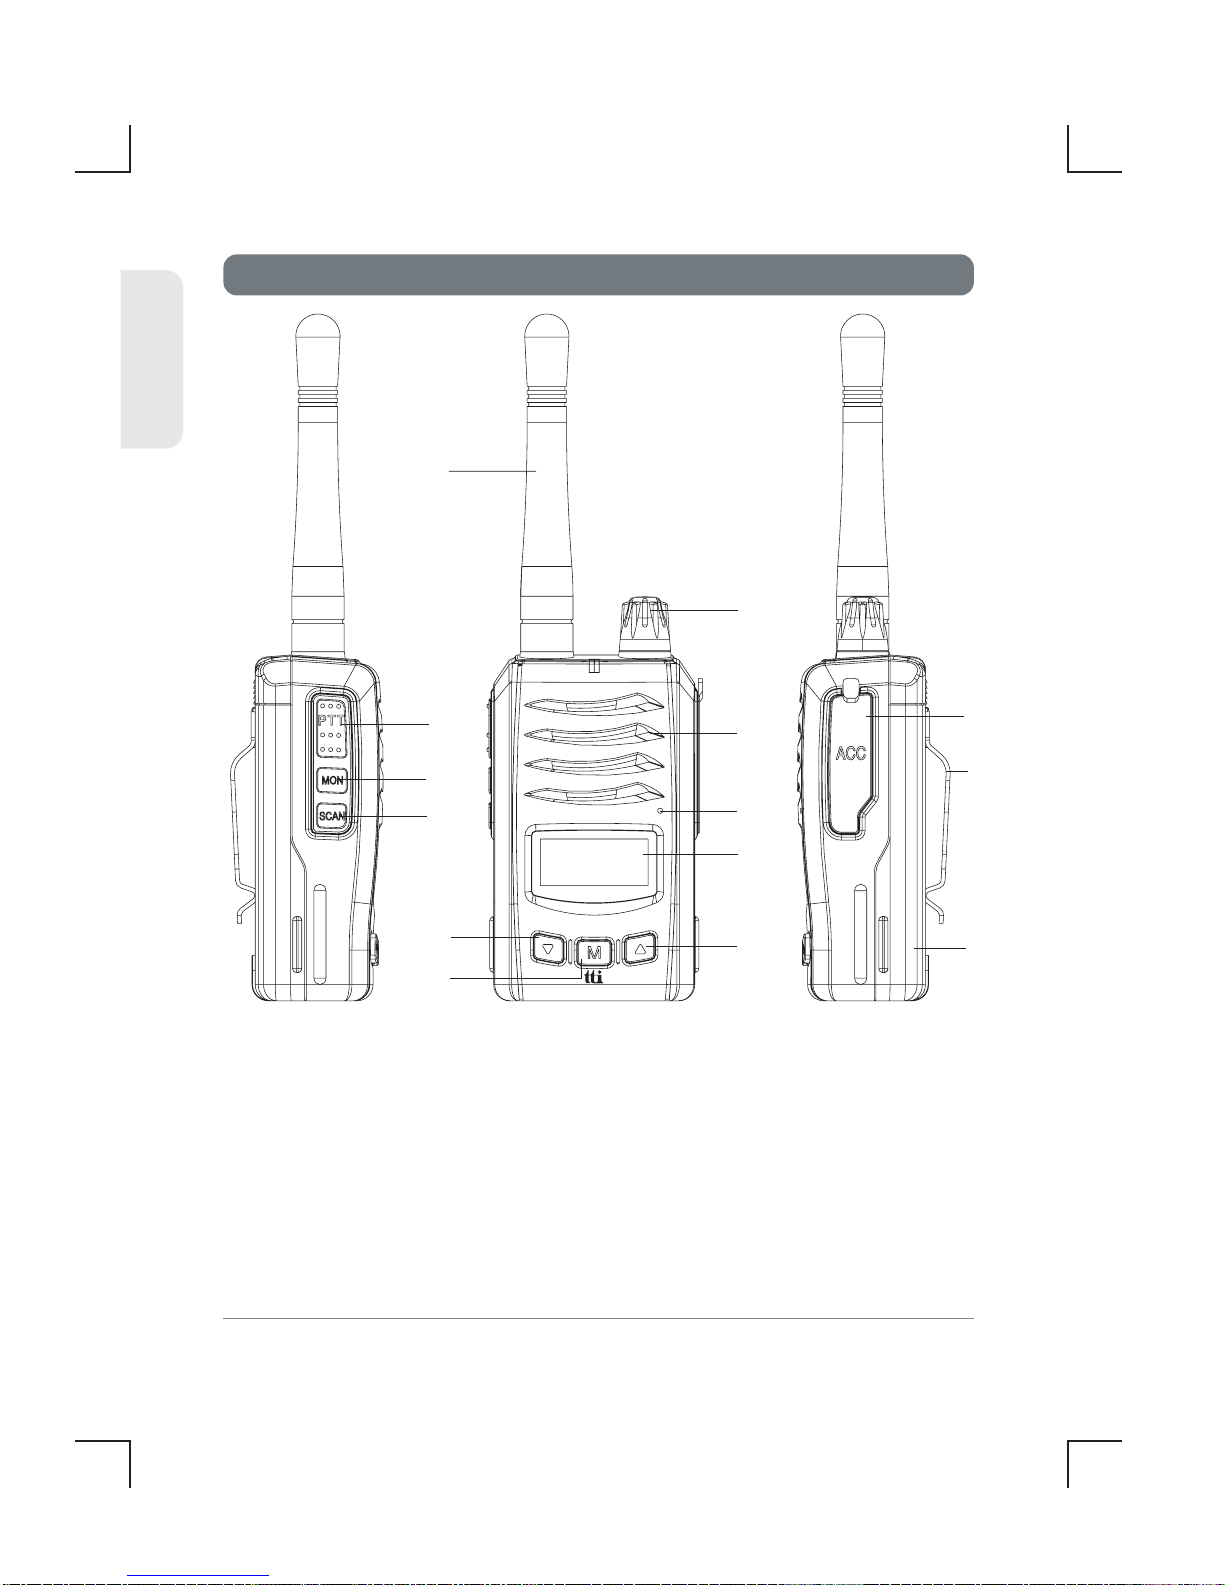
1.Radio Controls
6
TX-130U
ENGLISH
ྙ Antenna
ྚ Power On/Off & Volume
ྛ Speaker
ྜ Microphone
ྜྷ LCD
ྞ DOWN Button
ྟ Menu button
ྠ UP Button
ྡ PTT Button
ྡྷ Monitor/Lock Button
ྣ Scan Memory/Scan
ྤ Accessory Jack
ྥ Belt Clip
ྦ Battery Pack
TX-130U
ⴗ
ⴡ
ⴢ
ⴣ
ⴘ
ⴙ
ⴠ
ⴤ
ⴚ
ⴛ
ⴜ
ⴝ
ⴞ
ⴟ
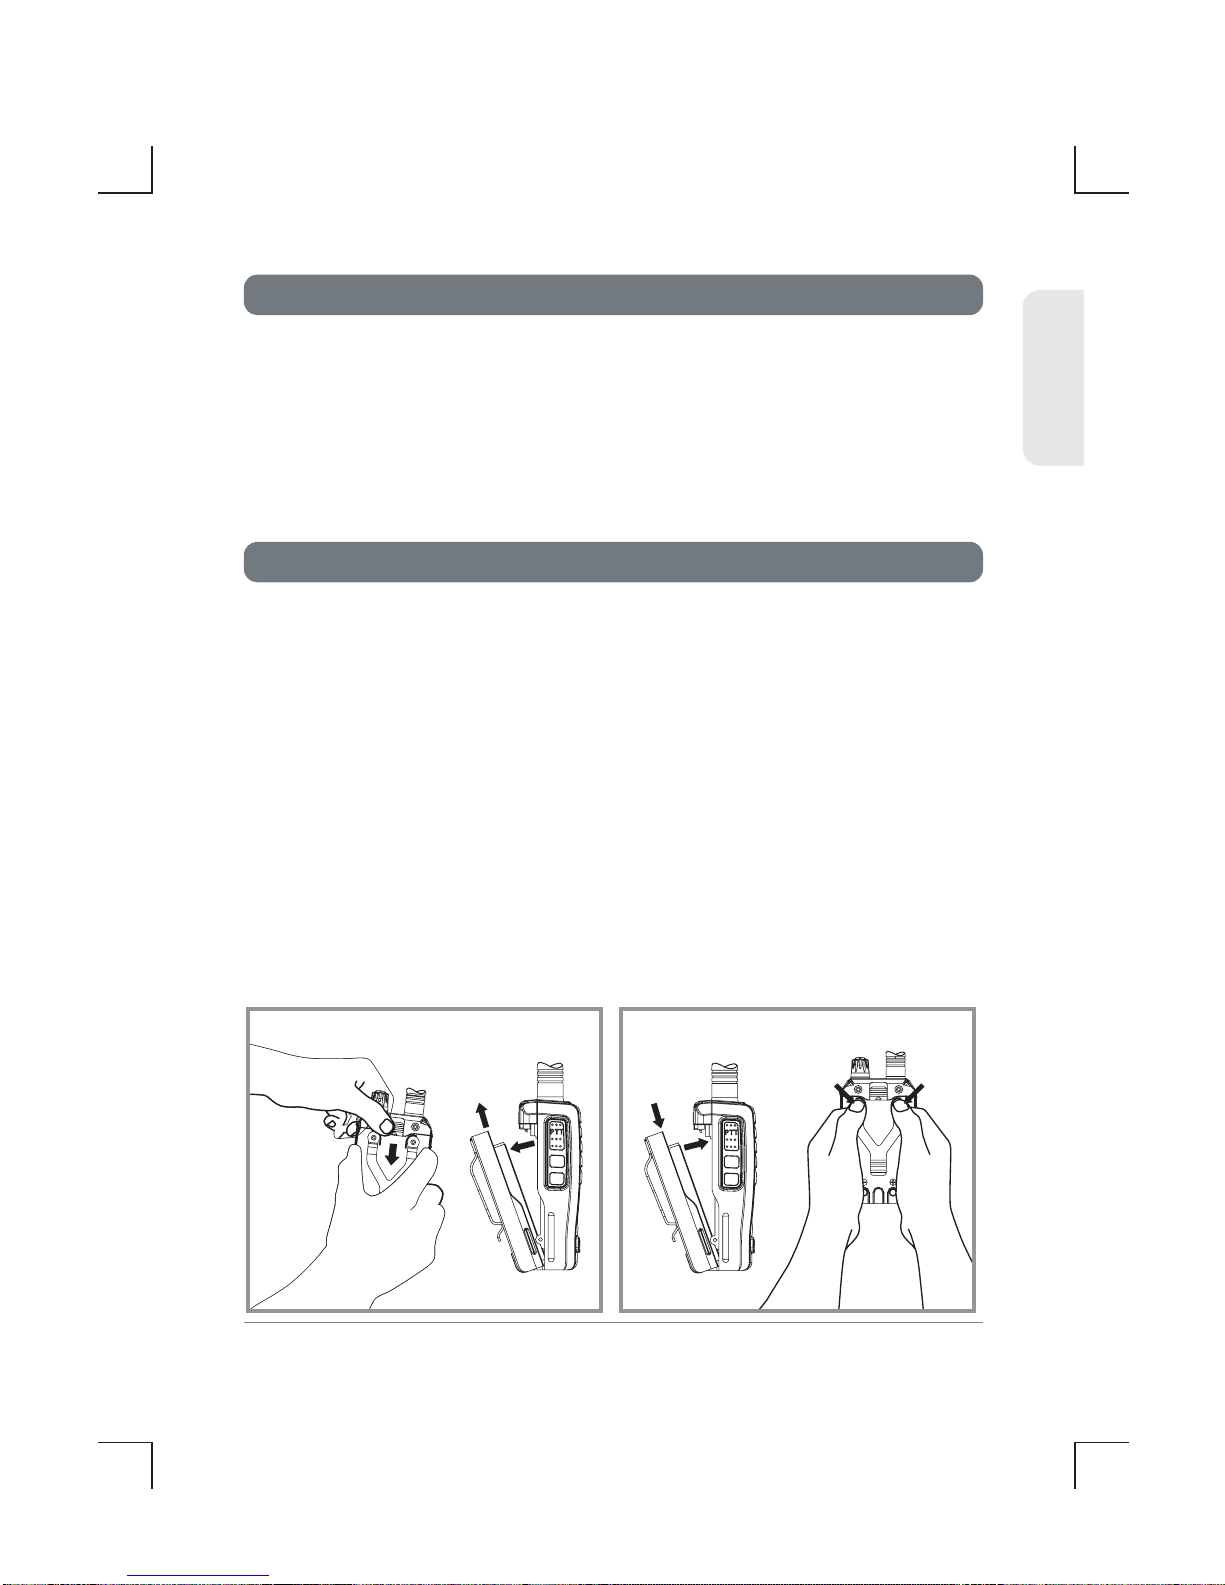
1. Ensure that your radio is switched off.
2. Align the bottom of the battery pack with the securing slots
at the back of the radio.
3. Press the top of the battery into the back of the radio until
it “clicks” home.
1. Ensure that your radio is switched off.
2. Press down on the battery release catch and seperate the
battery pack from the radio.
1.
TX-130U Radio with Antenna
2. Li-Ion Battery Pack
3. Charging Cradle
4. Power Adaptor
5. Belt Clip
1 Unit
1 Unit
1 Unit
1 Unit
1 Unit
2. Equipment and Accessories Supplied
3. Fitting the Battery pack
TX-130U
7
ENGLISH
Fitting
Removal
FittingRemoval
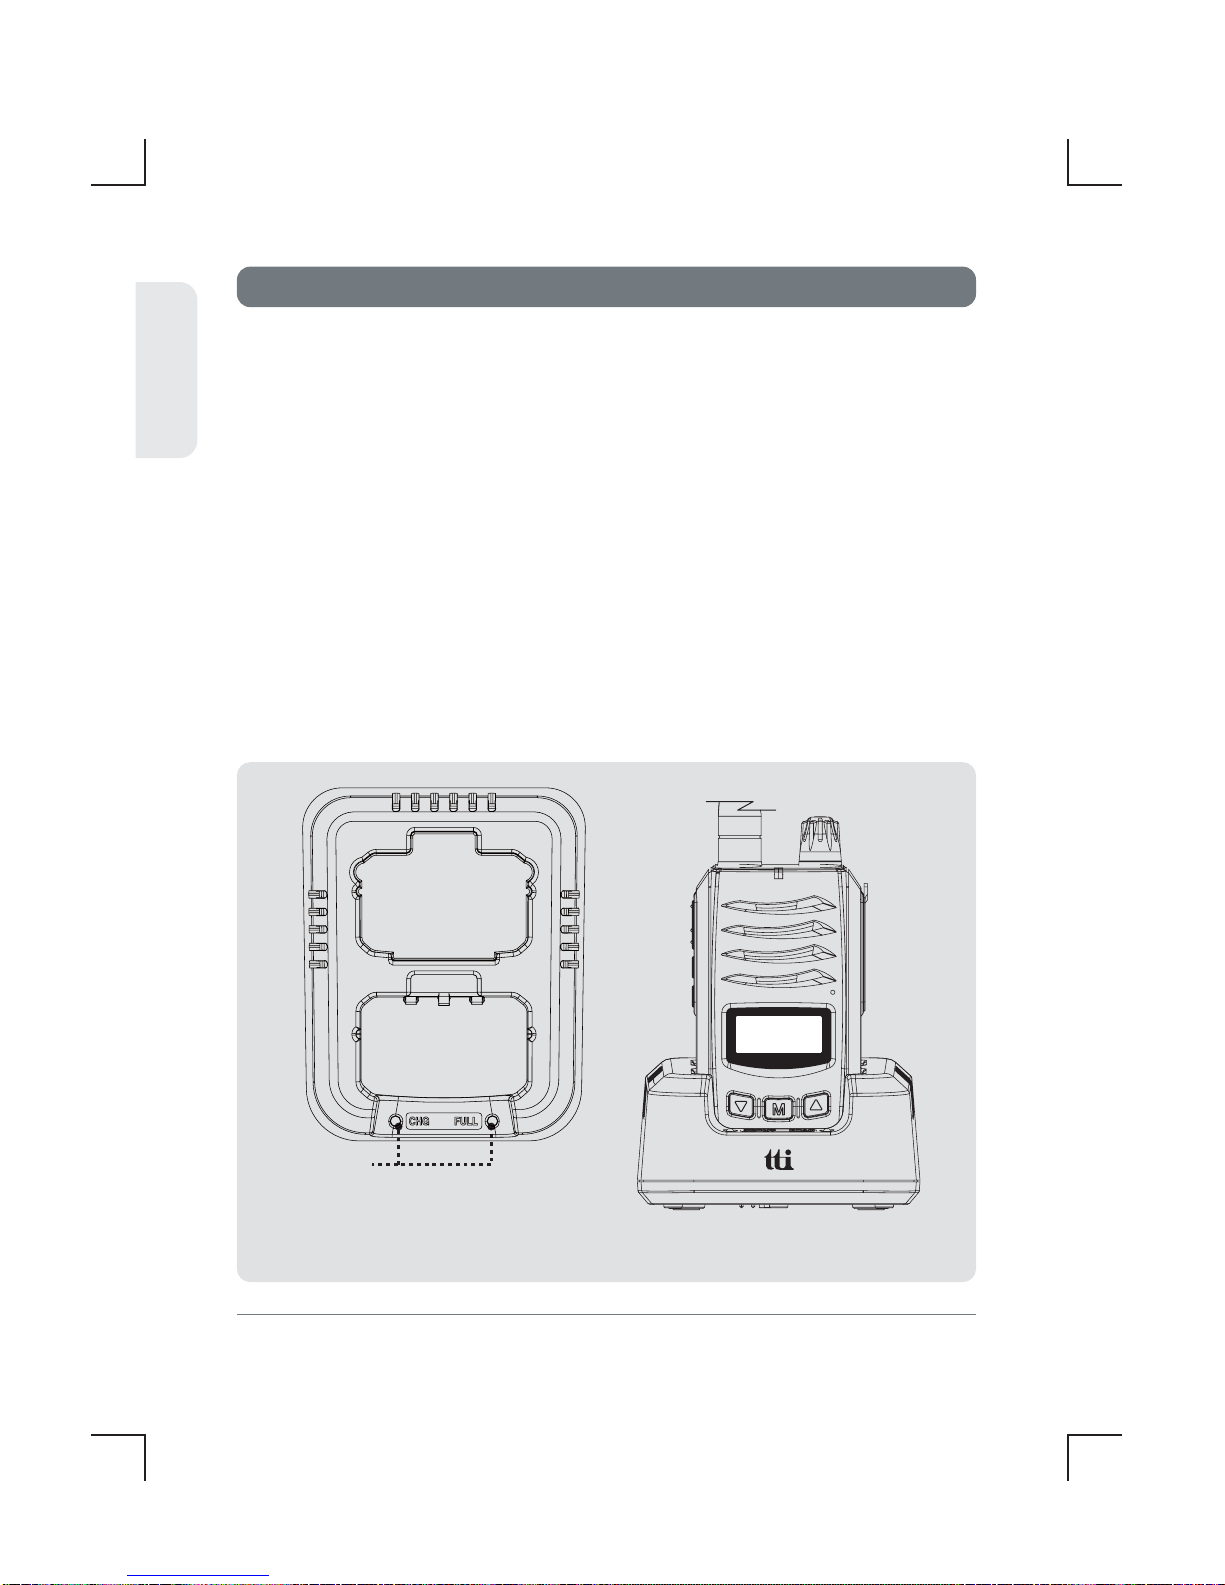
To charge your radio, carefully follow these instructions:
1.
Connect the power adaptor to the mains power supply and
connect the adaptor charger jack to the charging cradle.
2.
Disconnect any radio accessories and ensure the radio is
switched off.
3. Insert the radio into the charging cradle until it 'Clicks' home.
The charger LED will glow red and charging will start. If the charger
LED blinks red or green or the charger LED does not light, re-insert
the radio into the charging cradle.
4. The battery charging time is about 4~5 hours. When the battery
is fully charged the green LED(Full) will be turned on.
Power Adaptor
-Input : 230VAC
-Output : 12VDC 1Ah
4. Battery Charging
8
TX-130U
LED
ENGLISH
TX-130U
 Loading...