

Page 1
TS PERFORMANCE
Contents:
Module Harness
Switch (TSP100) Velcro (1) / Zip Ties (2)
(2) Butt Connectors (1) Eyelet connector
(1) T-Tap w/ connector
WE ARE DIESEL
TS Performance Products
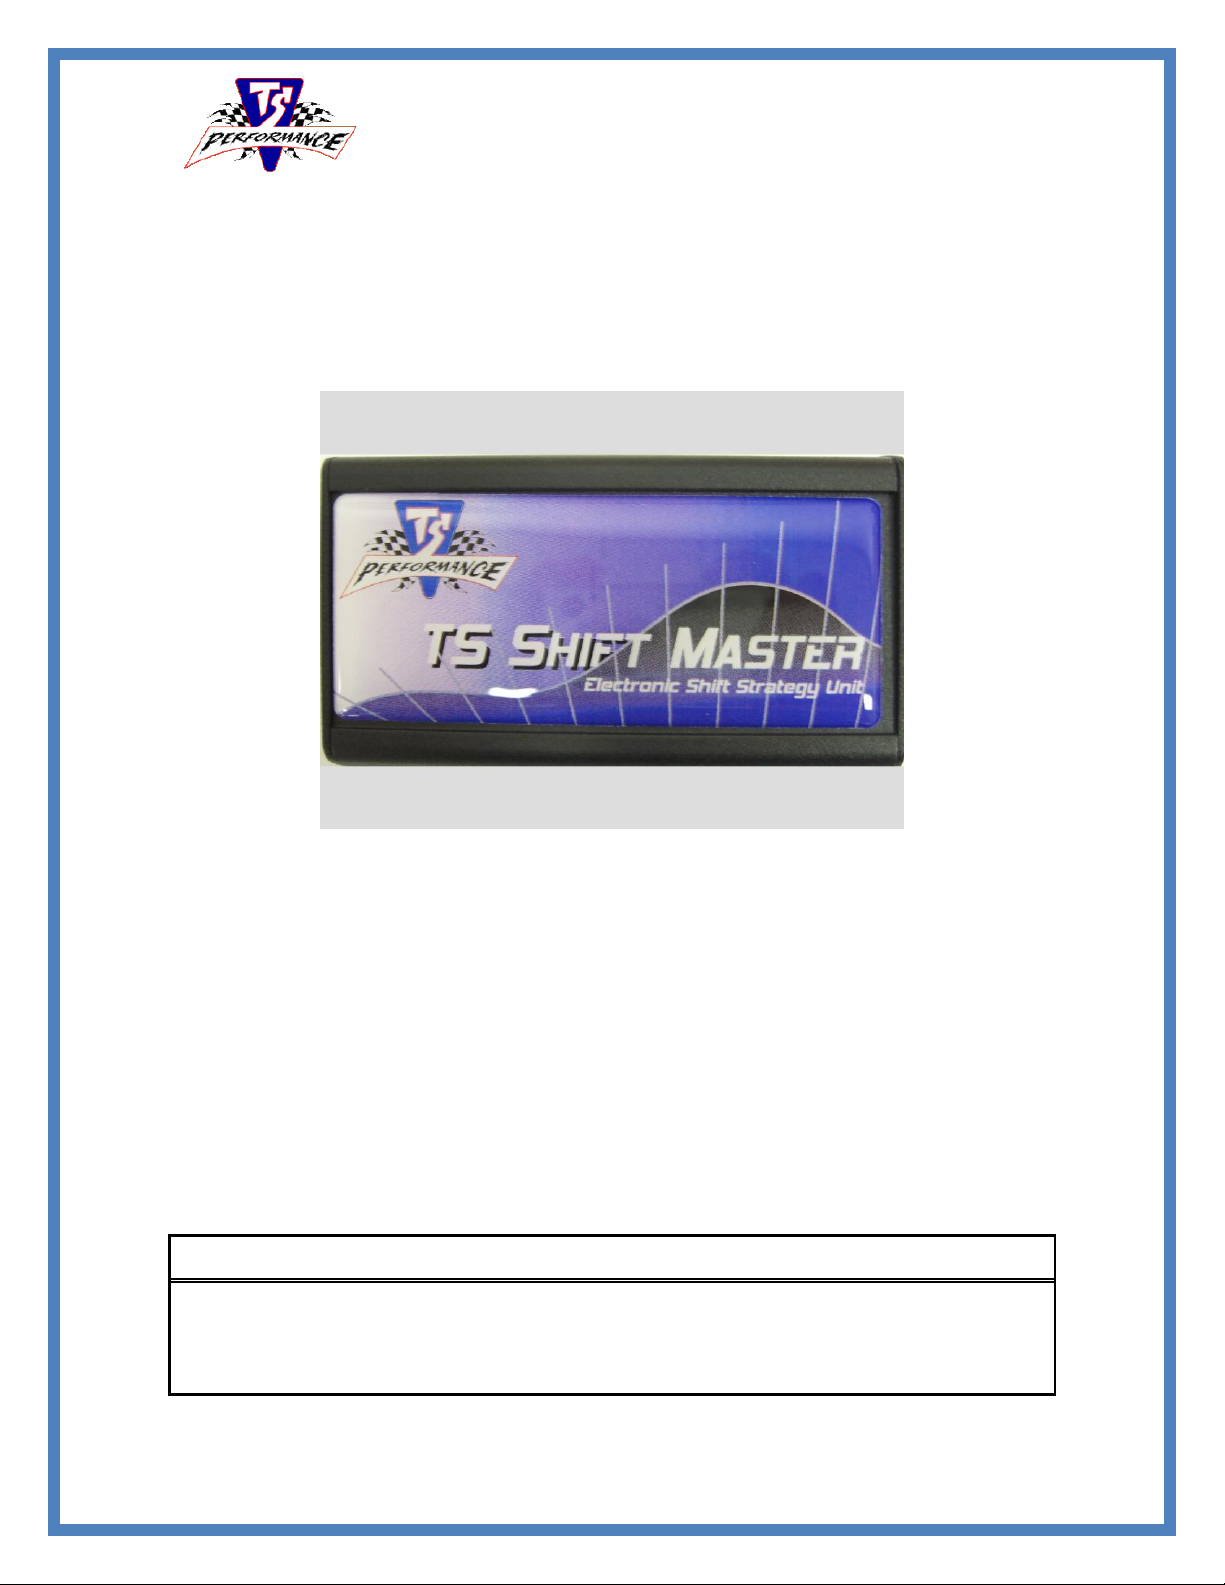
Thank you for buying the Shiftmaster for the 05-07 Dodge. Here you will learn how
to install this MP-8 into your truck, and we guarantee that you will be satisfied with
our product. Before you get started check to make sure that you have everything
below in the contents that came in the box
1200300
TS SHIFT MASTER
2005-2007 Dodge Trucks
Installation Manual
Page 2
Continued
Installation of the TS Performance Shift Master module
2005-2007 Dodge trucks.
Read all instructions and fully understand them before installing you TS Performance Shift Master
module. There are two types of wiring schemes at the transmission connector; one with 5 wires, one
with 6 wires, but the connector itself is a 6-pin connector. Disconnect the battery terminals and
remove keys from ignition before installation. Place Di-Electric Grease onto every electrical
connection.
Do Not Connect to 12 volt Power Source.
Doing so will cause product failure and will void all factory warranty.
1. Find a proper location for mounting the
module. We recommend the Fuse and
Relay Center on the driver’s side of the
engine compartment in front of the
battery. Use the supplied Velcro to
fasten the module to the fuse box.
Disconnect battery terminals.
2. Route the wires from the Shift Master
down to the transmission pressure
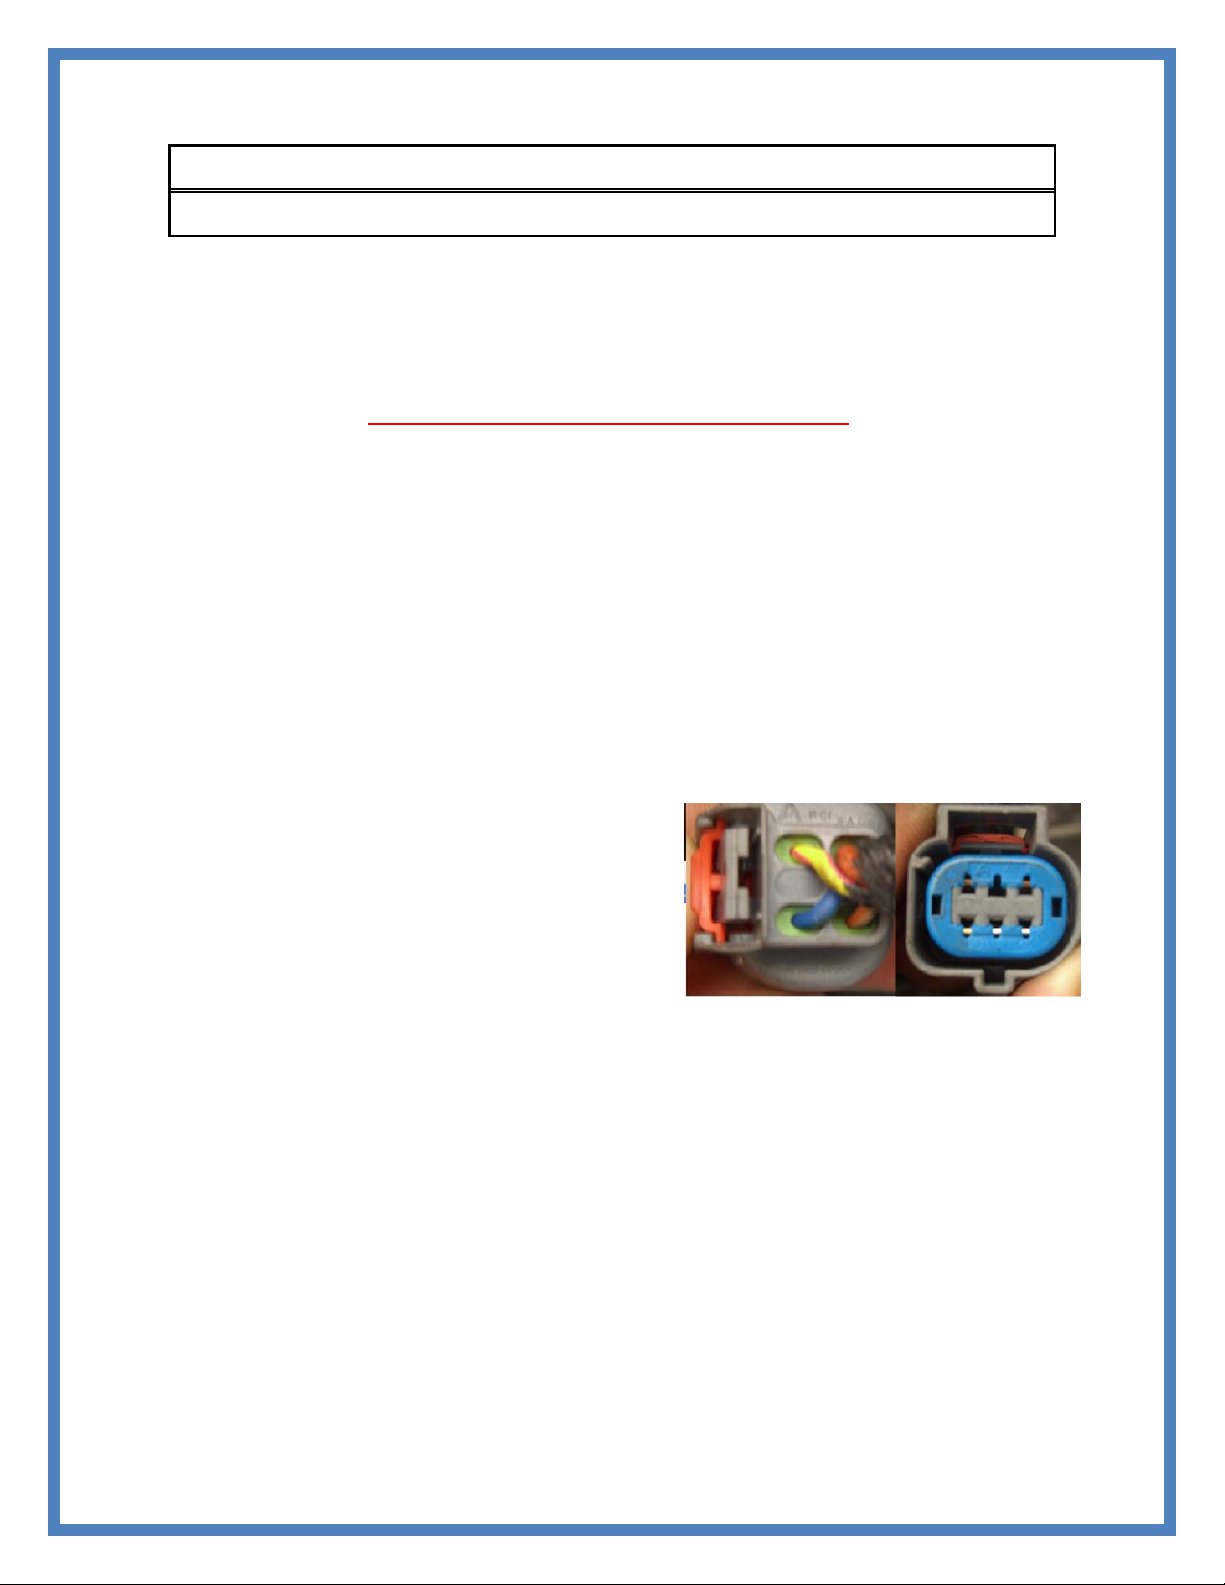
actuator. After unplugging the 5 pin
connector (Figure 1), take wires out of
loom/tape and cut the orange wire. Be
sure to leave enough room to add
supplied connectors
3. Using supplied butt connectors, connect
the orange wire from the Shift Master to
the actuator side on the transmission.
Connect green wire from Shift Master
to the opposite side of cut wire going to
PCM.
4. Locate the yellow/pink wire on the five
pin connector; this wire is key on +5
volts. Using the supplied connectors T-
If there are any questions on the product or installation of the module give us a call at TS Performance
(270) 746-9999
tap the red wire from the Shift Master to
the yellow/pink wire.
5. The Dark Blue/Dark Green is sensor
ground and the black wire coming from
the Shift Master should be T-tapped to
this wire.
6. Plug the connector back up. Route the
switch into cab and mount. The switch
will increase firmness as you turn it
clockwise.
7. Re-connect the battery terminals.
Figure 1
Page 3

Continued
TS Performance
851 Lovers Ln
Bowling Green, KY 42103
270-746-9999
www.tsperformance.com
DISCLAIMER
READ CAREFULLY BEFORE INSTALLING ANY TS PERFORMANCE PRODUCT
REMEMBER THIS IS A HIGH PERFORMANCE PRODUCT. USE AT YOUR OWN RISK. FOR OFF ROAD USE ONLY.
Do not use this product until you have carefully read the following agreement. This agreement sets forth the terms
and conditions for the use of the TS Performance product. The installation of this product indicates that the buyer has
read and fully understands this agreement and accepts its terms and conditions.
DISCLAIMER OF LIABILITY
TS Performance, its distributors or dealers shall in no way be responsible for the product’s proper use and service. The
buyer of this system hereby waives all liability claims. The buyer acknowledges that he is not relying on the sellers
skill or judgment to select or furnish goods suitable for any particular purpose and that there are no liabilities which
extend beyond the description on the face hereof, and the buyer hereby waives all remedies or liabilities, expressed or
implied arising by law or otherwise, (including without obligations of the seller with respect fitness, merchantability
and consequential damages) or whether or not occasioned by the seller’s negligence.
The seller disclaims any warranty and expressly disclaims any liability for personal injury or damages. The buyer
acknowledges and agrees that the disclaimer of any liability for personal injury is a material term for this agreement
and the buyer agrees to indemnify the seller and to hold the seller harmless from any claim related to the item of the
equipment purchased. Under no circumstances will the seller be liable for any damages or expenses by reason of use or
sales of any such equipment.
The seller assumes no liability regarding the improper installation or misapplication of its products. It is the installer’s
responsibility to check for proper installation and if in doubt the manufacturer is to be contacted.
LIMITED LIFETIME WARRANTY
STATEMENT POLICY
The warranty policy is the best warranty within the high performance diesel industry.
All TS Performance products have been inspected, tested and trial in the factory laboratories and on the
field.
Nothing in this Statement of Policy shall alter or enlarge the terms of warranties, obligation or liabilities of
these products.
TS Performance is not responsible or liable for any products damaged or destroyed due to improper
installation.
TERMS OF WARRANTY
The defective product must be freight prepaid and returned to TS Performance for further investigation,
otherwise this warranty shall be deemed null and voided and of no effect.
This warranty is void on any products that show evidence of misapplication, negligence, improper
installation, and abuse, lack of proper maintenance or alternation from its original design.
In no event will TS Performance be liable for any consequential or incidental damages for breech of any
express or implied warranty on the product.
This warranty is not transferable or assignable.
TS Performance is not responsible or liable for any products damaged or destroyed due to improper
installation.
IN THE EVENT THAT THE BUYER DOES NOT AGREE WITH THIS AGREEMENT: THE BUYER MAY PROMPTLY
RETURN THIS PRODUCT IN A NEW ANDN UNUSED CONDITION WITH A DATED PROOF OF PURCHASE TO THE
PLACE OF PURCHASE WITHIN TEN (10) DAYS FROM DATE OF PURCHASE FOR A FULL REFUND.
THE INSTALLATION OF THIS PRODUCT INDICATES THAT THE BUYER HAS READ AND UNDERSTATNDNS
THIS AGREEMENT AND ACCEPTST ITS TERMS AND CONDITITONS.
Page 4

Continued
WWW.TSPERFORMANCE.COM
FOR TECHNICAL SUPPORT
(270) 746-9999
 Loading...