

Page 1
OWNER’S MANUAL
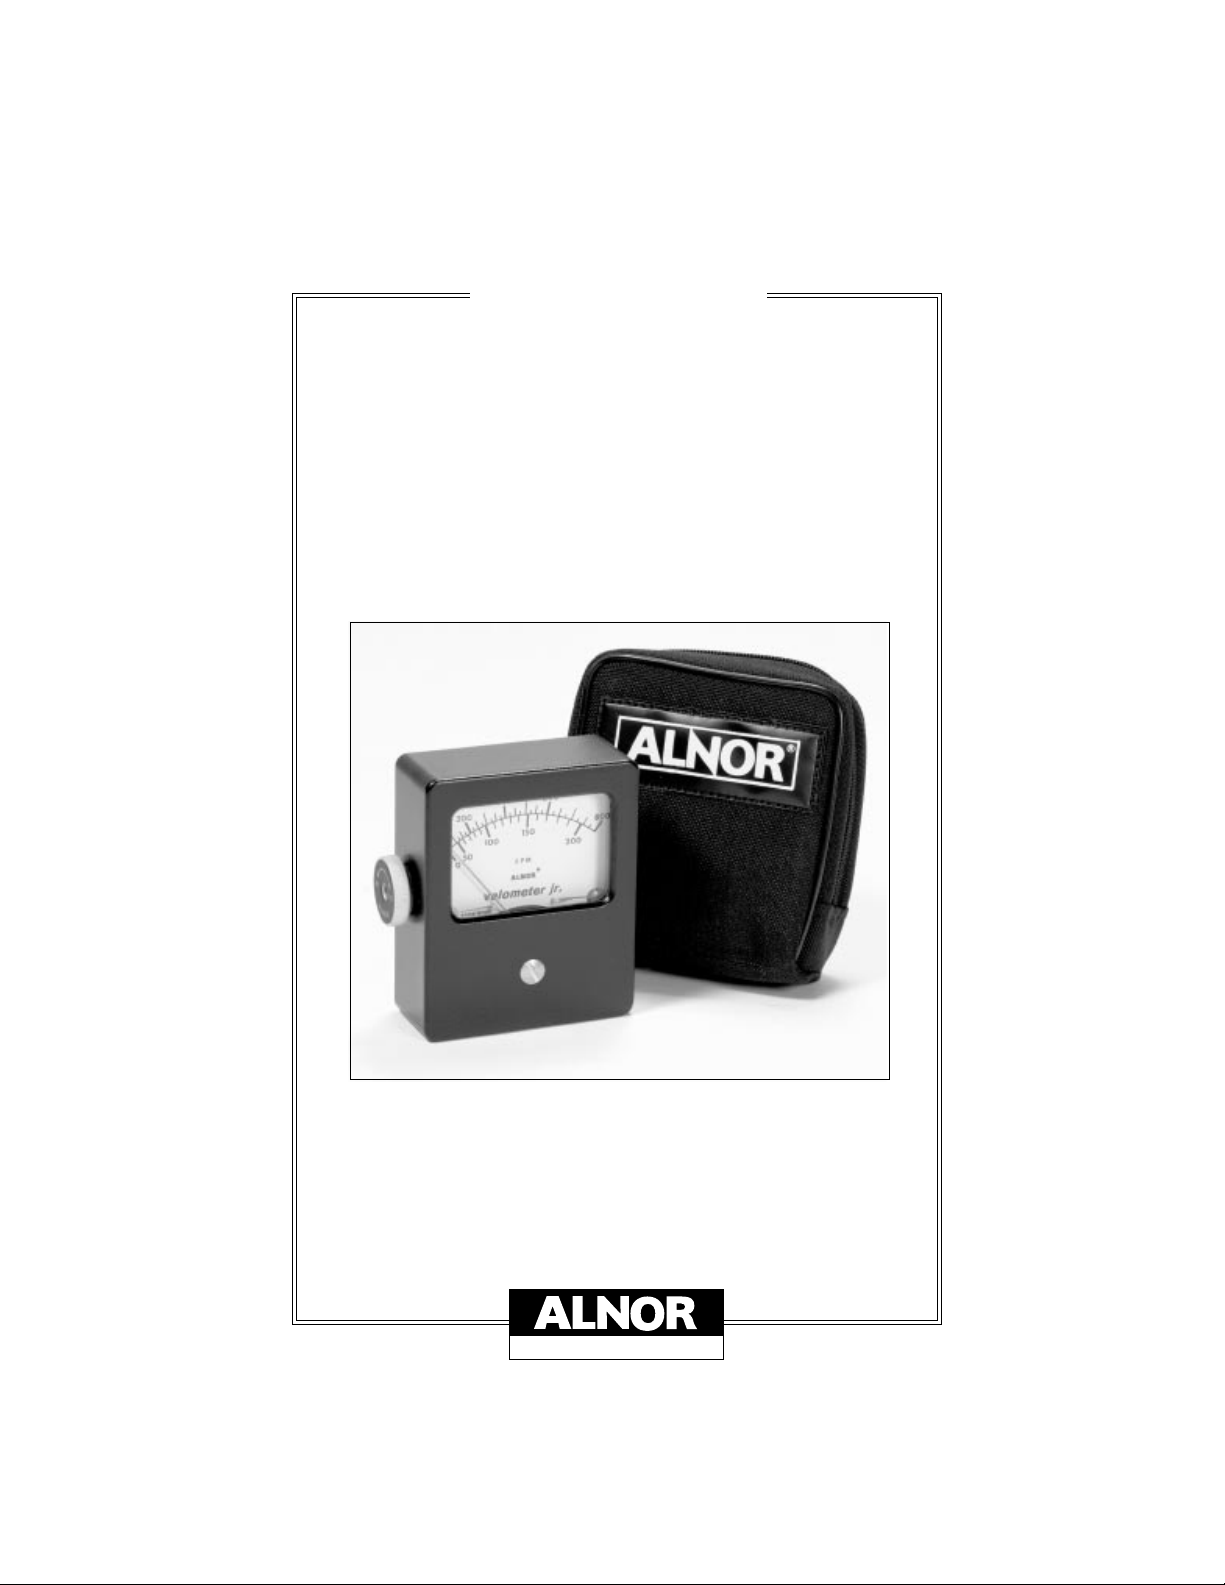
Velometer® Jr.
®
A TSI Company
®
Page 2

TABLE OF CONTENTS
Features 2
Zero Adjustment 2
Range Change 2
®
Alnor Type 8125 AirGard
Step by Step Calibration Instructions 4
Maintenance 5
Service Information 5
Service and Repair 5
Instructions for Return 6
Damaged in Transit 6
Velometer Jr. 3
1
Page 3
FEATURES
The Alnor Velometer Jr. is a direct reading air velocity measuring
instrument.
This precision instrument is ruggedly built and will serve for
many years if given reasonable care.
You can use this instrument to measure air velocities from grilles
and registers and to locate drafts. Balancing of a domestic heating
installation is made simple when using the Alnor Velometer Jr.
Hold the instrument so the air blows directly into the calibrated
orifice and read the velocity as indicated by the pointer.
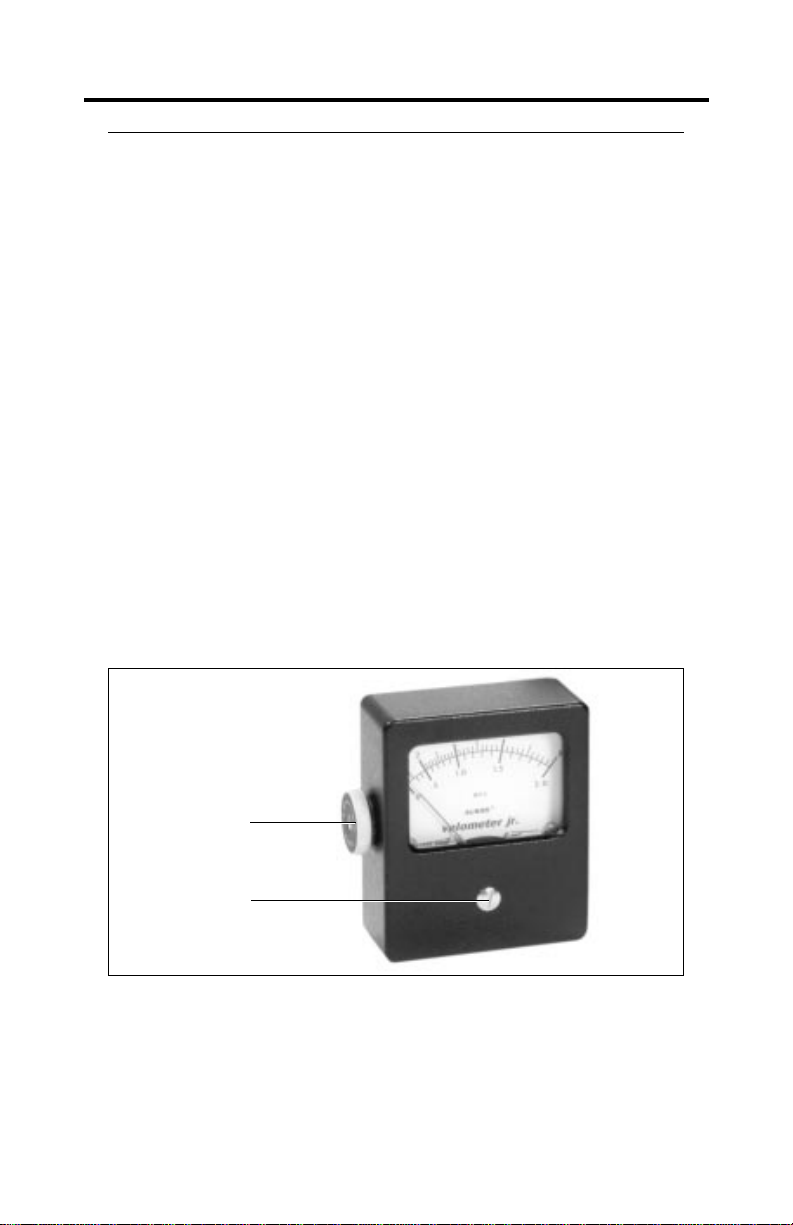
Zero Adjustment
Hold the palm of your hands over the two openings in the sides
of the Velometer Jr. and note whether the pointer indicates Zero.
If not, turn the Zero Adjuster screw on the front of the case
slightly until the pointer does read zero. (See fig. 1)
Orifice Fitting
Zero Adjuster
Figure 1
Range Change
Change range by turning orifice fitting on double range instruments.
(Small orifice for high range—large orifice for low range.) (See fig.1)
2
Page 4

ALNOR TYPE 8125 “AirGard”
VELOMETER JR.
The Alnor AirGard is designed to indicate, by correlation, the
average velocity at the face of a ventilation hood. To ensure that
the average face velocity indicated by the AirGard is correct, the
AirGard should be mounted at a location where it can be verified
with a properly calibrated thermo-anemometer. Also, the AirGard
should be mounted at a location where local drafts are very low
and the curved probe will not interfere with the work area.
The calibration procedure follows four basic steps:
1. Make sure the AirGard attachments which were shipped
with the instrument are available—the curved probe and
flexible tube.
2. Zero the AirGard.
3. Measure the average face velocity of the hood using a
properly calibrated thermo-anemometer.
4. Find the right location to mount the AirGard by moving it
along the face of the hood until the meter indicates the
same value as measured with the thermo-anemometer.
Figure 2
3
Page 5

Step By Step Calibration Instructions
1. Connect the curved probe to the AirGard using the flexible
tube.
2. Cover the inlet orifice on the left hand side of the AirGard
(the operator’s finger can be used for this purpose).
3. With the inlet covered, the AirGard should indicate zero
fpm. If it does not, adjust the pointer to zero using the
screw on the front of the case.
4. Using a properly calibrated thermo-anemometer, determine
the velocity through the face of the hood by taking a
detailed velocity traverse. Divide the face area of the hood
into equal increments. A six inch grid is recommended
for an accurate traverse.
5. Position the AirGard at a location for mounting where local
drafts are very low and the curved probe will not interfere
with the work area.
6. Attach the probe to the hood so the open end is inside the
hood and faces downstream.
7. Verify that the AirGard reads the same velocity measured at
the face of the hood in step 4. If the reading by the AirGard
does not match the reading measured in step 4, move the
AirGard along the face of the hood until it indicates the
same value as measured with the thermo-anemometer.
8. When the AirGard’s indication matches the value measured
with the thermo-anemometer, mount it in place using the
mounting screws and the curved probe using the fitting
provided.
4
Page 6

MAINTENANCE
Handle the Velometer Jr. as you would a watch. It is composed of
precision parts and is carefully balanced and calibrated.
If due to accident, the Velometer Jr. requires repair, return to
manufacturer for factory quality service. Other instrument
laboratories may not have proper calibrating equipment.
A partially plugged orifice will result in a low reading and,
therefore, we suggest occasional cleaning of the orifice. A
toothpick is a good tool for this purpose. Do not use any wire or
other hard tool for this purpose.
SERVICE INFORMATION
Service and Repair
Please return your Product Registration Card immediately.
This allows us send you service reminders, special offers, and
important information about your product.
Before sending your instrument for calibration or repair, you
should call Alnor Customer Service. The Service Department
will provide you with the cost of service or calibration, Return
Material Authorization (RMA) number, and shipping instructions.
Please have the following information available when you call:
Owner’s Name, address, and phone number
Billing address, if different and applicable
Instrument Name or Model
Serial Number
Date of Purchase
Where Purchased
Alnor recommends that you keep a ‘calibration log’ and keep all
records of service on your instrument.
5
Page 7

Instructions for Return
Send the instrument prepaid. Securely package your instrument
in a strong container surrounded by at least two inches (5 cm)
of suitable shock-absorbing material. Include the Purchase Order
showing instrument model number, cost of service and/or
calibration, and the RMA number. Mark the outside of the
shipping container with the RMA number. This will expedite
processing of your instrument when we receive it.
Please note that instruments received improperly marked or
without an accompanying Purchase Order may be returned at
your expense. See back cover for factory addresses.
Damaged in Transit
All orders are carefully packed for shipment. On receipt, if
the shipping container appears to have been damaged during
shipment, the instrument should be thoroughly inspected. The
delivering carrier’s papers should be signed noting the apparent
damage. DO NOT DISCARD THE BOX.
If the instrument itself has been damaged, a claim should be
promptly filed against the carrier by the customer. The selling
agent will assist the customer by supplying all pertinent shipping
information; however, the claim must be filed by the insured. If
the instrument is damaged beyond use, a new order should be
placed with Alnor while awaiting reimbursement from the carrier
for the damaged instrument.
Call Alnor directly for assistance if necessary.
6
Page 8

WARRANTY
Alnor Instrument Company (Alnor) warrants this product to be free of
defects in material and workmanship for a period of two years from the
date of original purchase. If the product should become defective during
the warranty period, Alnor will repair it or elect to replace it free of charge
under the following conditions:
1.Product is returned postpaid per the instructions for return, located in the
owner’s manual.
2.Owner submits proof of original date of purchase.
3.Alnor will inspect product for defects in material and workmanship.
Alnor’s decision as to existence of defect, and in the case of defect, to
repair or replace will be final.
THIS WARRANTY IS EXCLUSIVE. THERE ARE NO OTHER WARRANTIES
EITHER EXPRESSED OR IMPLIED. SPECIFICALLY AND WITHOUT
LIMITATION, THERE IS NO WARRANTY, EXPRESSED OR IMPLIED, OF
MERCHANTABILITY OR FITNESS FOR PARTICULAR PURPOSE.
This warranty is void if product is misused, used contrary to procedures set
forth in the owner’s manual, or if product is serviced by anyone other than
Alnor’s authorized service. This warranty does not cover consumables such
as light bulbs, paper, batteries, etc.
Alnor’s liability for this product is limited to the above stated warranty and
shall not in any event exceed the cost of the product. In no event will Alnor
be liable for any direct or consequential damages, including but not limited
to lost profits, loss of use, inaccuracies, loss of data, dismantling or
reinstallation.
ALNOR INSTRUMENT COMPANY
7555 North Linder Avenue
Skokie, Illinois 60077 USA
Toll-Free (800) 424-7427 June 1998
Telephone (847) 677-3500 Printed in USA
Fax (847) 677-3539 Part No. 116-049-007 Rev.6
www.alnor.com © Copyright 1998 Alnor Instrument Company
7
 Loading...