

Page 1
Limited One Year Warranty
T&S warrants to the original purchaser (other
than for purposes of resale) that such product is
free from defects in material and workmanship
for a period of one (1) year from the date of purchase. During this one-year warranty period, if
the product is found to be defective, T&S shall,
at its options, repair and/or replace it. To obtain
warranty service, products must be returned to...
T&S Brass and Bronze Works, Inc.
Attn: Warranty Repair Department
2 Saddleback Cove
Travelers Rest, SC 29690
Shipping, freight, insurance, and other transportation charges of the product to T&S and the
return of repaired or replaced product to the
purchaser are the responsibility of the purchaser.
Repair and/or replacement shall be made within
a reasonable time after receipt by T&S of the
returned product. This warranty does not cover
Items which have received secondary finishing
or have been altered or modified after purchase,
or for defects caused by physical abuse to or
misuse of the product, or shipment of the products.
Any express warranty not provided herein,
and any remedy for Breach of Contract which
might arise, is hereby excluded and disclaimed.
Any implied warranties of merchantability or fitness for a particular purpose are limited to one
year in duration. Under no circumstances shall
T&S be liable for loss of use or any special consequential costs, expenses or damages.
Some states do not allow limitations on how
long and implied warranty lasts or the exclusion
or limitation of incidental or consequential damages, so the above limitations or exclusions may
not apply to you. Specific rights under this warranty and other rights vary from state to state.
P/N: 098-002260-45 Rev.1
Date: 981110
Drawn: CW
Checked:
Approved:
MAB 12-18-98
MW 12-17-98
Installation and
Maintenance
Instructions
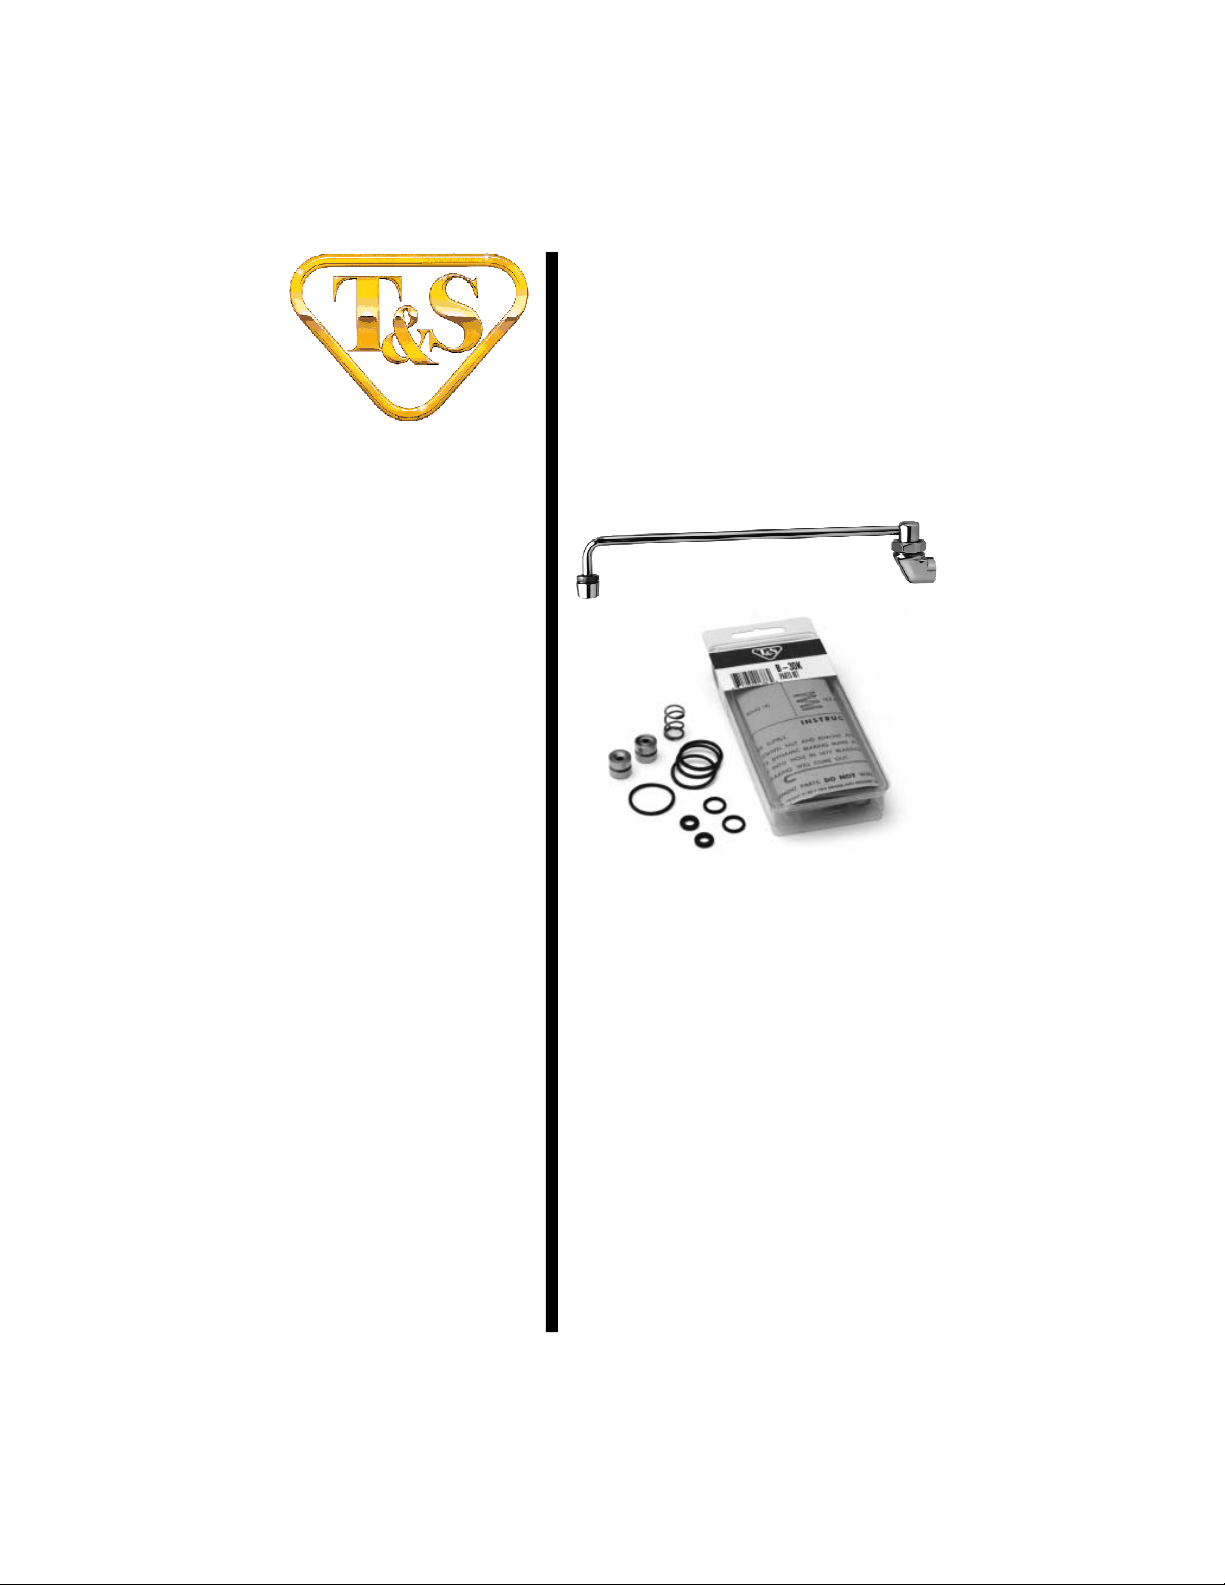
B-30K Parts Kit
(Replacement parts for B-0575)
Deutsch: Installations- und
Wartungsanleitungen
Español: la Instalación y las
Instrucciones de
Mantenimiento
Français: les Instructions
d’Installation et
d’Entretien
Page 2
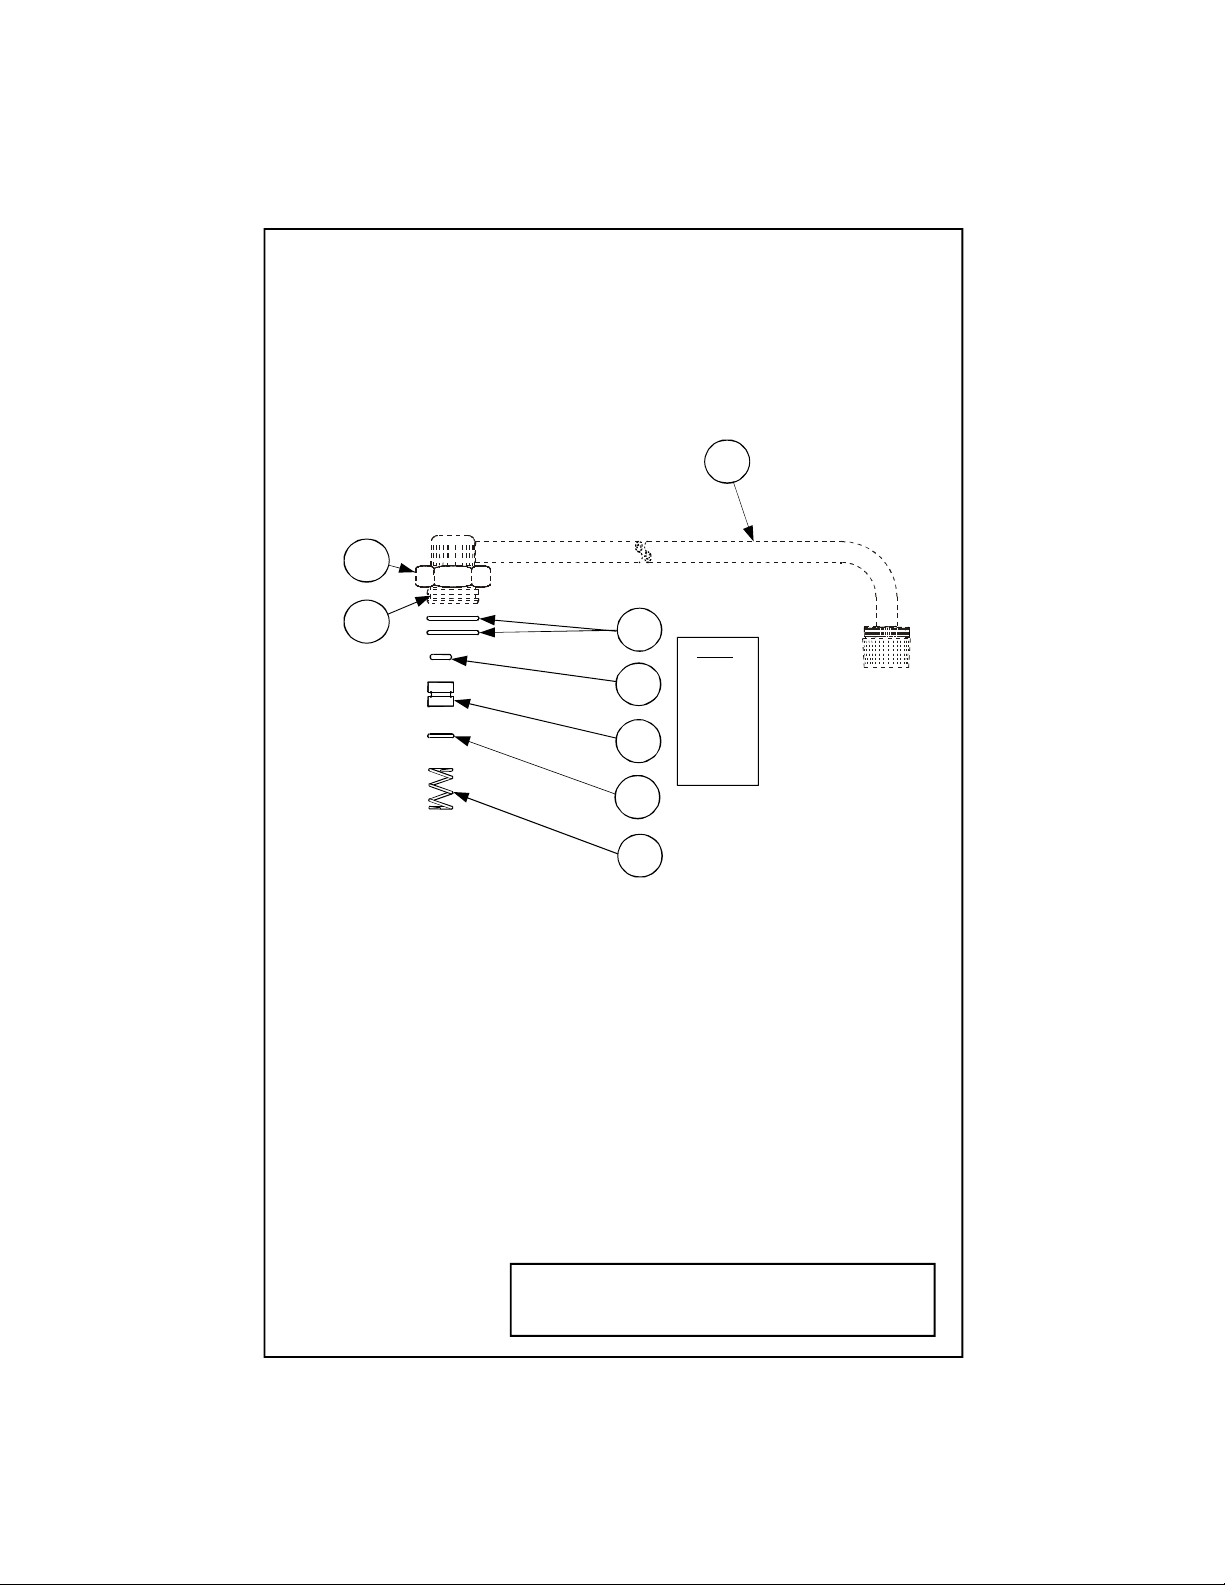
Exploded View
Note:
Apply
grease
to all
O-Rings,
item No.3
8
7
6
5
4
3
and
grooves
of No.6
2
1
* Some items are listed for instructional purposes
and may not be sold as separate parts.
Page 3

Part Number Guide
Repair Parts Kit
1 Spring, O-Ring Bearing 001625-45
2 O-Ring 009267-45
3 Dynamic Bearing 001621-20
4 O-Ring 009268-45
5 O-Ring, Center Body 001069-45
Parts Not Included in Kit
6 Swivel Piece *
7 Nut, Swivel *
8 Nozzle 001626-40
Page 4

General Instructions
To replace worn parts:
1. Turn off water supply and drain lines.
2. Unscrew no.7 and remove no. 6, no. 7 and no.8 from faucet body.
7, 6
5
4
3
2
1
faucet body
8
3. Replace worn parts with new parts from B-30-K parts kit.
Note: DO NOT wipe grease off parts.
To remove no.3, make a tool as shown below from a paper clip. Insert
hook portion into hole in no.3 assembly until it grabs on back face.
Pull up slowly and no.3 should come out.
paper clip hook
4. Reassemble parts in reverse order, making sure all new repair parts are
in place.
Page 5

Instrucciones
Generales
Para reemplazo de las partes gastadas:
1. Cierre el surtido de agua y desagüe las tuberias.
2. Destornille la parte No.7 y remuéva las partes No.6, No.7 y No.8 de la
canilla.
7, 6
5
4
3
2
1
canilla
3. Reemplaze las partes gastadas con partes nuevas del estuche de partes
B-30-K.
Nota: No limpie la grasa de las partes.
Para remover la parte No.3, haga una herramienta de un sujetapapel
como lo demostrado abajo. Insarte la porción con gancho en el hueco
en el ensamble de la parte No.3, hasta que enganche la superficie
interna. Hale hacia arriba lentamente y la parte No.3 debe de salir.
8
gancho de sujetapapel
4. Ensamble de nuevo en orden inversa, asegurese que todas las partes
nuevas de reparo esten situadas.
Page 6

Instructions
Générales
Pour remplacer les parties usées:
1. Fermer la réserve de l’eau et égoutter la tuyauterie.
2. Dévisser Nº.7 et enlever Nº.6, Nº.7 et Nº.8 du robinet.
7, 6
5
4
3
2
1
le robinet
3. Remplacer les parties usées avec les nouvelles parties de la trousse à
outils B-30-K.
Noter: N’enlever pas la graisse des parties.
Pour enlever Nº.3, faire un outil comme indiqué ci-dessous d’un
trombone. Insérer la partie d’agrafe dans le trou dans l’assemblage
Nº.3 jusqu’il saisir la face en arriere. Tenir lentement
jusque l’enlevement de Nº.3.
8
l’agrafe trombone
4. Remonter les parties dans l’ordre inverse, soyez certain que tous les
nouvelles parties remplacement rester à ses places.
Page 7

Allgemeine
Anleitungen
Ersatz von Verschleißteilen:
1. Wasser abdrehen und Wasserleitungen entleeren.
2. Nr. 7 lösen und Nr. 6, Nr. 7 und Nr. 8 vom Armaturrumpf entfernen.
7, 6
5
4
3
2
1
Armaturrumpf
3. Die Verschleißteile durch neue Teilen vom Ersatzteilsatz B-30-K
ersetzen.
Anmerkung: Fett NICHT von den Teilen entfernen.
Zur Entfernung von Nr. 3 aus einer Papierklammer einen Haken
anfertigen, wie unten gezeigt. Den Haken in das Loch der Garnitur
Nr. 3 einführen, bis er in die Rückseite einhakt. Langsam nach oben
ziehen und Nr. 3 sollte herauskommen.
Haken aus einer Papierklammer
8
4. Die Teile in umgekehrter Reihenfolge wieder zusammensetzen und
sicherstellen, daß sich alle Ersatzteile an der richtigen Stelle befinden.
Page 8

RELATED T&S BRASS PRODUCT LINE
B-20-K
B-1100 Parts Kit
B-21-K
Eterna Cartridge
Replacement
T&S BRASS AND BRONZE WORKS, INC.
A firm commitment to application-engineered plumbing products
2 Saddleback Cove, P.O. Box 1088, T & S Brass-Europe
Travelers Rest, SC 29690 ‘De Veenhoeve’
Phone: (864) 834-4102 Oude Nieuwveenseweg 84
Fax: (864) 834-3518 2441 CW Nieuwveen
E-mail: tsbrass@tsbrass.com The Netherlands
 Loading...