

Page 1

Mercury 12
WINDOWS
PORTABLE CCTV
WITH SPEECH
USER GUIDE
support@trysight.com
Page 2

Congratulations on the purchase of your Mercury 12 unit. Please read
the manual fully before using. Mercury 12 is an advanced tablet based
magnifier with highly accurate reading capabilities, allowing you to listen
to printed material in a clear natural sounding voice. The latest version
of this manual is available on our website at www.trysight.com
Enclosed Parts:
1 Power Charger
1 Charging cable
1 User Manual
1 Mercury 12 tablet with stand
1 Magnetic tablet keyboard
1 Carry Case
Page 3
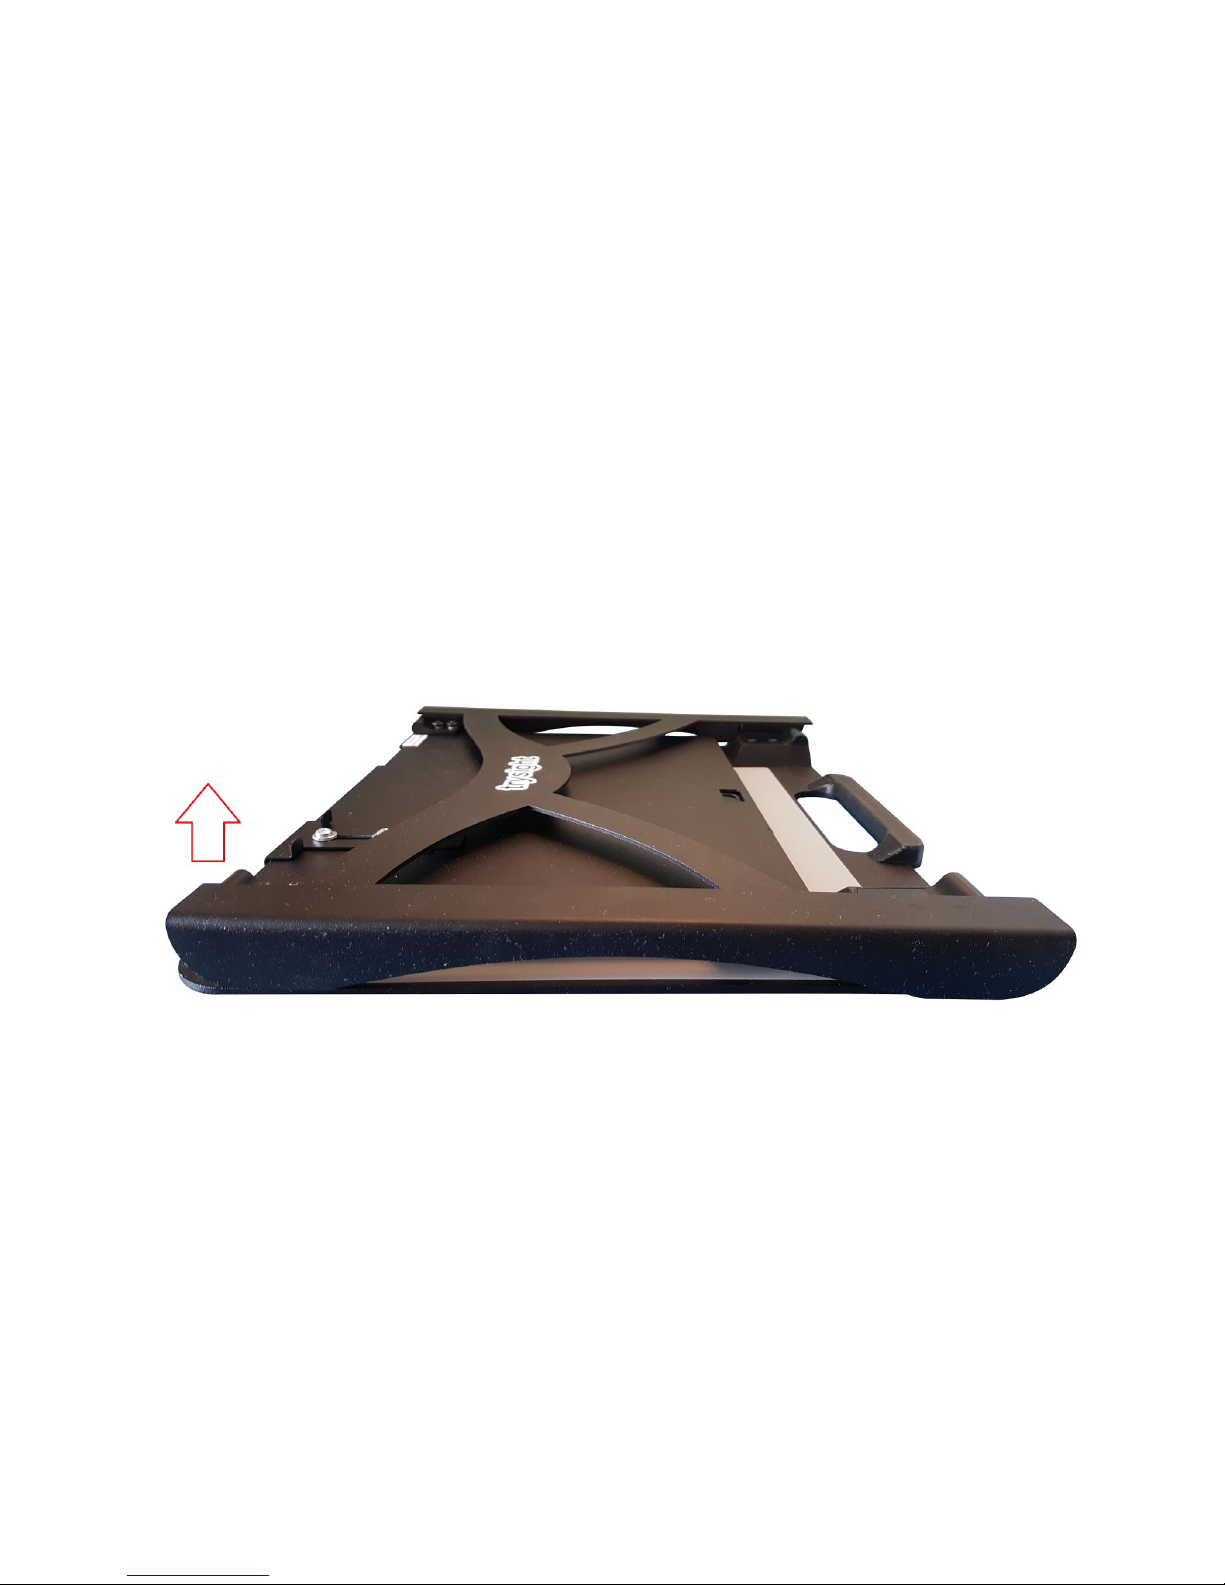
OPENING THE STAND
Mercury 12 incorporate an aluminum stand which holds the tablet.
There is a handle on the stand to carry the unit. To open the stand pull
the base plate and the top plate apart on the side opposite the handle as
shown below. This will unveil the tablet screen. The tablet screen can
then be angled at a comfortable angle.
Page 4
POWER ON/OFF
The power button is located on the bottom left of the tablet and is
smaller than the volume button located above it.
Hold down the Power button for 3 seconds to start the unit. After about
30 seconds the unit should boot up. If the unit doesn't start, the likely
cause is the battery is not charged. To charge the battery, plug in the
power adapter to an electrical outlet and use the provided USB cable to
connect the device to the charger as shown below. The charging cable
must be plugged into the orange USB port on the tablet (On the right
side when the tablet is on the stand). The cable will not fit into the other
USB port on the device. Do not attempt to force the cable into that port.
After charging for 30 minutes the unit should have sufficient power to
Page 5

start. However, to fully charge the unit it will take 3-4 hours.
QUICK ON/OFF
To enable quick on/off functionality, the unit can go into "Sleep" mode.
The unit can wake up instantly from sleep mode in 2 seconds. However,
Sleep mode uses a small amount of battery as the unit is not completely
turned off. After about 2 weeks in sleep mode, the battery will drain out
and will need recharging even if you don't use the unit. To put the unit to
sleep, tap the Power button quickly (Don't hold it down). To wake it up,
tap the power button again.
USE AS A WINDOWS MACHINE
The unit is a full fledged Windows machine and can be used as such. All
Windows applications will run normally and the machine can be used as
your laptop. Remove the tablet from the stand by flipping the metal
bracket on the top plate of the stand. The tablet can then be removed
safely and attached to the magnetic keyboard (included). A hinge on the
back of the tablet allows a plate to come out of the body and hold the
screen upright at an angle of your choice.
Page 6

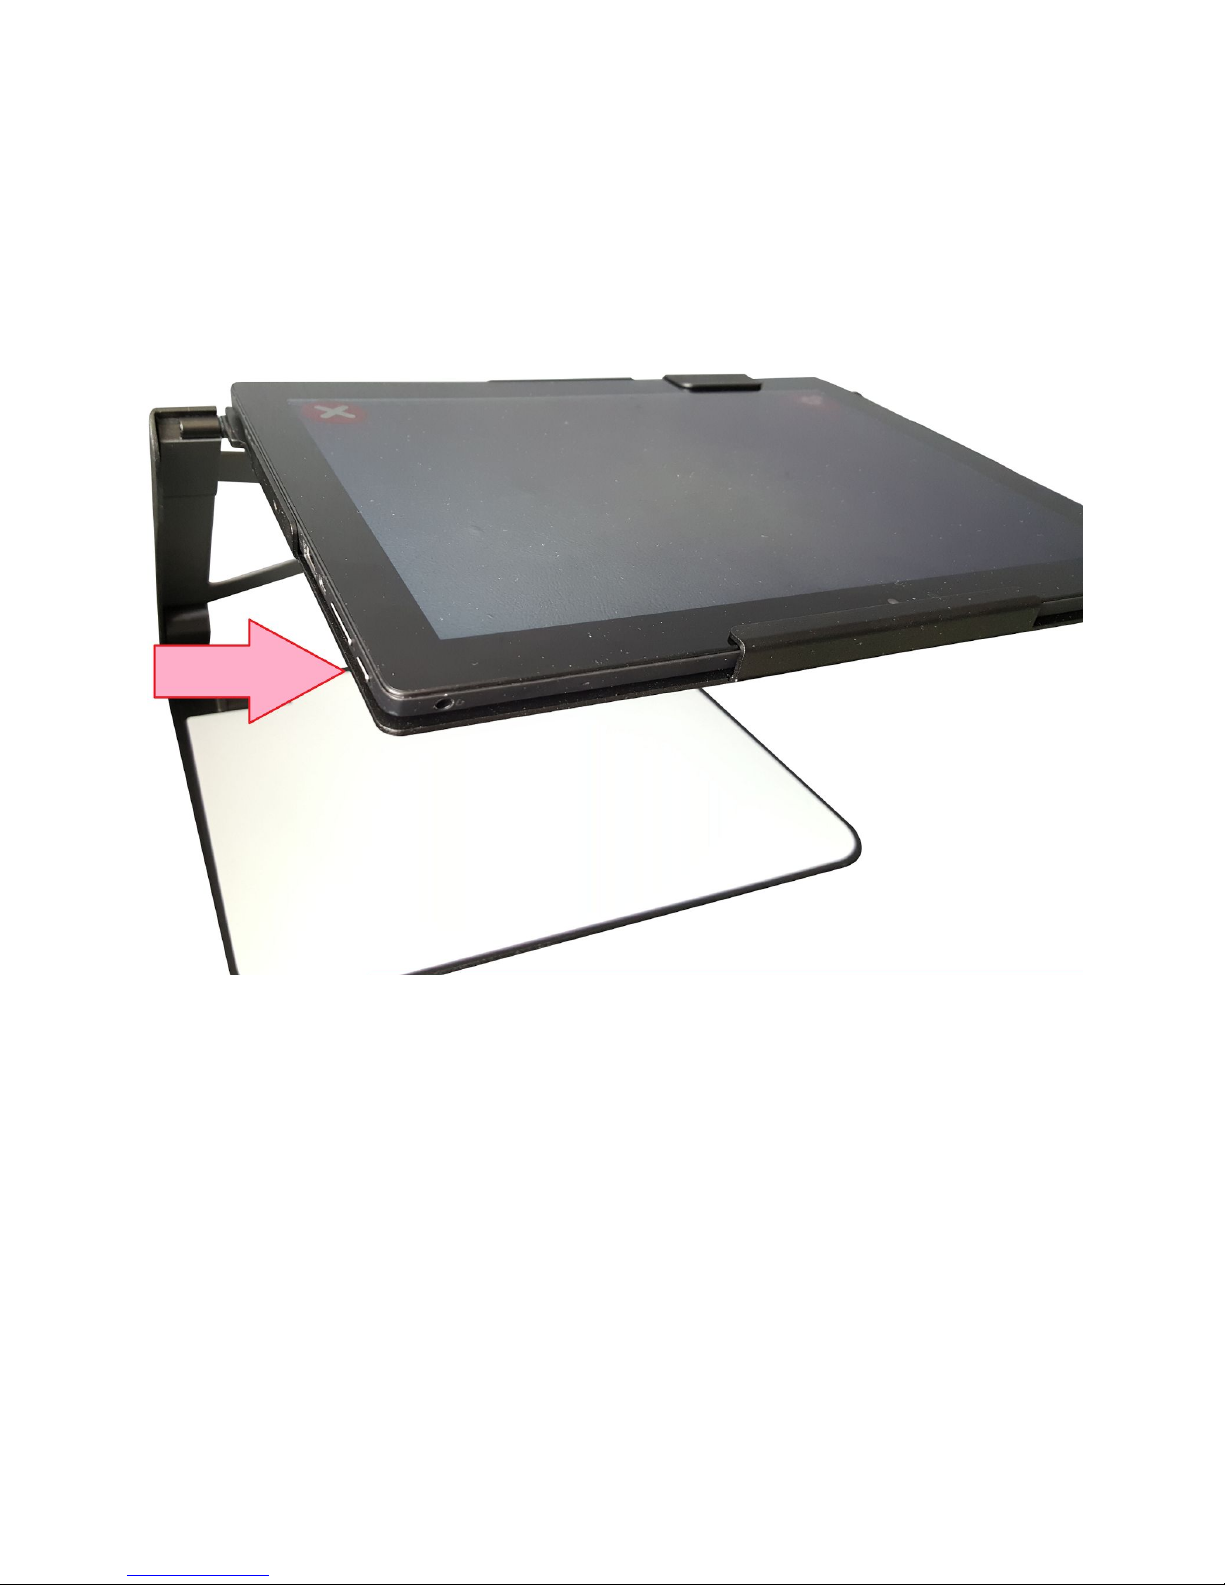
While inserting the tablet back onto the stand, ensure that the power
button is on the bottom left. If it’s on the top right it means the tablet
has been inserted upside down and the tablet camera will not line up
with the respective camera hole on the stand.
A wireless keyboard/mouse (Not included) is the preferred method of
using the Mercury 12 as a Windows machine. This allows use of the
device as a laptop without having to repeatedly remove it from the
stand.
Page 7

MAGNIFICATION MODE
Pull the tablet forwards so the arms on the stand are at a 45
degree angle. Then angle the tablet so you can comfortably see
it as shown below.
Position your document on the base plate and start the
magnifier application by selecting the “ReadDesk TE” icon on
the desktop.
Page 8

All the functions of Mercury 12 can be controlled using simple
touch/keyboard commands. They are as follows:
1) Single Finger Tap to Focus or
ENTER on Keyboard
2) Two Finger Pinch to Zoom In/Out or
+ / - on Keyboard
Page 9

3) Three Finger Tap to change Color or
C on Keyboard
4) Four Finger tap to toggle light on/off or
L on Keyboard
Page 10

TAKING A PICTURE
Tap on the camera icon in the middle on the top to take a picture.
A high resolution image will be captured and you can now zoom in/out
and pan around the image . To capture a full A4 page, adjust the height
of the tablet by moving the tablet stand arms all the way back until it will
not go any further. The arms automatically lock at a 90 degree angle.
Then position the tablet horizontally so it’s looking straight down at the
document as shown below. Taking a picture from this height will capture
the entire A4 document.
Page 11

READING MODE
After taking a picture, you can have the text on the picture spoken aloud.
Tap on the OCR icon on the top right to start reading the document. By
default the OCR is set to recognize columns, but in some cases you may
not want this (For example, on an invoice or an excel sheet). In this case
you want the reading to be from left to right. This can be achieved by
clicking the blue icon in the middle on the top. An X will appear over it
Page 12

which will disable the column detection.
1) Pause/Play
By default, reading will start upon completion of processing. To pause,
tap anywhere on the screen with a single finger. To resume, tap again
with a single finger. Note that when resuming, the location you tap
matters. If you tap on a specific word it will start reading from that word
and not where you left off.
2) Zoom In/Out
You can zoom in/out in reading mode using the same 2 finger pinch
gesture as in Magnification Mode.
3) Save Text
You can save the captured text as a TXT document by clicking the Disk
icon on the top right. The text will be saved in My Pictures\ReadDesk
TE\TEMP with the respective date/time the image was saved as the
filename. You can move the file to another location if necessary.
4) Exit Reading Mode
To read something else, tap the X on the top left or press Escape. You
will be taken back to the live magnification mode.
Page 13

Page 14

 Loading...