

Page 1
Quick Start Guide
trutankless® TR Unit Installation
NOTE: The User Manual that came with your unit contains an expanded version of this guide with visual aids and additional information.
TR
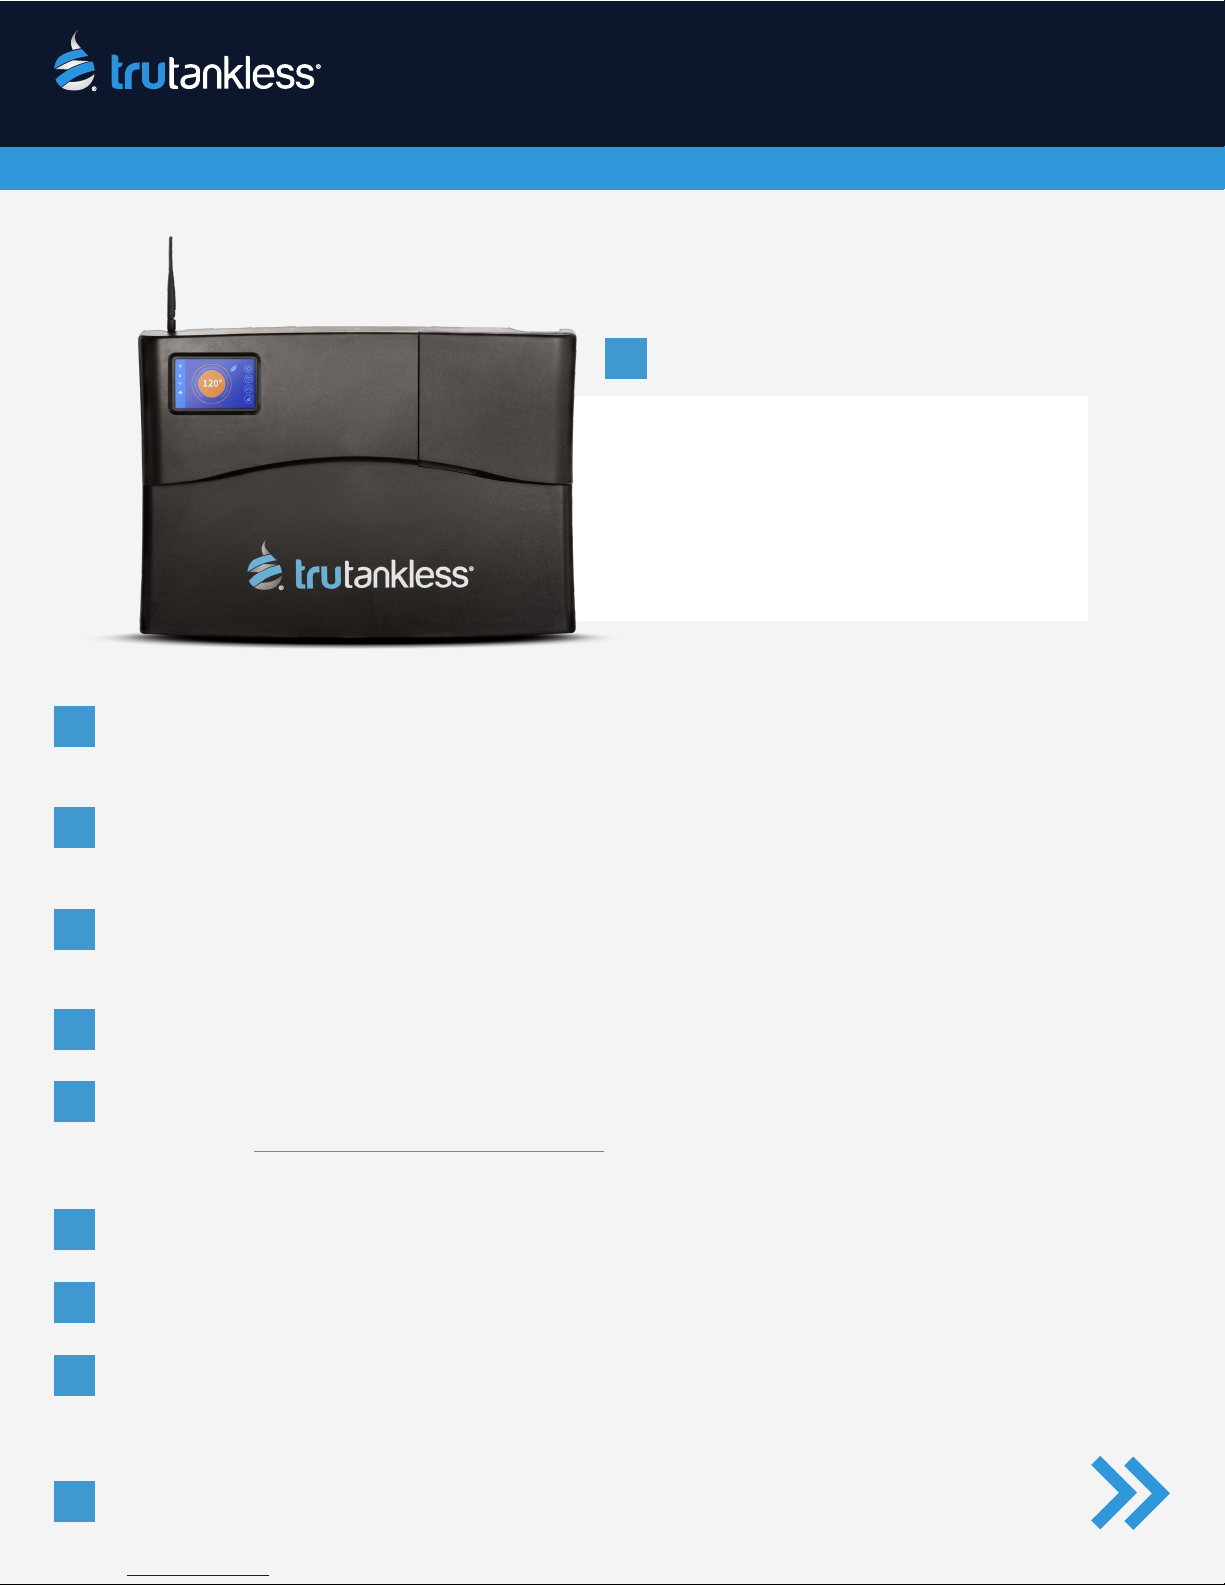
trutankless® Residential Unit
What’s Included:
• trutankless® TR Unit
• 2 Mounting Brackets (Wall anchors NOT included)
• 2 Truss Head Phillips Machine Screws
• Cold Water Inlet Screen
• WiFi Antenna
Aix enclosed mounting brackets to the wall where the unit will be located (mount to studs or use wall anchors).
1
The brackets need to be 10 inches apart. The brackets come supplied with two (2) truss head Phillips machine
screws.
Hang the unit using the four (4) slots on the back that t over corresponding hooks on each wall bracket. Once
2
hung, install the two (2) truss head screws through the back of the unit into the bottom bracket – tightening with a
Phillips head screwdriver.
Attach incoming cold water supply (be sure to use the provided inlet screen) and outgoing hot water with
3
3/4” plumbing or hard piped with unions (if required by code a pressure relief valve may be necessary).
DO NOT USE PIPE DOPE. ONLY USE TEFLON TAPE.
Turn on the water to conrm no leaks are present.
4
Conrm the unit’s DIP switch settings are in the correct position for the desired Maximum Amperage. Reference the
5
table on page 24 of the trutankless® User Manual for this step. Your unit’s User Manual can also be downloaded
here if needed: trutankless.com/service-professionals The download(s) are located near the bottom of the page in
the “Digital Toolbox” section.
Connect both hot and ground wire(s). NOTE: Refer to the ‘Electrical Connections’ section in the User Manual for
6
breaker and gauge congurations based on your unit’s kW setting. The unit’s kW setting was determined in Step 5.
Turn main power circuit breakers “ON”, check to be sure internal trutankless® unit breakers are in the “ON”
7
The unit forces the “Startup Lockout” step to ensure the heating elements do NOT dry re. Open enough hot water
8
faucets inside the residence to achieve 1 GPM for a MINIMUM of 2 minutes. NOTE: You can see the GPM output
in the DIAGNOSTICS Tab within the DATA Section of the trutankless® TR Unit. Once the “Startup Lockout” is
complete, the unit will begin heating water. You can now turn the faucets o.
Attach provided Wi-Fi Antenna. See reverse side of this Quick Start Guide to register your TR unit
9
and connect to your home network.
Page 2
Quick Start Guide
trutankless® TR Unit Registration / Activation / Network Connection
IMPORTANT! - IT IS CRITICAL YOU FOLLOW THESE STEPS IN THE EXACT ORDER PRESENTED BELOW.
FAILURE TO DO SO WILL RESULT IN ERRORS DURING THE ACTIVATION PROCESS.
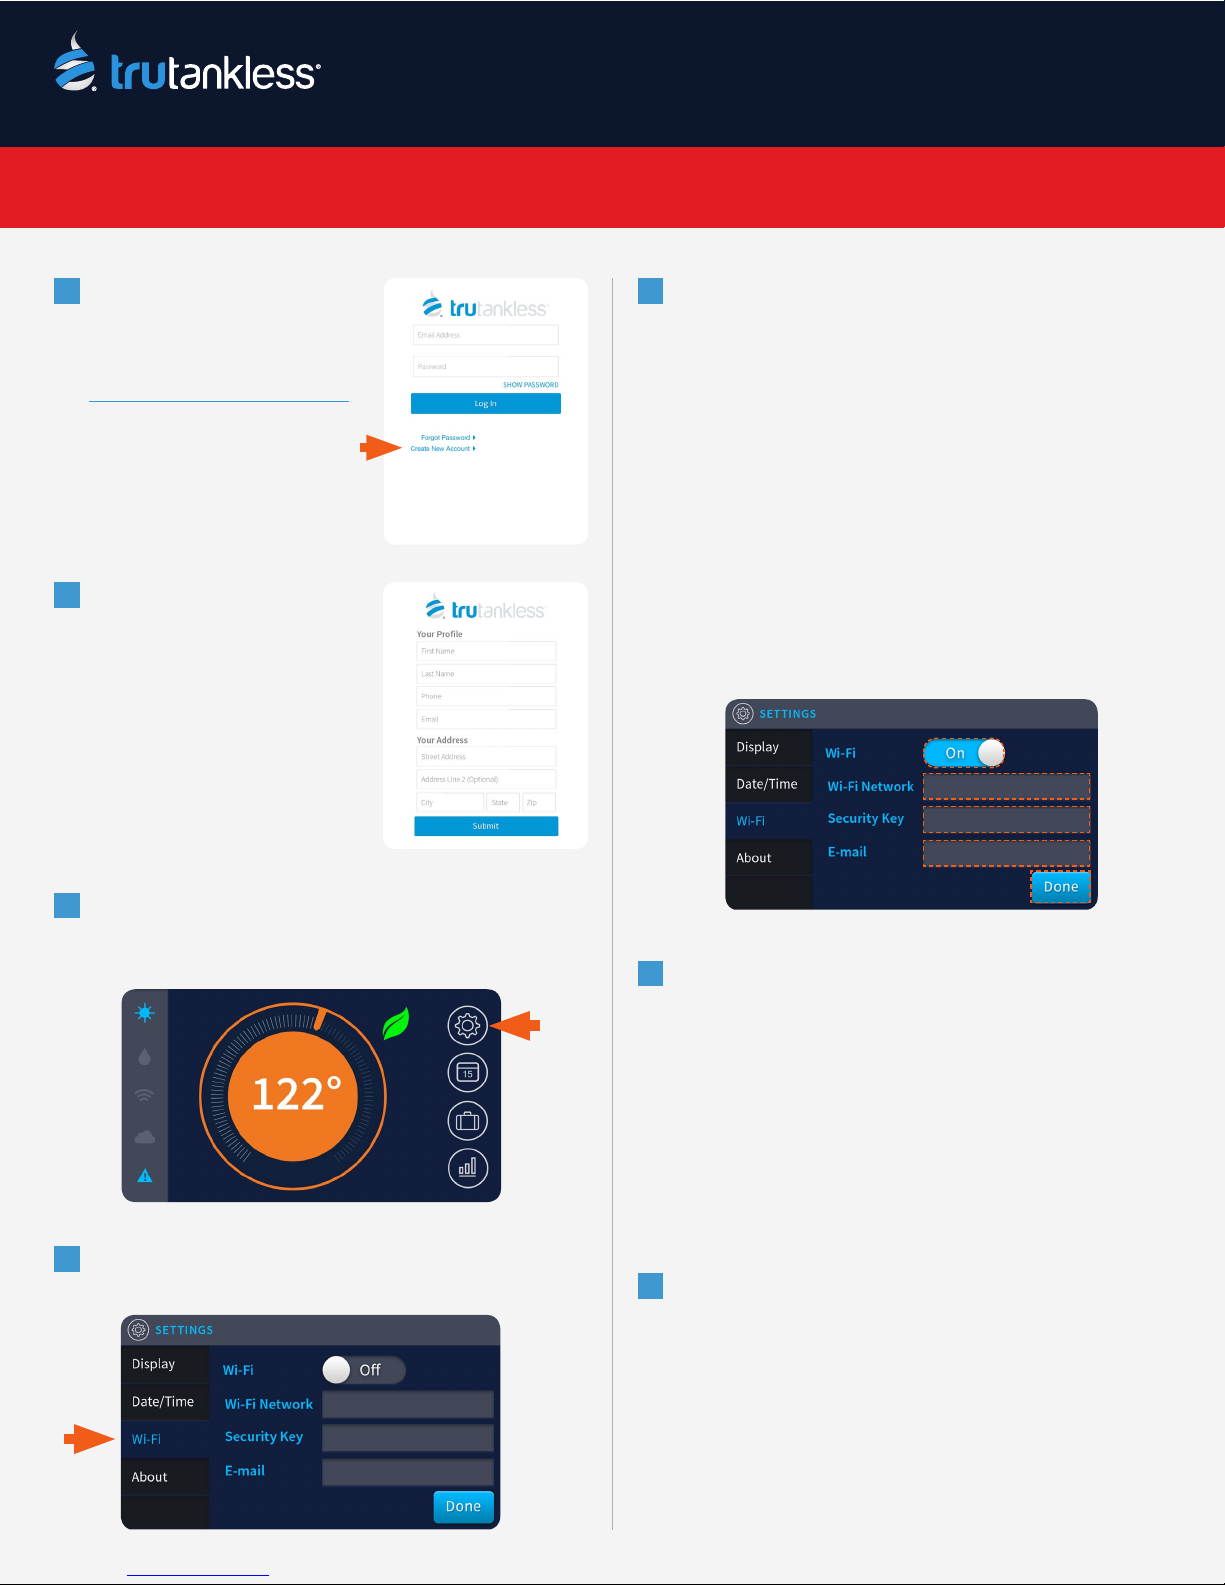
From your desktop
1
computer, laptop, tablet or
mobile device, go to:
home.trutankless.com/login
Click on the
“Create New Account” link to
access the Registration page.
Fill out all form elds to
2
create your trutankless®
account. When done, check
the email used to create your
account. You will receive a
link to set your password.
Set your account password.
NOTE:
DO NOT CLICK THE “ADD A
HEATER” OPTION. MOVE ON TO
STEP 3.
A. Tap the Wi-Fi switch to toggle it to “On”.
5
B. Tap the “Wi-Fi Network” eld to bring up the
keyboard and enter the name of your wireless
network (case-sensitive).
C. Tap the “Security Key” eld to bring up the
keyboard and enter your Wi-Fi network password
(case-sensitive).
D. Tap the “E-Mail” eld to bring up the keyboard
and enter the email address you used to create your
trutankless account in Step 2.
E. Tap “Done” when complete.
Return to your trutankless® TR Unit. From the
3
Home screen, tap the Gear icon at the top of the Right
Navigation Bar to bring up the Settings screen.
Tap “Wi-Fi” from the Le Navigation Menu to
4
open the Wi-Fi control panel.
Your trutankless® TR unit should connect to the cloud
6
monitoring service within 30 seconds. Once it has
(cloud icon on home screen glows blue), you will
receive an email with the subject line:
“TRUTANKLESS DEVICE REGISTRATION”
Click the link provided in the email. You will be asked
to name your unit. The cloud will automatically
retrieve your unit’s serial number.
Set your trutankless® TR unit’s DATE / TIME in the
7
Settings Menu for accurate usage reports.
Congratulations! Your trutankless® TR Unit
is registered, activated and online.
You can now enjoy endless hot water for
your home as well as state of the art
control and monitoring.
trutankless.com
 Loading...