

Page 1

Roof Top Tent
Installation Manual
Page 2

Anywhere
You
Want.
SAFETY INFORMATION
• Do not try and lift the RTT on your own; make sure to have at least 2
people, using proper lifting techniques.
• Ensure that the RTT is installed correctly and that all connections, straps
and surfaces are checked regularly for degradation and loosening.
• Ensure that the roof rack or roof bars can support the full weight of the
RTT (70kg) while in motion or supporting two adults.
• Ensure the RTT’s weight is centred over the middle of the vehicle and its
sides are not over hanging the vehicle.
• The RTT will increase your vehicles overall height, be wary of this when
entering undercover areas.
• Take care when operating the telescopic-ladder, ensuring its locked in
place and the sliders will not pinch you.
Page 3
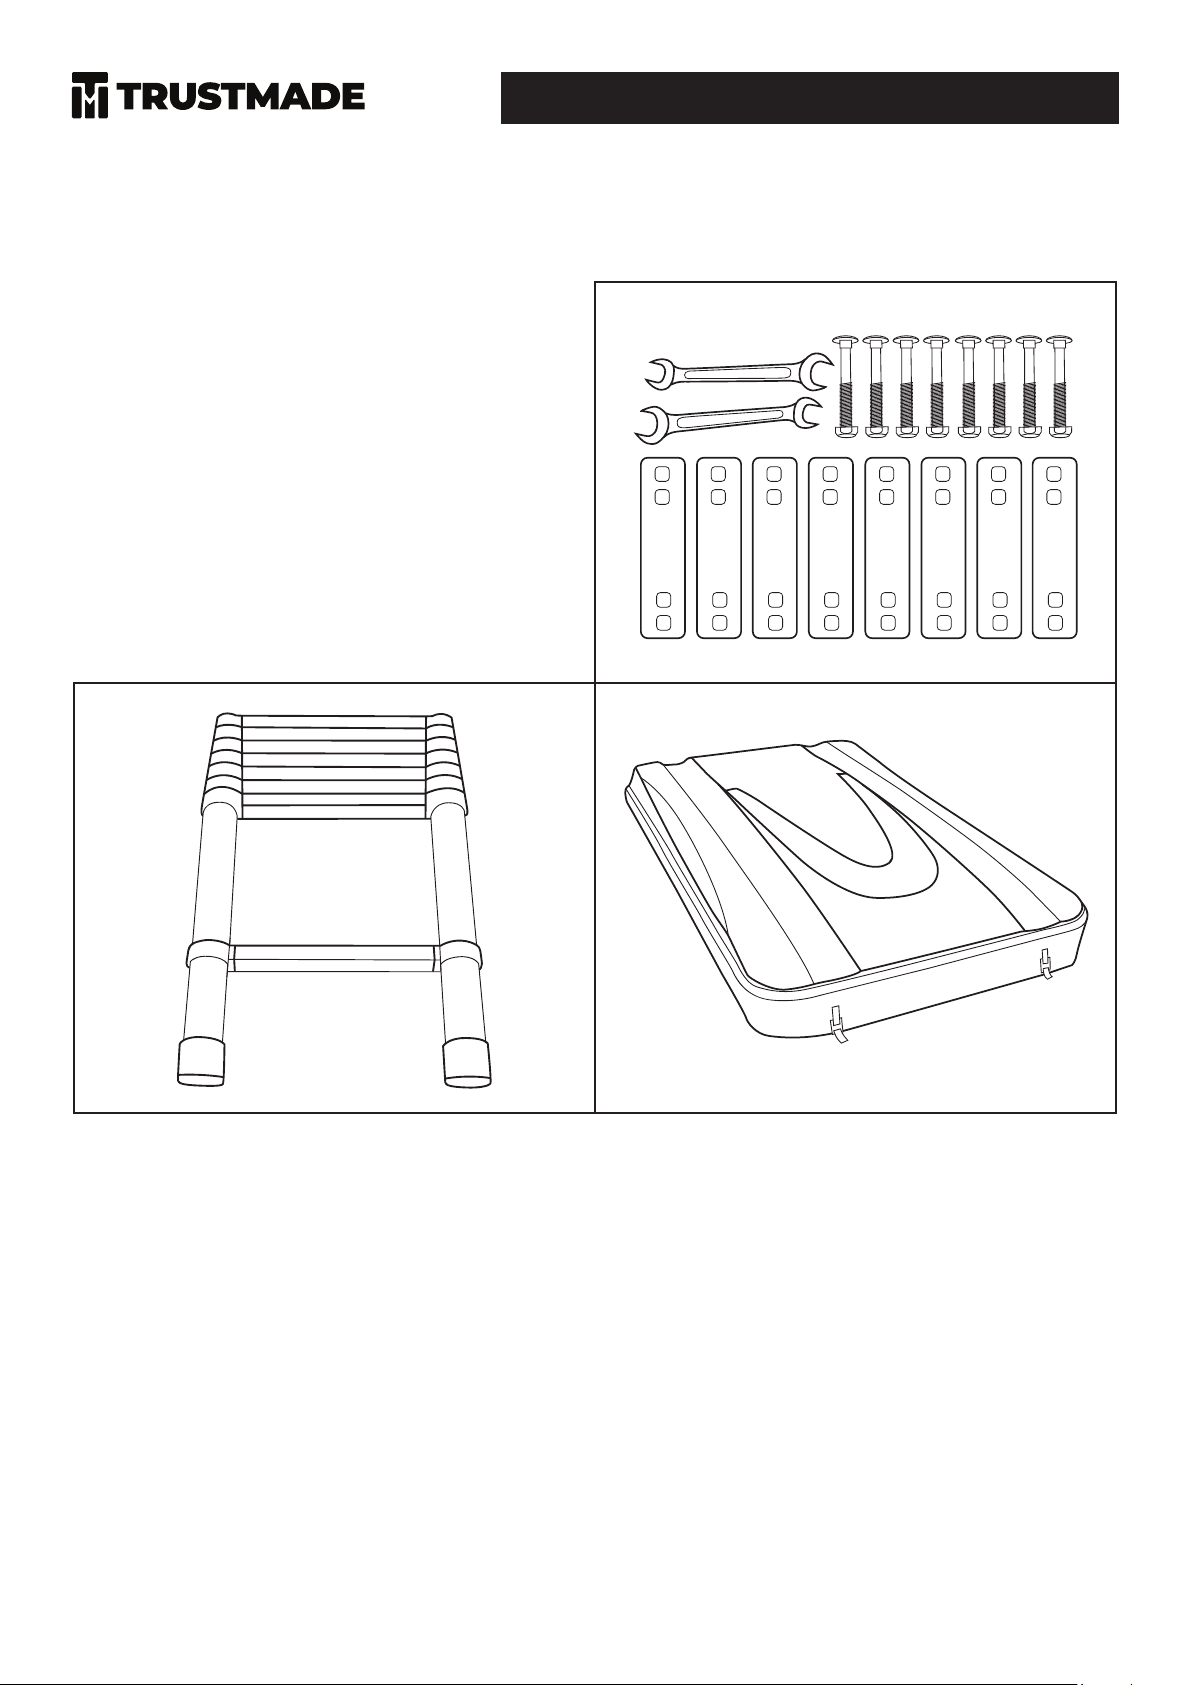
Components
Included in the kit:
1. Roof Top Tent
2. Telescopic Ladder
3. 8x Flat Brackets
4. 8x Bolts & Nuts
5. 2x Spanner
Roof Top Tent Installation Manual
4
Installation Instructions
At least 2-3 people are needed to install the RTT.
Do not try and lift and install our tent on your own.
Page 4
Roof Top Tent Installation Manual
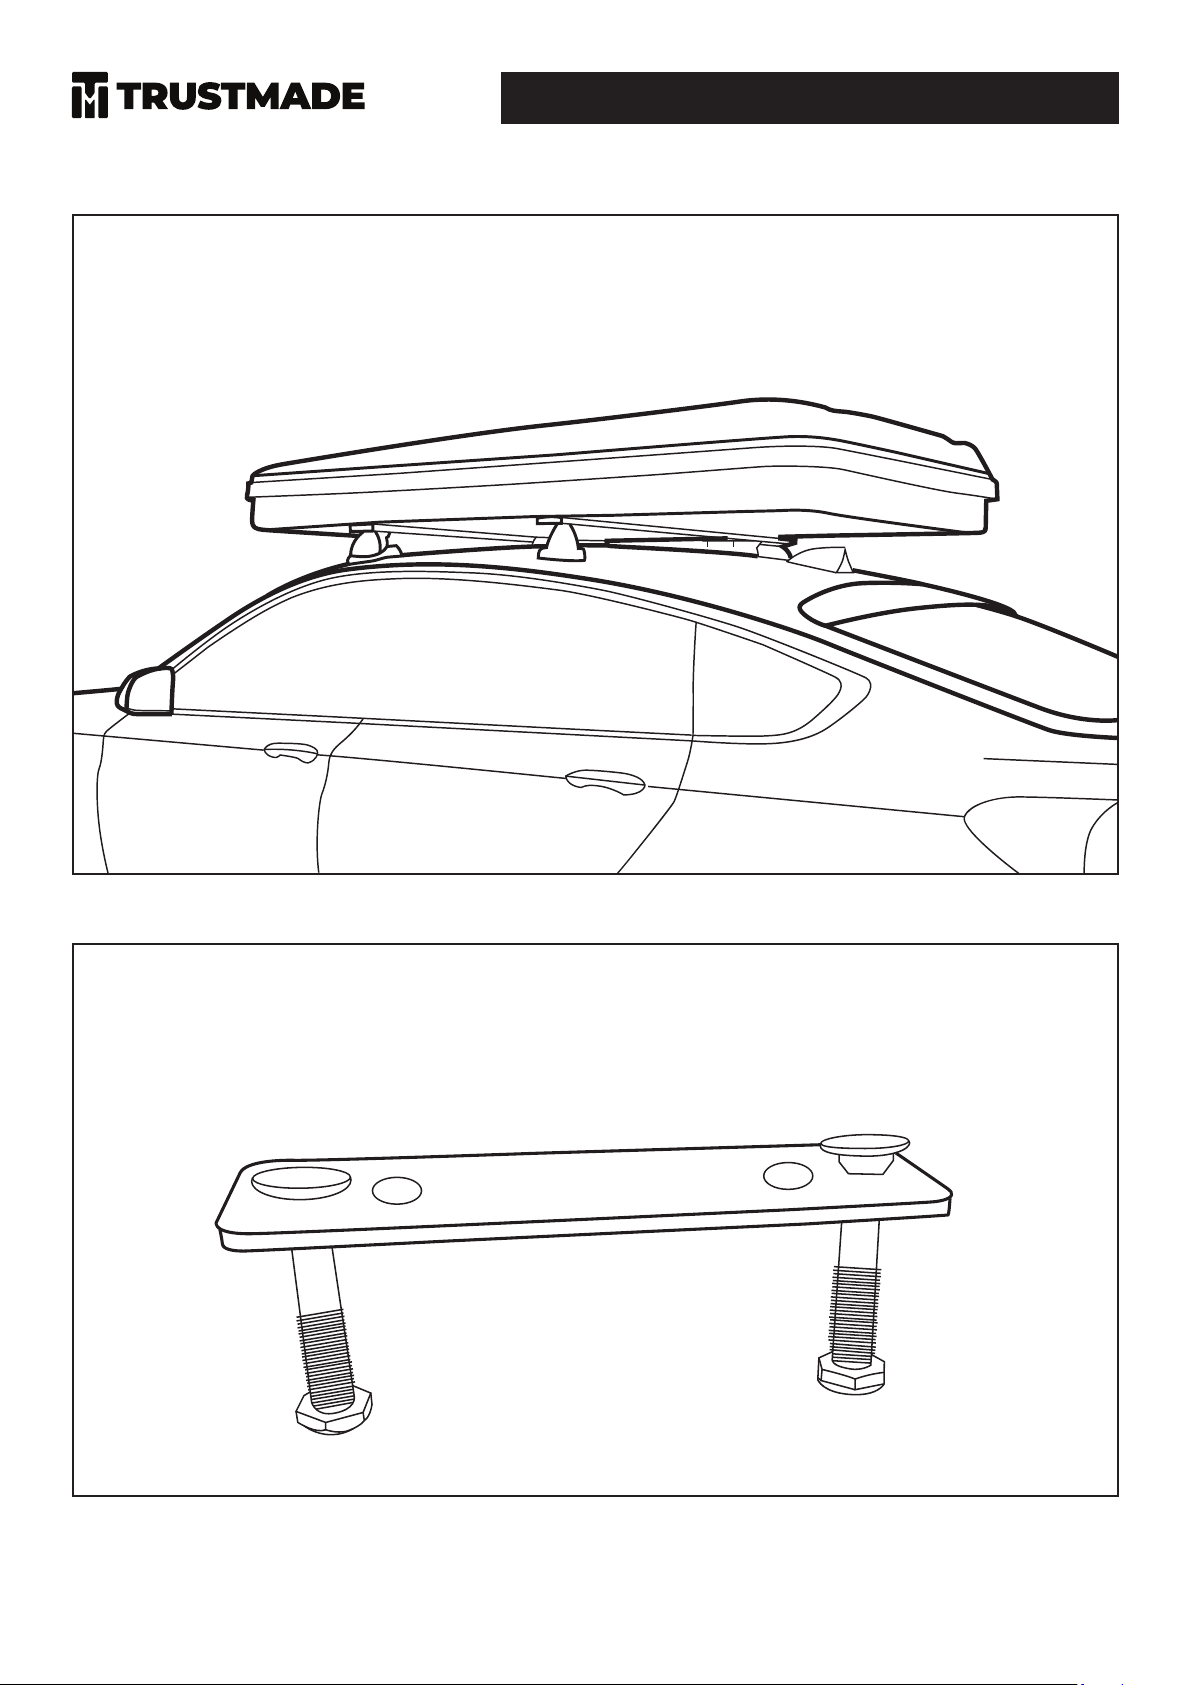
1. Lift the RTT onto your vehicle’s
roof rack. Position so that the
weight is centered evenly over
the roof.
2. Assemble 4 of the at brackets
with 2 bolts each.
5
Page 5
Roof Top Tent Installation Manual
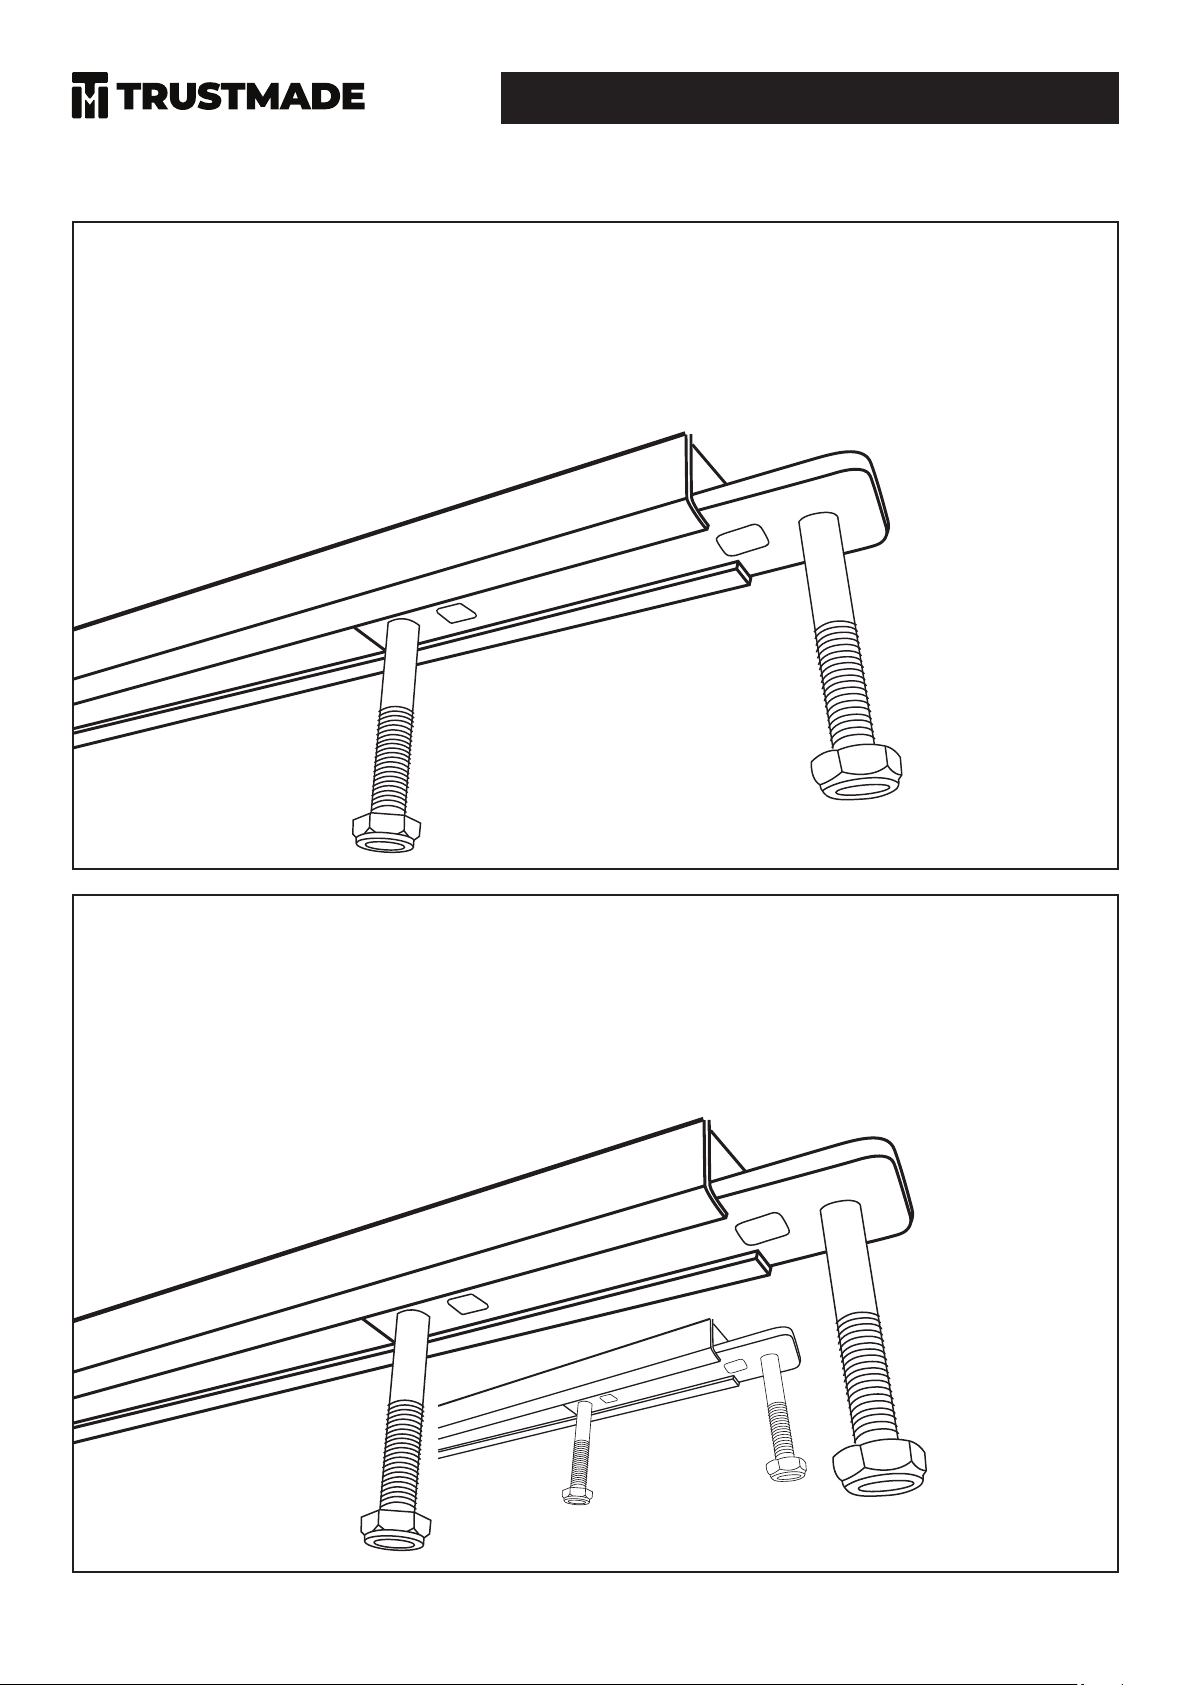
3. With the at brackets assembled, lift
the side of the RTT and slide 2 at
brackets with bolts along each
mounting rail. Slide the at brackets
with bolts along the mounting rails.
4. Connect the 4 remaining at
brackets with 2 nuts each. Tighten
all the nuts, making sure the RTT is
rmly mounted and will not move.
The at brackets should have a
slight bend around the cross bar.
6
Page 6
Roof Top Tent Installation Manual
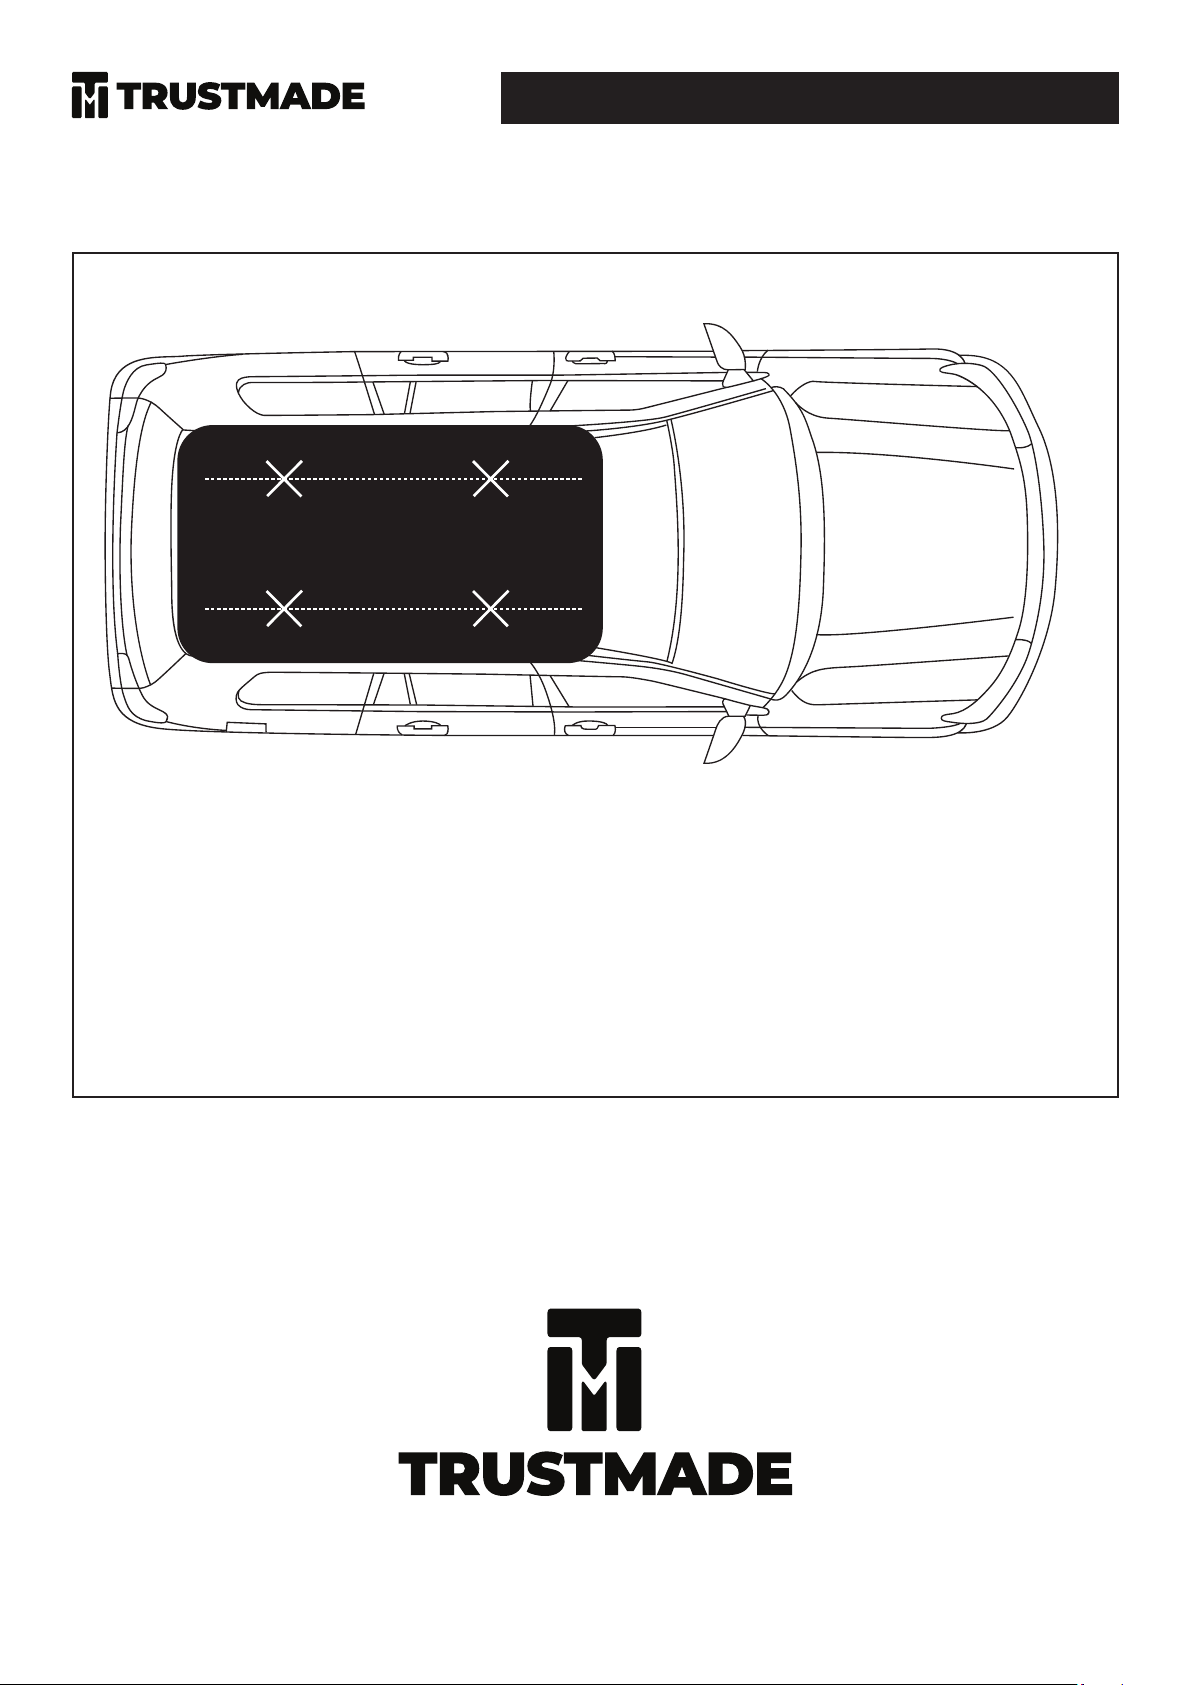
5. The RTT should have 4 spaced,
strong points of contact on the roof
rack. Take the vehicle for a low
speed, short drive. Afterwards,
check all the bolts are secure.
Tighten if required.
7
Page 7

trust-made.co m
 Loading...