

True Fitness Excel Series, Excel ES 5.0, Excel ES 7.0, Excel ES 9.0 Owner's Manual
Excel Series Owner's Manual
Intensive quality control
standards guarantee
excellence in every
phase of production,
resulting in the finest
products available in
the marketplace.
True treadmills are
consistently rated #1
for their smooth, quiet and
comfortable
performance.
True is rapidly becoming the
choice for workouts among
beginners, rehab patients
and top athletes world-wide.
Today True offers a full line
of treadmills, upright and
recumbent bikes, elliptical
trainers, strength and flexibilty
equipment. True is proud to
“Deliver The Best!”
In 1981, Frank Trulaske
launched True Fitness
Technology, Inc. and
began manufacturing
hand-crafted treadmills.
His team’s obsession with
quality has
propelled True to the top
of the industry
and has created
one of America’s oldest,
largest and most
respected
fitness equipment
manufacturers.
Over the years, True has
designed, developed,
patented and fabricated
many new and cuttingedge innovations for
their products: including advanced
features, manufacturing components
and technological breakthroughs.
Thank You For Selecting True
“Our original
goal was to build
the world’s best
treadmills, and
today we believe
we’re doing it!”
-Frank Trulaske

When using this exercise machine, basic precautions should
always be followed, including the following:
Read and understand all instructions and warnings prior to use.
Obtain a medical exam before beginning any exercise program. If
at any time during exercise you feel faint, dizzy, or experience pain,
stop and consult your physician.
Obtain proper instruction prior to use.
Inspect the treadmill for incorrect, worn, or loose components and
do not use until corrected, replaced, or tightened prior to use.
Do not wear loose or dangling clothing while using the treadmill.
Care should be used when mounting or dismounting the treadmill.
Read, understand, and test the emergency stop procedures before
use.
Disconnect all power before servicing the treadmill.
Do not operate electrically powered treadmills in damp or wet
locations.
E X C E L S E R I E S O W N E R ’ S G U I D E
Review for Your Safety
IMPORTANT SAFETY INSTRUCTIONS
2

Do not exceed maximum user weight of 300 lbs.
Keep the top side of the moving surface clean and dry.
Keep children and animals away.
This treadmill is intended for residential use only.
All exercise equipment is potentially hazardous. If attention is not
paid to the conditions of equipment usage, death or serious injury
could occur.
E X C E L S E R I E S O W N E R ’ S G U I D E
Review for Your Safety
IMPORTANT SAFETY INSTRUCTIONS
3
Quick Start into a manual workout by pressing , or set up a
different workout by selecting a workout and adjusting settings if
necessary. Use My Wheel,
keys, or numeric keys and press
to accept each setting.
You can keep tuning your workout setup by repeatedly pressing
to go to the next setting. Your workout starts only when you
press
.
Press
to begin your workout.
Adjust speed or incline at any time by using the dedicated speed
and incline keys on the control pod, or press or and use
My Wheel or numeric keys,
pressing
to accept your adjustment.
Change workouts during your workout by pressing a Quick
Workout key or the Pre-Set Workout key and pressing .
Change data readouts by pressing
.
Pause your workout by pressing
.
Before Your
Workout
During Your
Workout
E X C E L S E R I E S O W N E R ’ S G U I D E
Quick Start Guide
44
Front Section
page 2
1 - Basic
Operation
page 9
2 - Heart
Rate Control
Workouts
page 23
3 - User Programs
page 33
4 - Gerkin
Fitness Test
page 37
5 - HRC Planner
page 41
Appendix A
page 65
Appendix C
page 73
6 - Audio and
Fan Accessories
page 45
7 - Designing an
Exercise Program
page 49
8 - Care and
Maintenance
page 57
Appendix B
page 69
E X C E L S E R I E S O W N E R ’ S G U I D E
Table of Contents
55
Model
Differences
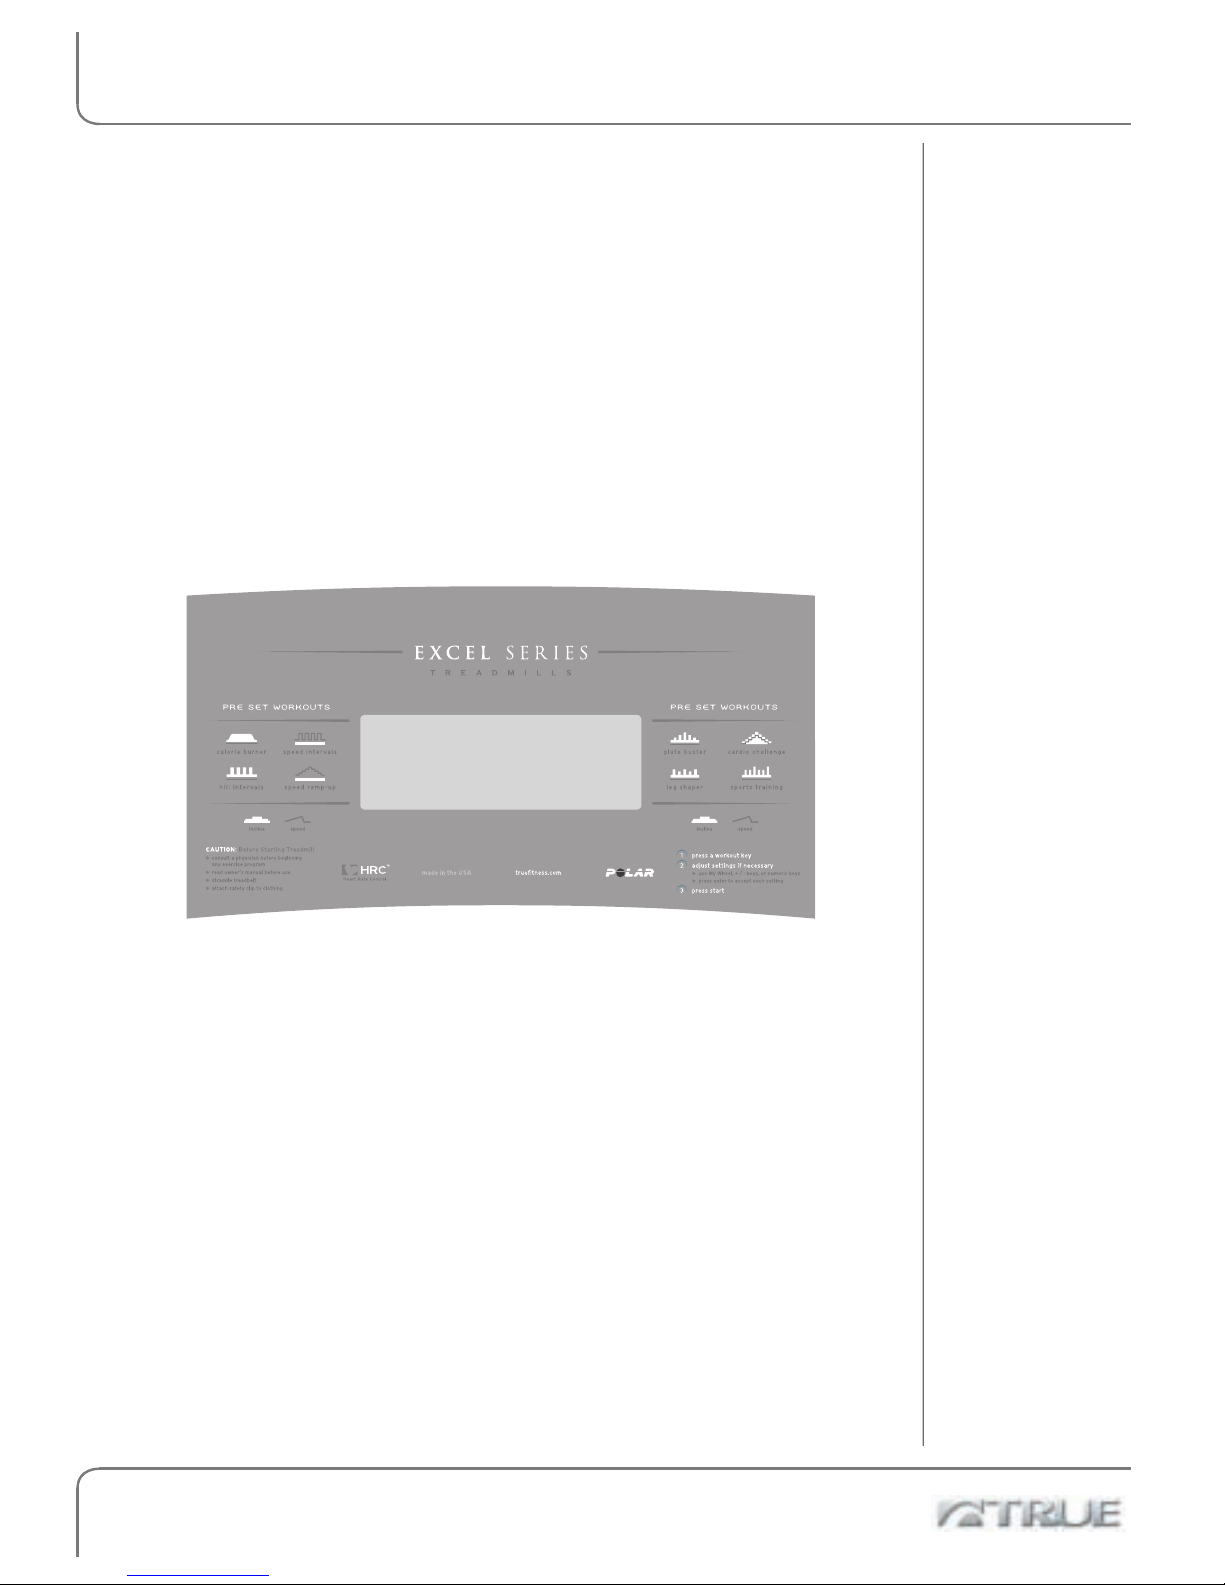
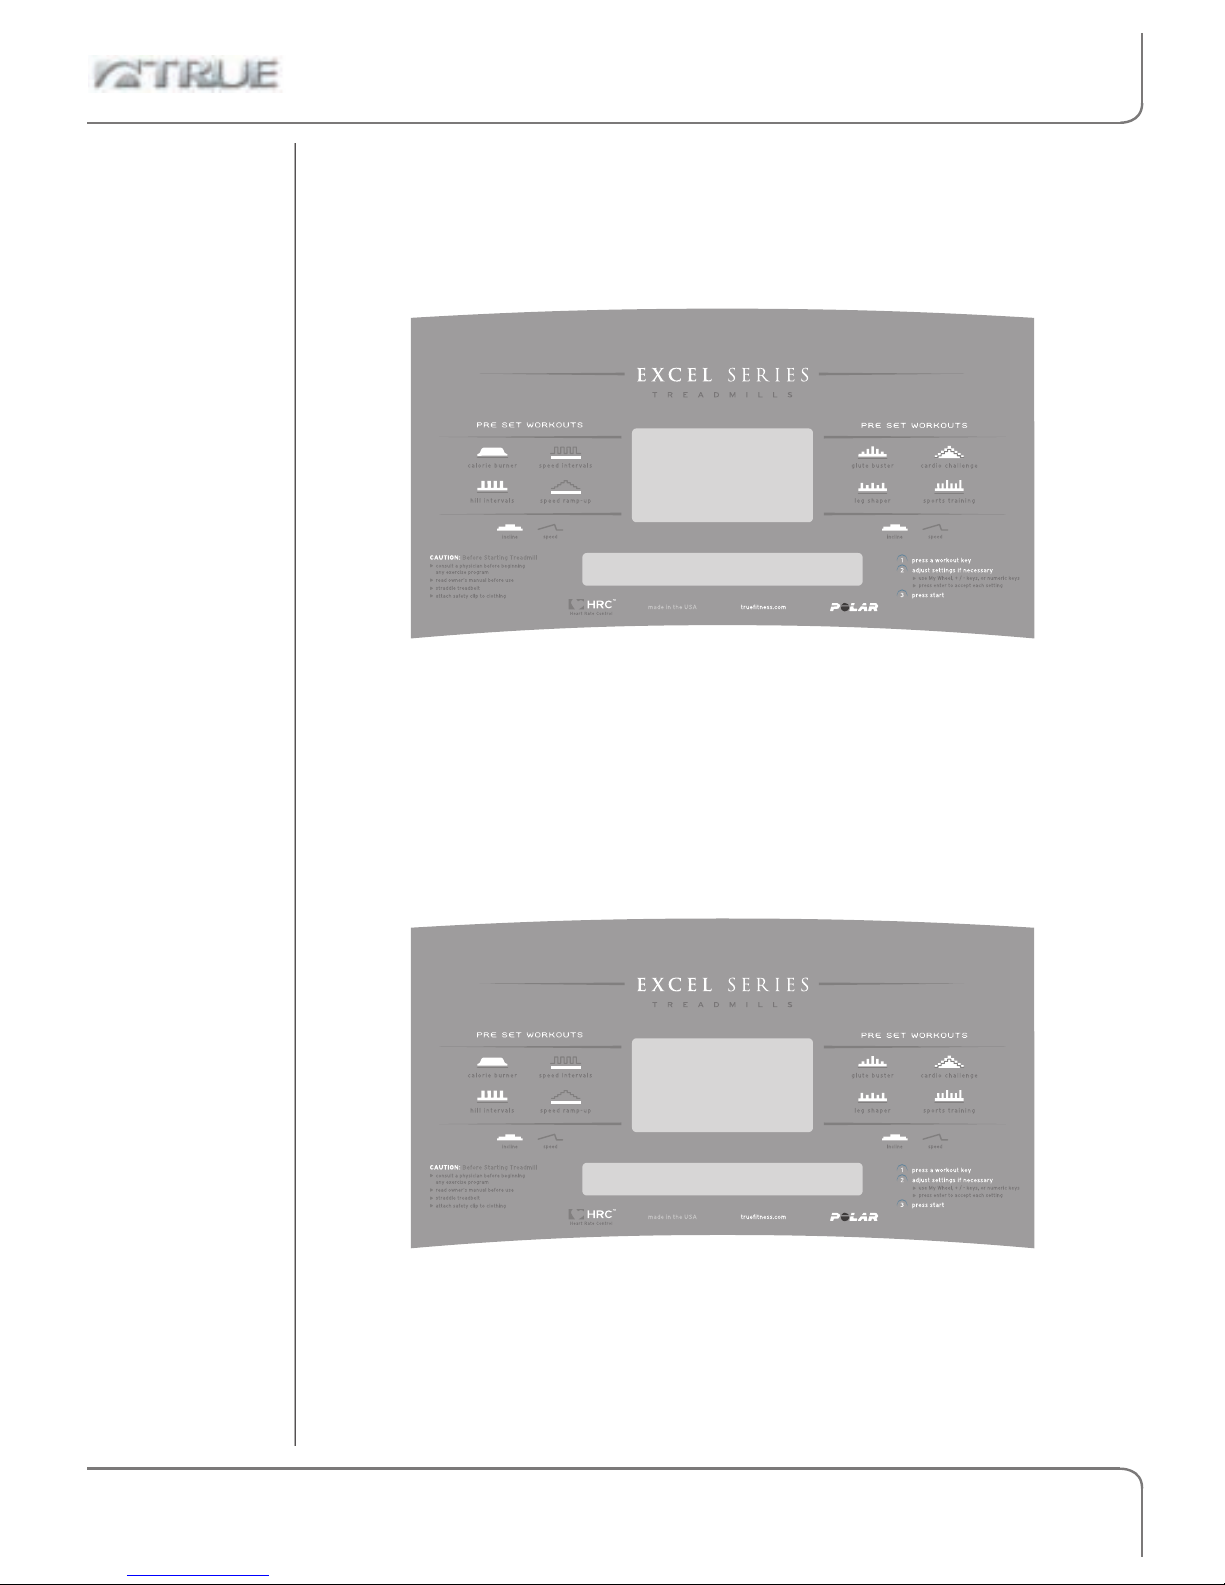
Your new treadmill is part of the True Excel Series treadmills. Since
this owner’s guide covers all four Excel models, you might notice
descriptions of features that are different from your treadmill. The
main differences are in the consoles.
ES 5.0
• Single-window LCD display
• Touch-sensitive keys
• My Wheel Controller
• HRC Planner
• SOFT Select
• Main controls on balance bar pod
• Cooling fans
E X C E L S E R I E S O W N E R ’ S G U I D E
Model Differences
6
ES 7.0
Adds to ES 5.0:
• Dual-window LCD display
• Audio system instead of fans
ES 9.0
Adds to ES 7.0:
• 3% decline
• Cooling fans
E X C E L S E R I E S O W N E R ’ S G U I D E
Model Differences
7

Starting And
Stopping
Your
Treadmill
Safely
Place your feet on the straddle covers.
Attach the safety lanyard to your waistband.
Place the safety key on the key holder.
Set up your workout (see Chapter 1) and press .
Stop the treadmill by reducing speed to 2 mph, then press
.
E X C E L S E R I E S O W N E R ’ S G U I D E
Starting And Stopping the Treadmill Safely
8

Basic Operation
In This Chapter:
My Wheel
Manual Operation Details
Quick Workouts
Quick Speed
Workout Time
Heart Rate Monitoring
Special Workouts
Classic Pre-Set Workouts
Actual Speed Display
chapter one
9
Chapter 1: Basic Operation
Chapter 2: Heart Rate Control Workouts
Chapter 3: User Programs
Chapter 4: Gerkin Fitness Test
Chapter 5: HRC Planner
Chapter 6: Audio and Fan Accessories
Chapter 7: Designing an Exercise Program
Chapter 8: Care and Maintenance
E X C E L S E R I E S O W N E R ’ S G U I D E
Using the Keyboard
CHAPTER ONE: BASIC OPERATION
Selecting Workouts: Press any of the workout keys and press to
begin your workout using the default settings. The Special
Workout keys have multiple choices under each key; press the key
multiple times to access the additional choices.
Before pressing
, you may adjust other settings like Workout
Time and Body Weight, pressing
after adjusting each setting.
Press
at any time to begin your workout. Note that HRC and
HRC Planner workouts require settings adjustments.
Adjusting Settings: Use the numeric keypad, the keys, or My
Wheel (see next page) to adjust numeric settings. Press
to
accept each settings adjustment.
Control Pod / Primary Controls: During your workout, press
to stop the treadbelt and pause your workout. Press
to resume
your workout. Press and hold
to clear your workout.
Change Data Display: During your workout, press
to change
the data displayed.
Safety Lanyard: This magnetized cord must be in place on the
treadmill balance bar location, and should be attached to your
clothing. The treadmill will not operate if the lanyard is not
attached.
Using the
Keyboard
10
E X C E L S E R I E S O W N E R ’ S G U I D E
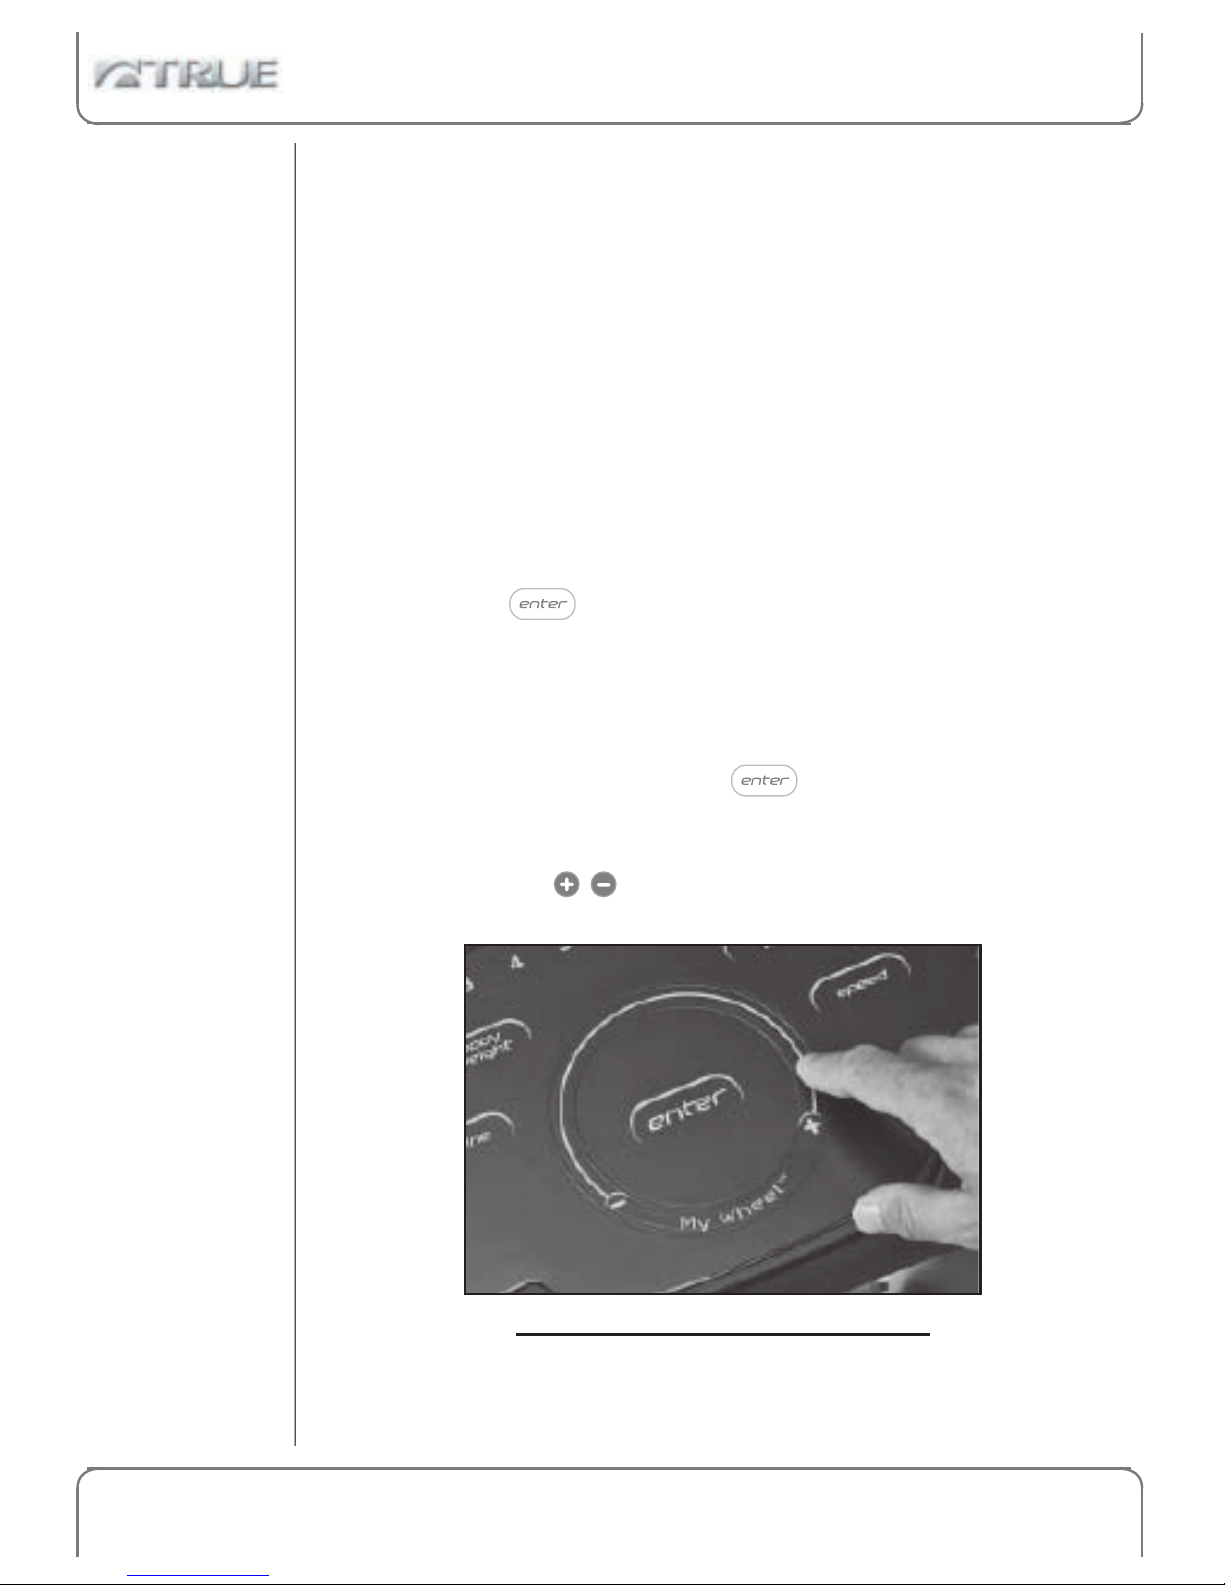
My Wheel is typically used to adjust a numeric value.
Step 1. Press one of the four Settings Keys surrounding My
Wheel. The display will indicate the value and its current
setting, as in:
SPEED = 2.5
Step 2.
Touch your finger anywhere on My Wheel, then drag
your finger clockwise to increase and counterclockwise to
decrease.
Step 3.
Press to accept your value change. If you do not
press enter within 3 seconds, the original value will remain
unchanged.
During Run Mode: Actions on My Wheel perform a change speed
function, requiring the confirming
press as usual.
Note: any values adjustable by My Wheel are also adjustable by the
numeric keys or the keys.
My Wheel
My Wheel
CHAPTER ONE: BASIC OPERATION
11
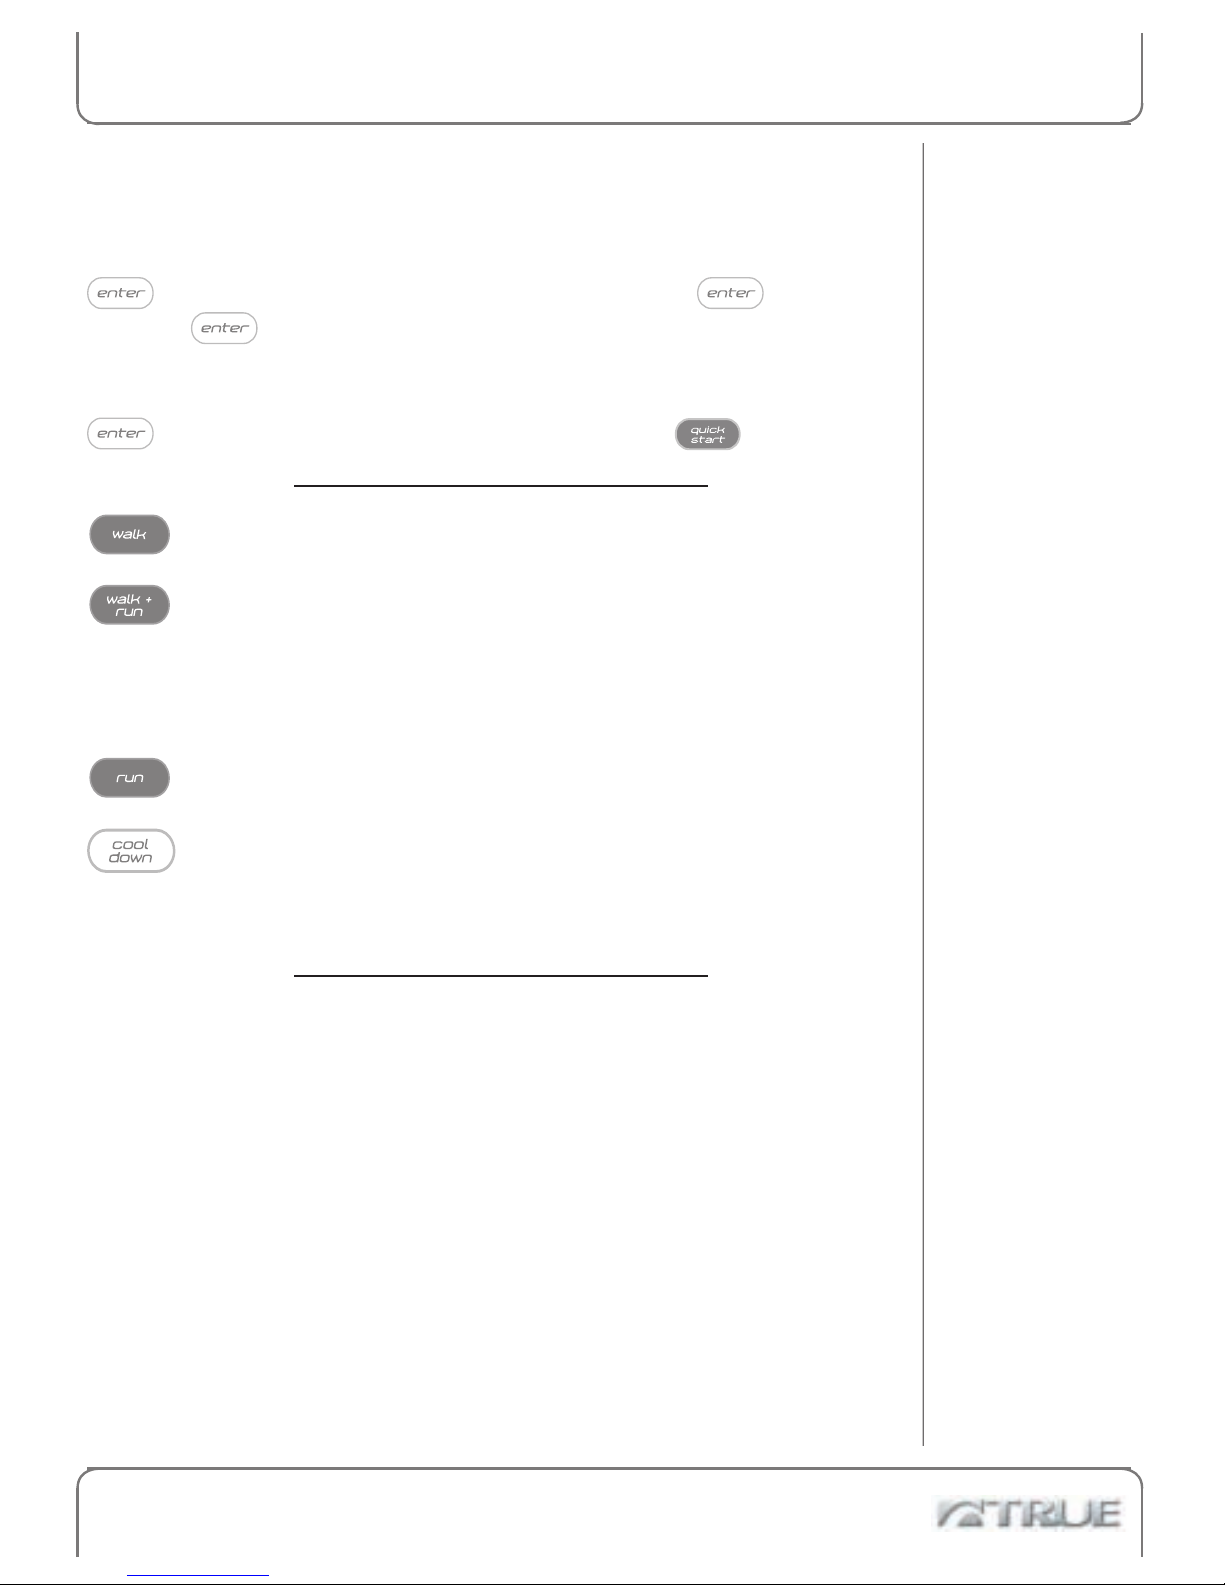
Press Quick Start: Start the treadbelt at 0.5 mph at the default
workout time of 30 minutes.
Setting Time or Distance Targets
: Enter your weight and press
. Now either enter a workout time and press ,
or press
to be prompted for a target distance.
You can keep adjusting your workout setup by repeatedly pressing
. Your workout starts only when you press .
: Press this single key to quickstart the treadmill to 3 mph.
: Press this single key to quickstart the treadmill into the
walk segment of Level 8 Speed Intervals, alternating between 2.2
mph and 5 mph in one-minute increments. See Special Workouts
and Speed Interval workout section for how to change these speeds.
: Quick Starts treadmill to 6 mph.
: Press the Cool Down key to exit your workout into a walk.
The cool-down speed at 0% grade is calculated to be 40% of your
average workout intensity or 2.5 mph, whichever is lower.
Manual
Operation
Details
Quick
Workouts
E X C E L S E R I E S O W N E R ’ S G U I D E
Manual & Quick Workouts
CHAPTER ONE: BASIC OPERATION
12

E X C E L S E R I E S O W N E R ’ S G U I D E
Quick
Speed
Important: Quick speed keys change speed with a single key press,
so take care in the keys you press.
Press , lighting the enable LED. Now the numeric keys
function as speed change keys from 1 mph to 9 mph. Quickspeed
is functional in any workout except fitness tests and Heart Rate
Control.
Disable QuickSpeed by pressing
again.
Press the
key at any time to change your workout time from
the default 30 minutes.
During workout set up, set a correct body weight including clothes
so the treadmill can better estimate your calorie expenditure.
This features lets you adjust the softness of the running surface.
Move the lever on the right side of the treadmill from 1 (softest) to
8 (firmest).
SOFT Select is especially useful to accommodate users of different
weights or those with special physical needs.
Workout
Time
Body Weight
SOFT
Select
Other Settings and SOFT Select
CHAPTER ONE: BASIC OPERATION
13
This treadmill can monitor your heart rate using either the
chest strap provided with the treadmill or the metal grips on the
hand rails (called contact heart rate or CHR pads). A chest strap
transmits your heart rate to the treadmill via radio, and the CHR
pads connect to a special computer circuit to extract your heart
rate.
Although this treadmill functions fine without using the heart rate
monitoring feature, this kind of monitoring gives you valuable
feedback on your effort level. Chest strap monitoring also allows
you to use Heart Rate Control, the most advanced exercise control
system available.
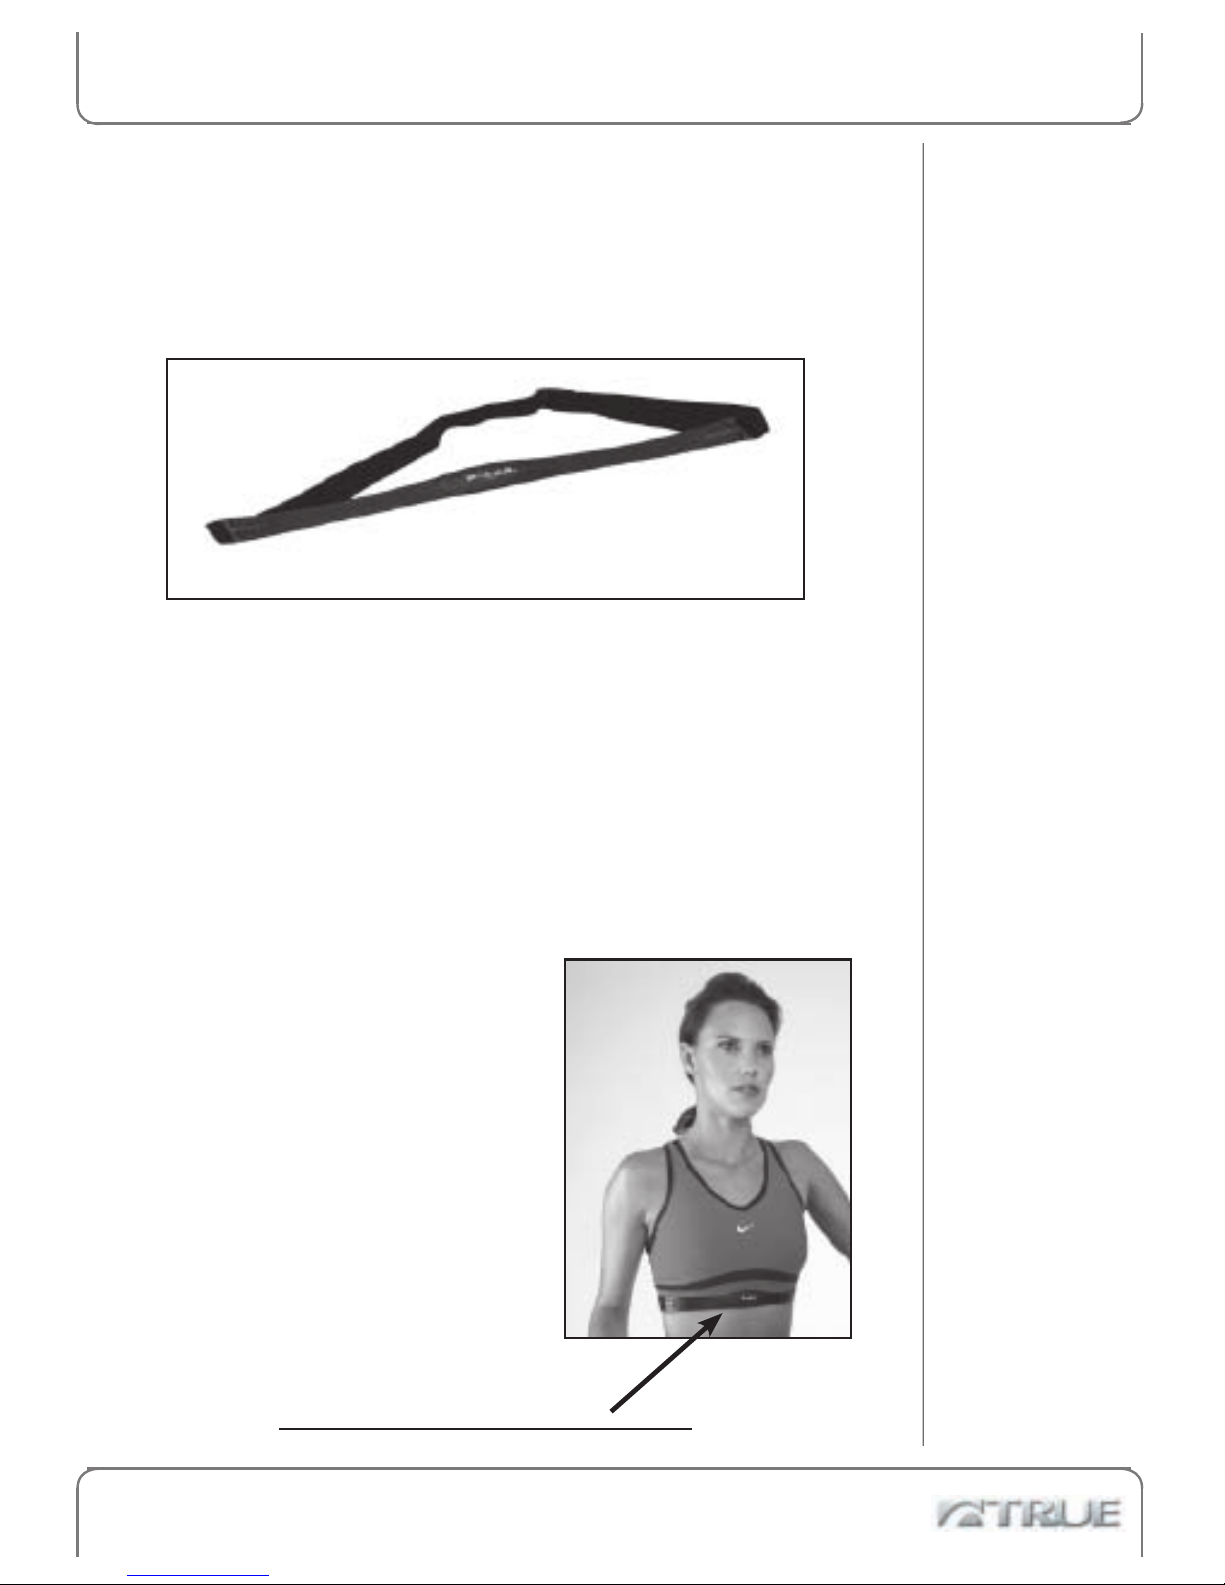
When you wear a Polar
® or compatible transmitter strap, the
treadmill will display your heart rate as a digital beats-per-minute
(bpm) readout.
The transmitter strap should be
worn directly against your skin,
about one inch below the pectoral
muscles/breast line (see picture).
Women should be careful to place
the transmitter below their bra line.
Some moisture is necessary between
the strap and your skin. Sweat
from your exercise works best, but
ordinary tap water may be used prior
to your workout if desired.
Monitoring
Your
Heart Rate
Chest Strap
Heart Rate
Monitoring
E X C E L S E R I E S O W N E R ’ S G U I D E
Heart Rate Monitoring
CHAPTER ONE: BASIC OPERATION
1414
Contact Heart Rate
CHAPTER ONE: BASIC OPERATION
Contact
Heart Rate
(CHR)
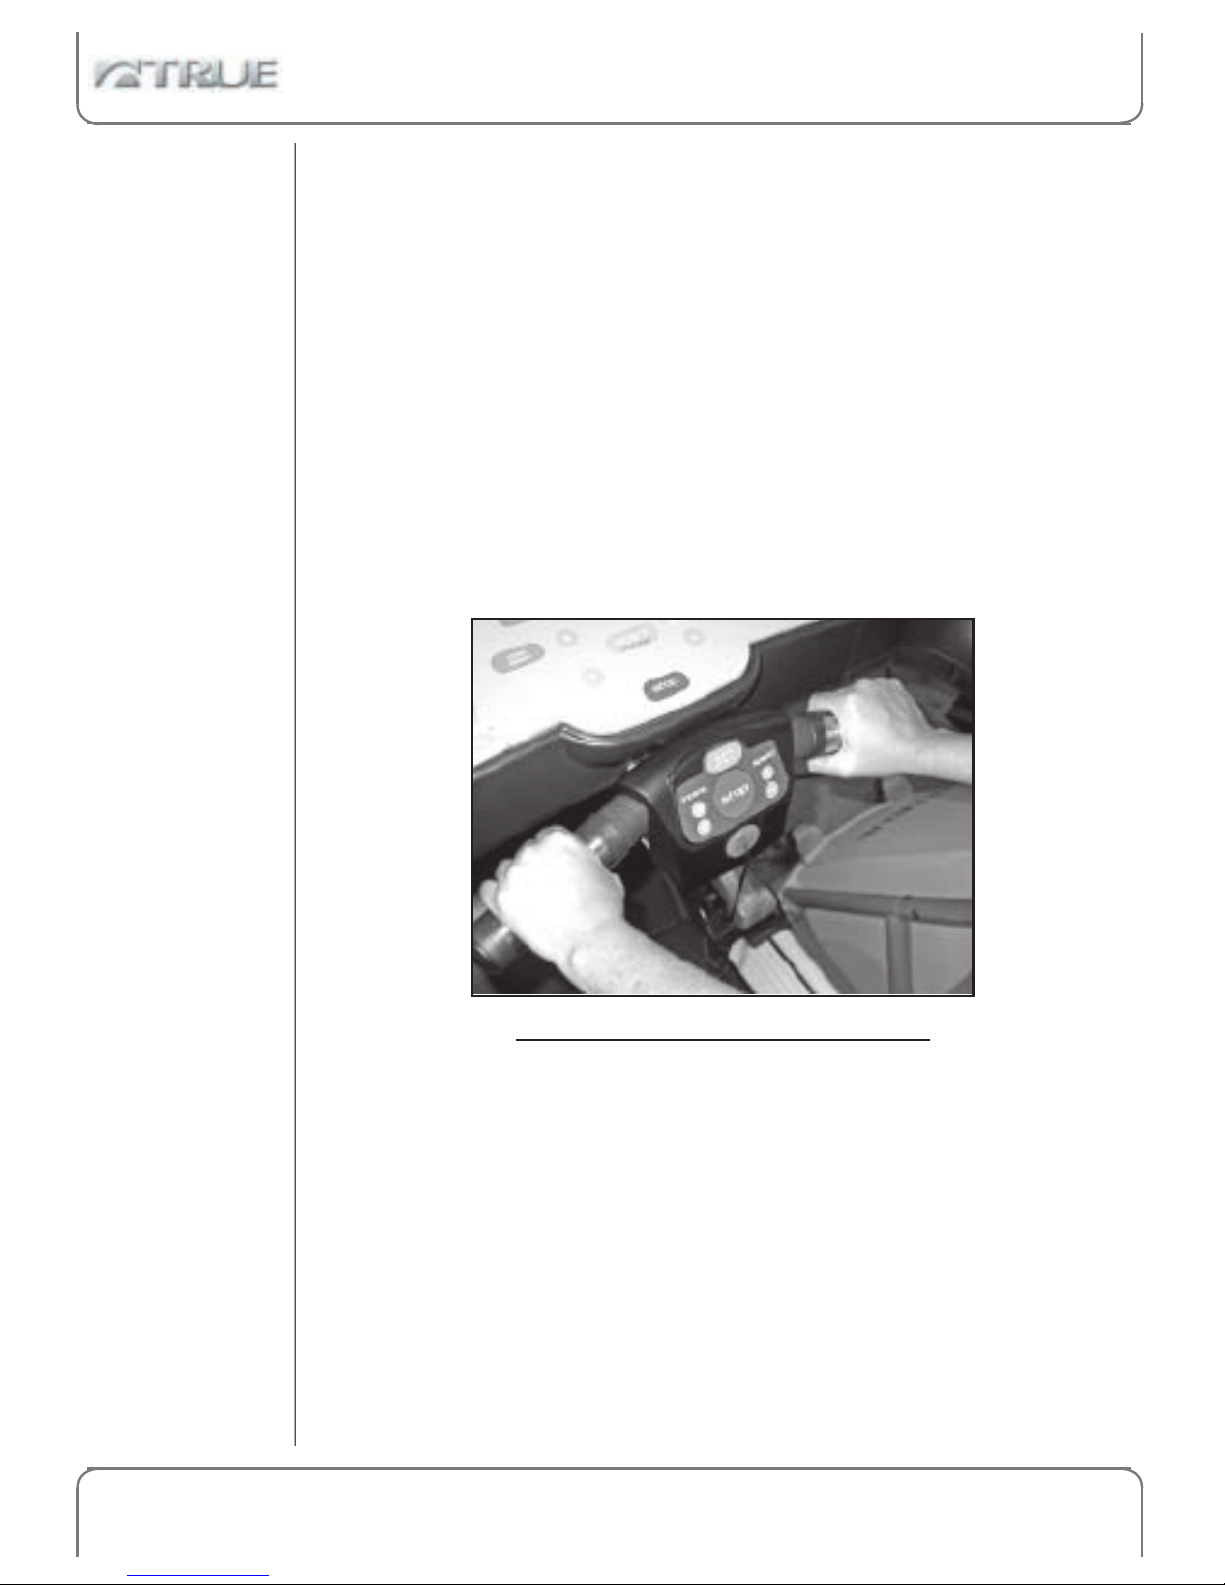
The contact heart rate (CHR) system lets you monitor your heart
rate without wearing a strap.
Gently grasp the contact heart rate pads as shown.
When the system detects your hands, the Heart Rate label will start
flashing in time with your heart beat. During this time, the system is
analyzing and locking in your heart rate. Within about 15 seconds,
your digital heart rate in beats per minute (bpm) should be displayed.
Important: The CHR System should only be used at speeds of
4 mph or lower. Above this speed the CHR accuracy is unavoidably
unreliable due to large muscle movements.
E X C E L S E R I E S O W N E R ’ S G U I D E
15

1. Exercise with smooth body motions.
2. Breathe smoothly and regularly, and avoid talking. (Talking
will cause unrepresentative heart rate spikes of 5 to 10 bpm.)
3. Grip the pads lightly, not tightly.
4. Make sure your hands are clean, free of both dirt and hand
lotions.
5. See Appendix A for more details on Contact Heart Rate
monitoring.
When using a Heart Rate Control workout, it is best to use chest
strap monitoring. These workouts work best with the extra
accuracy gained from a chest-contact heart rate monitoring system.
For Best
CHR Results
Contact Heart Rate
CHAPTER ONE: BASIC OPERATION
16
E X C E L S E R I E S O W N E R ’ S G U I D E

A Note on CHR Accuracy
CHR monitoring may be a bit less accurate than a
chest strap, since the heart rate signals are much
stronger at the chest.
About 5% of the population cannot be picked up
by any CHR system. This is because their heart is
positioned in a more up-and-down manner in their
chest, as opposed to leaning over to one side.
E X C E L S E R I E S O W N E R ’ S G U I D E
Contact Heart Rate
CHAPTER ONE: BASIC OPERATION
17
Each workout has a four-minute warm up and a two-minute cool
down. Speed or grade changes stay in effect until the next change
is requested by the program. Changing the default workout time
adds or removes segments; it does not stretch or compress the
workout profile.
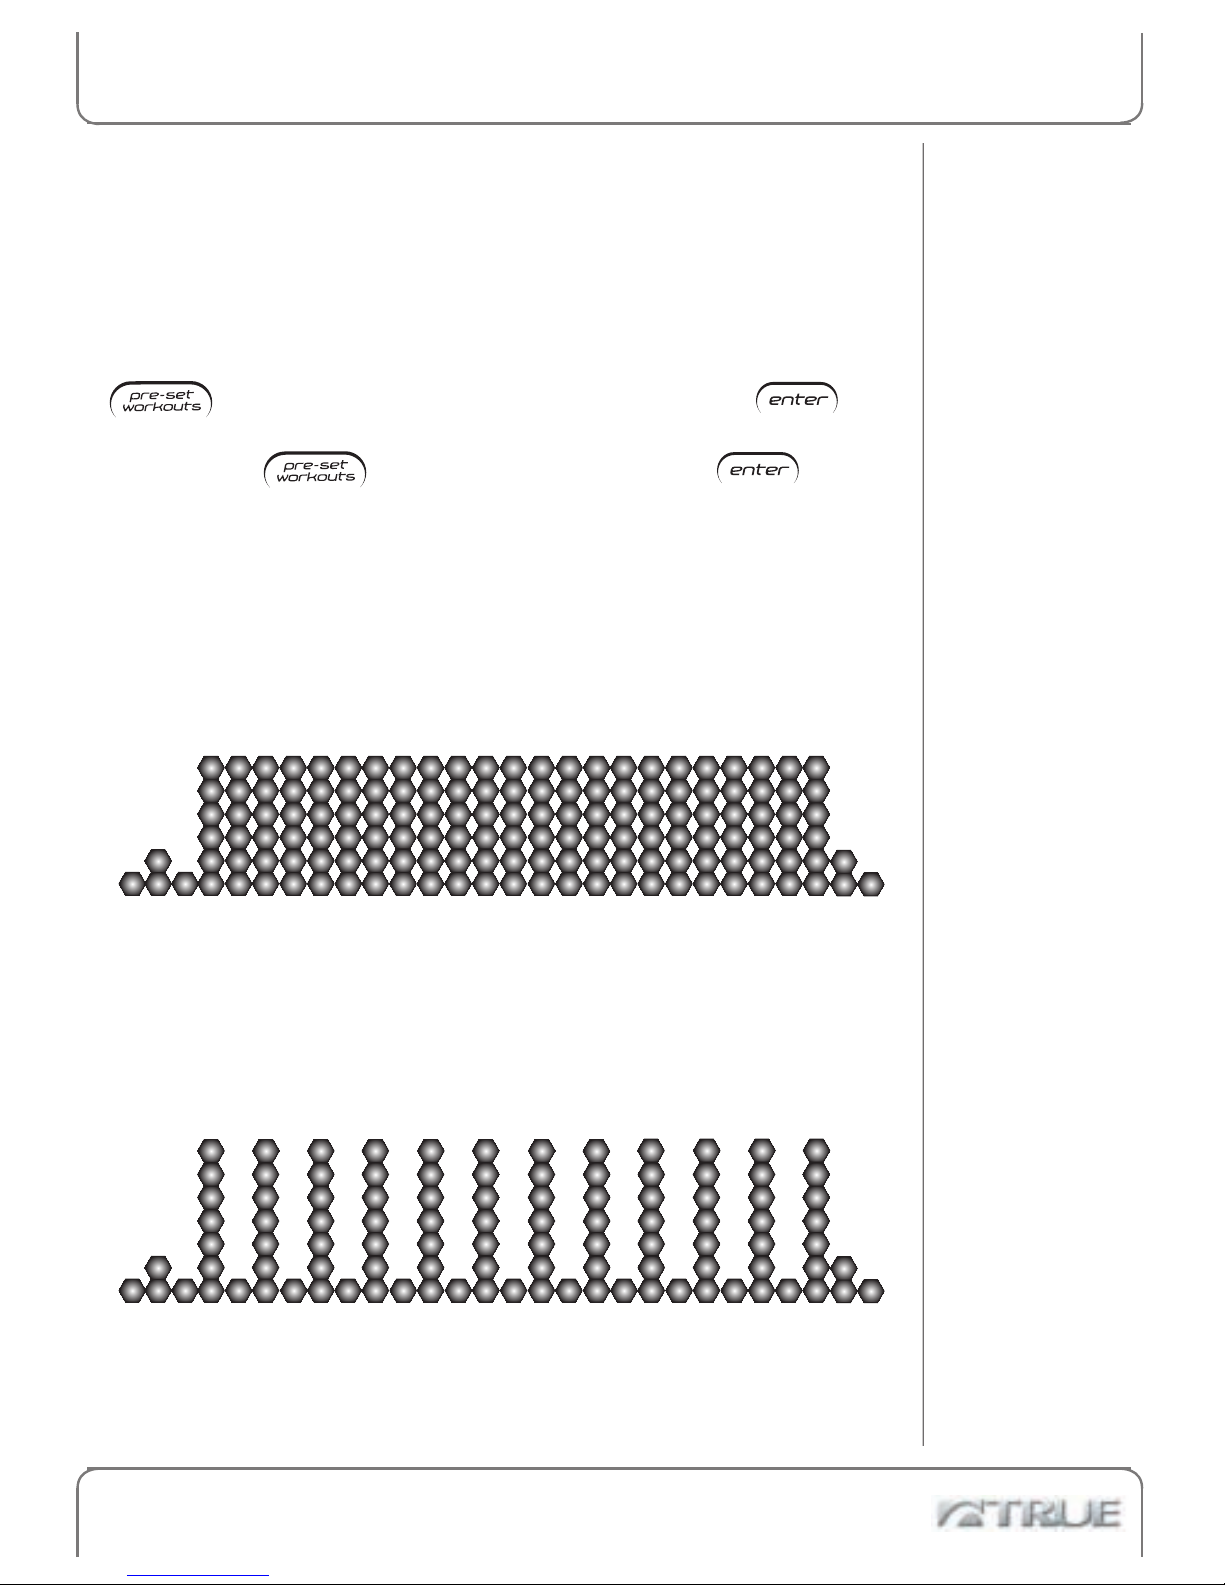
Change workout levels during your workout by pressing the
key, adjusting the numeric level, then pressing .
Change to a new pre-set workout during your workout by
pressing the
key repeatedly and pressing at your
desired workout.
In a walking workout, all speeds are under 4 mph. Increasing
levels increases speed from 2 to 4 mph and grade from 4% to 10%;
speed and grade stay constant in the work section. Speed or grade
changes in the work section are permanent
Walking intervals with grade alternate between hills and nearly
flat in two-minute segments. Speed changes are permanent; grade
changes affect the current two-minute segment only.
Pre-Set
Workouts
Walking:
Calorie Burn
Walking:
Hill Intervals
Changes in Grade
Changes in Grade
Special Workouts
CHAPTER ONE: BASIC OPERATION
18
E X C E L S E R I E S O W N E R ’ S G U I D E
Zero-grade walking or running intervals are in one-minute
segments. Grade changes are permanent; speed changes affect the
current one-minute segment only.
Zero-grade gradually increases speed then decreases speed,
changing once per minute. Grade changes are permanent; speed
changes affect the current one-minute segment only.
Changes in Speed
Changes in Speed
Walking and
Running:
Speed
Intervals
Walking and
Running:
Speed Ramp
RIDING YOUR TS1
E X C E L S E R I E S O W N E R ’ S G U I D E
Special Workouts
CHAPTER ONE: BASIC OPERATION
19
These are True’s original four pre-set workouts. Changing the
workout time stretches and compresses the workout profile, in
contrast to the four new pre-set workouts. Other differences are
explained below in the individual workout sections.
Incline changes in varying amounts; the new Hills workout has
hills of the same size all throughout the workout.
Very similar to Hill Intervals, with varying incline changes.
Similar to Speed Ramp, except both speed and grade change.
Glute Buster
Leg Shaper
Cardio
Challenge
Classic Pre-Set Workouts
CHAPTER ONE: BASIC OPERATION
20
E X C E L S E R I E S O W N E R ’ S G U I D E
= Incline
= Speed
 Loading...