

Page 1
Font Card Kit Quick-Start Guide
READ ME FIRST
Installation Instructions for
TROY Font Card Kit
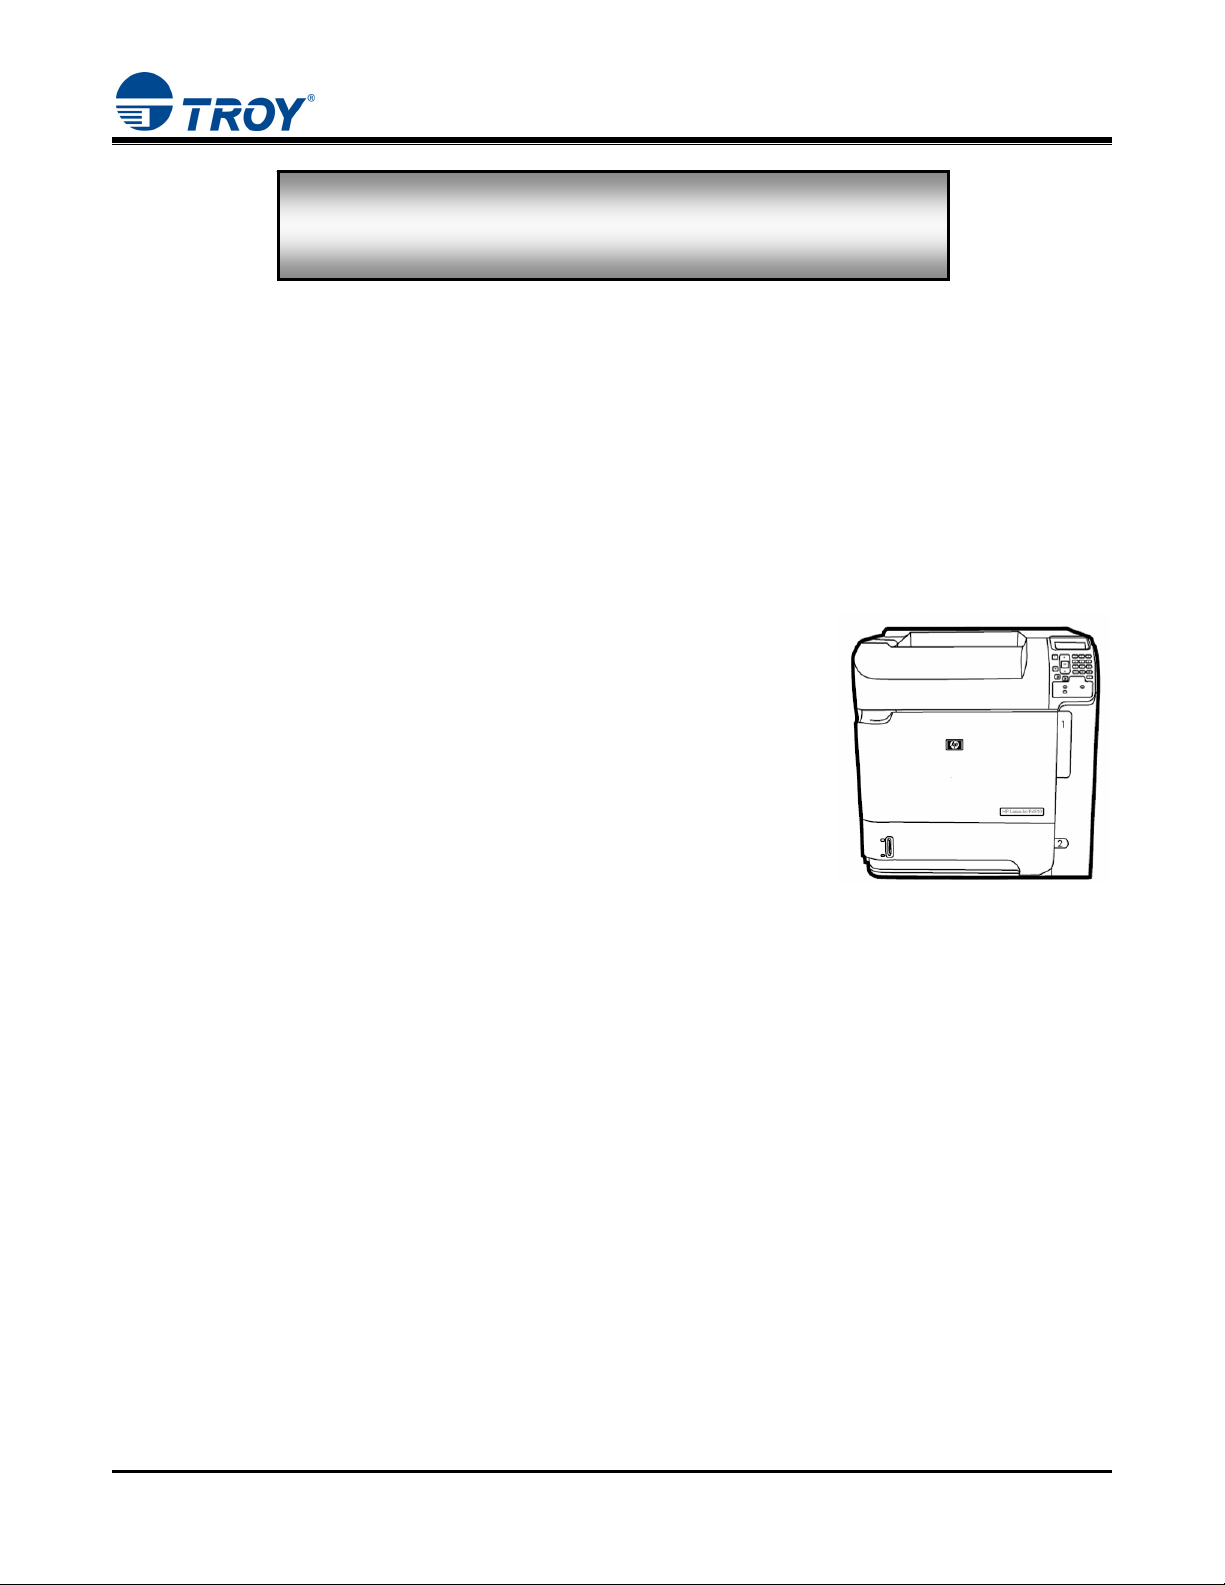
(For use with Hewlett-Packard LaserJet 4014, 4015, and 4515 Series Printers)
Introduction
Use the Hewlett-Packard CD to install the printer drivers, and use the TROY Font Card Kit CD to install the
TROY support files. To ensure successful installation of your TROY Font Card Kit, perform the following
steps in sequential order. The documentation and installation files contained on the TROY Font Card Kit CD
will be needed in the event that your printer is reinstalled in a new location or after service has been performed.
Package Contents
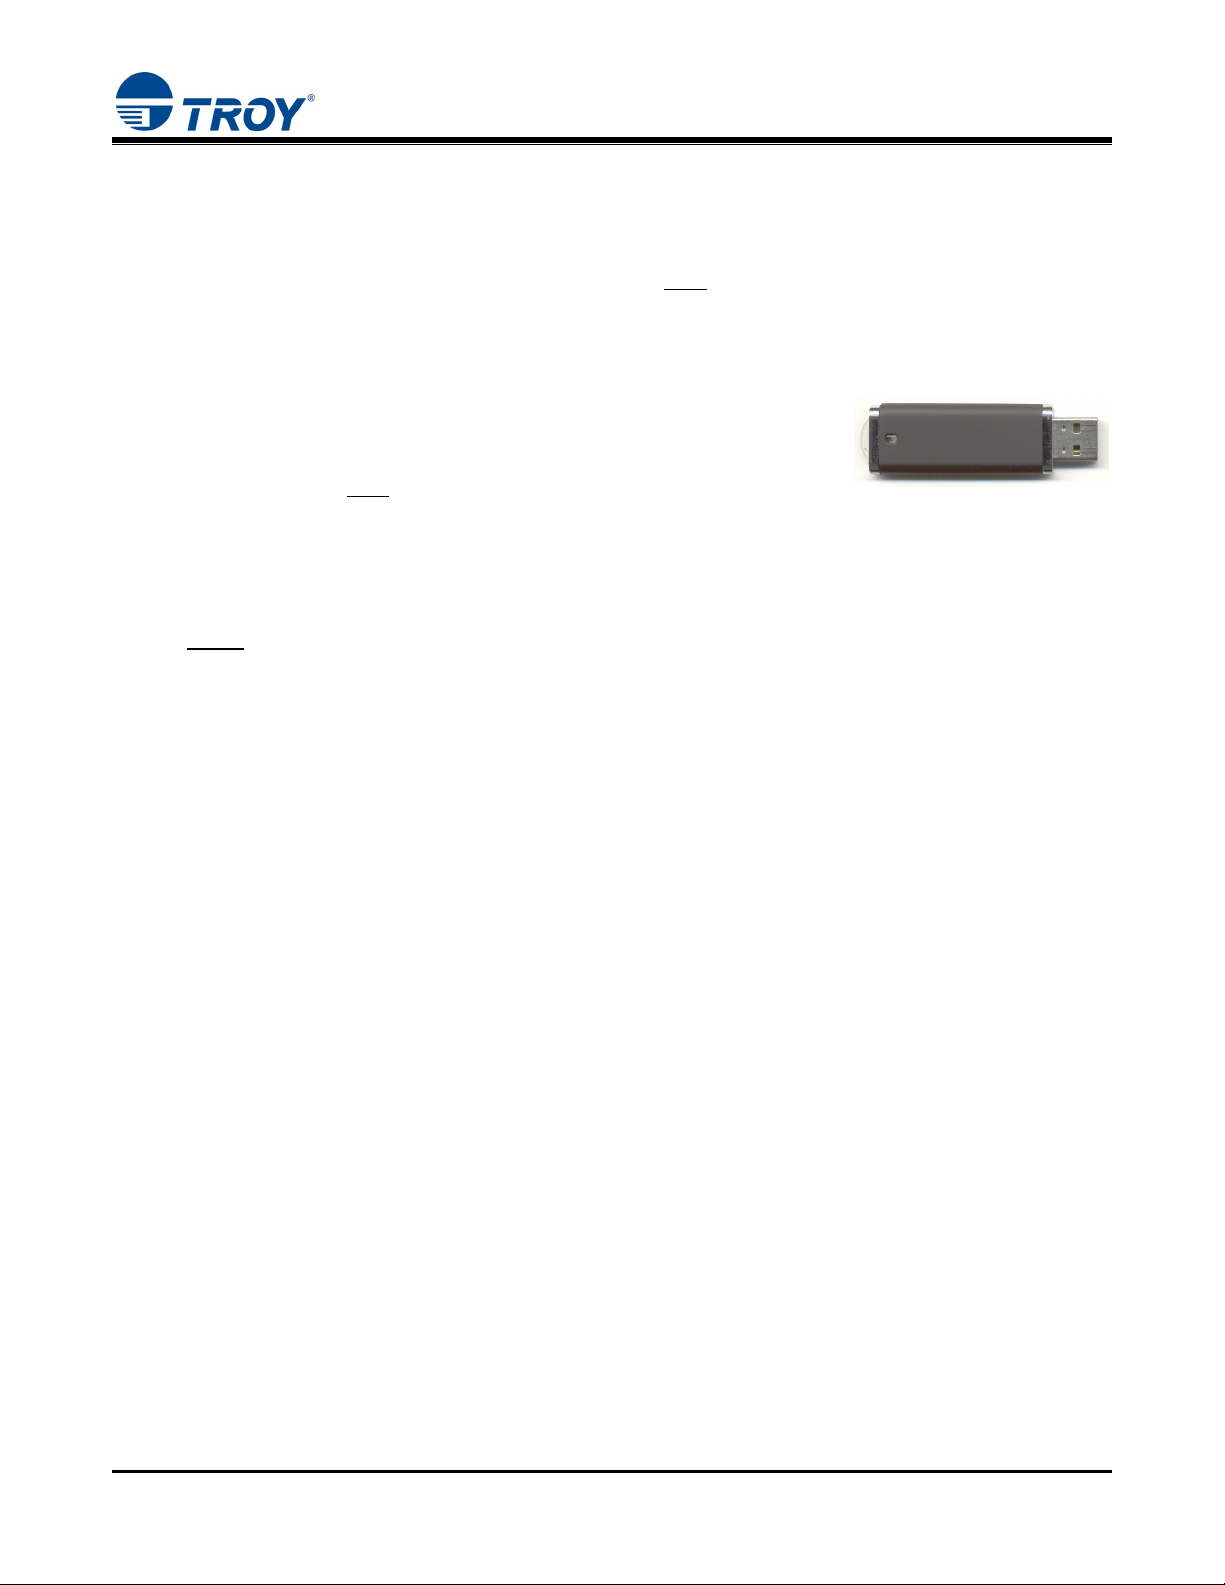
• TROY Font Card (USB-based module)
• TROY Font Card Kit CD
• TROY Security Printing Solutions Information Sheet
• TROY Software License Agreement
• TROY MICR Document Template
• TROY Font Card Kit User’s Guide (provided in PDF format on the CD)
• TROY MICR Basics Handbook (provided in PDF format on the CD)
TROY Font Card Kit Quick-Start Guide (this document)
•
IMPORTANT: Each TROY Font Card is designed for a specific HP LaserJet printer model
(4014, 4015, or 4515) and is not interchangeable between printer models.
Document #50-70408-003 Rev. A Page 1 of 8
Page 2
Font Card Kit Quick-Start Guide
STEP 1: Install the TROY MICR Toner Cartridge and TROY Font Card
1. Be sure to install a TROY MICR toner cartridge (purchased separately from TROY) in the same manner
as described for the standard Hewlett-Packard toner cartridge (refer to your Hewlett-Packard Getting
Started Guide for details). A MICR toner cartridge must
MICR documents. For best results, TROY MICR toner cartridges are recommended. TROY’s highquality MICR toner is specifically designed for the MICR fonts contained on your TROY Font Card.
2. Install the TROY Font Card USB-based module (supplied with your
TROY Font Card Kit) by using the TROY Font Card installation
instructions provided in the Appendix of the TROY Font Card Kit
User’s Guide in PDF format on the TROY Font Card Kit CD. The
TROY Font Card must
be installed before proceeding to Step #2 below.
be installed in your printer in order to print
STEP 2: Install the HP PCL 5e Printer Driver for Microsoft
NOTE: Use the HP installation CD supplied with your HP 4014, 4015, or 4515 LaserJet printer to
Install the PCL 5e printer driver on the host computer. Some software screens may differ
in appearance between operating systems.
®
Windows™
1. Close all applications before installing the HP PCL 5e printer driver.
2. Insert the Hewlett-Packard installation CD into your computer CD-ROM drive. The CD will start
automatically. Follow the on-screen prompts to perform the installation.
3. Once the HP PCL 5e printer driver has been successfully installed, remove the HP CD from your CD-
ROM drive and insert the TROY Font Card Kit CD into your CD-ROM drive. Proceed to the next
section.
Document #50-70408-003 Rev. A Page 2 of 8
Page 3

Font Card Kit Quick-Start Guide
STEP 3: Install the TROY
NOTE: The Hewlett-Packard PCL 5e printer driver must be installed on the host computer prior to loading the
TROY support files (refer to STEP 2 on the previous page).
Support Files for Microsoft® Windows
™
The TROY metrics file contains the required escape sequences that are used to “call” the TROY security and/or
optional barcode fonts installed in your TROY Security Printing Solution (via the TROY Font Card). When
properly installed, the TROY metrics file will be associated with the PCL 5e printer driver used by your
Hewlett-Packard printer to enable printing of the TROY MICR and security fonts installed in the printer. By
associating the metrics file with the printer driver, the TROY TrueType screen fonts will be automatically
replaced with the TROY MICR and security fonts at print time. If the TROY metrics file is not properly
installed, the TROY TrueType screen fonts will print in place of the TROY MICR and security fonts.
Install the TROY Metrics File
1. Close all applications before installing the TROY Font support files.
2. Insert the TROY Font Card Kit CD into your computer CD-ROM drive.
3. From the Microsoft Windows Start menu, click on Settings, and then click on Printers.
4. Right-click on your HP 4014, 4015, or 4515 printer icon, and then click on Properties from the pull-
down menu. If multiple printers are installed, make sure the correct printer icon is selected that
corresponds to your HP printer.
5. Click on the Device Settings tab located at the top of the Properties window.
6. Click on External Font (under the Font Substitution Table category), and then click on the Properties
button.
7. Click on the Browse button to open the drive selection window. Double-click on the appropriate drive
letter to select the CD-ROM drive on your computer.
8. Double-click on the Support Files folder from the list of folders, double-click on the PCM Files folder,
double-click on the Domestic folder, and then click on OK to close the drive selection window. For
international products, double-click on the International folder.
9. Use the SHIFT key to select all the fonts located in the left-hand window named TROY Auto-Protect,
TROY PCM7, etc., and then click on Add to add those fonts. If you want to add an individual font, just
highlight that specific font name and click on the Add button. All the added fonts should be displayed
in the right-hand window.
NOTE: If the barcode option was purchased, repeat Steps 8 through 10. Choose the TROY Barcode PCM
file from the Barcode folder.
10. Close all remaining open windows. Please refer to the TROY Font Card Kit User’s Guide, Section 3 –
Using TROY Fonts before using the installed fonts.
NOTE: Windows 2000/XP operating systems do not require installation of the TROY screen fonts.
Document #50-70408-003 Rev. A Page 3 of 8
Page 4

Font Card Kit Quick-Start Guide
Install the TROY Screen Fonts for Windows™ 98SE, ME Operating Systems
In addition to the TROY printer fonts that are permanently programmed into your TROY Font Card, the
TROY screen fonts have been developed for display use only as a visual reference and for making
positional adjustments to the MICR line. The TROY screen fonts display differently than the actual printer
fonts to prevent unauthorized printing using the MICR screen fonts on other Windows-installed printers.
If the E-13B MICR screen font is used for printing, the inversely printed (white characters on black
background) MICR screen font will not be readable by the bank reader/sorter machines. The uniquely
displayed screen fonts ensure that the MICR font printed on your MICR documents is generated by a TROY
Security Printing Solution and not
provided on the TROY Font Card Kit CD supplied with your TROY Font DIMM Kit.
NOTE: Windows 2000/XP operating systems do not require installation of the TROY screen fonts.
1. Close all applications before installing the TROY support files.
2. Insert the TROY Font Card Kit CD into your computer CD-ROM drive.
3. From the Start menu, click on Settings, and then click on Control Panel.
4. Double-click on the Fonts folder icon.
from a Windows TrueType™ screen font. The TROY screen fonts are
5. Click on File, and then click on Install New Font… A new window labeled Add Fonts will open and
then a Windows Explorer-style window will open.
6. Click on the down-arrow in the Drives box to select the CD-ROM drive on your computer. Double-
click on the Support Files folder from the list of folders, double-click on the HPD Files folder, and then
double-click on the Domestic folder. For international products, double-click on the International
folder.
7. A list of TROY fonts will be listed within the List of Fonts section. Click on Select All to highlight all
available fonts, and then click on OK. A processing window may appear while the installation process
proceeds. Individual fonts may be selected if all the fonts are not needed.
8. Repeat Steps 5 through 7 to install the barcode screen fonts. Double-click on the Support Files folder,
double-click on the HPD Files folder, and then double-click on the Barcode folder. Within the List of
Fonts section, click on Select All to highlight all available barcode screen fonts, and then click on OK.
A processing window may appear while the installation process proceeds.
9. Close all remaining open windows. The TROY screen fonts are now installed.
NOTE: For International customers, the International numeric fonts are not resident on the
TROY Font Card. These fonts are located on the TROY Font Card Kit CD in the
“\Support Files\HPD Files\International\Fonts” folder and can be added to the TROY
Font Card using the TROY Printer Utility – Download Soft Fonts Option. These fonts
are designed as non-scalable bitmapped fonts.
Document #50-70408-003 Rev. A Page 4 of 8
Page 5

Font Card Kit Quick-Start Guide
STEP 4: Install the TROY
Software for Microsoft® Windows
™
Install the TROY Printer Utility for Windows™ 98SE, ME, 2000, XP, Server 2003
The TROY Printer Utility provides useful functions for testing your TROY Security Printing Solution
through Microsoft
allowing access to any printer installed in the Windows environment. The printer connection may be local,
network, or direct network connected. The TROY Printer Utility should be installed on the administrator’s
computer only. Some of the features of the TROY Printer Utility are provided for special applications and
may not be intended for general use. Refer to the TROY Font Card Kit User’s Guide, Section 2 – Using the
TROY Printer Utility for more information.
1. Close all applications before installing the TROY Printer Utility application.
2. Insert the TROY Font Card Kit CD into your CD-ROM drive.
3. From the Start menu, click on Run, and then click on Browse.
4. Click on the down-arrow in the Look In box at the top of the window, and then click on the drive letter
designated for the CD-ROM drive on your computer.
5. Double-click on the TROY Printer Utility folder.
6. Click on the file named setup.exe, click on Open, and then click on OK to start the installation process.
Follow the screen prompts to complete the installation.
NOTE: The TROY Printer Utility can be removed using the uninstall procedures located in Section 4
®
Windows™. This utility takes advantage of the Windows-installed printer collection,
of the TROY Font Card Kit User’s Guide.
Document #50-70408-003 Rev. A Page 5 of 8
Page 6

Font Card Kit Quick-Start Guide
STEP 5: Test the TROY Font Support for Microsoft
®
Windows™
To verify that the TROY Windows font support files were properly installed on your system, demonstration
documents are provided through the TROY Printer Utility in Windows that can be printed out to visually
identify all security and/or barcode fonts downloaded to your printer. Make sure your printer is properly setup,
powered ON, and is online before printing the Windows Security Font and/or Windows Barcode Font
Demonstration page(s).
TO PRINT THE TROY SECURITY FONT / BARCODE FONT DEMONSTRATION PAGE(S):
1. From the TROY Printer Utility
Main Window, click on the printer
you wish to manage, and then verify
that the correct TROY Security
Printing Solution is selected from
the drop-down list at the bottom of
the window.
2. From the Main Window, click on
File, Print, and then click on
Windows Security (MICR) Font
Demo. The printer will
automatically print the Windows
Security Font Demonstration page.
3. Compare the actual TROY security
fonts (the actual fonts generated by
your printing system) shown in the
right-hand column with the facsimile image of these fonts printed in the center column (a digitized image
designed to look exactly like the actual fonts correctly generated by your system – refer to the example
shown on the next page).
TROY Printer Utility
File Resources HelpSettings
Select the printer to configure from the following list:
HP 4515 PCL 5e LaserJet Printer USB Virtual Printer Port
Selected Printer Information
Admin Password
TROY Security Printing Solution
MICR Font Card Winspool
Selected printer location (port):
Windows Printer Driver
If the support files were properly installed, the actual TROY security and/or barcode fonts displayed in the
right-hand column should appear identical to the facsimile fonts displayed in the center column. If the
actual fonts do not match the facsimile fonts printed on the demonstration document (fonts not printed
correctly or fonts missing on the printout), review the installation steps in this document. If further
assistance is required, contact TROY Technical Support.
Accessing TROY Fonts Using Non-Windows Applications
If you are using a non-Windows application to print MICR documents, the escape sequence for each font must
be programmed into the application in order to “call” each of the selected fonts. The <Esc> character is ASCII
character number 27 (hexadecimal number 1B). Refer to Section 3 – Using TROY Fonts in the TROY Font
Card Kit User’s Guide for the specific escape sequence used to call each TROY font.
Document #50-70408-003 Rev. A Page 6 of 8
Page 7

Font Card Kit Quick-Start Guide
TROY Security Font Demonstration Page (not to scale)
NOTE: The TROY Microprint Font is not supported for the TROY Font Card.
Document #50-70408-003 Rev. A Page 7 of 8
Page 8

Font Card Kit Quick-Start Guide
Obtaining Technical Assistance
The TROY Printer Utility provides several help screens to guide you through the available features and
functions of your TROY Security Printing Solution. TROY technical support is available to assist you with any
questions concerning the setup, operation, and maintenance of your Security Printing Solution. Specific system
information about your TROY product configuration is available through the TROY Printer Utility. You are
also encouraged to visit the TROY web site for the latest FAQs (Frequently Asked Questions), information on
the latest TROY products, or for ordering MICR toner and other printing supplies.
TO VIEW TECHNICAL SUPPORT INFORMATION:
From the Main Window, click on Help, and then click on Technical Support to view the TROY Technical
Support HTML page for telephone numbers and hours of business.
TO VIEW INFORMATION ON THE TROY WEB SITE:
From the Main Window, click on Help, and then click on TROY on the Web to access the TROY web site.
Click on the Support and Downloads button at the top of the web page to view the available topics. You can
access the TROY web site directly from your web browser at
http://www.troygroup.com.
Reference Material
• TROY MICR Basics Handbook (provided on TROY Font Card Kit CD)
• TROY Font Card User’s Guide (provided on TROY Font Card Kit CD)
• Hewlett-Packard Getting Started Guide (provided on the Hewlett-Packard CD supplied with your printer)
• Hewlett-Packard Printer User’s Guide (provided on the Hewlett-Packard CD supplied with your printer)
Document #50-70408-003 Rev. A Page 8 of 8
 Loading...