

Page 1
©1996 GARDEN WAY INCORPORATED Form 770-1215A (2/98)
Assembly
Manual
LTX Lawn Tractors
Models
13A130F063 — 13HP Gear Drive
13A145F063 — 14HP Hydro Drive
Page 2
ASSEMBLY CHECKLIST
Crate Inspection
❏ Inspect crate for evidence of
product damage. If any suspect
damage exists, contact the carrier
(trucking company) immediately.
Tools
❏ Crowbar (for unpacking).
❏ Tire pressure gauge.
Unpacking
❏ Using crowbar, remove crating
from around unit. Remove ties
securing wheels to crate. Remove
material securing front wheel
spindles to crate.
❏ With a 9/16" wrench, remove
hardware securing back of unit to
crate.
❏ Unpack complete unit. Inspect all
parts. Inspect contents of hardware
pack against following list.
Product Content
❏ Tractor.
❏ Hardware bag (includes):
All Units:
...........Hitch pins (for attachments)...2
...........Oil drain hose .........................1
...........Ignition key (spare) ................1
ALL MODELS:
❏ Grease wheel bearings with multi-
purpose grease at grease fittings.
Tire Pressure
❏ Use air pressure gauge to check
tire pressure. Adjust as necessary.
FRONT TIRES: 12-14 PSI (82-96
kPa)
REAR TIRES: 8-10 PSI (55-69
kPa)
Note: Operators with trouser inseam
lengths shorter than 38" should use
front hole in seat bracket; operators
with inseam lengths 38" and over
should use rear hole in seat bracket.
❏ Plug seat interlock lead (Fig. 6) into
interlock switch on bottom of seat.
Roll Unit Off Crate
❏ Check crate for, and remove, any
nails/sharp objects which could
puncture tires.
❏ Engage parking brake.
❏ Place transmission into neutral as
follows:
MODEL 130F063:
This unit can be pushed by hand any
time the engine is not running and the
parking brake is not set.
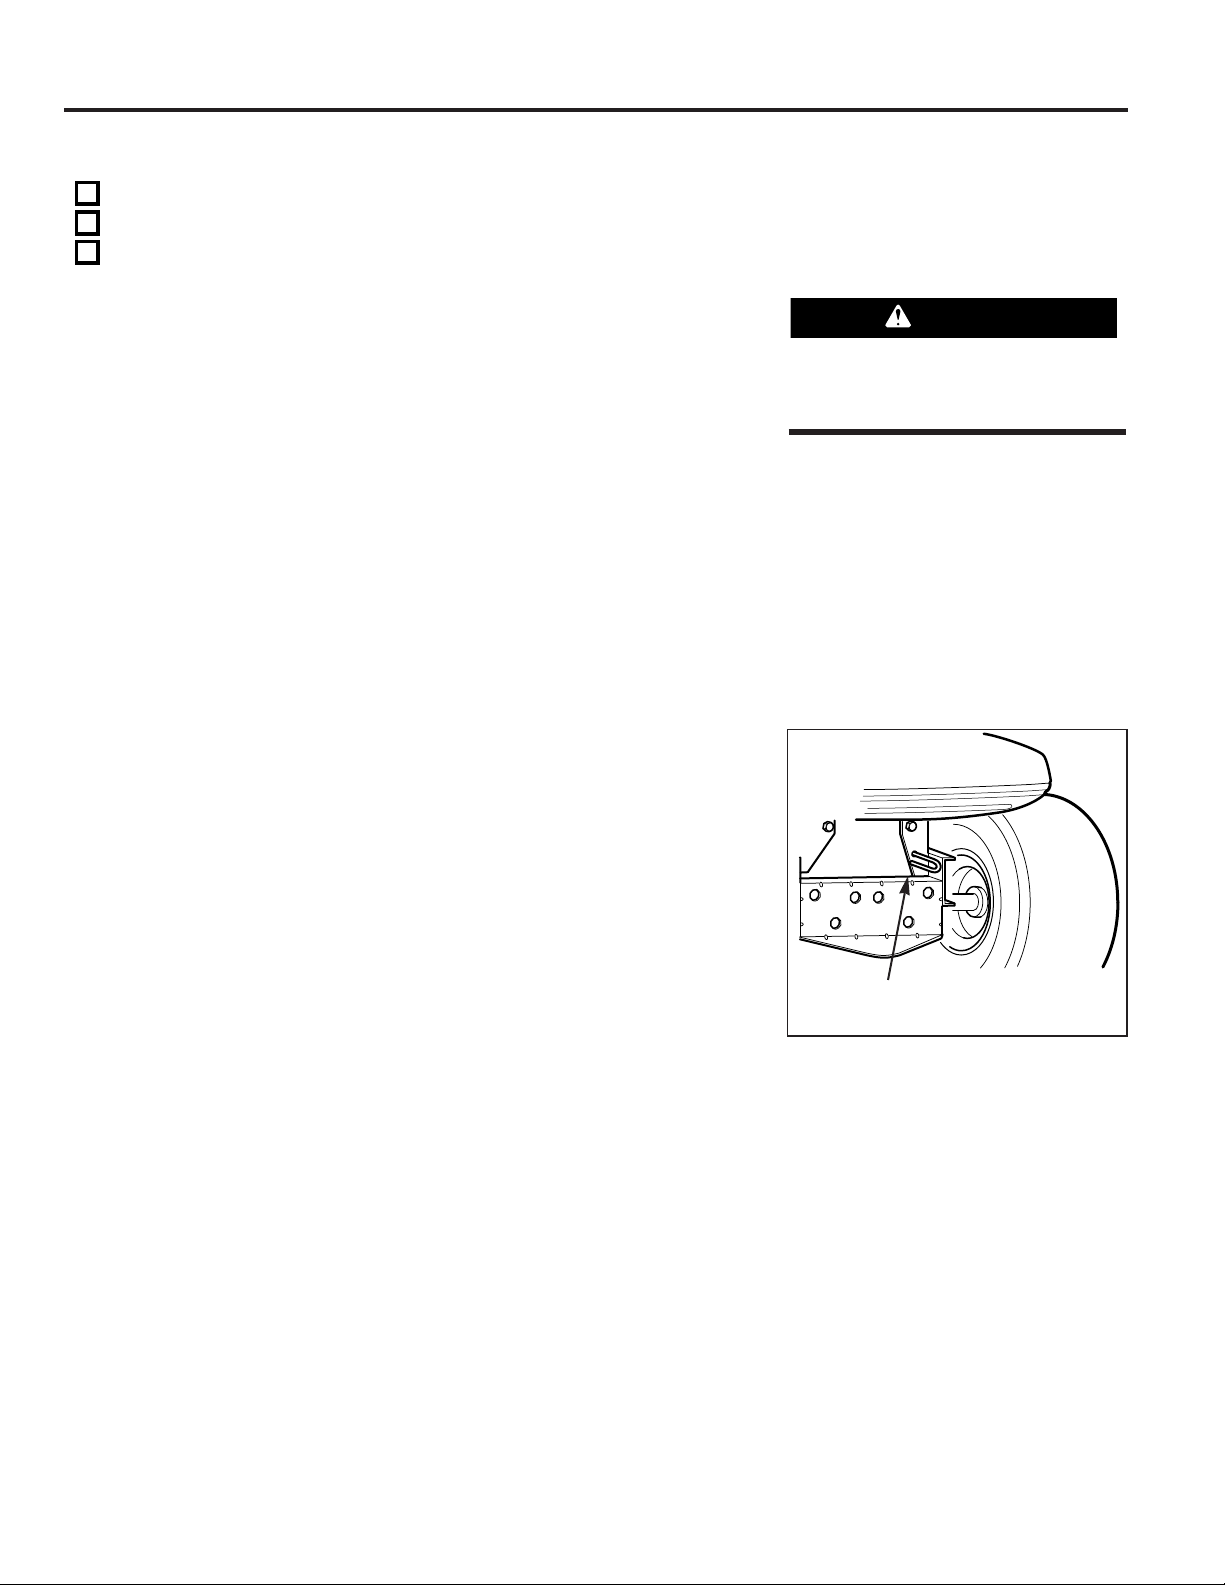
MODEL 145F063:
Pull hydrostatic freewheeling actuator
(Z, Fig. 5) out and rotate to place in
the locked position.
Note: After pushing unit, return the
freewheeling actuator back to the
normal position. Transmission will not
drive unit when freewheeling actuator
is engaged.
❏ Roll unit off crate.
Engine
Note: Refer to the engine manual
provided with your unit for more
specific engine oil information.
DO NOT OVERFILL ENGINE WITH OIL.
ENGINE IS SHIPPED FROM THE FACTORY
WITH OIL.
❏ Check the engine for proper oil
level.
If necessary, top-off engine oil level
with the proper type and quantity of
engine oil (determine type and
quantity of oil by following recommendations indicated in the engine
manual).
CAUTION
✓
2
Assembly
Fig. 5
Z
Model 145F063 only
Page 3

Hood
❏ Apply a good grade of automotive
wax to the hood. This will help
preserve the color and finish.
DO NOT RUN ENGINE WITH HOOD OPEN.
HOOD DAMAGE MAY OCCUR.
Battery
BATTERIES PRODUCE EXPLOSIVE
GASSES. KEEP OPEN FLAMES AND
SPARKS AWAY. DO NOT SET TOOLS
ACROSS BATTERY TERMINALS.
Note: The battery is sealed and is
maintenance-free. Acid level cannot
be checked.
Also note the service label located
between the terminals on top of the
battery, if applicable, remove terminal
covers and charge as noted on the
label.
If not applicable then:
❏ Connect the battery by removing
the red terminal cover from the
positive
(+) battery terminal and connect
the red battery cable to this
terminal. Tighten the hardware
then slide the red terminal cover
over the positive (+) battery
terminal.
❏ Next, remove the black terminal
cover from the negative (-) battery
terminal and connect the black
battery cable to this terminal.
Tighten the hardware then slide the
black terminal cover over the
negative (-) battery terminal.
WARNING
CAUTION
3
Assembly (continued)
Page 4

Printed in U.S.A.© 1997 Garden Way Incorporated
 Loading...