

Trojan NRX EVO 350 User Manual
USER GUIDE
NRX EVO 350
co . mwww.nrx-tele m
co
Dit document wordt u aangeboden door TelecomHunter. Dé zakelijke Telecom webshop.
T 088 7463 444 | @ sales@TelecomHunter.nl | www.TelecomHunter.nl
1. INSTALLATION
2. OPERATION
2.1 Dialling
2.2 Tone or Pulse Option
2.3 Mixed Mode Dialling
2.4 Programming The Memory Buttons
2.5 Memory Dialling
2.6 Privacy (Muting the Microphone during Conversation)
2.7 Impedance Matching
2.8 Modem/Data Connection Socket
2.9 Message Waiting
2.10 Pause Button
2.11 Recall Facility
2.12 Last Number Redial
2.13 Adjustable Ringing Volume
2.14 Adjustable Ringing Tone Pitch
2.15 Dual Headset Facility
2.16 Headset Auto Answer
2.17 Speakerphone/On Hook Dialling
2.18 Receiver Volume
2.19 Headset Stand (Option)
2.20 Hearing Aid Compatibility
3. WALL MOUNTING THE UNIT
4. APPROVED USE
5. CE APPROVED
6. NUMBER OF PHONES THAT CAN BE CONNECTED
7. WARRANTY
Contents
1
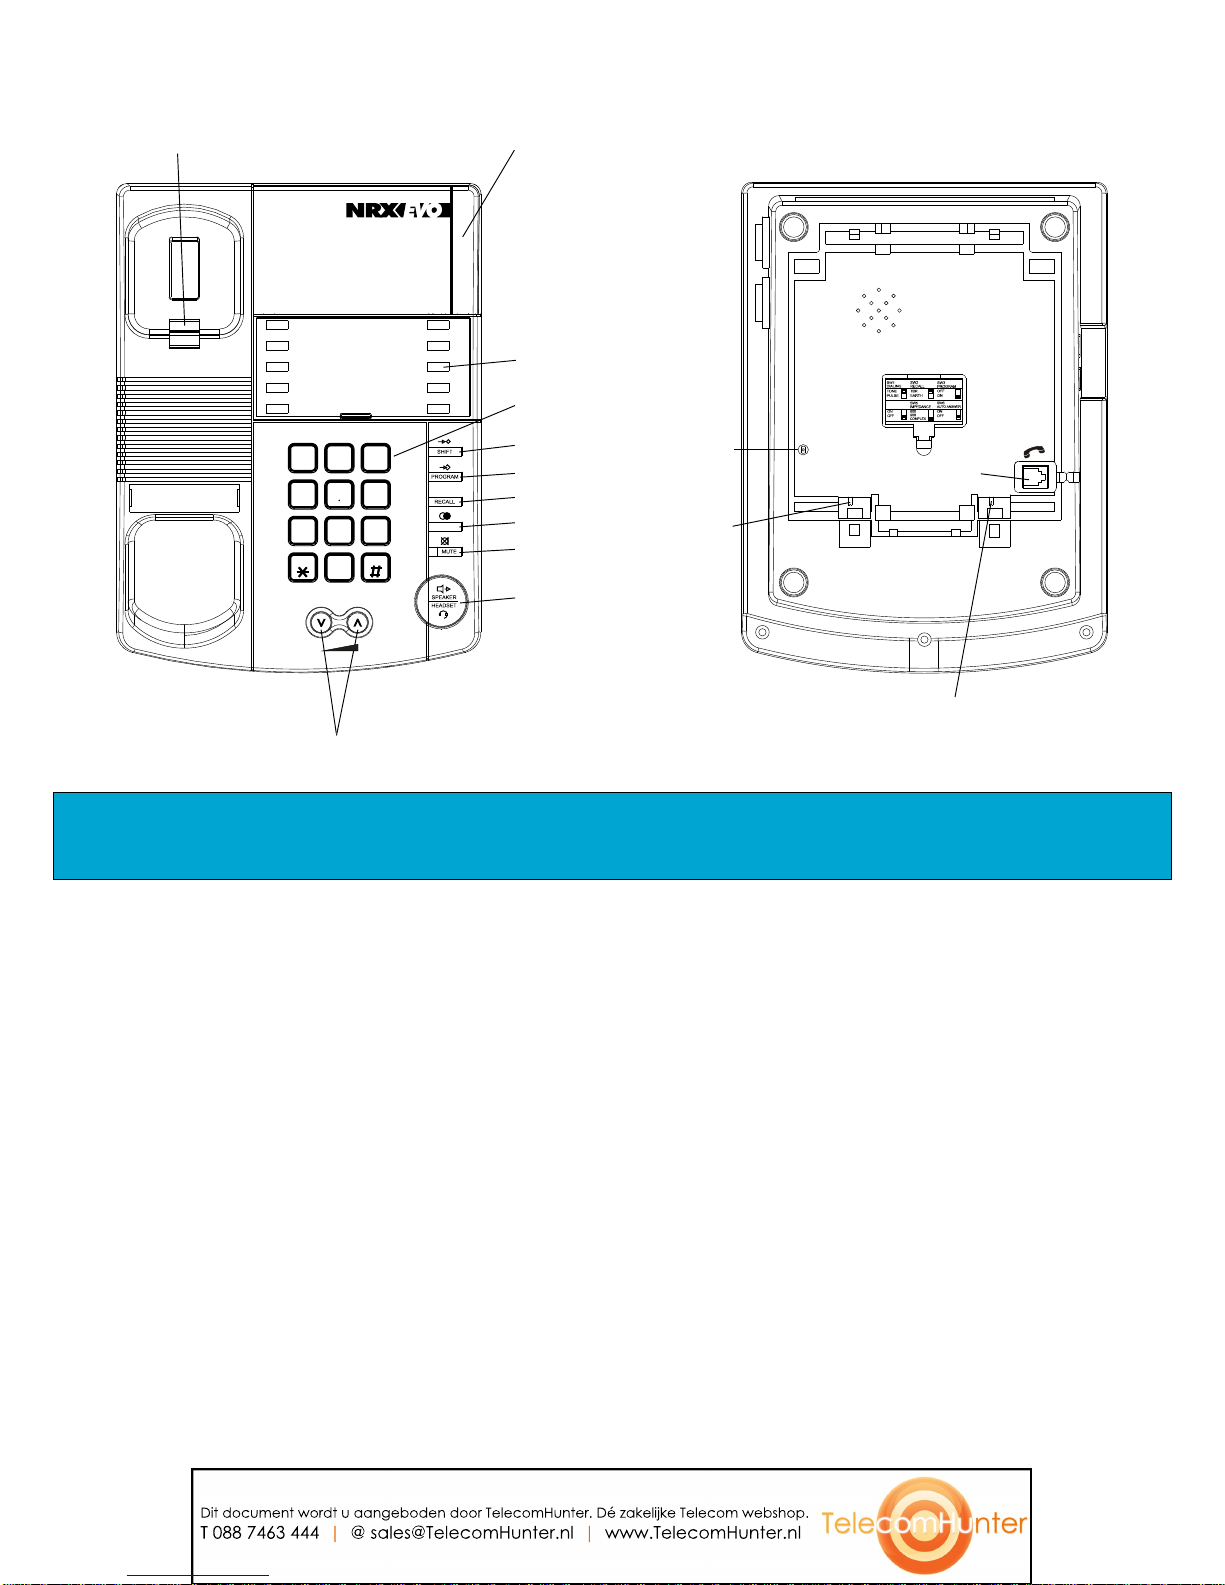
Number Keypad
MemoryShift Button
Speakerphone/
Headset Button
Ringer/MWI Indicator
Wall Mount Tab
Program Button
Redial/
Pause Button
Mute Button
The layout of your NRX EVO 350
Recall Button
Digital Volume Control
Memory Buttons
Headset Mic
TX Volume
HICOM
Sensitivity
(LOW/HIGH)
HICOM SENS.
LOW / HIGH
HEADSET MIC
TX VOLUME
SP / OHD
Speakerphone/
On Hook Dial
SP / OHD
90V MWI
SW4
Handset
Socket
1
2
ABC
3
DEF
6
MNO
5
JKL
4
GHI
8
TUV
7
PQRS
9
WXYZ
0
TONE
R
REDIA L/P
Dit document wordt u aangeboden door TelecomHunter. Dé zakelijke Telecom webshop.
T 088 7463 444 | @ sales@TelecomHunter.nl | www.TelecomHunter.nl
3
1. INSTALLATION
Connect one end of the coil cord to the handset and the
other end to the socket located in the bottom of the
phone. Replace the handset to the cradle.
NOTE: You will need to remove the wall mount
bracket to access this socket.
Connect the small plug of the telephone line cord to the
socket at the back of the unit and the other plug to the
telephone socket at the wall.
NOTE: If the RJ-11 to RJ-11 line cord is used, please
ensure that the Blue plug is connected to the wall
socket.
After connecting the telephone to the line socket, the
handset should be lifted to check dial tone is being
received. If the handset is not lifted, the telephone will
take about 15 seconds to power up during which time
any incoming calls will not ring the unit.
2. OPERATION
2.1 Dialling
Lift the handset and dial the number. The telephone is
Installation & Operation
pre-set at tone mode. To terminate a phone call,
simply replace the handset.
2.2 Tone or Pulse Option
To find out whether you are on a digital exchange that
accepts tone dialling, locate switch number 1 which
is the TONE/PULSE switch inside the switch
compartment of the unit. First try dialling out with
the switch in the TONE position. If this is
unsuccessful, switch back to the PULSE position.
2.3 Mixed Mode dialling (how to switch from
pulse to tone in mid-call)
Even if your local exchange only allows pulse
dialling, there may still be occasions when you need
tone dialling. For instance, when you call into a
bank's computer system, you may be asked to enter
number codes. You can only do this if your telephone
sends out tones when you press the keypad.
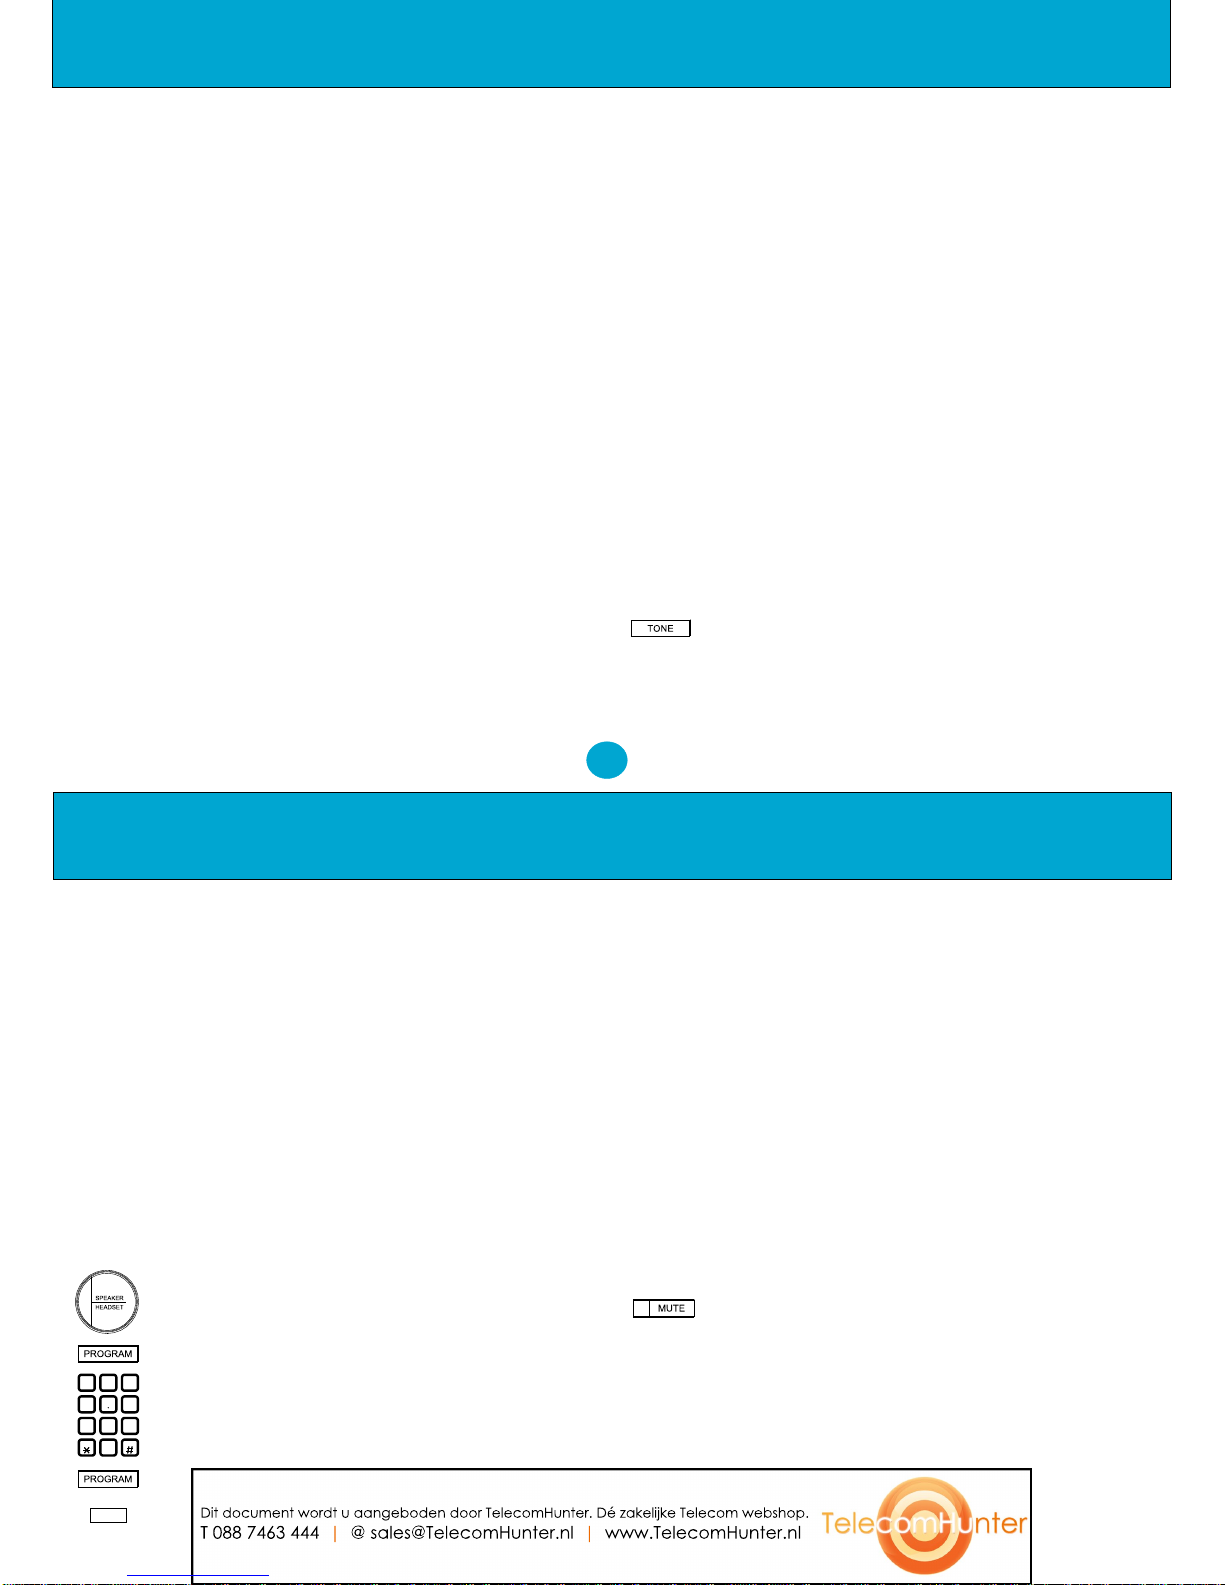
The TONE button helps you make change over from
pulse to tone dialling in the middle of a call.
What you do: Pulse-dial the telephone numbers
2
Operation
you require. When you are connected, press the
"TONE" button
What you do: Dial the rest of the number sequence.
What you hear: Each number you dial emits a tone.
When the handset is replaced, the unit goes back to
pulse dialling.
2.4 Programming Memory Buttons
There are 20 memory locations on the NRX EVO 350,
which can be used to store your frequently used or
important telephone numbers. The following is an
example of storing a number in one of the locations:-
1. Lift the handset or press the ‘SPEAKER/HEADSET’
button once.
2. Press the ‘PROGRAM’ button.
3. Enter the telephone number for storing.
4. Press the ‘PROGRAM’ button.
5. Select one of the direct memory locations for storing
the number at that location (Use the shift button to access
locations 11 to 20).
5. Repeat steps 2 to 4 for successively storing more than
one telephone number. When all numbers have been
stored replace the handset.
The memory button programming can be enabled
and disabled by switch number 3 (SW3) inside the
switch compartment of the unit.
2.5 Memory Dialling
To dial a telephone number that has been stored in
one of the direct memory locations:-
1. Lift the handset or press the ‘SPEAKER/
HEADSET’ button.
2. When you hear the dial tone, press one of the
memory location buttons for dialling from that
memory (Use the shift button to access locations 11
to 20).
2.6 Privacy (Muting the Microphone during
Conversation)
During a telephone conversation, you may switch off
the microphone in the handset by pressing the Mute
button on the telephone base. The mute LED will be
lighted to indicate that the microphone is muted and
the party, on the other end of the telephone line in not
able to hear your conversation. Press the Mute
button again to release the Mute function and the
LED will be off.
1
2
ABC
3
DEF
6
MNO
5
JKL
4
GHI
8
TUV
7
PQRS
9
WXYZ
0
Dit document wordt u aangeboden door TelecomHunter. Dé zakelijke Telecom webshop.
T 088 7463 444 | @ sales@TelecomHunter.nl | www.TelecomHunter.nl
 Loading...