

Page 1

Scepter PE50
5 Gallon
Box Extractor
OPERA TING & MAINTENANCE
INTRODUCTION INSTRUCTIONS
READ THIS BOOK
This operator’s book has important information for the use
and safe operation of this machine. Read this book carefully before starting the machine. Keep this book and tell all
operators to read the book. If you do not follow the instructions, you can cause an injury or damage equipment, furniture or buildings.
For new books write to:
Triple S
2 Executive Park Drive
Billerica, MA 01862
Carefully inspect all components to ensure that there is no
concealed freight damage. If such damage is discovered,
file a “CONCEALED DAMAGE REPORT” immediately with
the delivering carrier.
The contents of this manual are based on the latest product
information available at the time of publication. Triple S
reserves the right to make changes or improvements to its
machines without notice.
FOR YOUR CONVENIENCE, RECORD THE
FOLLOWING IMPOR TANT INFORMA TION:
MODEL
SERIAL NUMBER
P ART NUMBER
DA TE PURCHASED
Page 2

IMPORT ANT SAFETY INSTRUCTIONS
READ AND UNDERSTAND ALL WARNINGS AND INSTRUCTIONS
BEFORE USING THIS APPLIANCE!
WARNING! To reduce the risk of fire, electric shock, or injury:
1 . Unplug from outlet when not in use and before servicing.
2 . Do not use outdoors. Protect the machine from rain.
3. Do not allow to be used as a toy. Close attention is necessary when used by or near children.
4 . Use only as described in this manual.
5 . Never use this machine to pick up volatile or explosive materials!
6. Do not use this machine for pick up of dust or dry debris.
7. Do not use with damaged cord or plug. If appliance should not work as it should, has been dropped or
damaged, left outdoors, or dropped into water, return it to service center.
8. Do not pull or carry by cord, use cord as handle, close a door on cord or pull cord around sharp
edges or corners. Do not run appliance over cord. Keep cord away from heated surfaces.
9. Do not unplug by pulling on cord. To unplug, grasp the plug, not the cord
10. Do not handle plug or appliance with wet hands. Do not immerse. Keep the machine in a dry building.
11. Do not put any objects into opening. Do not use with any opening blocked: keep free of dust, lint,
hair and anything that may reduce airflow.
12. Keep hair, loose clothing, fingers and all parts of the body away from openings and moving parts.
13. Turn off all controls before unplugging.
14. Do not use in areas where flammable or combustible liquids such as gasoline may be present.
15. Connect to a properly grounded outlet only.
16. Do not use water that is hotter than 82°C (180°F).
17. To prevent damage to the solution system, do not store in freezing temperatures without proper maintenance.
Grounding Instructions
This machine must be grounded. If it should malfunction or break down,
grounding provides a path of least resistance for electric current to reduce the
risk of electric shock. This machine is equipped with a cord having an equipment-grounding conductor and grounding plug. The plug must be inserted
into an appropriate outlet that is properly installed and grounded in accordance with all local codes and ordinances.
WARNING - Improper connection of the equipment-grounding conductor
can result in a risk of electric shock. Check with a qualified electrician or
service person if you are in doubt as to whether the outlet is properly grounded.
Do not modify the plug provided with the machine - if it will not fit the outlet,
have a proper outlet installed by a qualified electrician.
This machine is for use on a nominal 120-volt circuit, and has a grounded
plug that looks like the plug illustrated in figure A. A temporary adapter that
looks like the adapter illustrated in figures B and C may be used to connect
this plug to a 2-pole receptacle as shown in figure B if a properly grounded
outlet is not available. The temporary adapter should be used only until a
properly grounded outlet (figure A) can be installed by a qualified electrician. The green colored rigid ear, lug, or the like extending from the adapter
must be connected to a permanent ground such as a properly grounded outlet
box cover. Whenever the adapter is used, it must be held in place by a metal
screw.
NOTE: In Canada, the use of a temporary adapter is not permitted by the
Canadian Electrical Code
EXTENSION CORDS
Use only three-wire 14/3 or larger gauge approved extension cords
that have three-prong grounding type plugs and three-pole receptacles that accept the appliance’s plug. Replace or repair any damaged cords or plugs.
When servicing, refer to authorized person only. Use only identical replacement parts.
NOTE: Do not use adapters shown in figures B & C in Canada
Page 3

OPERA TING INSTRUCTIONS
W ARNING! For the safe operation of this machine follow
the instructions given in this booklet and the training given
by your supervisor . Failure to do so can r esult in personal
injury and/or damage to machine and property!
DO NOT OPERATE MACHINE IN AN EXPLOSIVE
ENVIRONMENT!
NEVER USE THIS MACHINE TO PICK UP VOLA TILE
OR EXPLOSIVE MA TERIALS!
The model shown in this manual is intended for commercial
use.
DO NOT OPERATE MACHINE IN AN EXPLOSIVE
ENVIRONMENT!
ASSEMBL Y & OPERA TION
1 . Connect one end of the vacuum hose to the intake port
of the extractor located on the top, rear of the unit (above
the dump valve) and the other end to the wand.
2. Connect the one end of the solution hose to the brass
water discharge fitting on the lower front of the extractor and the other end to the valve connection on the
floor wand.
3. Fill the solution tank (the rectangular opening located
on the top of the machine that does not have a cover)
with warm or hot water, plus a commercial grade carpet
cleaning chemical. Use dilution recommendations located on the chemical bottle. This unit holds 5-gallons
of liquid. NOTE: A low-foaming solution should be
used. If not a defoamer must be used to keep the foam
to a minimum during use to protect your vacuum motor . Defoamer if used is placed in the r ecovery tank
prior to operating the unit.
of the carpet and pulling dirt embedded in the carpet up
while the suction created by the vacuum motor picks up
the water & dirt and empties it into the recovery tank.
8. Repeat step #7 without putting more solution down to
extract greater quanities of water from the carpet. Doing this extra times will shorten the drying time required
for your carpet.
9. After using all of the solution from the solution tank,
you should empty the recovery tank using the dump
valve located at the lower rear of the machine by bringing the unit to a janitor’s sink, commode, etc. and pulling up on the “T” handle on the top of the valve.
10 . Once the recovery tank is emptied, lower the “T” handle
and repeat steps 3-9 as needed to clean the remaining
carpet.
11 . The cover on the recovery tank must always be in place
while using the extractor. The suction from the unit
during operation holds this in place.
12. During recovery, note that 100% recovery of all liquid
will not be achieved.
DAIL Y OR REGULAR MAINTENANCE
1. Rinse solution and recovery tanks out after every use.
Never leave any liquid in the system after use during
storage. Store unit in a warm place. If unit is left in a
freezing environment with liquid left in the system, the
pump and pump housing could crack, requiring replacement of the pump.
2 . Twice a month, flush machine with a solution of white
vinegar (one quart vinegar to two gallons of water) or
anti-browning solution mixed as directed. This will prevent build up of alkaline residue in the machine.
4. Once you have completed all of the above and your
unit is plugged into a grounded outlet, turn on the pump
switch, which will start to pressurize the unit.
5. Turn on the vacuum switch.
6 . Holding the wand with two hands, activate the solution
by squeezing the lever on the wand (located at the top
of the wand). Spray will start to flow from the jets located at the pick up end of the wand.
7 . With one hand squeezing the wand lever, the other hand
should be putting downward pressure on the wand and
dragging the wand backwards across the carpet towards
the operator. This is basically wringing the water out
3 . If spray jet on the wand becomes clogged, remove spray
tip, wash thoroughly and blow dry.
PERIODIC MAINTENANCE
1 . Periodically inspect all hoses, electrical cable and con-
nections on the machine. Frayed or cracked hoses
should be replaced to eliminate vacuum or water pressure loss. Check power cable for damage. Repair or
replace damaged cord to prevent fire or electric shock.
3
Page 4

SSS SCEPTER PE50 5-GALLON BOX EXTRACTOR FINAL
ASSEMBLY
4
Page 5
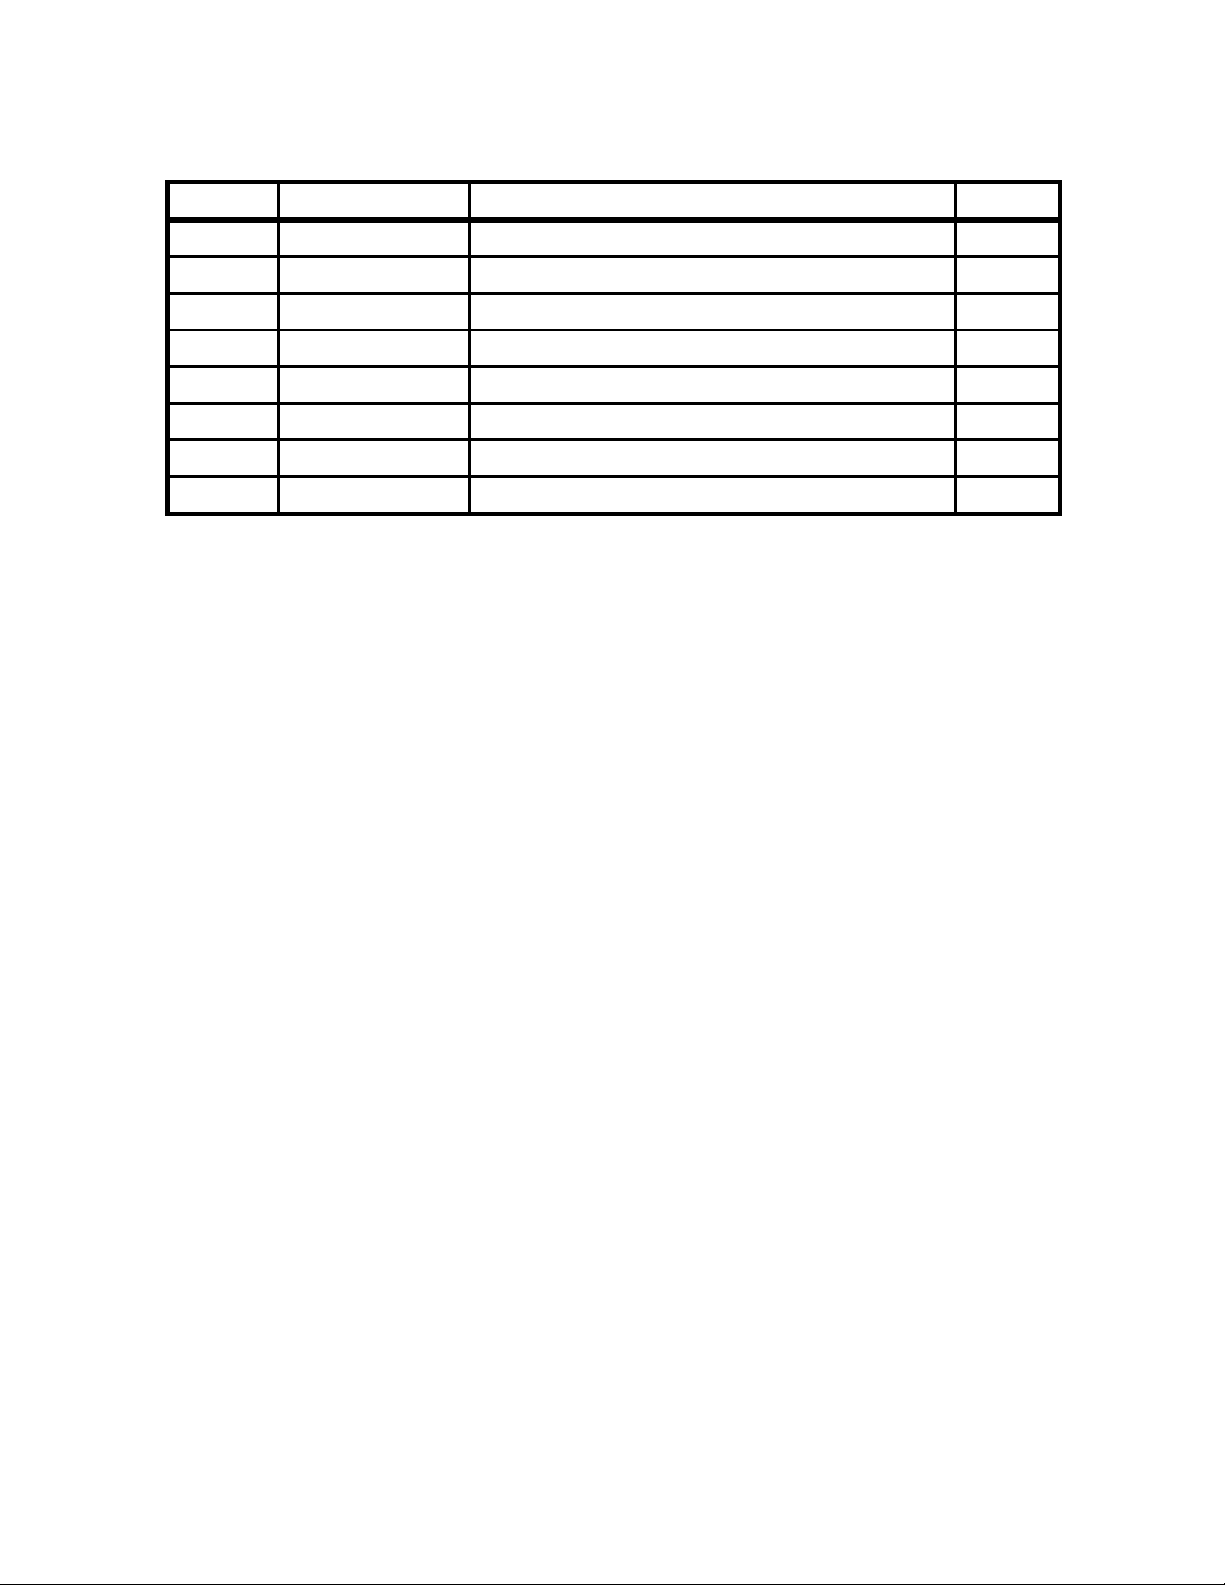
SSS SCEPTER PE50 5-GALLON BOX EXTRACTOR FINAL
ASSEMBL Y P ARTS LIST
ITEM PART NO. DESCRIPTION QTY.
1 962010 Screw-1/4-20 x 1 HTB FT 8
2 W104D Washer-1/4 Flat SAE SS 8
3 S453P Clamp-Hose 4
4 251802 Base-Black 1
5 255113 Lid Assembly 1
6 256404 Control Plate Assembly 1
7 258607 Tank-Recovery-Black 1
8 258602 Tank-Solution-Black 1
5
Page 6

SSS SCEPTER PE50 5-GALLON BOX EXTRACTOR RECOVER Y
T ANK
13
17
16
10
18
12
11
10
19
15
14
6
Page 7
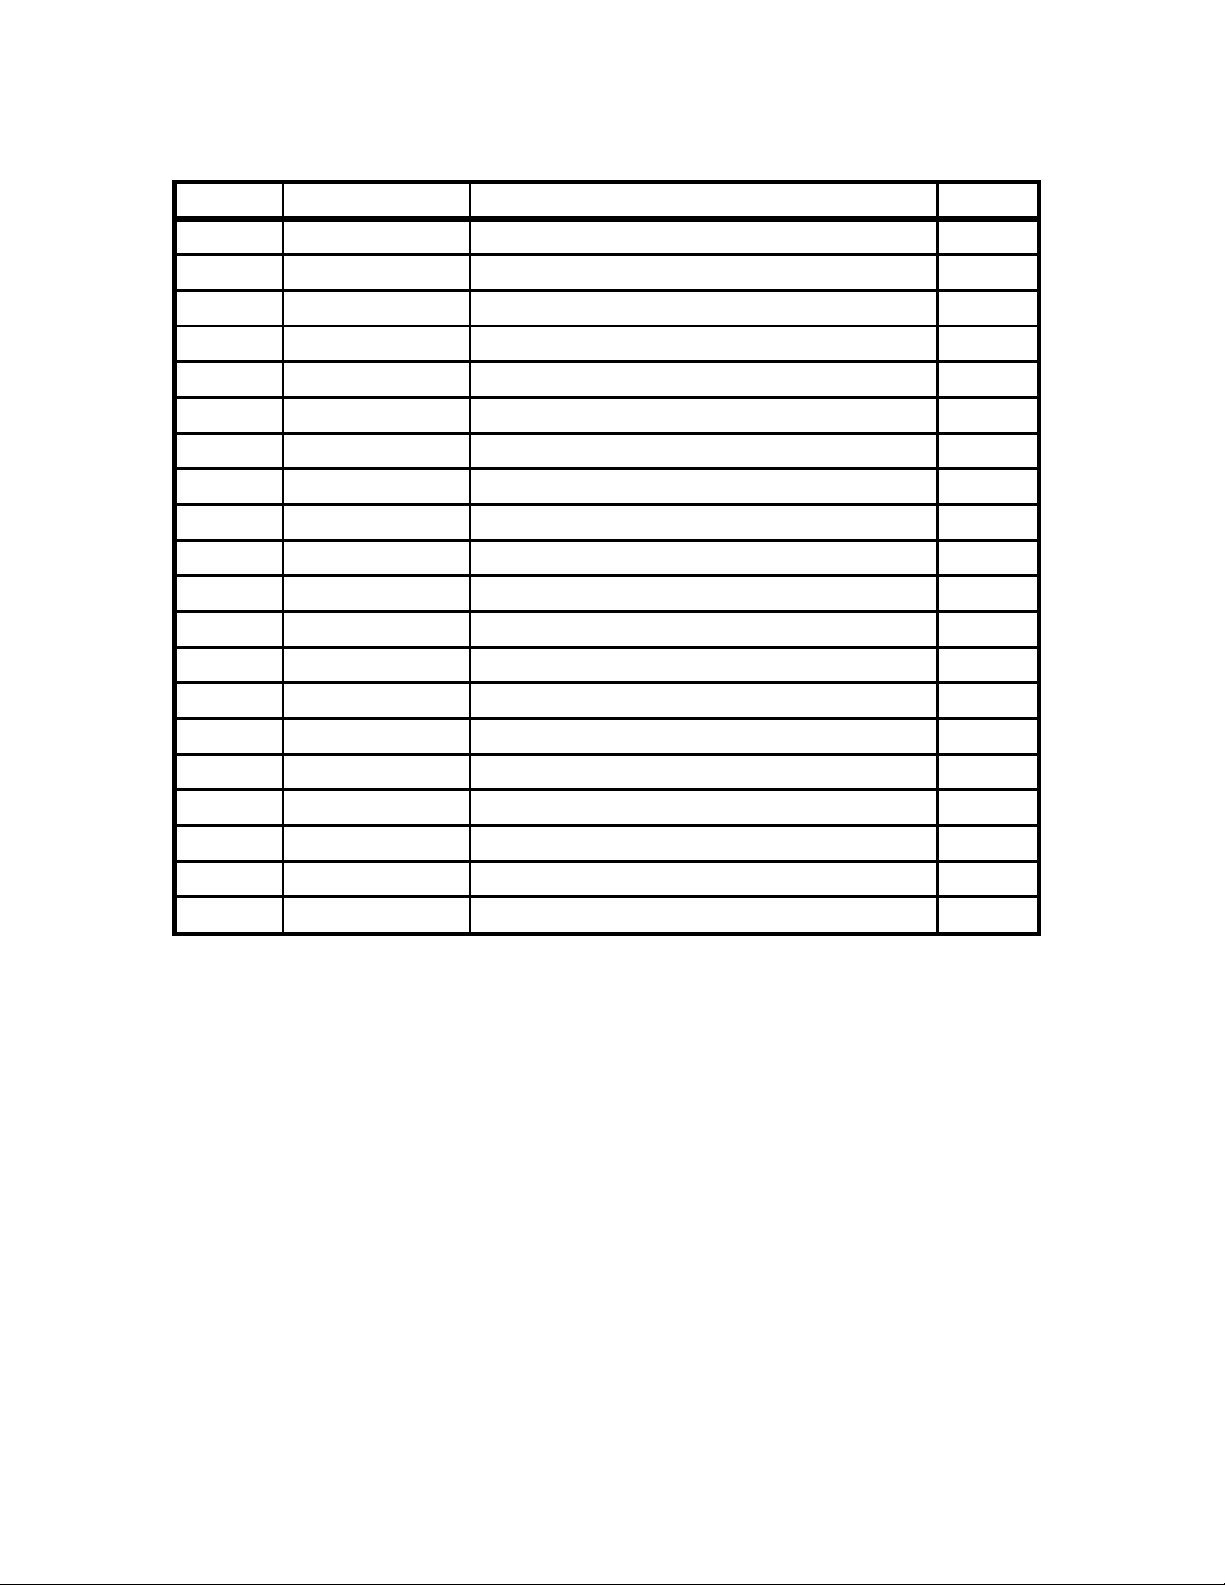
SSS SCEPTER PE50 5-GALLON BOX EXTRACTOR RECOVER Y
T ANK P ARTS LIST
ITEM PART NO. DESCRIPTION QTY.
1 258607 Tank-Recovery-Black 1
2 920011 Nut-1/4-20 Elastic Stop 3
3 S400P5 Locknut-1 1/2 3
4 920004 Nut-1/4-20 Hex 6
5 920665 Nut-1/4 SS Hex Nyloc 3
6 920676 Locknut-1 1/2 Serration 1
7 W311D Washer-1/4 Fender Zinc 3
8 253306 Fitting-Pipe 1 1/2 MPT 1
9 S400PB4 Elbow 1
10
11
12 S400PB Drain Valve 1
13
S400P6 O-Ring 2
250201 Adaptor-1 1/2" MPT 1
255020 Kit-Shut Off Assembly 1
253310 Filter-Foam (Not Shown) 1
14 205250 Motor-Vac 1
15 257403 Rod-Threaded SS 6.125"L 3
16 257017 Standpipe 1
17 257018 Standpipe Assembly w/ Shut Off 1
18 W104D Washer-1/4 Flat SAE SS 3
19 980002 Washer-1/4 Split Lock 3
7
Page 8

SSS SCEPTER PE50 5-GALLON BOX EXTRACTOR SOLUTION T ANK
8
Page 9
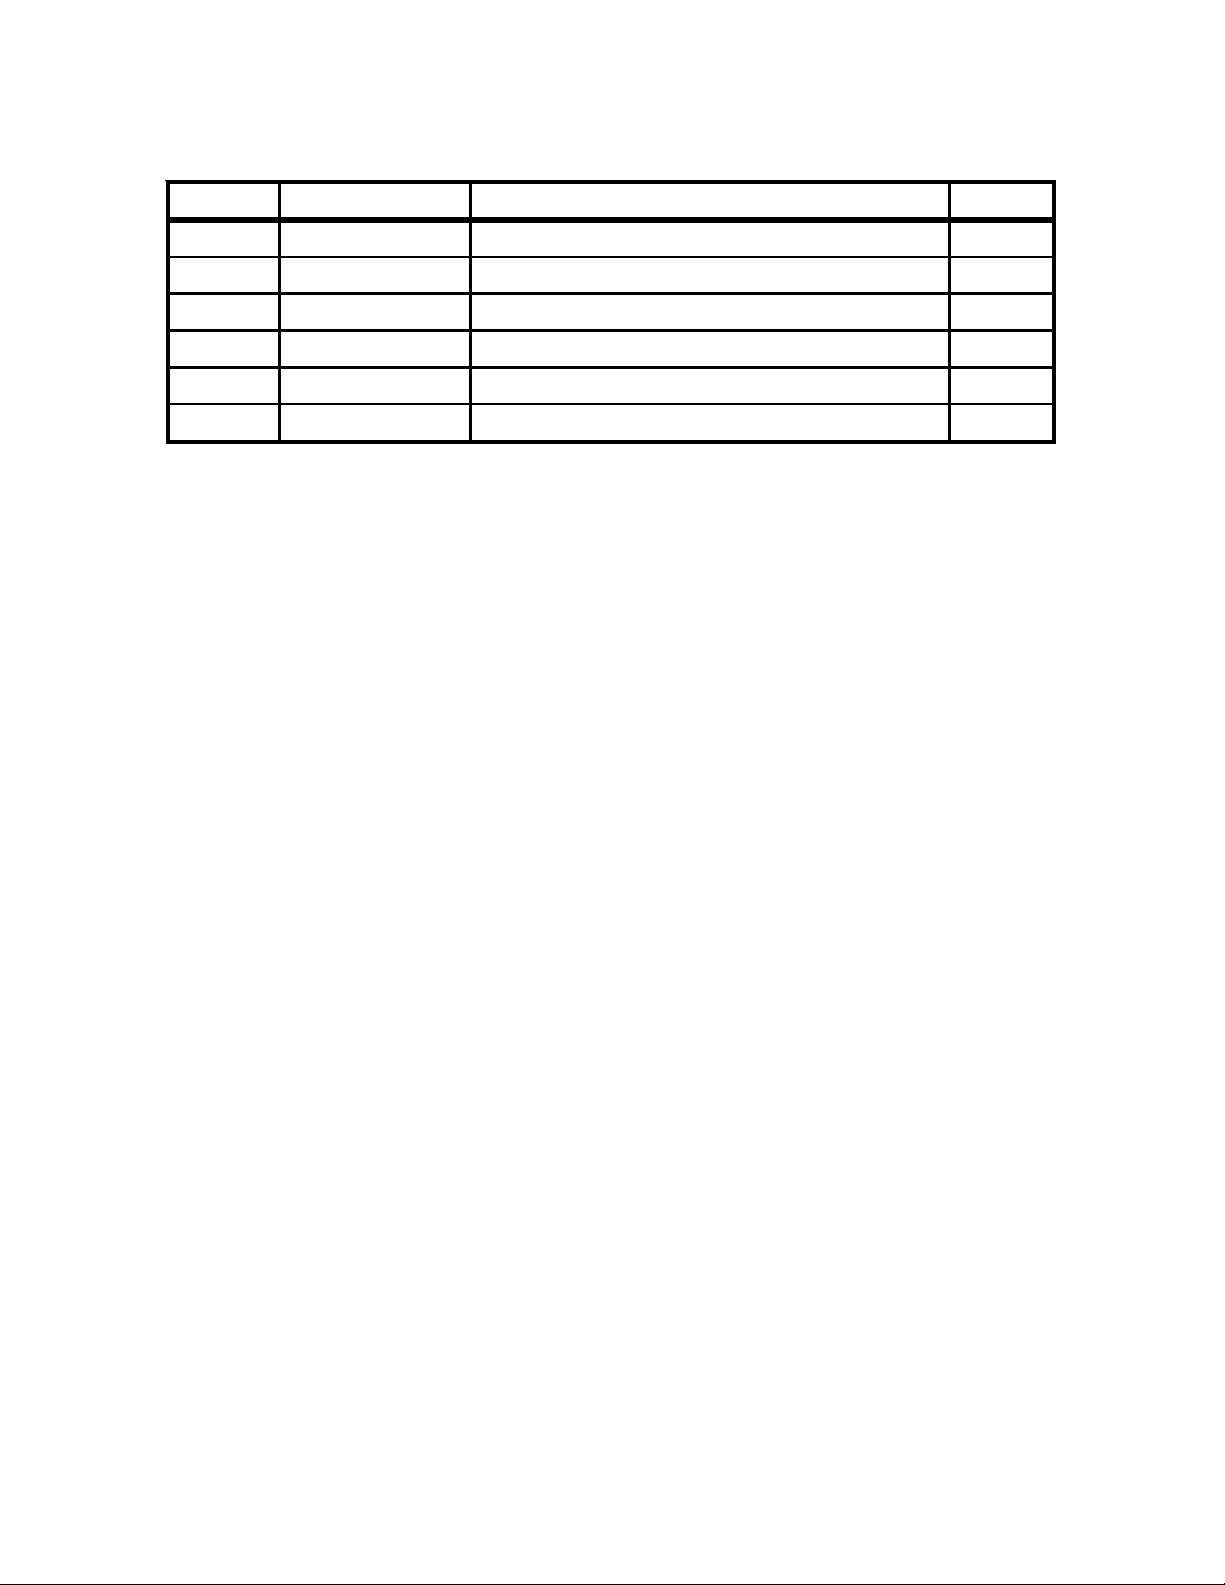
SSS SCEPTER PE50 5-GALLON BOX EXTRACTOR SOLUTION T ANK
P ARTS LIST
ITEM PART NO. DESCRIPTION QTY.
1 258602 Tank-Solution-Black 1
2 S372P Washer-1.5 OD x 0.6875 Nylon 1
3 202050 Clamp-Solution Hose 1
4 211310 Body-90 Jet w/Locknut 1
5 S626P Strainer-3/8 NPT 1
6 214111 Hose-3/8 x 18" 1
9
Page 10

SSS SCEPTER PE50 5-GALLON BOX EXTRACTOR BASE ASSEMBLY
10
15
16
9
9
8
17
12
9
13
11
14
9
10
Page 11
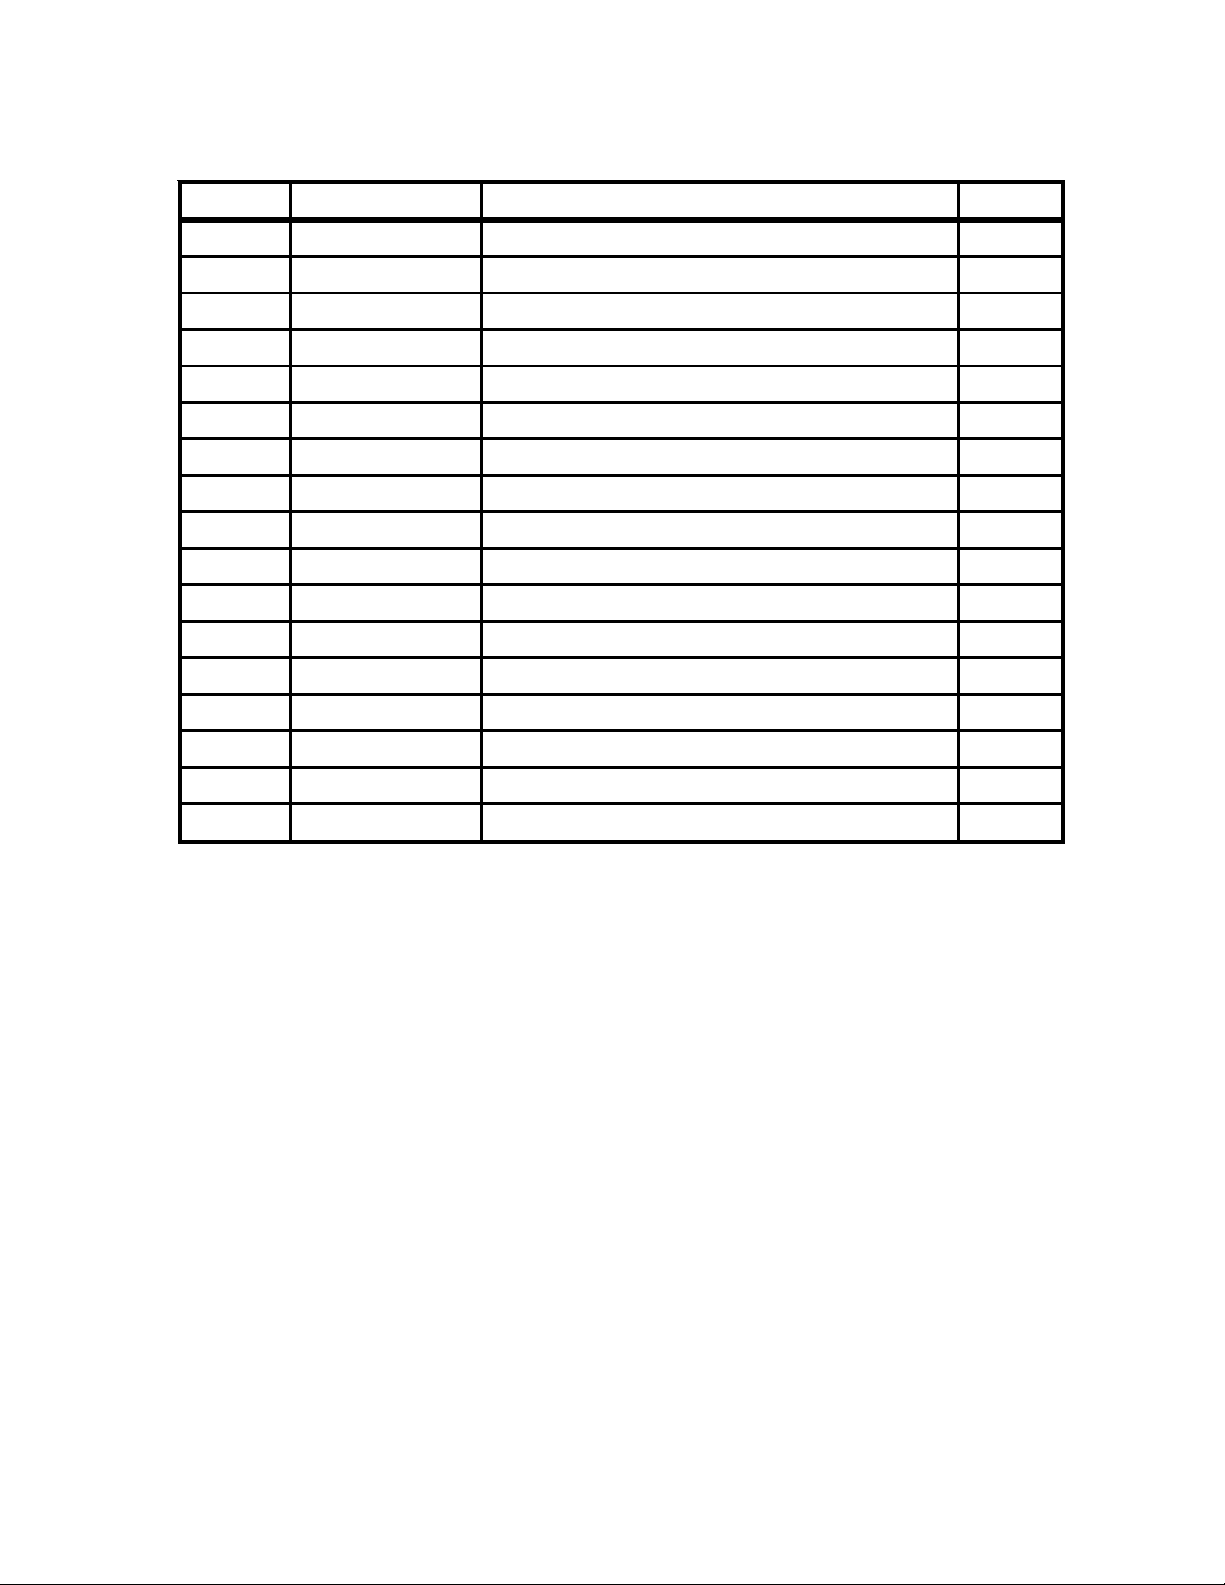
SSS SCEPTER PE50 5-GALLON BOX EXTRACTOR BASE ASSEMBL Y
P ARTS LIST
ITEM PART NO. DESCRIPTION QTY.
1 908059 Cord Asm-25' 16-SJT 1
2 251802 Base-Black 1
3 920011 Nut-1/4-20 Elastic Stop 18
4 920680 Locknut-3/8 Zinc 1
5 920666 Nut-10-32 Hex SS Nyloc 2
6 962113 Screw-10-24 x 1.25 SS PHP 2
7 962010 Screw-1/4-20 x 1 HTB FT 18
8 S250P Hose-Solution 3/8 1
9 W104D Washer-1/4 Flat SAE SS 16
10 203302 Quick Connect-1/4 Male 1
11 A13020 Strain Relief 1
12 257002 Pump-60 PSI 1
13 250807 Bracket-Cord 1
14 259701 Caster-Swivel 3 x 1-1/4 4
15 203359 Fitting-Hose Barb 3/8 1
16 202050 Clamp-Solution Hose 1
17 S453P Clamp-Hose 1
11
Page 12

SSS SCEPTER 5-GALLON BOX EXTRACTOR CONTROL PLA TE
ASSEMBLY
12
Page 13
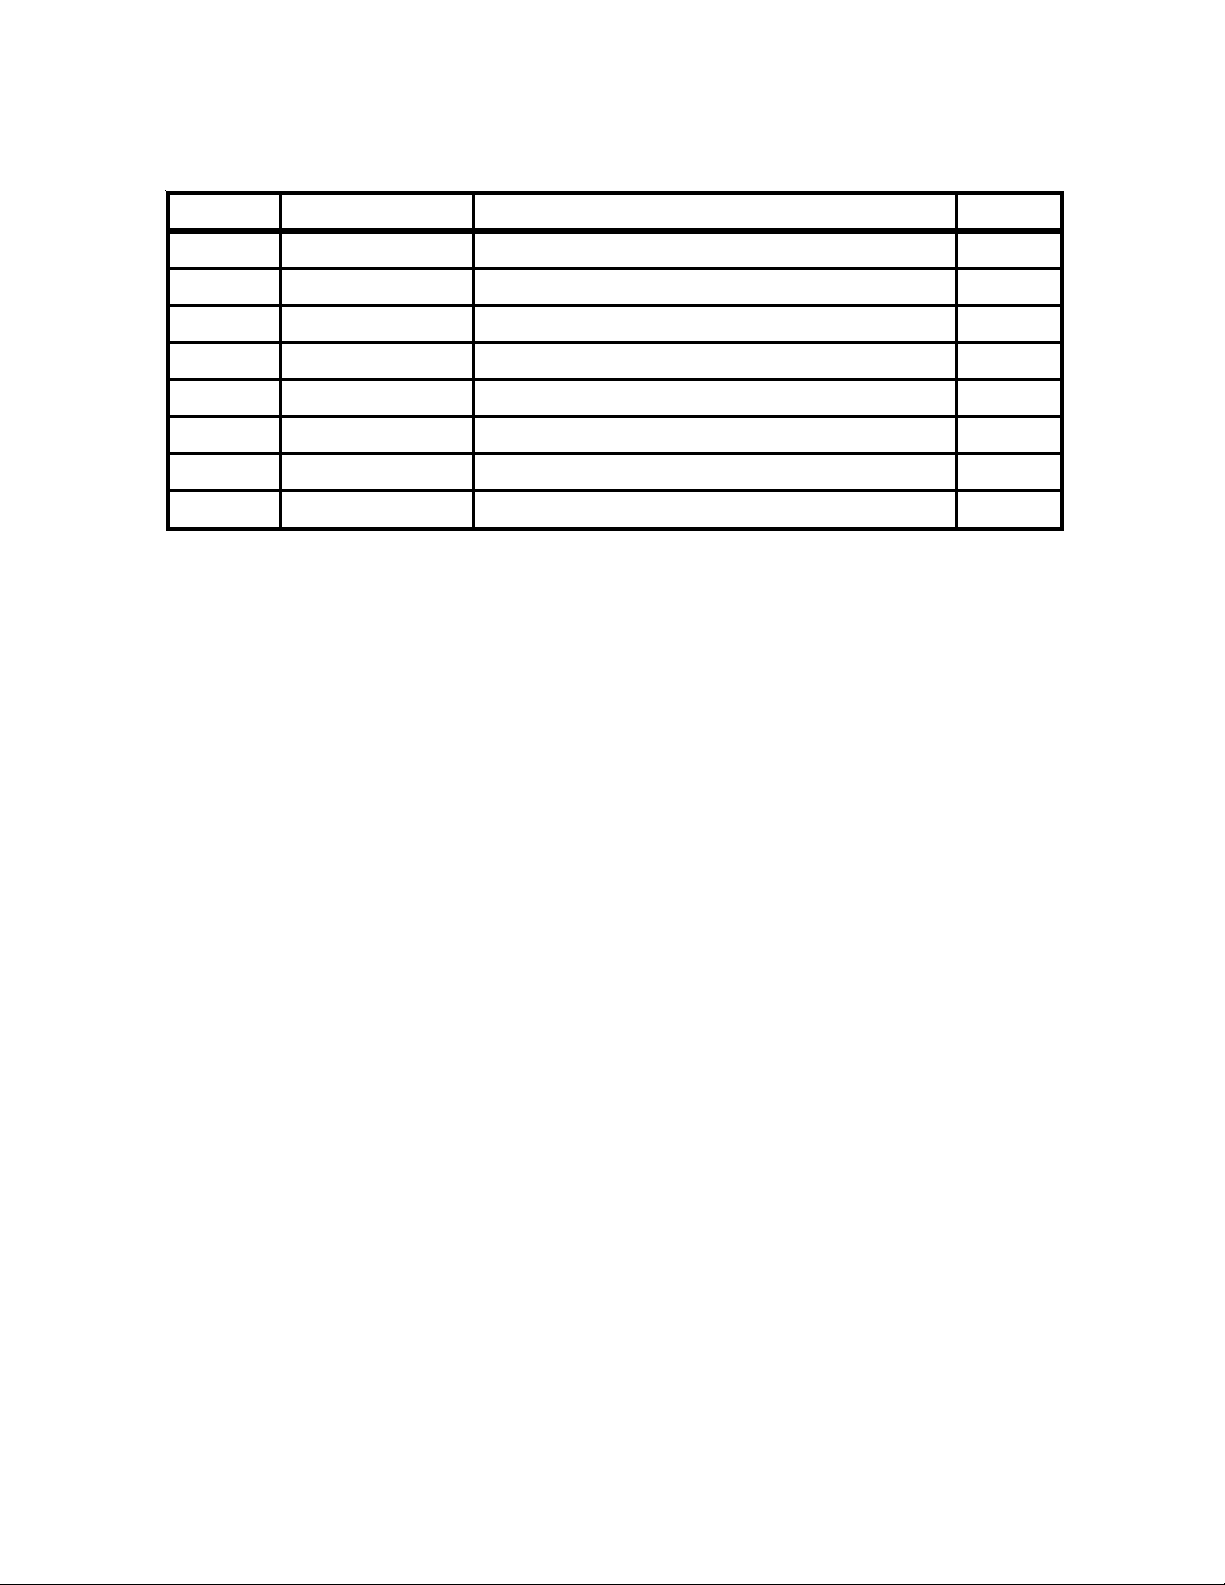
SSS SCEPTER PE50 5-GALLON BOX EXTRACTOR CONTROL
PLATE ASSEMBLY PARTS LIST
ITEM PART NO. DESCRIPTION QTY.
1 908115 Cord-Control 16/5-54" 1
2 962015 Screw-10-32 x 3/8 PHP 4
3 S948P Terminal-Female 3
4 911543 Terminal-Yellow Fem DICS 1
5 256401 Switch Plate 1
6 911089 Switch-Rocker 20 Amp 2
7 251344 Wire-14 Gauge 6" 1
256404 Complete Control Plate Assm. 1
13
Page 14
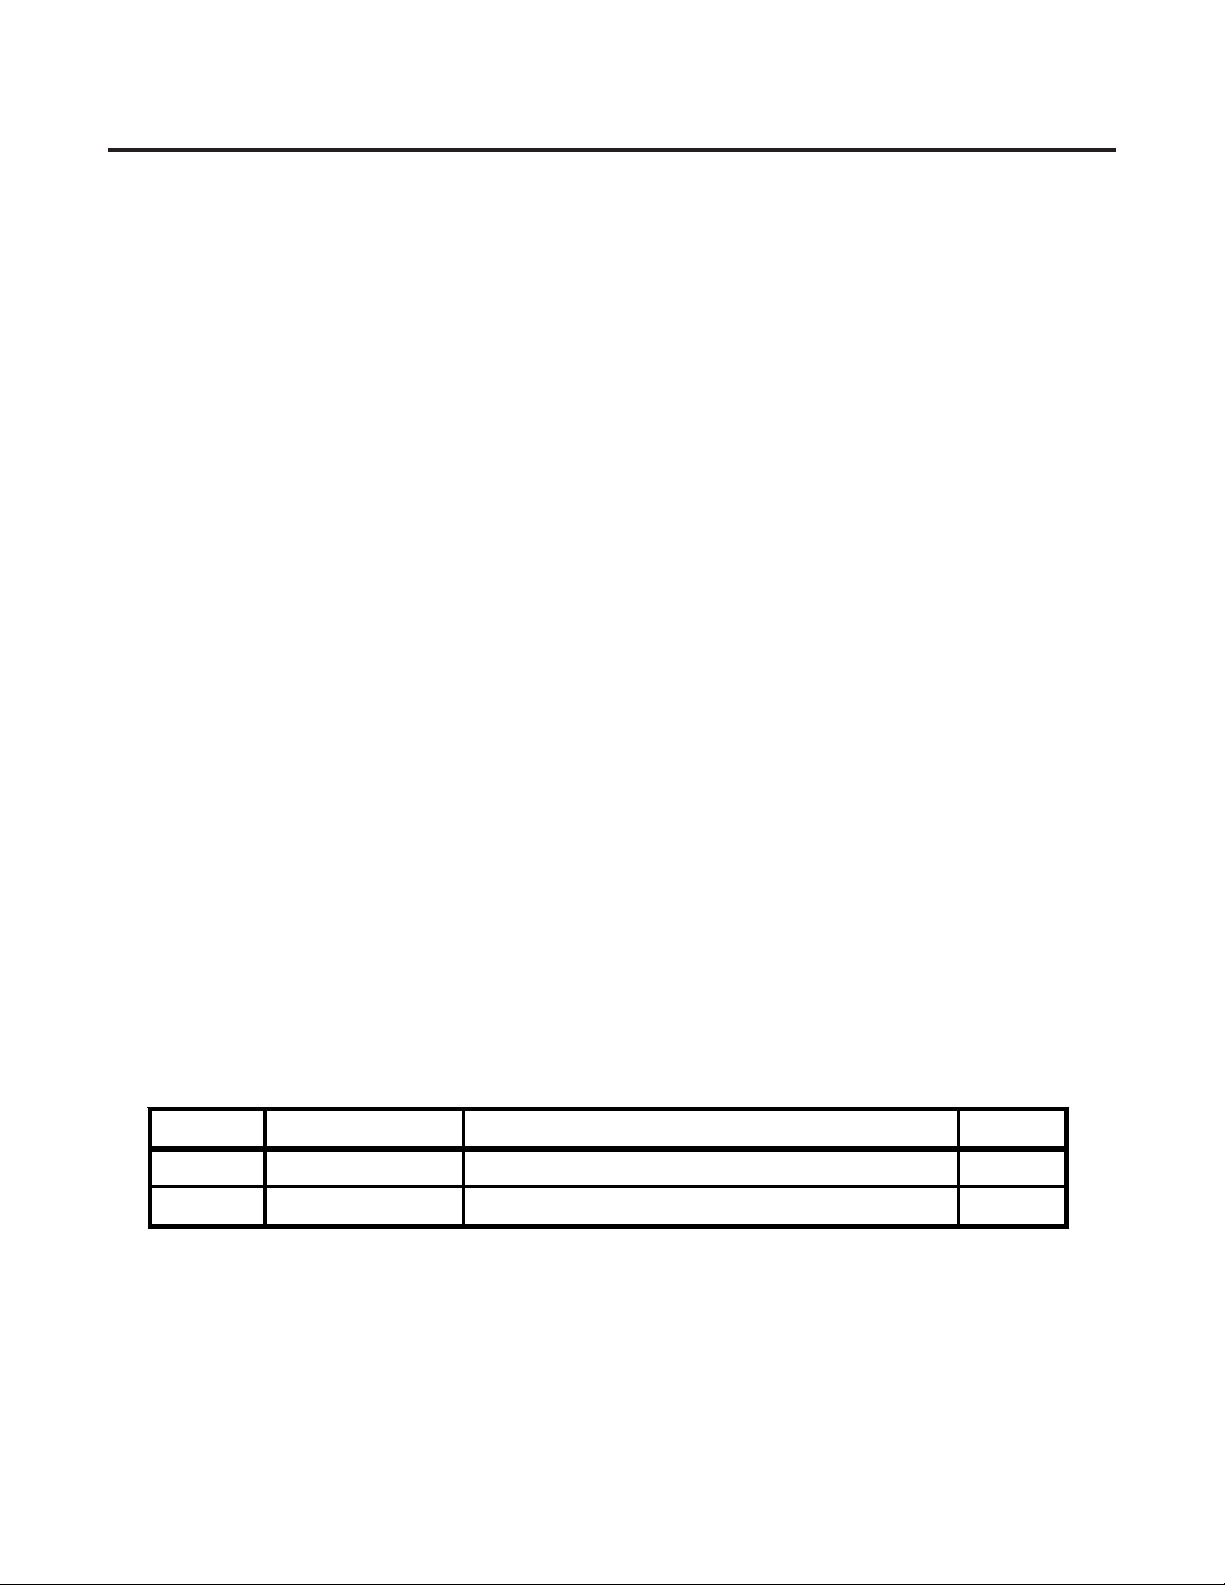
SSS SCEPTER PE50 5-GALLON BOX EXTRACTOR PUMP
ASSEMBLY
SSS SCEPTER PE50 5-GALLON BOX EXTRACTOR PUMP
ASSEMBL Y P ARTS LIST
ITEM PART NO. DESCRIPTION QTY.
1 3765 Elbow-Male 3/8 to 3/8 2
2 257002 Pump-60 PSI 1
14
Page 15
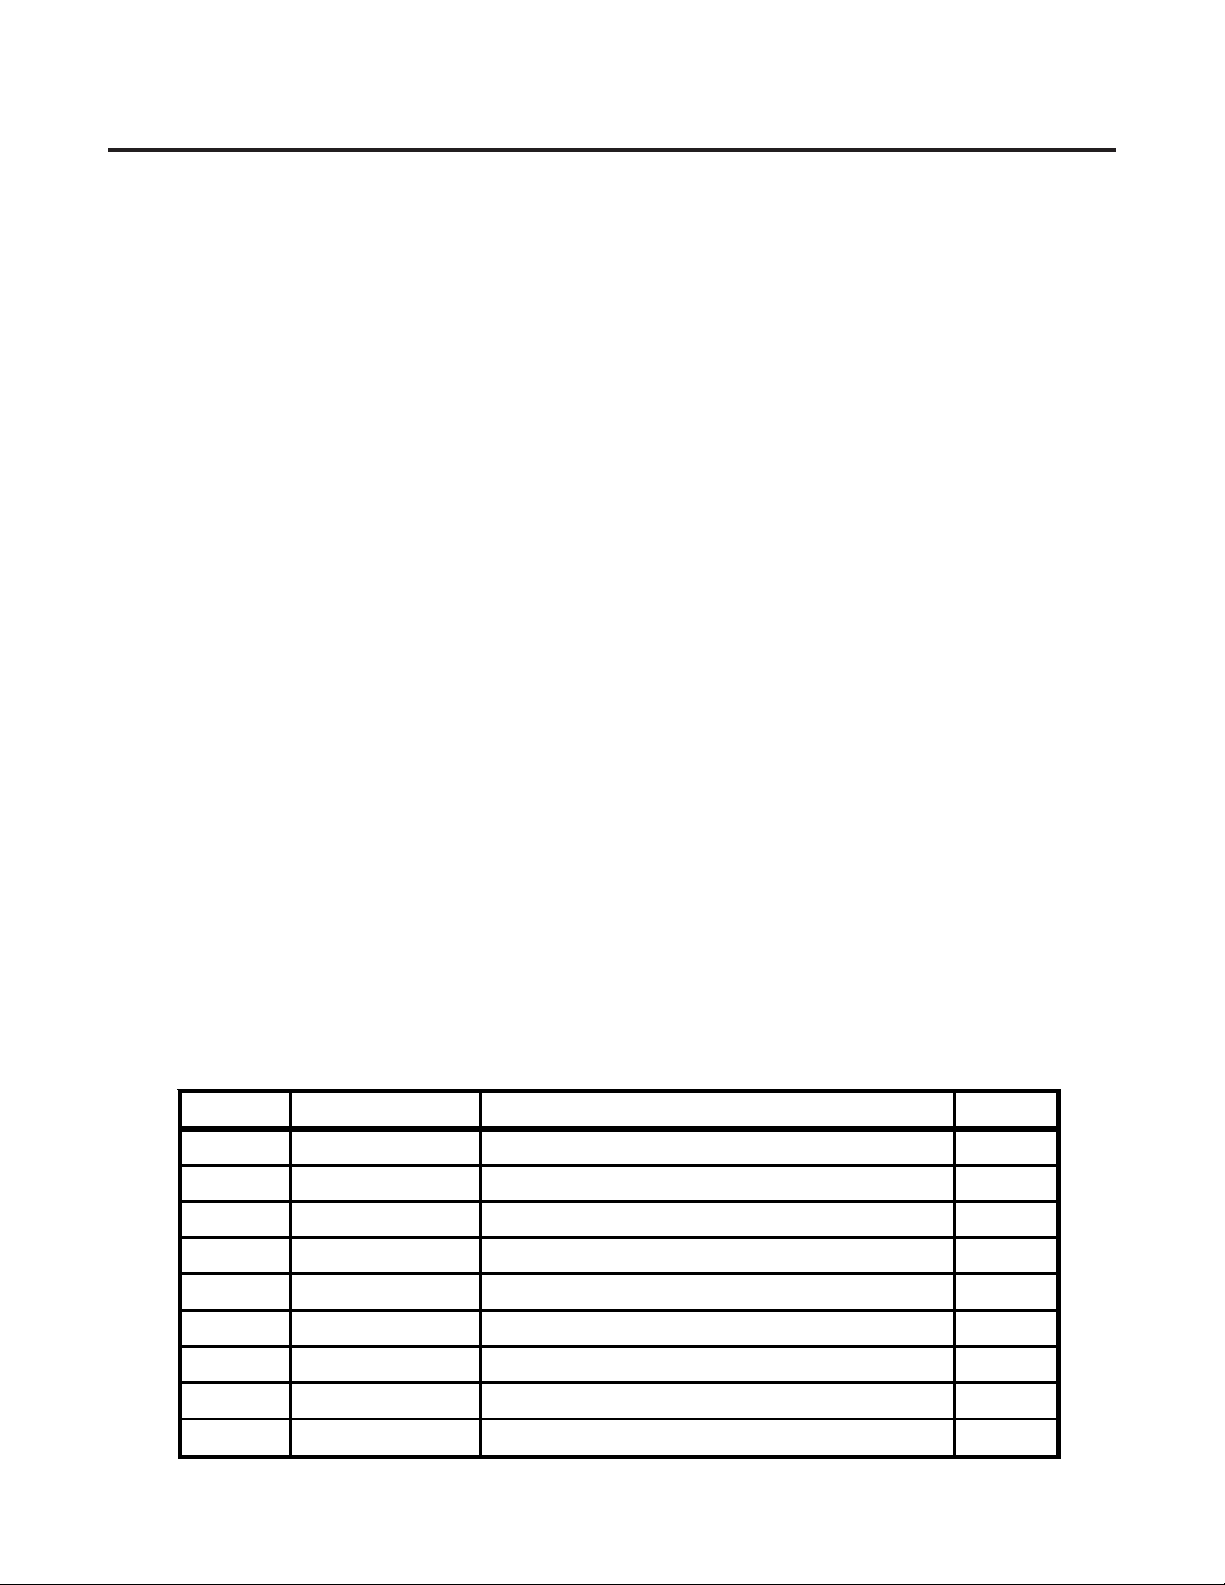
SSS SCEPTER PE50 5-GALLON BOX EXTRACTOR VACUUM
MOTOR ASSEMBL Y
SSS SCEPTER PE50 5-GALLON BOX EXTRACTOR VACUUM
MOTOR ASSEMBL Y PARTS LIST
ITEM PART NO. DESCRIPTION QTY.
1 962211 Screw-10 x 3/8 Hex Washer 1
2 962119 Screw-8 x 1/2 HH Tek-Zinc 1
3 252812 Elbow-Short 90D PVC 1
4 603473 Gasket-Top Vac 1
5 911553 Terminal-Ring Blue 16-14 1
6 205250 Motor-Vacuum 1
7 911604 Lead Asm w/Ring Terminal 2
8
9 257004 Pipe-PVC 2" OD x 0.75"L 1
257010 Pipe-PVC 2" OD x 5"L 1
15
Page 16
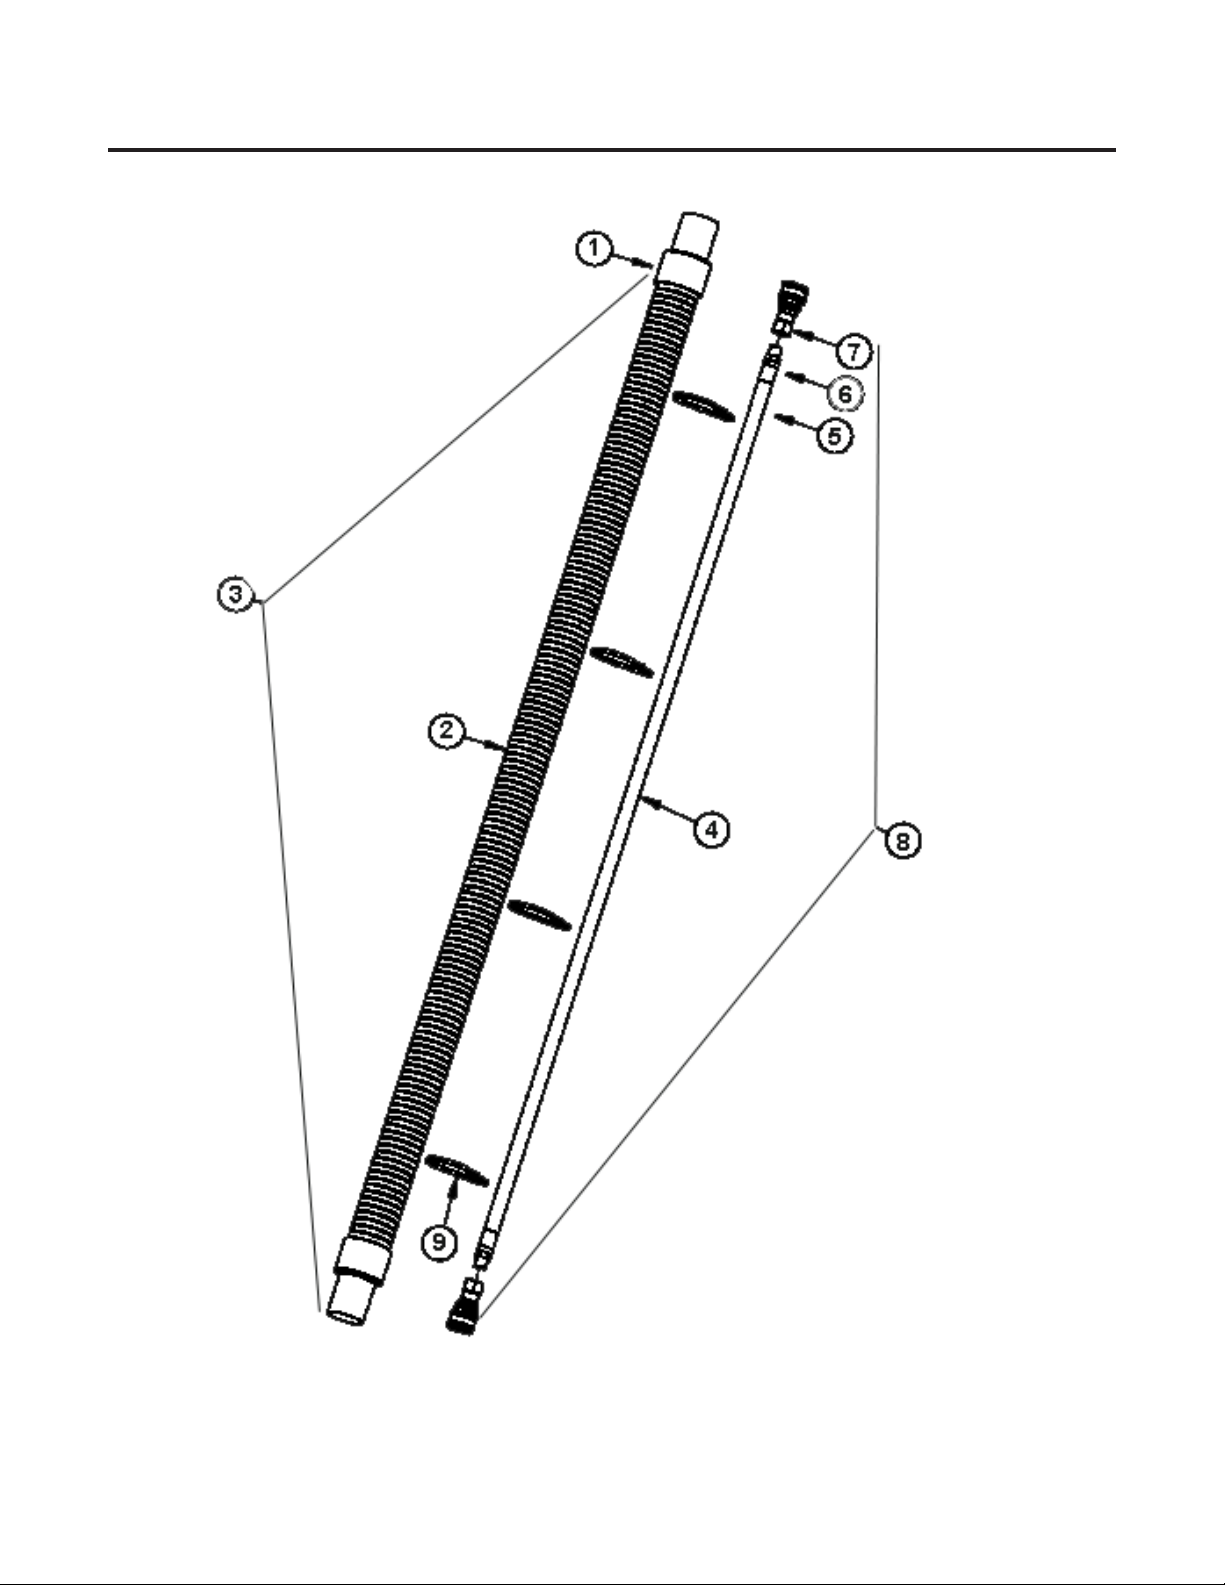
SSS SCEPTER PE50 5-GALLON BOX EXTRACTOR HOSE
ASSEMBLY
16
Page 17
SSS SCEPTER PE50 5-GALLON BOX EXTRACTOR HOSE
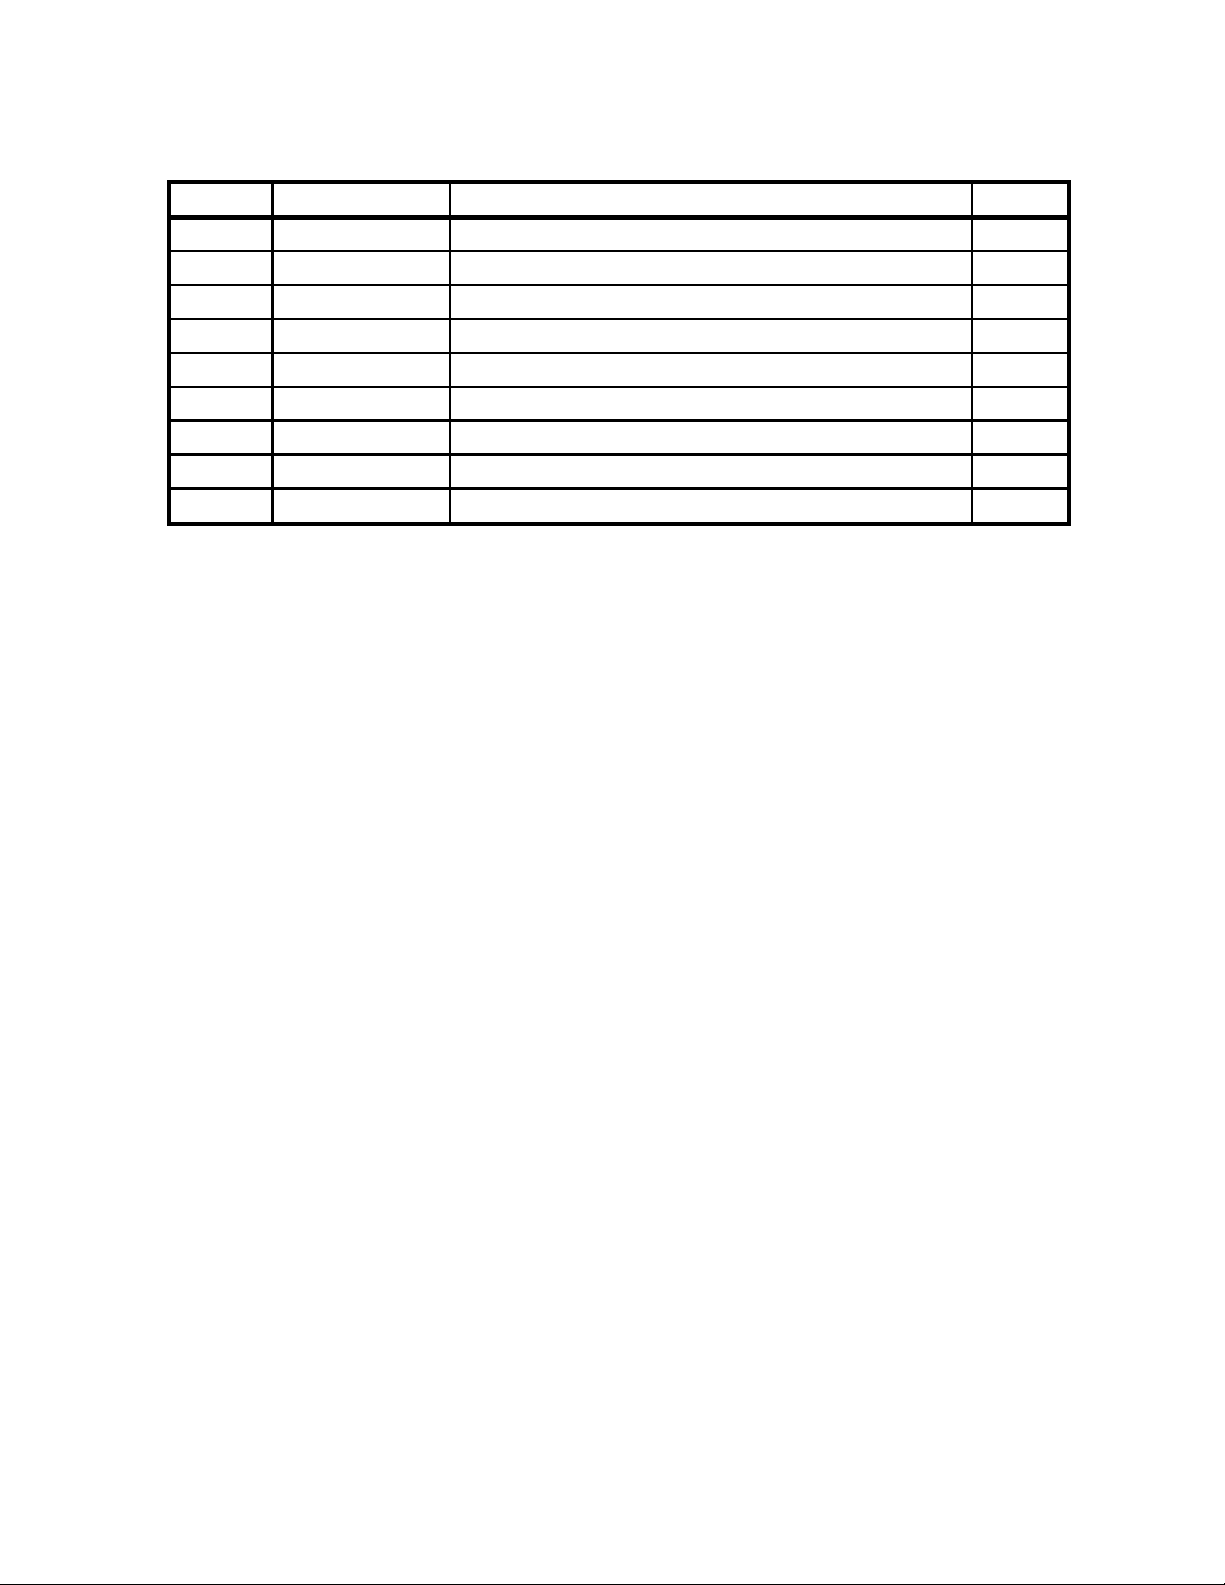
ASSEMBL Y P ARTS LIST
ITEM PART NO. DESCRIPTION QTY.
1 252403 Cuff-Hose 1.5 x 1.5" 2
2 254105 Hose-Vacuum 1.5" (Per Foot, No Cuffs) 12 ft
3 254138 Hose-Vacuum Assm 12' w/Cuffs 1
4 S250P Hose-Solution 3/8" (Per Foot) 12 ft
5 203359 Fitting-Hose Barb 3/8" 2
6
7 203308 Quick Connect - 1/4" Female 2
8 254139 Hose-Solution Assm 12' w/QC 1
9 911104 Tie-Cable 4
202050 Clamp-Solution Hose 2
17
Page 18
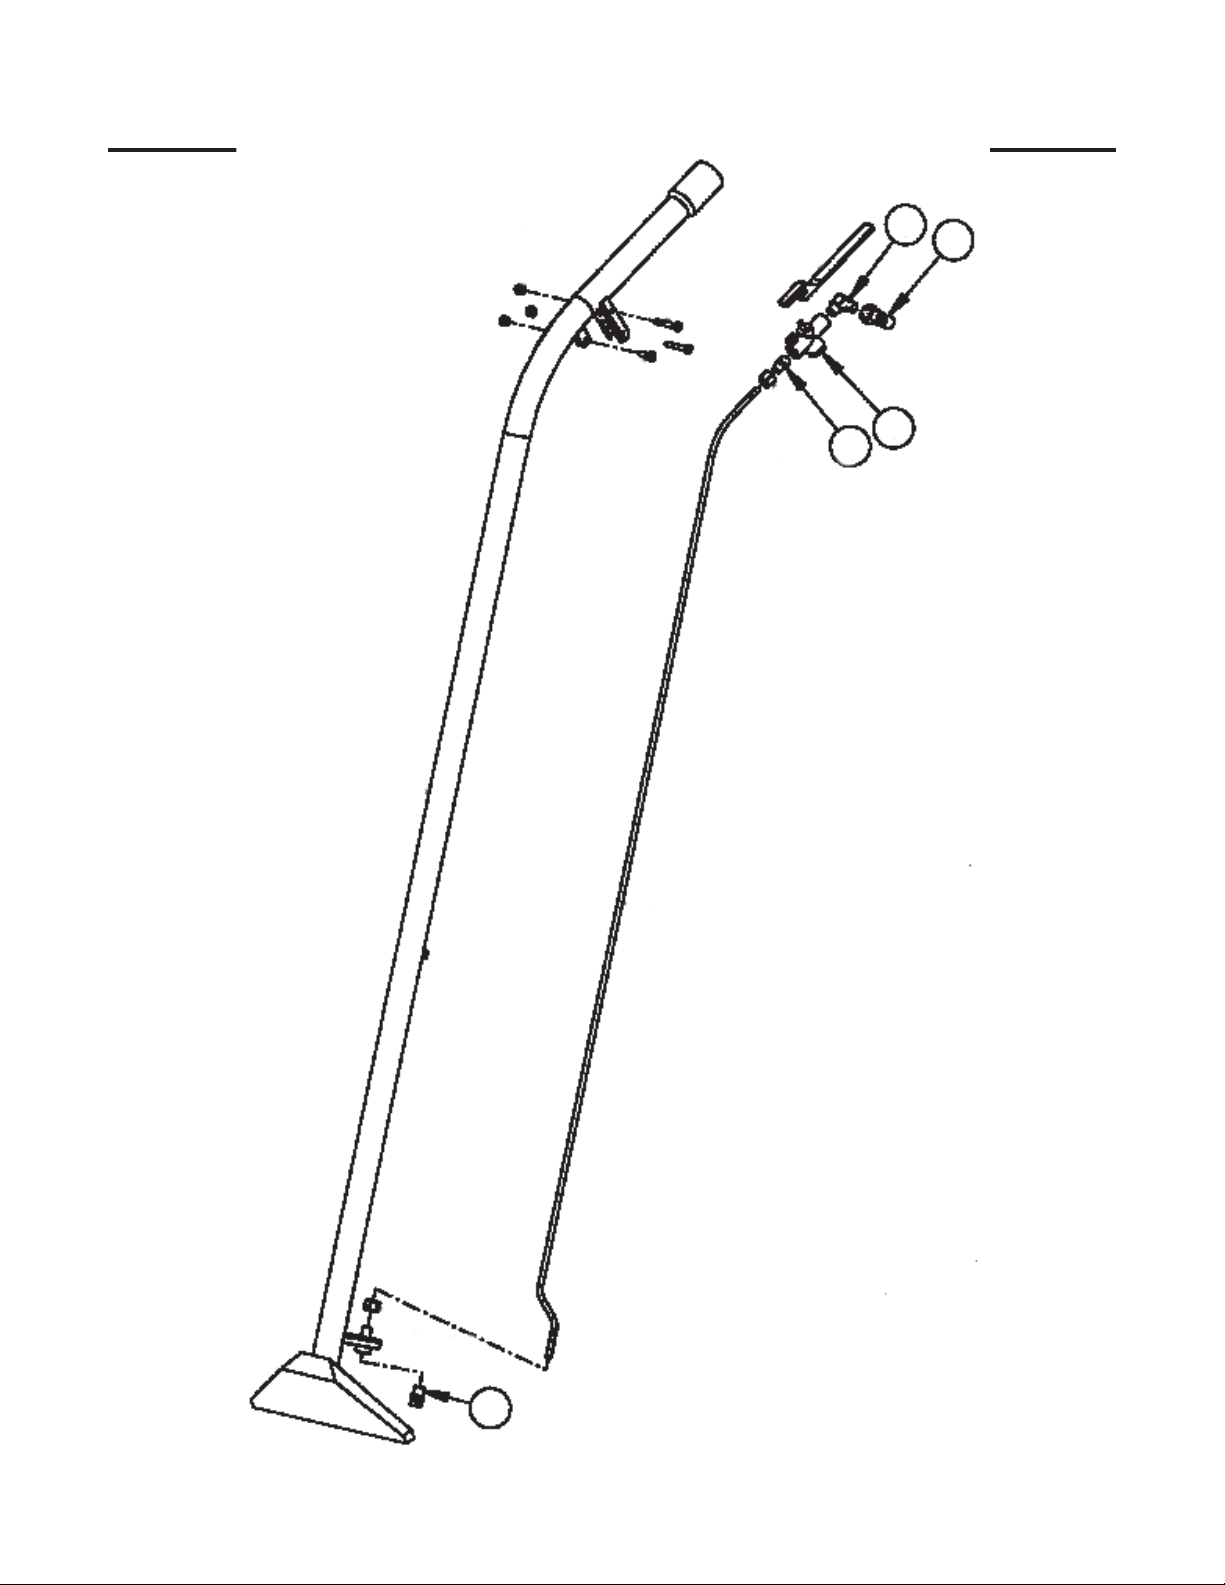
SSS SCEPTER PE50 5-GALLON BOX EXTRACTOR WAND
ASSEMBLY
2
1
3
4
5
18
Page 19
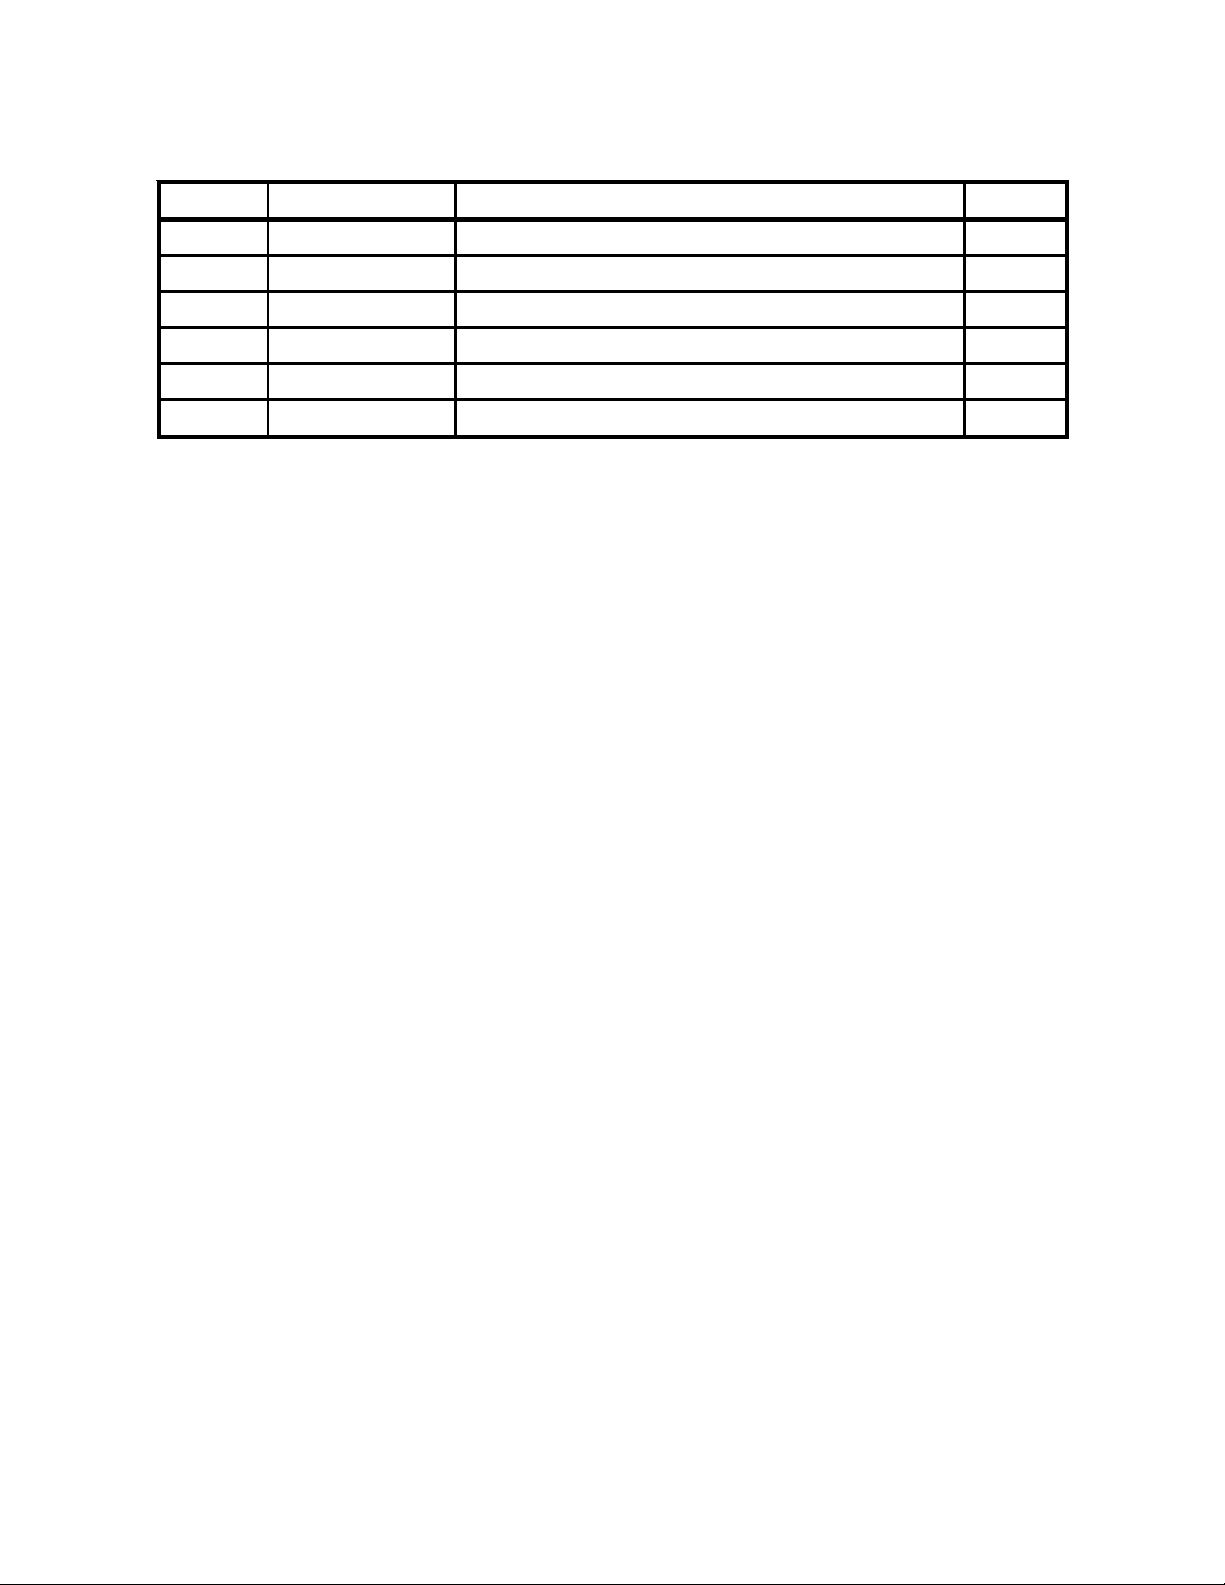
SSS SCEPTER PE50 5-GALLON BOX EXTRACTOR WAND
ASSEMBL Y P ARTS LIST
ITEM PART NO. DESCRIPTION QTY.
1 203302 Quick Disconnect-Male 1/4 1
2 252809 Elbow-1/4 to 1/4 1
3 259402 Valve-120 PSI Plastic Black 1
4 255703 Nipple-1/4 Male Threaded 1
5 254903 Spray Jet 1/8" Brass 1
259801 1-Jet Wand Assembly-Complete 1
19
Page 20

W ARRANTY POLICY
SSS SCEPTER PE50 5-GALLON BOX EXTRACTOR
The Triple S Scepter PE50 5-Gallon Box Extractor has been manufactured, tested and inspected in accordance with specific
engineering requirements and is WARRANTED to be free from defects in workmanship and materials as follows:
Five (5) years parts, One (1) year labor – Rotational molded tanks.
One (1) year parts & labor – All other components unless excluded below.
This warranty extends to the original user/purchaser and only when used, operated and maintained in accordance with T riple S’
Operating and Maintenance instructions.
This warranty does not apply to certain wear parts of the machine such as electrical cords, carbon motor brushes, hoses,
tools, etc., nor does it apply to damage or failure caused by improper use, abuse or neglect. Warranty credit or replacement of
return parts including motors, tools, etc., is subject to incoming inspection of those items.
T o secure repair under this warranty, the following procedure should be taken:
• The inoperative machine or warranted parts must be delivered to the authorized dealer with shipping and delivery charges
prepaid. If unable to locate the Dealer, you may contact Triple S at the address listed herein for the location of the nearest
T riple S repair center or agent or for other instructions pertaining to your warranty dif ficulty.
• Upon compliance with the above warranty procedure, all warranted repairs would be completed at no additional charge or
cost to the user.
• Only Triple S or its authorized dealers and agents may make no charge warranty repairs on this product. All others do so at
their own risk.
This warranty limits Triple S liability to the repair of the product and/or warranted parts replacement and does not include
incidental or consequential damages arising from the use of a T riple S machine whether defective or not.
This warranty is in lieu of all other expressed or implied warranties and is extended to the original purchaser/user.
08/09
2 Executive Park Drive • Billerica, MA 01862
Ph: (800) 323-2251 • Fax (978) 667-9360
www.triple-s.com
 Loading...