

Page 1
INC.
3
3
3
4
4
/ " R. STEP A BULL ARCH
/ " R. STEP A BULL ARCH
4
/ " R. STEP A BULL ARCH
• INTRODUCING THE WORLD’S 1st EVER, STEP A BULL ARCH
• DESIGNED TO FINISH AN INSIDE RADIUS AS SMALL AS 15"
• PERFECTLY MATCHES ¾
• CREATES A SHARP, ATTRACTIVE DETAIL
"
R. STEP A BULL
INSTALLATION
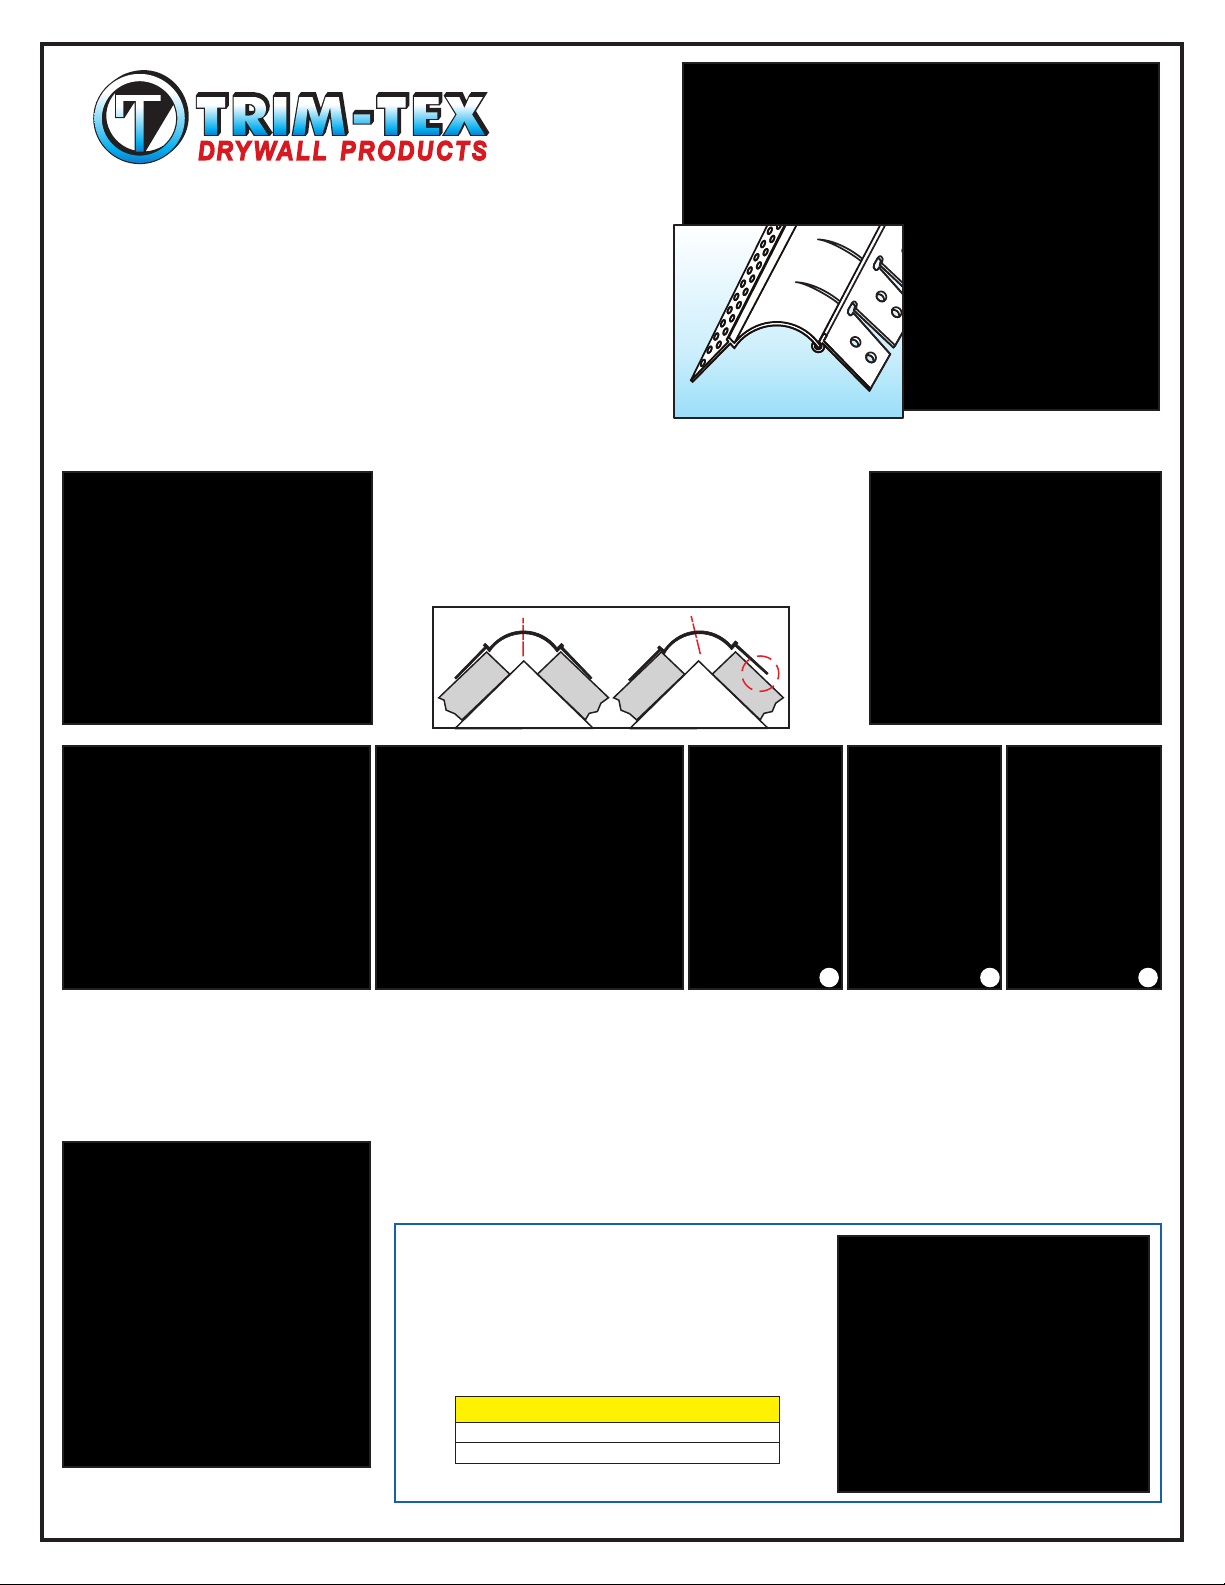
Begin by preforming the arch bead for easier installation. Be
sure to set your drywall back a ½ ut a short piece of the
StepABullArch
guide lines along the length of the arch.
used to ensure a straight installation. Make sure the legs are
properlyalignedandnotsplayingoutasshownbelow.
Preform Arch before
installation
Install bead from the
center of the arch
Staple every other
tab with ½ divergent
staples
". C
as showntothe right. Use this piece to draw
The guide lines are
GOOD
BAD
"
Pencil mark
guide lines
A B C
Cut the bead to length and place the bead at the CENTER of the arch using your previous pencil guide lines to assure straightness. Begin
staplingfrom the centerof the arch and work your way towards the edges. Holdthe bead securely in place and staple every other tabwith ½"
divergent staples. Extend the arch at least 6" onto the flat part of the opening. Youmay also use Trim-Tex847 SprayAdhesive. Seethe 847
can for installation instructions. For a smooth transition from arch to straight bead, use a small piece of StepA Bull to draw a guide line on the
archnose (Image ).Use the guide linetosnipandcreate a smoothstraighttoarchtransition(Image & ).A BC
Finish the installation by mudding, sanding and painting the bead as you normally would any corner
bead. To boost the performance and strength of your drywall compound, use Trim-Tex's high
performanceMUD-MAX drywall compound additive(stock#850).
Modify application
tool for nose of the
bead
www. .comTRIM-TEX
FINISHING TIPS
To fill the notches on the nose of the bead you can
modifyan application tool (Stock#928).
Forthefinalsandingof the nose cut a flexible sanding
padto the sizeofthenoseofthe bead (Stock#881).
STOCK #
7148
7140
3700 W. PrattAve. Lincolnwood, IL 60712-2508 Phone: (847) 679-3000 Fax: (847) 679-3017
LENGTH
8'
10'
PCS/ BOX
10
10
Page 2
INC.
Step A Bull de ¾”R en ArcoStep A Bull de ¾”R en Arco
Step A Bull de ¾”R en Arco
• Introduciendo el 1er Step A Bull en Arco en el mundo
• Diseñado para acabar un radio inferior de 15”
• Hace juego perfectamente con el Step A Bull de ¾” R
• Crea un detalle muy atractivo
INSTALACION
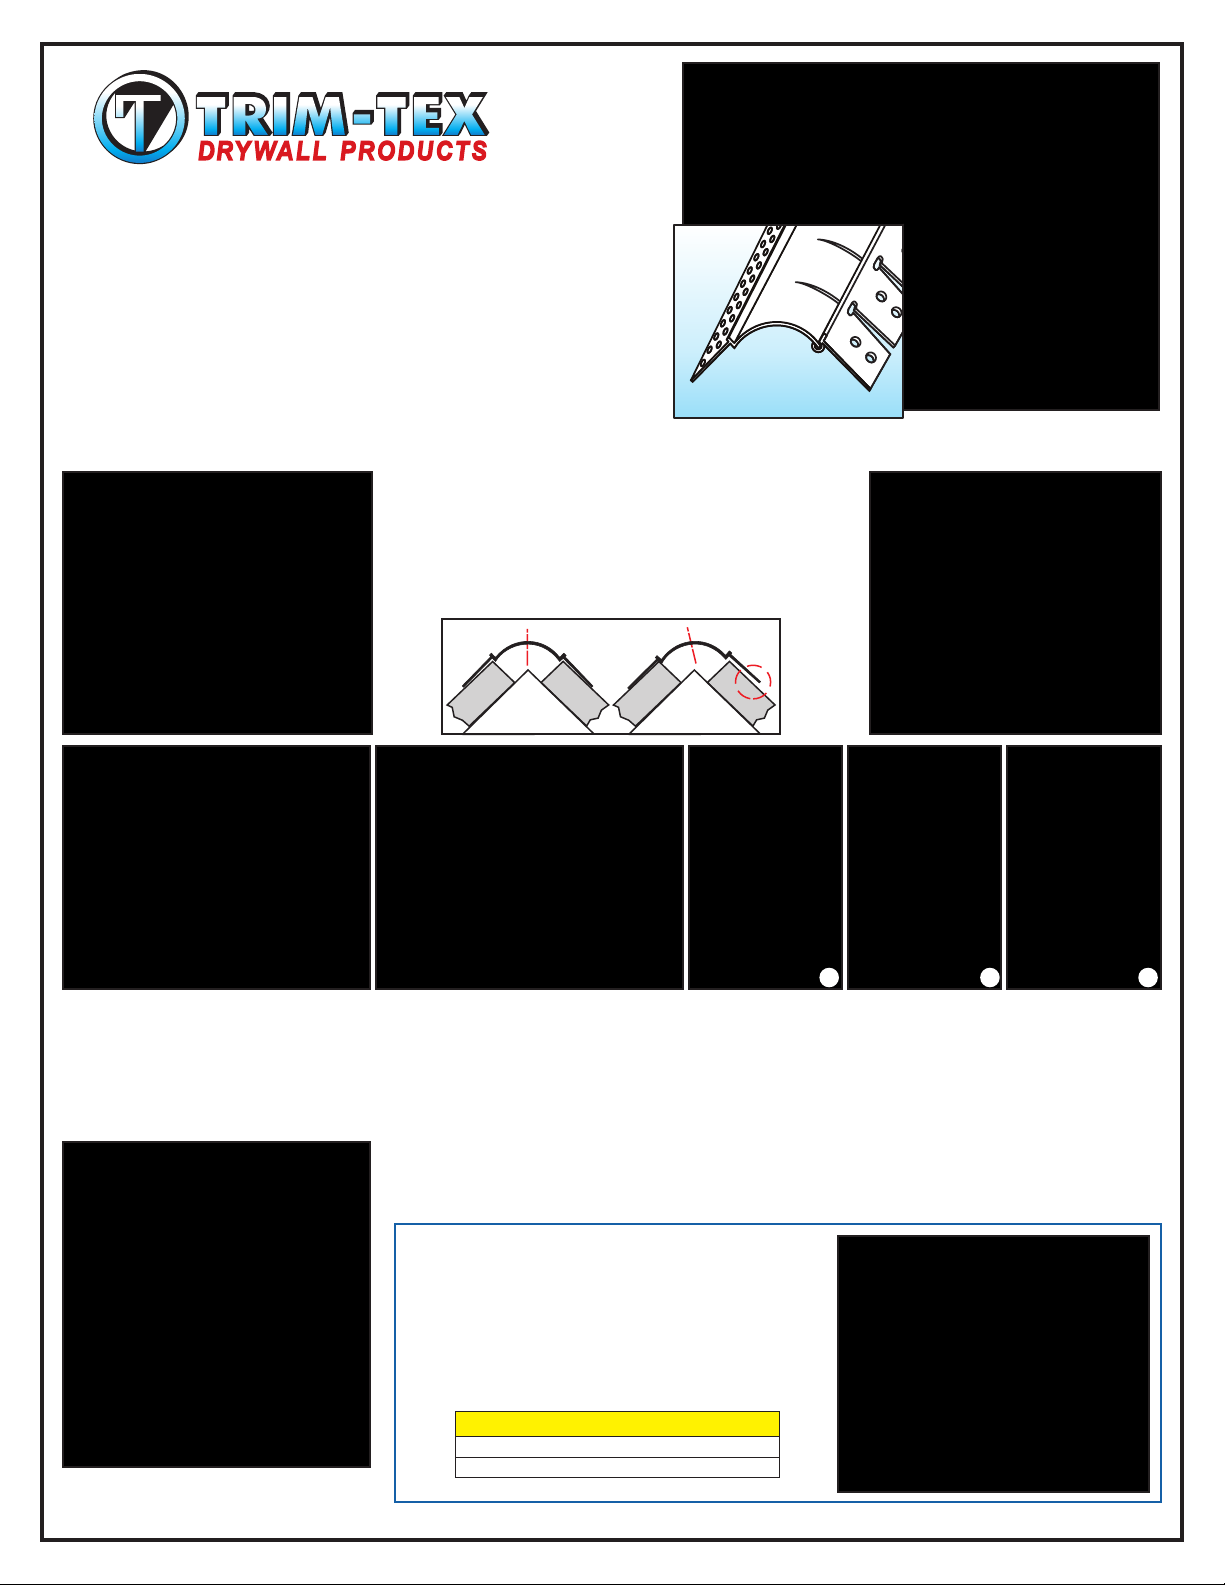
Empiece formando en arco el esquinero para una instalación
más fácil. Este seguro hacer hacia atrás la tabla roca ½”.
Corte un pedazo pequeño del esquinero como se indica a la
derecha. Use la pieza para poner líneas de guía en el arco.
Las líneas se usan para asegurar una instalación derecha.
Asegúrese que las extremidades estén alineadas
Forme en arco el
esquinero antes de
instalar lo
correctamentey no abiertas comosemuestraabajo.
Líneas de
guía
GOOD
Instale el esquinero desde
el centro del arco
Corte el esquinero a la medida y póngalo en el centro del arco usando las líneas de guía para asegurar que este derecho. Empiece
engrapando desde el centro del arco y termine en la orillas. Detenga el esquinero y engrape cada otra ceja de la otra extremidad usando
grapas de ½”. Extienda el arco por lo menos 6” a la parte plana de la abertura. También puede usar el Adhesivo enAerosol 847 de Trim-Tex.
Vealalatade847parainstrucciones.Paraunatransiciónfluidadelesquineroenarcoa esquinero derecho, use una pieza pequeña del StepA
Bull para poner una línea de guía en el esquinero en arco (Imagen A). Use la línea de guía y corte el esquinero en arco para crear una
transiciónsuave del esquinero derechoalarco(Imagen & ).BC
Engrape cada
otra ceja con
grapas de ½”
Acabe la instalación agregando el compuesto, lijando y pintando el esquinero como lo haría con
cualquier otro esquinero. Para mejorar el rendimiento y la fuerza del compuesto, agregue aditivo de
compuestoMUD-MAX de alto rendimiento(stock#850).
CONSEJOS PARA TERMINAR
Pararellenar las aberturas en el centrodelesquinero,
modifiquela herramienta de aplicación(Stock#928).
.
Para el lijado final de las aberturas, corte un pedazo
de esponja a la medida del centro del esquinero
(Stock#881).
BAD
A B C
Modifique la herramienta
deaplicacion para el
centro del esquinero
www. .comTRIM-TEX
STOCK #
7148
7140
3700 W. PrattAve. Lincolnwood, IL 60712-2508 Phone: (847) 679-3000 Fax: (847) 679-3017
LENGTH
8'
10'
PCS/ BOX
10
10
 Loading...