

Page 1
®
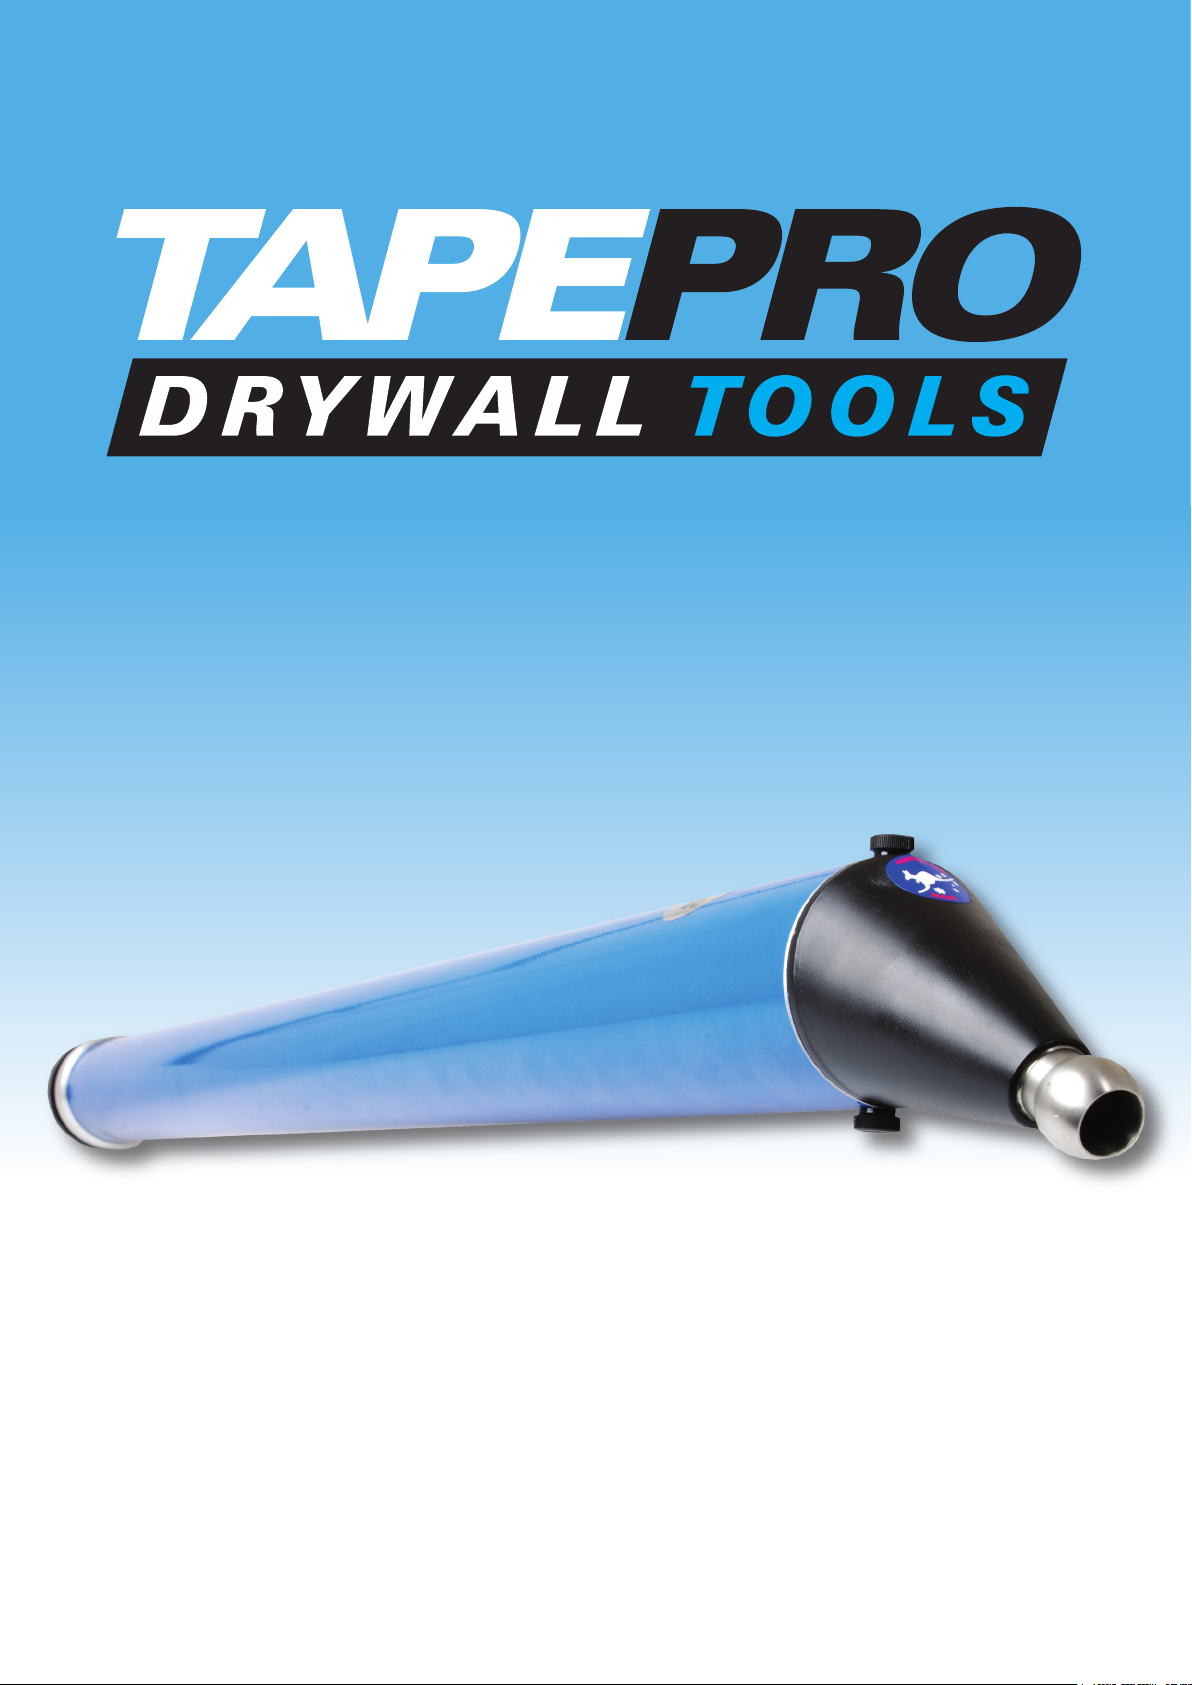
COMPOUND APPLICATOR TUBE
Page 2
COMPOUND APPLICATOR TUBE
Code: CA-T
The Tapepro Compound Applicator Tube is a robust and simple multi purpose tool.
It can be tted with a wide variety of applicator heads including:
•
The Applicator Head (AH-38) for dispensing ribbons of joint compound to both sides
and apex of internal angle joints, horizontal or vertical, prior to applying paper tape by
hand.
The Outside Applicator Head (OAH) for use on external angles - perfect for tting Trim-
•
Tex Mud Set Bead!
The 75mm Corner Glazer (CG-75) for nishing internal corner joints.
•
The 65, 75 and 90mm Corner Finishers (CF-65, 75, 90, CFP-75) for nishing internal
•
corner joints.
The Cornice Head range (CH-55, 75, 90) for xing cornice.
•
The Flat Applicator Nozzle (FAN) for lling at joint recesses, or lling at boxes.
•
Features:
Robust aluminium main tube, powder coated for
•
durability
Piston head features two lip seals for positive sealing
•
Quick release nozzle and piston rod for easy cleaning
•
O Ring seal behind the nozzle
•
High ow nozzle made from industrial plastic with a stainless steel ball
•
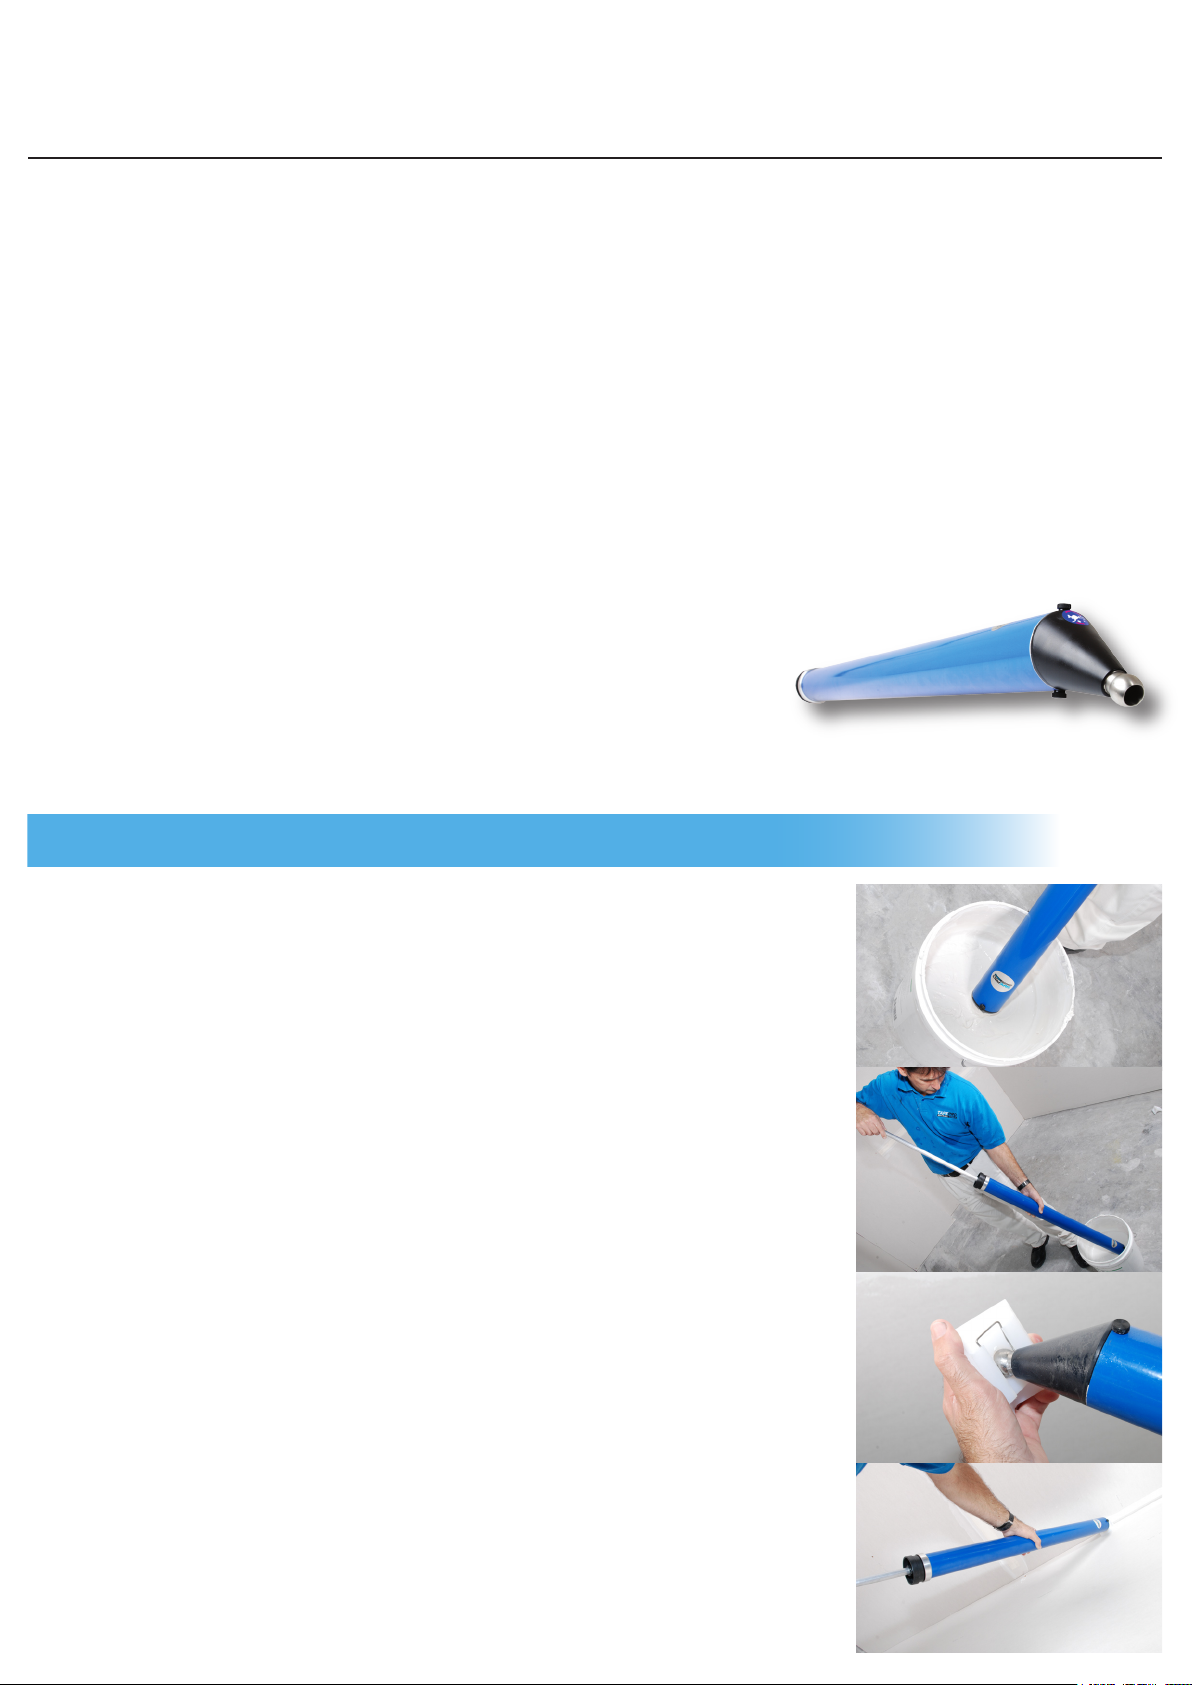
USING THE COMPOUND APPLICATOR TUBE
FA-CT 1
Prepare the joint compound to be used - it should be slightly
1.
wetter than you would use for hand setting.
Ensure the tube is clean and that the seals are not dry or
2.
damaged.
With the piston rod fully compressed, place the nozzle into
3.
the joint compound.
Pull up on the piston rod to draw compound up into the tube.
4.
To remove the nozzle air pocket on initial ll, remove the tube
5.
from the compound after drawing up approx 100mm. Place
the ball end on the oor and bounce the air pocket out of the
nozzle.
Continue loading - move the nozzle as you load so that it is
6.
always covered in joint compound. Do not allow air to enter.
Wipe off excess compound on the side of the container.
7.
Attach your choice of applicator head.
8.
Position on the joint so that the tube exerts equal pressure on
9.
both sides.
Push the piston rod in until compound is seen on the
10.
underside of the applicator head.
Move the applicator along the joint whilst maintaining ow.
11.
Page 3

®
CLEANING
Your Compound Applicator Tube should be cleaned after each use to maximise lifespan and
maintain optimal performance.
Use water and a brush - do not use solvents.
MAINTENANCE
To maintain your Compound Applicator Tube, follow these points:
Throughly clean the tool after use.
•
Ensure that all joint compound is removed.
•
Use a silicone spray to protect and lubricate. Do not use solvent based products.
•
Lubricate the piston wipers and O ring.
•
Replace the O ring if damaged.
•
All replacement parts are available from your local plasterboard distributor or
Tapepro Drywall Tools. For your nearest distributor please visit our website:
www.tapepro.com or call Tapepro Drywall Tools on +61 7 5520 6022.
WARRANTY
All manufacturing faults are covered under the Tapepro warranty. All non wear parts are
covered under a 3 year warranty.
Page 4

CB019
CAA010
CA004
P005
CA013
TAPE
DRYWALL
CA-T
Compound Applicator Tube
PRO
TOOLS
FAN
P002
P003
P001
CAA-1C
P051
CA014
SA051
CA015
P051
CAN
For further information contact: TAPEPRO DRYWALL TOOLS: 2/44 Dover Drive; West Burleigh QLD 4220 Australia
Phone: +61 7 5520 6022 | Fax: +61 7 5520 5973 | Email: info@tapepro.com | Website: www.tapepro.com
CA007
CA012
®
 Loading...