

Page 1
SET-UP AND OPERATION OF EDM
Preliminaries: Ensure all batteries are put on charge
well before the meeting.
Assembly and Levelling:
Ensure tripod is set firmly into the ground at a convenient working height for all users with top plate as
level as possible (use spirit level).
Turn the instrument so that the keyboard is over two
foot screws.
Page 2
Check level on display - adjust on tribrach foot screws to centre
both index marks. The 2 screws under the keyboard act on the
bottom line (adjust both out or both in- the mark will move in
the direction of your left thumb. Use your right hand for the
other screw without turning the instrument. The mark will follow the direction of your fingers.
Prolonged adjustment will turn the instrument off.
When adjusted press YES
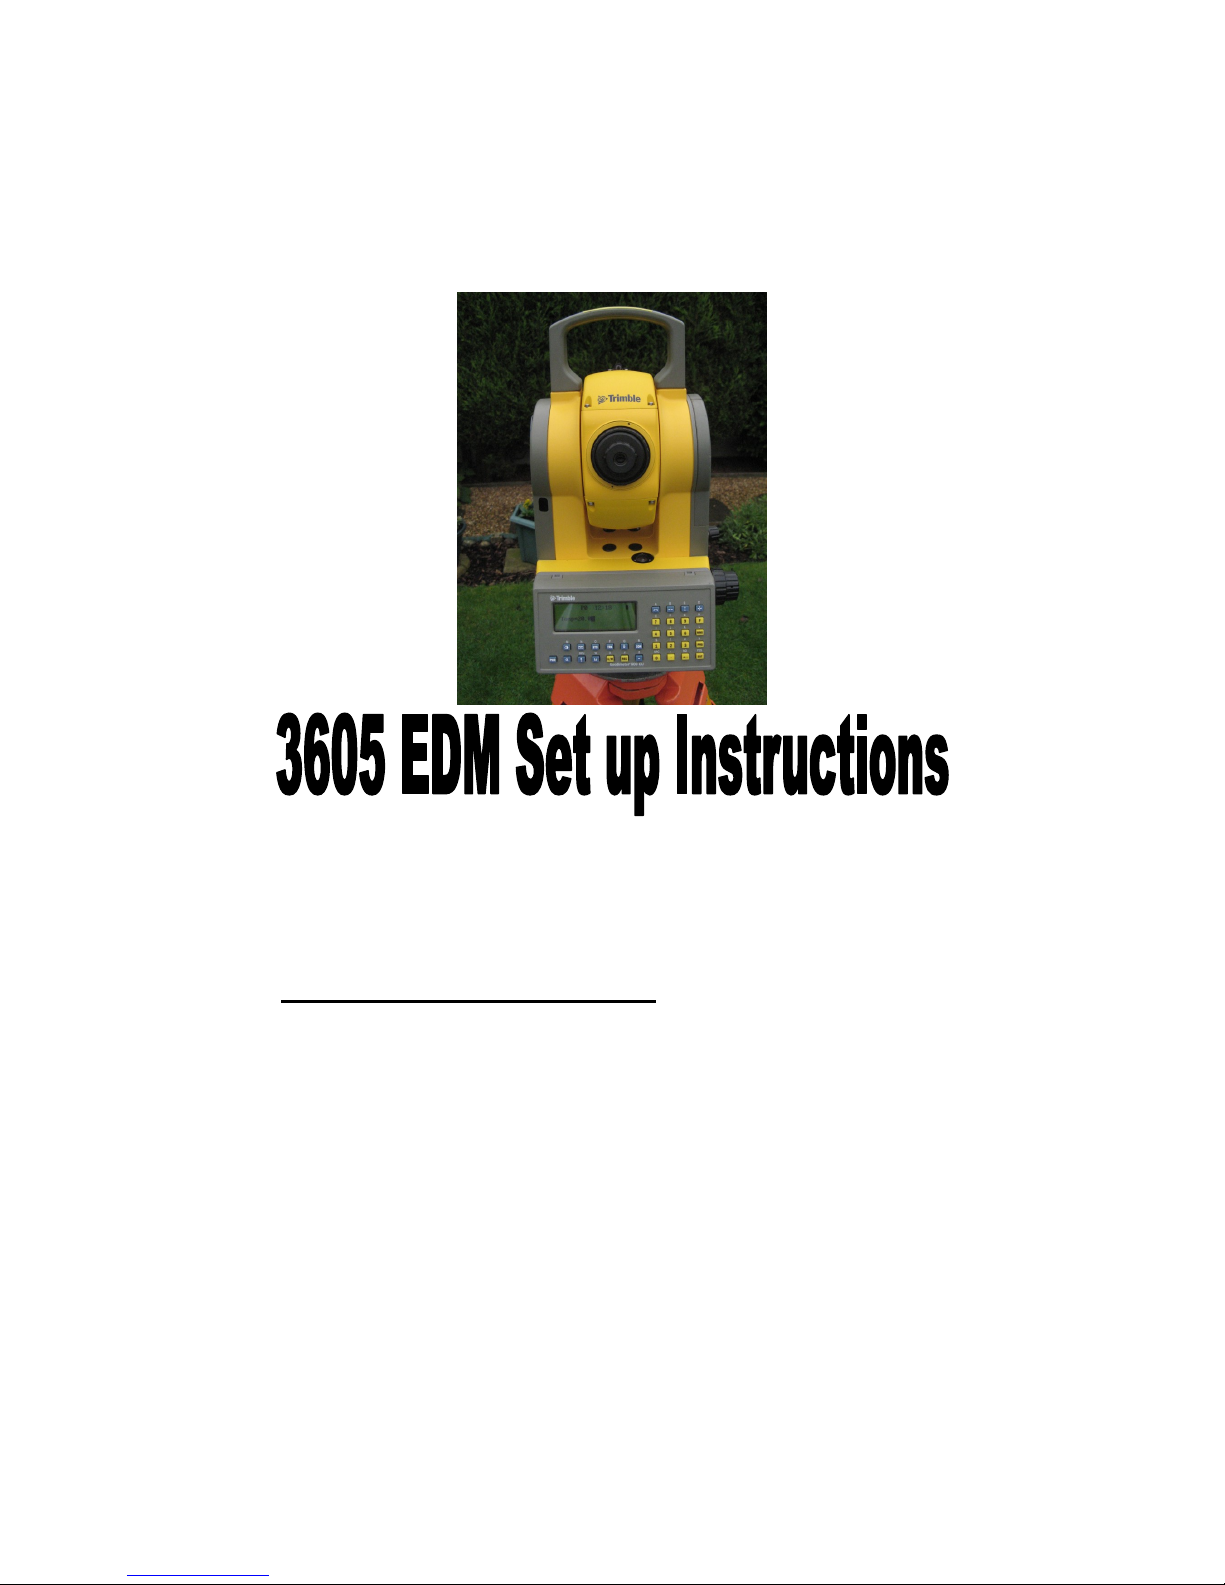
The instrument will show
Turn the instrument in the direction of the arrow until the
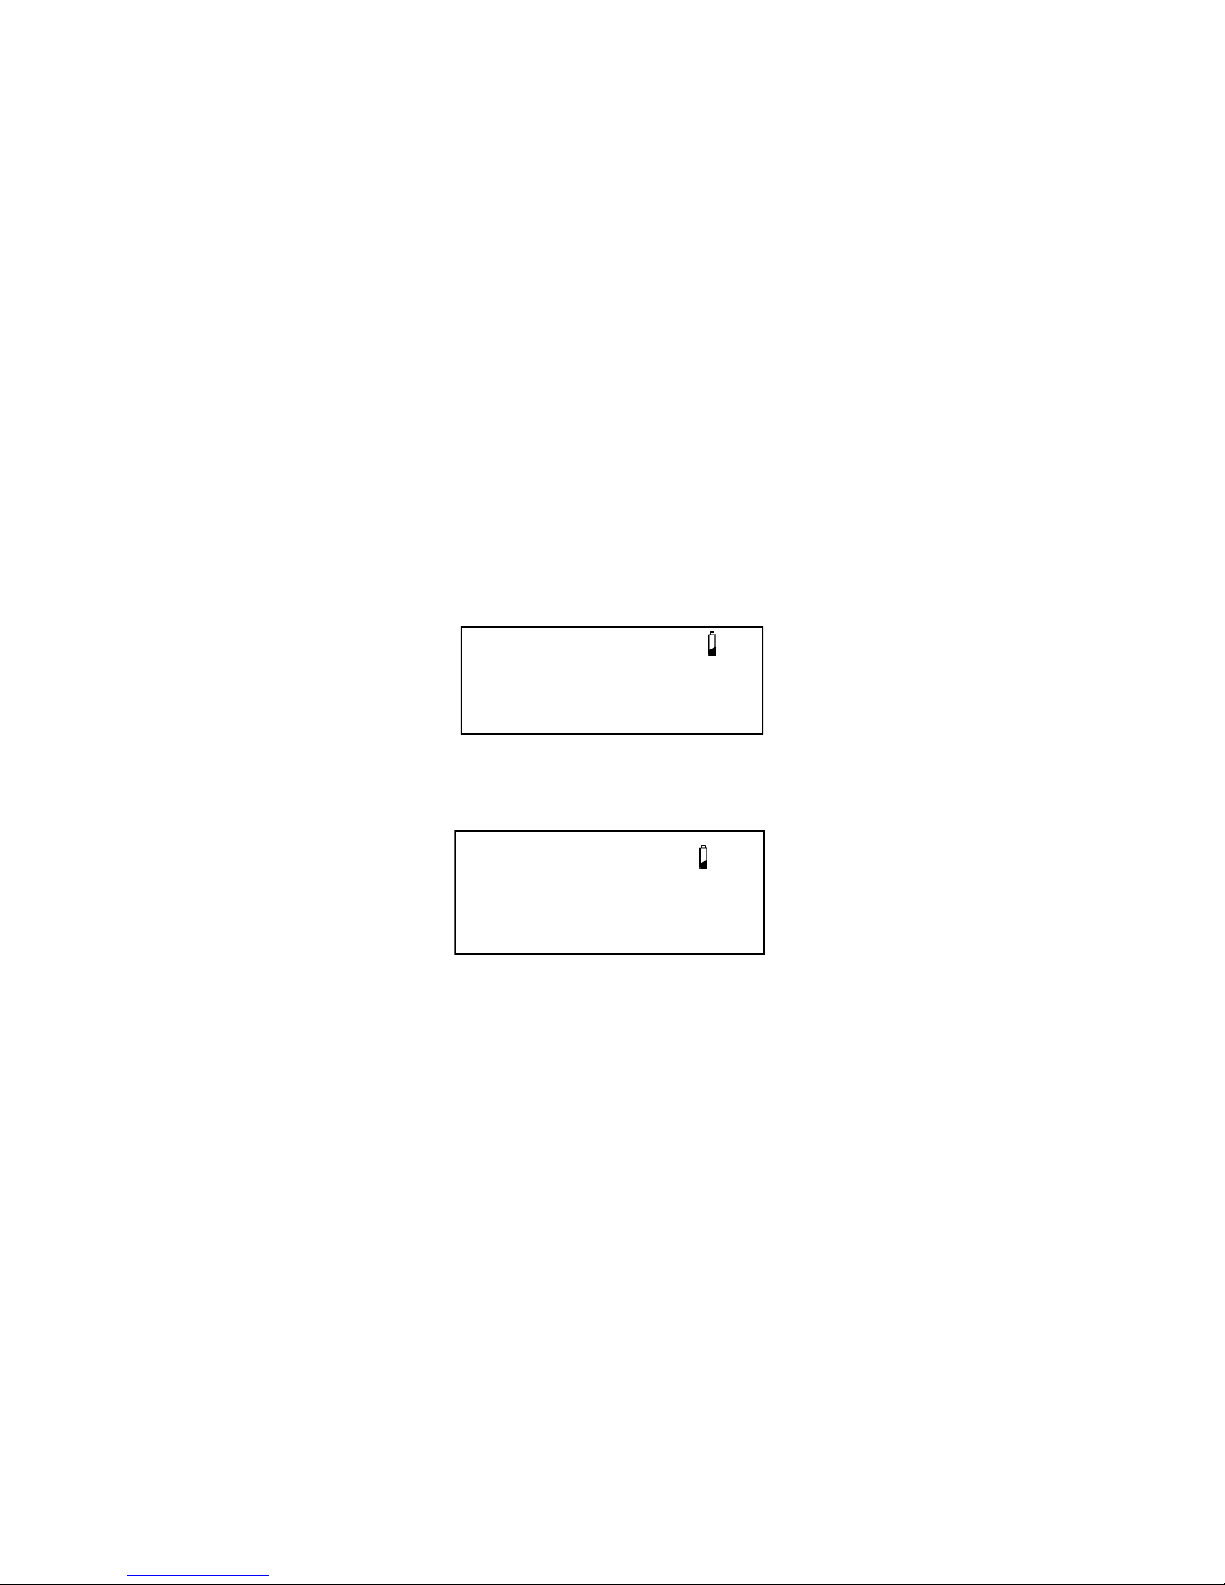
screen shows
Enter approx. temperature, press ENTER (Yes)
Enter approx. atmospheric pressure, press ENTER (Yes)
Enter prism constant (Zero for our prisms), press ENTER (Yes)
Enter horizontal component , press ENTER (Yes).
Now turn to event set up pages
12:31
Turn 180 →
12:31
Press A/M
Page 3

THROWS
Press the program button PRG - Enter '60', press ENTER (Yes)
Enter Job No. '1', press ENTER (Yes).
Instrument reads: XMEM OFF SERIAL OFF
Ignore, press ENTER (Yes).
Prism in centre of circle (or 8m point), focus on prism, press
A/M. pause then press REG.
Display shows User ='0', press back space ‘ enter circle radius (1.25 for discus, 1.0675 for hammer/shot, 8.0 for javelin),
press ENTER (Yes).
Display shows User = ‘1', press ENTER (Yes).
Display shows User= (blank), enter round No., press ENTER
(Yes).
Place prism on inner edge of circle or arc, focus on prism,
press A/M. pause then press REG. (should read '0').
To get back to next measurement press No to store.
Enter User No.' 1', press ENTER (Yes).
Enter Round No. , press ENTER (Yes).
Take two initial check measurements at different locations in,
or adjacent to, throwing area. Checks should be marked and
measured using a steel tape. Record all readings and measurements. Repeat checks at end of the competition.
Taking Measurements:
1) When cross hairs locked on prism, press A/M then press
REG.
2) Record distance measured and signal clearly to prism handler to remove prism.
3) Display shows ' Store?', press 'NO'.
4) Enter User No.' 1', press ENTER (Yes).
5) Enter Round No. '(-)', press ENTER (Yes).
Page 4

Horizontal Jumps
Press the program button PRG
Enter '24', press ENTER(Yes)
Enter Job No. '1', press ENTER(Yes).
Instrument reads: XMEM OFF
SERIAL OFF
Ignore, press ENTER(Yes).
Screen shows: 1 Known Line
2. Unknown Line
Select 2
Screen shows STN = 1 - press YES
Screen shows HT measure? - press YES
Screen shows Ih = 0 - press YES
Screen shows Ref. line point A
Pno = (enter 1) - press YES
Screen shows SH = 0.000 - press YES
Screen shows STD
HA
VA
Focus on prism on the far side end of take off board - Press A/M
Instrument shows “measuring”, when finished - Press Reg
Screen shows Ref. line point B
Pno = (enter 2) - press YES
Screen shows SH = 0.000 - press YES
Screen shows STD
HA
VA
Focus on prism on near end of take off board - Press A/M
Instrument shows “measuring”, when finished - Press Reg
Screen shows 1. Measure
2. Setout
3. Exit - Select 1
Screen shows Slope = xx.xxxx - Press YES
Screen shows SH = 0.000 - Press YES
 Loading...