

Page 1
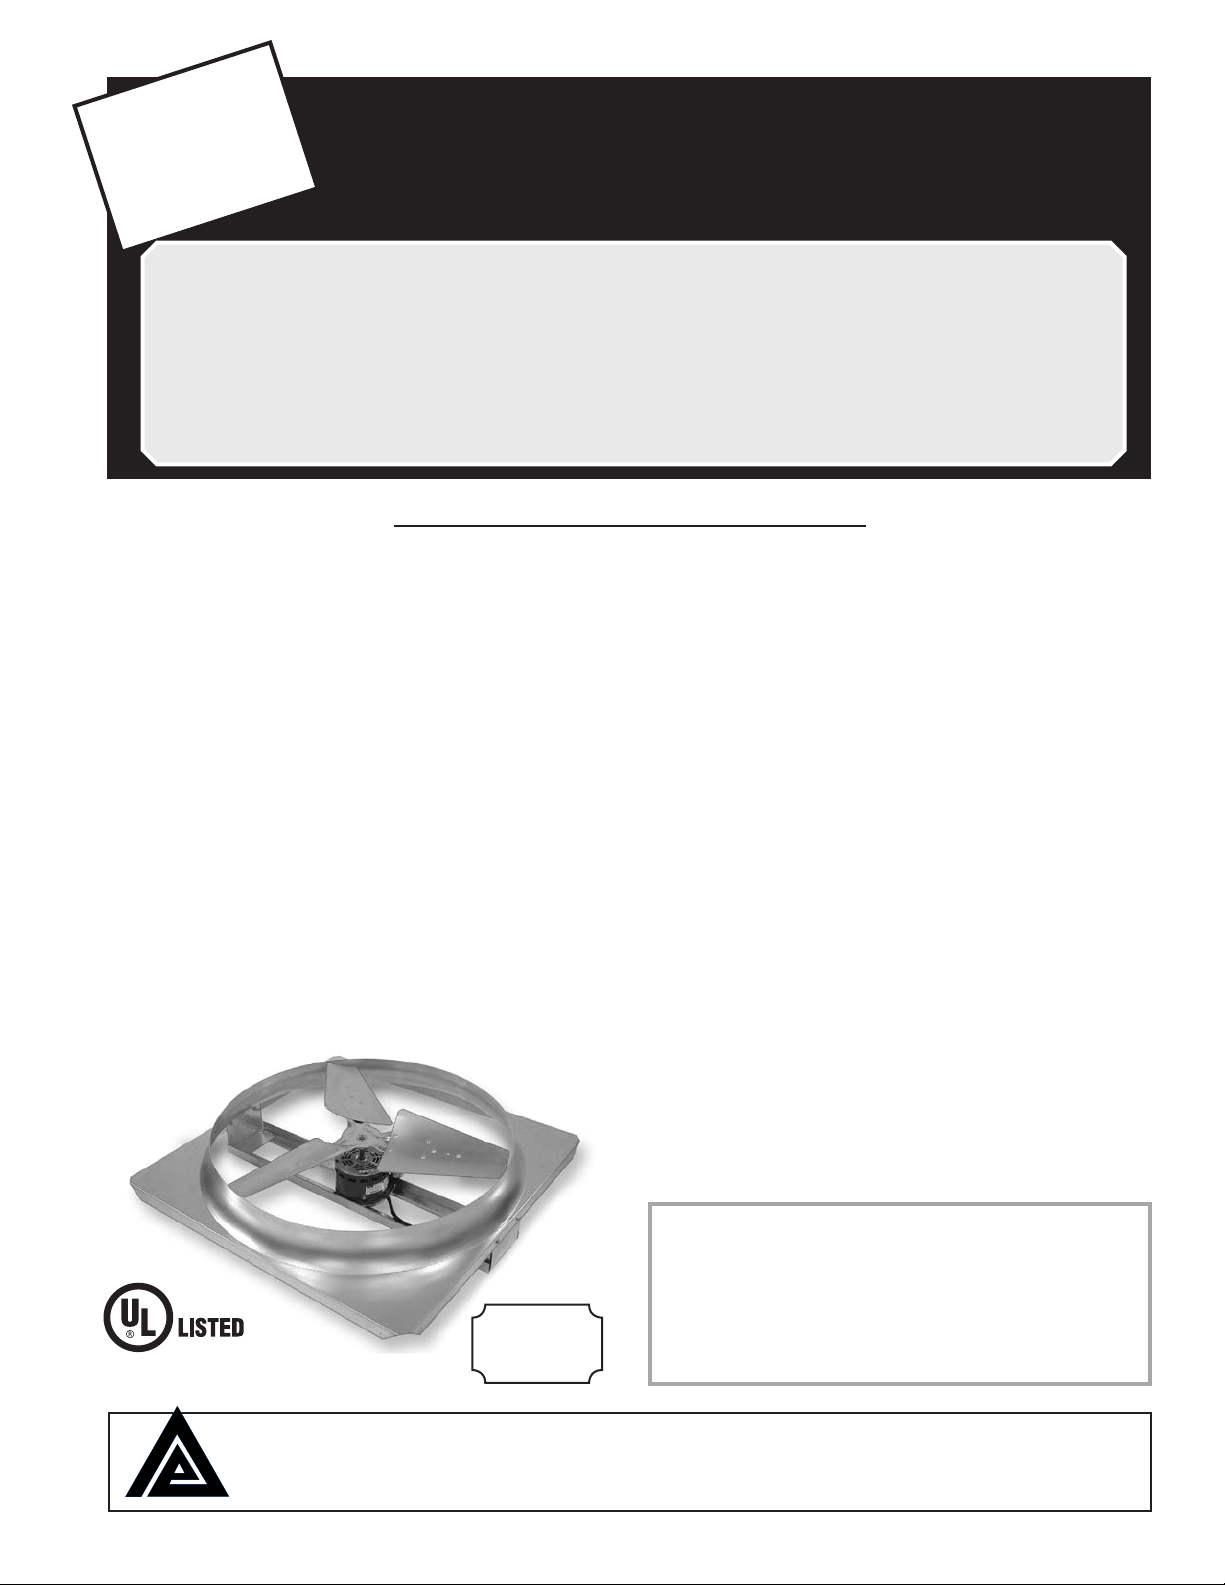
OWNER’S
MANUAL
Keep for
Whole House Fans
future reference
READ AND SAVE THESE INSTRUCTIONS!
insTallaTion anD oPeraTion
COMFORT AIDE
®
IMPORTANT: Carefully read these instructions
before you install or operate your new whole house
fan. Proper installation is important to achieve
maximum cooling efficiency. It is necessary to provide adequate ventilation to meet minimum exhaust
CAUTION - SAFETY RULES
WARNING – TO REDUCE THE RISK OF FIRE,
ELECTRIC SHOCK, OR INJURY TO PERSONS,
OBSERVE THE FOLLOWING:
Use this unit only in the manner intended by the
manufacturer. If you have questions, please contact
the manufacturer.
Before servicing or cleaning unit, switch power off at
service panel to prevent power from being switched
on accidentally.
Installation work and electrical wiring must be
done by qualified person(s) in accordance with all
applicable codes and standards, including fire-rated
construction.
Sufficient air is needed for proper combustion and
exhausting of gases through the flue (chimney) of fuel
burning equipment to prevent back drafting. Follow the
heating equipment manufacturer’s guideline and safe-
ty standards such as those published by the National
Fire Protection Association (NFPA) and the American
Society for Heating, Refrigeration and Air Conditioning
Engineers (ASHRAE), and local code authorities.
requirements. This prevents pressure build-up in
the attic which will reduce the fan's efficiency. Refer
to the ventilation work sheet on the back page of
this instruction sheet to determine the exhaust air
requirements.
When cutting or drilling into wall or ceiling, DO NOT
damage electrical wiring and other hidden utilities.
CAUTION – For general ventilating only, DO NOT
use to exhaust hazardous or explosive materials and
vapors.
CAUTION – This unit has an unguarded impeller.
DO NOT use in locations readily accessible to people
or animals.
Your whole house fan will operate only on 120 Volt,
A.C., 60 Hz (cycle) current.
Permanent THREE WIRE (grounded) wiring must
be used. DO NOT USE AN EXTENSION CORD.
To avoid risk of electrical shock, fire and other inju-
ries DISCONNECT MAIN POWER SUPPLY prior to
installation.
This fan is to be mounted in a location where the
entrance of drawn in water (rain) is unlikely.
If shutter is removed for servicing, replace before
normal operation.
WARNING: TO REDUCE THE RISK OF FIRE OR
ELECTRICAL SHOCK DO NOT USE THIS FAN
WITH ANY SOLID STATE FAN SPEED CONTROL
DEVICE.
Do not operate this fan in areas where gas or oil-
fired equipment are in operation.
Wear safety goggles when drilling, hammering or
cutting materials.
LIMITED
5 YEAR
WARRANTY
INSTALLATION RECORD
Model # ____________________________________________
Serial # ____________________________________________
Purchased from ______________________________________
Date Purchased ____________ Date installed ______________
Please complete for future use.
Triangle engineering of arkansas, inc.
E-mail: mail@trianglefans.com • Website: www.trianglefans.com
TM
1101 North Redmond Rd. • Jacksonville, Arkansas 72076 • (501) 982-7558 • Fax (501) 982-5691 • 1-800-255-9014
Page 1
Revised 12/12
Page 2

TOOLS REQUIRED FOR INSTALLATION
• Hammer
• Razor blade or
sheet rock saw
• Power or hand saw
• Pencil
• Straight edge
• Measuring tape
• Screwdriver
• Electric drill
• Safety goggles
B
OTHER MATERIALS REQUIRED
• 10 Ft. of 1" x 2" wood strips
• 6 Nails (#4 or #6)
• Automatic Ceiling Shutter
• Code required electrical materials
• Duct tape
C
FAN SPECIFICATIONS:
A
CFM BLADE DIMENSIONS RPM WATTS
MODEL H.P. HI LO DIAMETER A B C HI LO HI LO VENTILATES COMFORT COOLS
CA 2421 1/4 4700 3500 24" 30" x 4" x 9" 810 625 450 380 1500 - 2350 Sq. Ft. 600 - 1200 Sq. Ft.
CA 3021 1/4 6000 450 30" 34" x 4" x 9" 795 610 480 410 2250 - 3000 Sq. Ft. 750 - 1500 Sq. Ft.
INSTALLATION INSTRUCTIONS
TRIANGLE’S COMFORT AIDE fans are easy to install
using ordinary hand tools. It is not necessary to cut any ceil-
ing joists or build any wood frames. The motor and two-speed
switch are pre-wired at the factory so all you have to do is
hook it to a 120 volt AC power source with 5 amp capacity.
Follow these easy step-by-step instructions and you will have
a professional installation.
LOCATION OF FAN - The most logical place to locate your
WHOLE HOUSE FAN is near the central part of the house.
NOTE - if hall area is chosen, it must have a minimum 32"
width for the 24" fan; 35" width minimum for the 30" fan. Check
attic area to be certain there is adequate clearance above the
fan. Minimum space should equal blade diameter. Inspect the
area where the fan is to be installed. The area must be free of
electrical wiring and pipes.
STEP 1. After installation site has been selected for the fan,
remove insulation from area and select a ceiling joist or roof
truss to be the center line of the fan. Use the shutter carton to
make a template.
Use the dimensions listed for your shutter
*
as shown on the carton. (FIG. 1) Repeat this procedure on the
other side of the middle joist. Drill small holes at each corner
of the area marked on the ceiling. CAUTION: The shutter hole
must equal the “fits hole” dimensions that appears on the shut-
ter carton. Double check fan location from inside living area
before cutting shutter hole.
STEP 2. If the layout is satisfactory, cut and remove ceiling
material. (FIG. 2) Lift fan into the attic through the hole you
have just cut. Be careful not to damage the edges of the ceiling when lifting the fan into the attic. IMPORTANT: THIS FAN
IS DESIGNED FOR HORIZONTAL INSTALLATION ONLY
FOR VERTICAL AIR FLOW. DO NOT MOUNT IT AT ANY
OTHER ANGLE.
STEP 3. Cut two 1" x 2” wood strips to span three joists.
Locate the 1” x 2” strips as shown in Fig. 3 and nail them
to each joist. Fasten the fan to the strips as illustrated using
the #12 lag screws, washers and rubber isolation mounts.
(FIG. 4.)
FIG. 1
*CSS24 Template Size 101⁄4 x 301⁄
CSS30 Template Size 141⁄4 x 341⁄
4
4
FIG. 2
1" x 2"
Typical appearance of 30" fan mounted on
ceiling joist 16" on center.
1" x 2"
Typical appearance of 24" fan mounted on
ceiling joist 16" and 24" on center and of a
30" fan mounted on ceiling joist 24" on center.
ANGLE
ANGLE
PLENUM
PLENUM
Page 2
FIG. 3
FIG. 4
Joist
Motor
1" x 2"6"Angle
Washer
Rubber Isolation Mounts
6"
#12 Lag Screw
Page 3

STEP 4. - TURN OFF POWER AT FUSE BOX OR CIRCUIT
BREAKER. The fan requires a 120 volt A.C. power source with
at least 5 amp capacity. All electrical work must be in accordance
with local building codes using approved material. Follow wiring
diagram as shown below in FIG. 5 to finish electrical installa-
tion. Before restoring power, be certain the fan blades are clear
as the pull chain switch may be in the “on” position. If you are
using a separately purchased wall mounted control, follow
the instructions furnished with that control.
STEP 5. Cut out the plenum at premarked openings to fit your
ceiling joists. Attach the plenum to the deck using the #10 screws
and fender washers provided . Staple or tack the plenum to the
ceiling joist. Improper installation of the plenum can result in poor
fan performance or possible motor failure. Re-install insulation to
the edge of the plenum. Cover any opening with duct tape. The
plenum must be tightly sealed to the fan, joists and ceiling so the
fan draws air from the living area only. (FIG. 6)
STEP 6. Install flush mounted ceiling shutter into the ceiling
opening using the #101⁄4" screws included in the shutter carton.
Caution should be taken not to effect the free operating action
of the shutter. Drop the pull chain through the hole provided in
the shutter and trim it to desired length. Your installation is now
complete. (FIG. 7)
OPERATING YOUR FAN
IMPORTANT: DO NOT OPERATE THE FAN WITHOUT FIRST
OPENING A WINDOW OR DOOR TO PROVIDE INLET AIR FLOW. IF
FAN IS LOCATED IN HALL, YOU MUST OPEN DOORS TO HALL TO
ALLOW AIR FLOW INTO THE FAN.
The air movement in rooms can be increased by closing off parts of
the house. Each room must be treated as a separate ventilating case.
Always open the window farthest from the point that the air will leave
the room.
For best cooling results from your WHOLE HOUSE FAN open only
the windows in the room being use.
IMPORTANT: Fan should always be started on HIGH SPEED to
prevent possible motor failure.
FIG. 5
120V
60 Hz
Power
Supply
FIG. 6
FIG. 7
BLACK
(line)
BLACK
(high speed)
GREEN
RED
(low speed)
GREEN
WHITE
(common)
Motor
REPAIR AND REPLACEMENT PARTS
Key Part Part
No. Number Description
1 WPCA24FRA 24" Fan Frame (Venturi)
WPCA30FRA 30" Fan Frame (Venturi)
2 PP
3 WPCA24BA 24" Fan Blade
WPCA30BA 30" Fan Blade
4 PP1032 NUT Nut (4 req’d - #10 - 32)
5 PP
6 PPRUBMOT Grommet (8 req’d)
7 PPCA24SKT 24" Fan Skirt
PPCA30SKT 30" Fan Skirt
8 PP10X.75 Screw (12 req’d - #10 x
9 PPFENDER Washer (16 req’d - 3⁄16 Fender)
10 PPHANDYC Cover, Switch Box
11 PPPULLSW Switch, 2-Speed
12 PPSTRAIN Strain Relief
† FGCSS24 Shutter - 24" Fan
† FGCSS30 Shutter - 30" Fan
†* FG2SPWALL 2-Speed Wall Switch
†* FG12HRTIM 12-Hour Timer
†* FG2SP12HR 2-Speed, 12 hr. Timer Wall Switch
† Not Illustrated †* Optional Specifications subject to change without notice.
1
⁄4 HP Motor
3
⁄16 WSH Washer (4 req’d - 3⁄16 Flat)
3
⁄4)
Page 3
Page 4

VENTILATION REQUIREMENTS
The following diagram is provided so you may determine the existing ventilation in your attic. It is necessary
that you provide adequate ventilation to meet the minimum exhaust requirements for the fan you have selected.
Turbine Ventilator
Min. Free
Exhaust
Model Area Req’d
CA 2421 7 sq. ft.
CA 3021 9 sq. ft.
Under Eave Vent
1
Roofcap
2
B
B
A
(12" throat) 3
A
IMPORTANT!
WHEN
ORDERING REPAIR
PARTS:
Always give the
following information:
1. Model No. and
Serial No. of fan
2. Part Description
3. Part Number
Type QTY.A (ft.) B (ft.)
1
2
3
4
5
xxxx
Should you calculations show your exhaust area is inadequate, additional ventilation must be provided. Failure
to meet minimum exhaust requirements will result in a
reduction of fan efficiency and motor failure.
Roof Ridge
Ventilator
A
NET VENT
(sq. ft.)
1
.13
4
LOSS
FACTOR
.5
.6
.6
A
NET FREE
=
AREA (sq. ft.)
B
Louvers
5
(Rectangular &
Triangular)
A
B
OTHER FORMS OF VENTILATION
LIMITED FIVE YEAR WARRANTY
Do not return product to original place of purchase
Triangle Engineering of Arkansas, Inc. (Manufacturer) war-
rants, from the date of purchase, to the original purchaser
only, that the product manufactured by Manufacturer is free
from defects in material and workmanship for a period of
FIVE (5) YEARS. Motors, capacitors, v-belts and switches are
excluded from this warranty, but shall have a limited one year
warranty from date of purchase to the original purchaser.
If a failure of the product occurs, contact the Manufacturer
at: 1-800-255-9014 and give the model number of the product, the purchase date, and a description of the problem to
the customer service agent.
Once the problem is diagnosed, and proof of purchase date
is verified, Manufacturer will have the option of shipping the
necessary repair part(s) to the Customer, freight prepaid or
having the product returned to Manufacturer for repair or
replacement. If the product is returned to the Manufacturer,
Customer is responsible for prepayment of all inbound
freight charges. Upon repair or replacement, which shall be
at the discretion of Manufacturer, the Manufacturer will prepay all outbound freight charges for the return of the product
to the customer. However, if Manufacturer finds product to
be in operating condition and no problems are diagnosed,
product will be returned to customer freight collect.
TOTA L NET FREE EXHAUST AREA
THERE ARE NO WARRANTIES WHICH EXTEND BEYOND THE
DESCRIPTION ON THE FACE HEREOF.
Except as provided by this express warranty, the goods are
sold “as is” without any implied warranties.
This limited warranty does not cover labor to replace warrantied parts or motors, nor does it cover failure of the installer to
provide adequate ventilation to meet minimum exhaust requirements, damage resulting from accident, misuse or abuse, lack of
proper maintenance, improper installation, affixing of any parts
or attachments not authorized by Manufacturer, or loss of parts.
In no event shall Manufacturer be liable for any special, incidental, or consequential damages; which may result from any
defect in material or workmanship.
It is expressly understood that Buyer’s sole and exclusive
remedy shall be repair or replacement of defective parts,
and that Triangle Engineering shall not be liable for injury to
persons or property. Should the goods prove so defective,
however, as to preclude the remedying of warranted defects by
repair or replacement, the Buyer’s sole and exclusive remedy
shall then be a refund of the purchase price.
This warranty gives you specific legal rights, and you may
also have other rights which vary from state to state.
(sq. ft.)
Page 4
Specifications subject to change without notice.
 Loading...