

Page 1
Quick Installation Guide
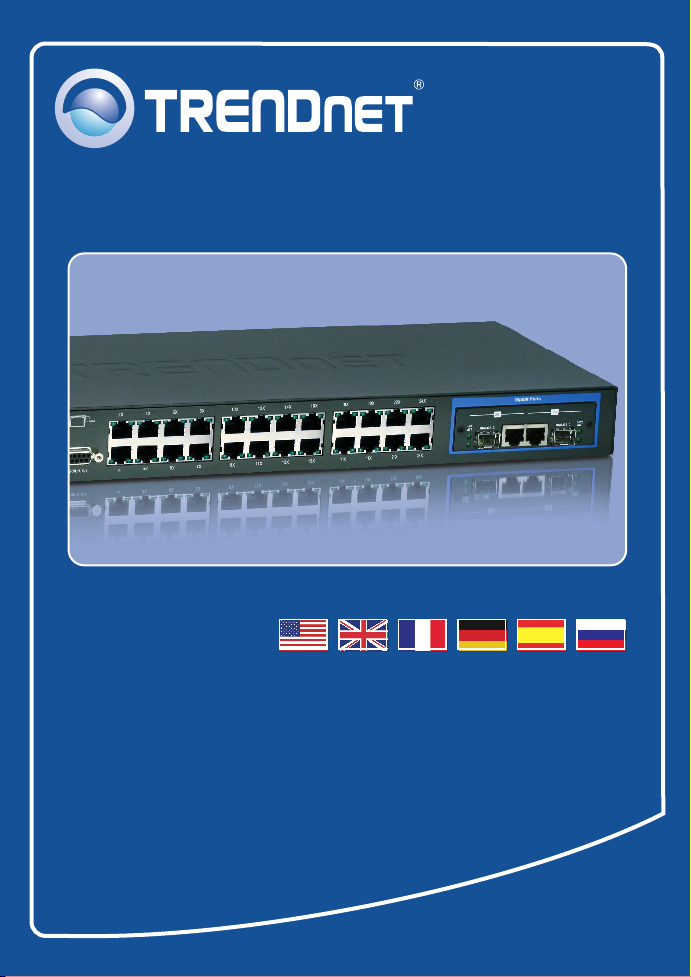
TEG-S2620i
H/W: V1.0R
Page 2

Table of Contents
Table of Contents
Español .....................................................................................................
1. Antes de iniciar ..................................................................................
2. ...........................................
Instalación del Hardware ........................
3. ...............................................
Configure el conmutador ....................
Troubleshooting ........................................................................................
1
1
2
3
6
Version 05.08.2008
Page 3

1. Antes de iniciar
Requisitos del sistema
?
Navegador Web: Internet Explorer (5.5 ó superior)
?
Un PC con adaptador de red instalado correctamente
?TCP/IP protocol
?Cable de red RJ-45
Equipo Opcional
?
Rack estándar de EIA 19”
Módulo mini-GBIC (como TEG-MGBSX, TEG-MGBS10, TEG-MGBS40,
TEG-MGBS80, TEG-MGBS10D3_D5, TEG-MGBS40D3_D5) para ranuras
mini-GBIC
Aplicación
26-Port 10/100Mbps Layer 2 Switch with
Gigabit Ethernet Ports and Mini-GBIC Slots
Contenidos del paquete
?
TEG-S2620i
?Guía de instalación rápida
multilingüe
?
Guía del usuario en CD-ROM
?
Un cable RS-232
? Cable de alimentación
?
Kit para montaje en estante
(TEG-S2620i)
Virtual LAN
Console Terminal
RS-232
Managed Switch with Mini GBIC Slot
1000MbpsRS-232 Console 10/100Mbps
8-Port 100Base-FX Layer 2
(TEG-S811Fi)
1
Español
Virtual LAN
Network Servers
Page 4

2. Instalación del Hardware
1. Conecte el Power Cord (Cable de
alimentación) en la parte trasera
del TEG-S2620i y después a la
toma corriente. Entonces presione
el interruptor para prender la
unidad TEG-S2620i.
2. Conecte un cable de red RJ-45
desde el PC a un puerto Ethernet
disponible en el TEG-S2620i.
3. Verifique que los indicadores de
los siguientes paneles están
encendidos: POWER y LINK/ACT.
Español
2
Page 5

3. Configure el conmutador
Nota: Se recomienda que configure el conmutador desde un ordenador
cableado. Antes de proceder a configurar el conmutador se debe asignar una
dirección IP estática al adaptador de red de su ordenador in la subred
192.168.223.x Como la dirección IP del conmutador es 192.168.223.100,
asegúrese de que en la red no hay otro dispositivo que ya tenga esta dirección
IP asignada (Consulte el apartado Troubleshooting (resolución de problemas)
con relación a cómo fijar la configuración TCP/IP de su PC)
Navegador Web
1. Abra el navegador Web, introduzca
http://192.168.223.100
de direcciones, luego pulse la tecla
Enter (Intro).
2. Introduzca el nombre de usuario
(Username) y la contraseña
(Password) y luego haga clic en
OK. Predeterminados
Nombre de usuario: admin
Contraseña: 123
en la barra
3. Seleccione la opción deseada para
configurar el conmutador SNMP.
3
Español
Page 6

HyperTerminal
1. Conecte el cable RS-232 desde un
puerto serie de su PC con
Windows al puerto de la consola
de su conmutador.
2. Vaya a Inicio > Programas >
Accesorios > Comunicaciones >
HyperTerminal
3. Escriba un nombre, elija un icono y
luego haga clic en OK.
4. Seleccione el puerto COM correcto
(ej., COM1, COM2) y luego haga
clic en OK.
4
Español
Page 7

5. Introduzca lo siguiente, haga clic
en Aplicar y luego en OK:
Bits por segundo: 115200
Data bits: 8
Paridad: Ninguno
Stop bits: 1
Control de flujo: Ninguno
6. Pulse Enter.
7. Introduzca el nombre de usuario
(Username) y la contraseña
(Password) y luego haga clic en
Enter. Predeterminados
Nombre de usuario: admin
Contraseña: 123
La instalación ha sido completada
Para obtener información más detallada sobre la configuración así como de las
configuraciones avanzadas del , por favor consulte la sección de
resolución de problemas, el CD-ROM de la Guía del Usuario, o el sitio Web de
Trendnet en http://www.trendnet.com.
TEG-S2620i
Para asegurar los más altos niveles de servicio y apoyo al cliente, registre su producto
Registre su producto
en línea en: www.trendnet.com/register
Gracias por elegir TRENDnet
5
Español
Page 8

Troubleshooting
Q1: How do I configure TCP/IP settings on my computer?
1. Go into the Control Panel, double-click the Network
Connections icon, and then right-click the Local Area
Connection icon and then click Properties.
2. Click Internet Protocol (TCP/IP) and then click
Properties. Then click on Use the following IP
address, and make sure you assign your network
adapter an IP address in the subnet of 192.168.223.x.
: I typed http://192.168.223.100 in my Internet Browser's Address Bar, but an error message
Q2:
says “The page cannot be displayed.” How can I get into the TEG-S2620i's web configuration
page?
First, check your hardware settings again by following the instructions in section 2.
A2:
Second, make sure the POWER and LINK/ACT lights are lit. Third, make sure the TCP/IP
settings are configured properly (see Q1). Fourth, since the Switch's default IP address is
192.168.223.100, make sure that no other network devices are assigned an IP address of
192.168.223.100.
Q3:
If my network's IP is different than the Switch's range, what should I do?
You should still configure the Switch first. After all the settings are applied, go to the
A3:
Switch's configuration page, click on Administrator, click IP & Management Mode and change
the IP address of the Switch to match your network's IP.
Q4:
What are the default port settings for configuring the Switch through the console port
using HyperTerminal?
Bits per Second: 115200; Data bits: 8; Parity: None; Stop bits: 1; Flow control: None.
A3:
If you still encounter problems or have any questions regarding the TEG-S2620i, please contact
TRENDnet's Technical Support Department.
6
Page 9

Certifications
This equipment has been tested and found to comply with FCC and CE Rules.
Operation is subject to the following two conditions:
(1) This device may not cause harmful interference.
(2) This device must accept any interference received. Including interference that may
cause undesired operation.
Waste electrical and electronic products must not
be disposed of with household waste. Please
recycle where facilities exist. Check with you Local
Authority or Retailer for recycling advice.
NOTE: THE MANUFACTURER IS NOT RESPONSIBLE FOR ANY RADIO OR TV
INTERFERENCE CAUSED BY UNAUTHORIZED MODIFICATIONS TO THIS
EQUIPMENT. SUCH MODIFICATIONS COULD VOID THE USER’S AUTHORITY TO
OPERATE THE EQUIPMENT.
ADVERTENCIA
En todos nuestros equipos se mencionan claramente las caracteristicas del adaptador de
alimentacón necesario para su funcionamiento. El uso de un adaptador distinto al
mencionado puede producir daños fisicos y/o daños al equipo conectado. El adaptador
de alimentación debe operar con voltaje y frecuencia de la energia electrica domiciliaria
existente en el pais o zona de instalación.
Page 10

TRENDnet Technical Support
.
US Canada
Toll Free Telephone: 1(866) 845-3673
24/7 Tech Support
Europe (Germany France Italy Spain Switzerland UK)
Toll Free Telephone: +00800 60 76 76 67
English/Espanol - 24/7
. . . . .
Worldwide
Telephone: +(31) (0) 20 504 05 35
English/Espanol - 24/7
Product Warranty Registration
Please take a moment to register your product online.
Go to TRENDnet’s website at http://www.trendnet.com/register
20675 Manhattan Place
Torrance, CA 90501
USA
Copyright ©2008. All Rights Reserved. TRENDnet.
 Loading...